|
|
Post by Ryan_M on Jan 5, 2014 8:41:20 GMT -5
This project is a little late to the party but there may be some useful (and perhaps entertaining?) info so I'm dragging a lot of it from the 3A page over here to get caught up. I'm leaving out all the forum chit-chat replies so some of this "catch-up" context may be a little incoherent, which is pretty typical of my posts anyways. If you fall asleep trying to wade through it all, please accept my apology in advance. Or just get back to work and stop wasting time reading about Jeeps while on the clock. 09/29/13 It was beautiful here today so I popped the rear seat out of my 3A and headed out on a grocery shopping mission. On whim decided I'd take a slight detour to check on an M38 sitting out in the weeds a few miles from me. It's one I posted some pics on the 3A page awhile back - some of you may remember. It, of course, was still sitting there so I stopped to talk with the owner, who turns out to be a 90 year old WWII/Normandy/Paratrooper vet. I had previously met his wife but never the old fella himself. We ended up loading him, clad in bathrobe and slippers, into my Jeep for a quick ride around town. I'm pretty sure I had as much fun, if not more, than he did. Anyways, long story short, the M38 found its way onto the back of a flatbed and is now sitting in my garage. I never did get any groceries. Below are a bunch of "Day 1" photos. I'm not sure what my intentions are at this point. I think I'd just like to fix the minimum so I can safely drive it (brakes, steering, etc) and then reassess. I'm pretty sure the motor is not original. The motor does turn by hand but there is no battery so I couldn't try to start it. The engine fluids are all full and look good. There is a new distributor cap and rotor (a good indication of recent work? or a bad sign that something much worse is wrong with it?) and it was last registered and driven in 2006. Aside from flushing the fuel system, adding fresh gas, and a new battery - is there anything else I should be too concerned with before I at least try to start it? The body and frame do have a fair amount of rust but I believe both are still pretty solid overall. I have yet to really climb underneath it though. The tires are newer and in good shape. The Willys hardtop still has the data tag on in and is complete with no broken glass. I'm hoping to at least spend some time cleaning it up this week and just get more familiar with it. 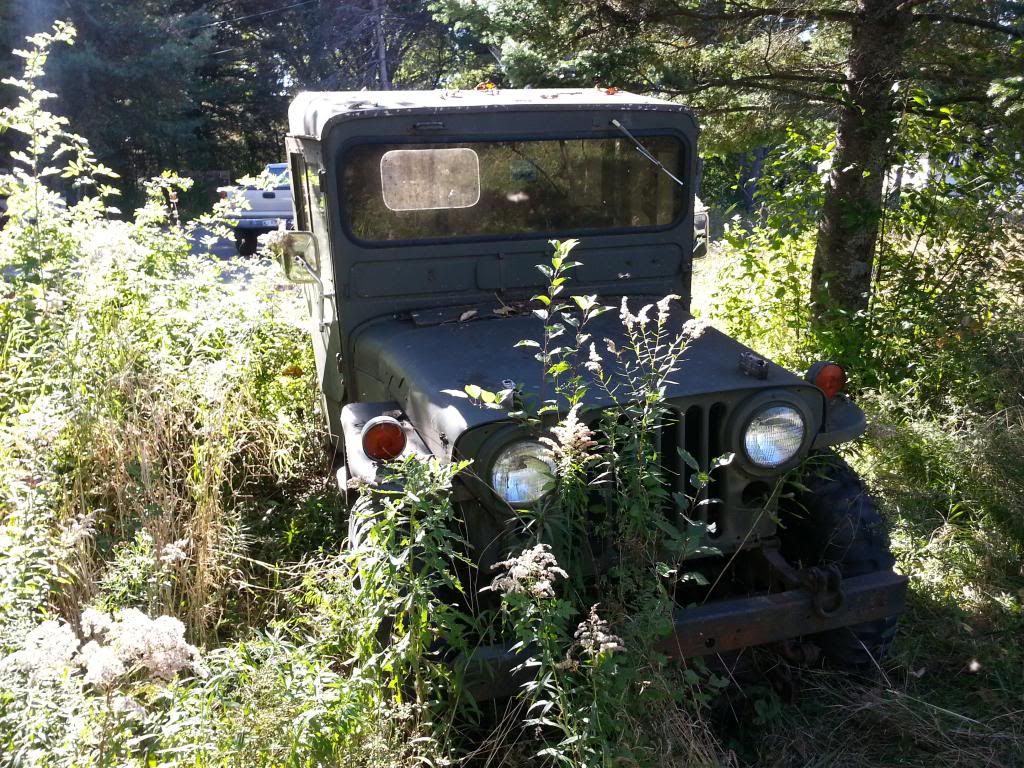 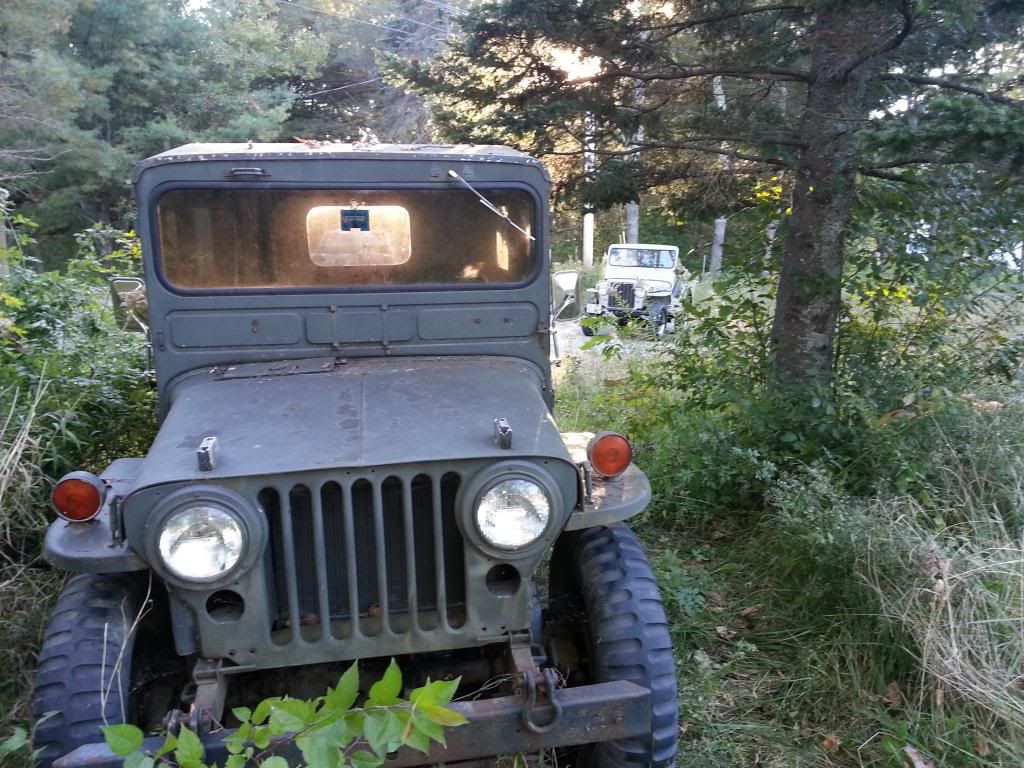 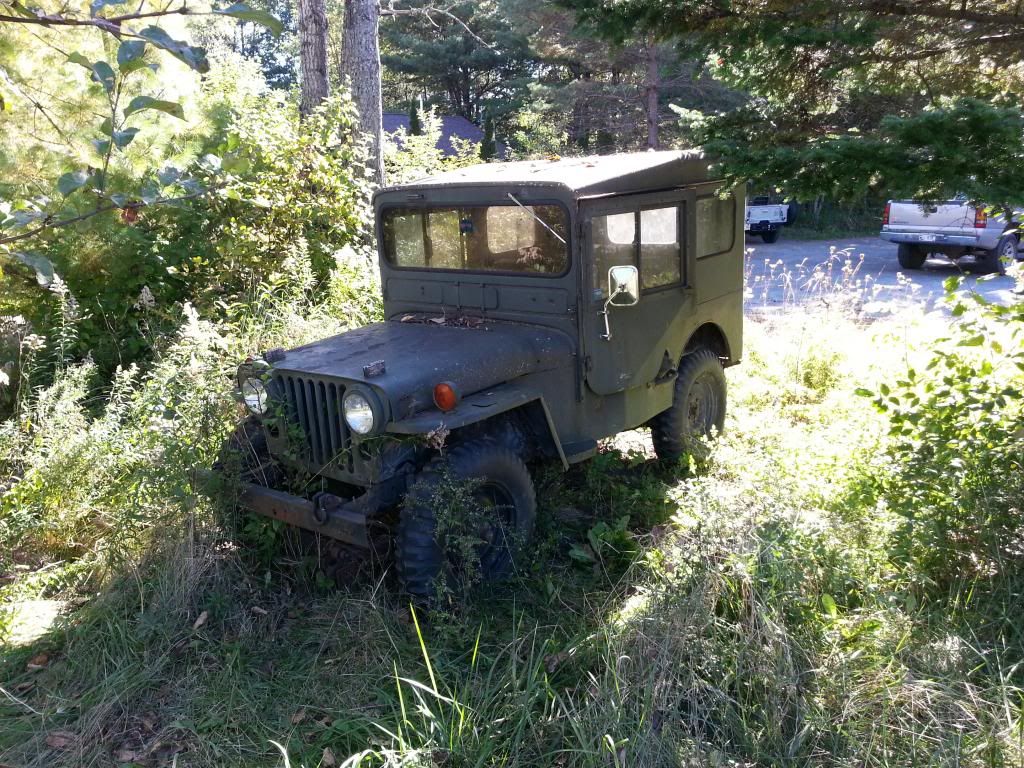 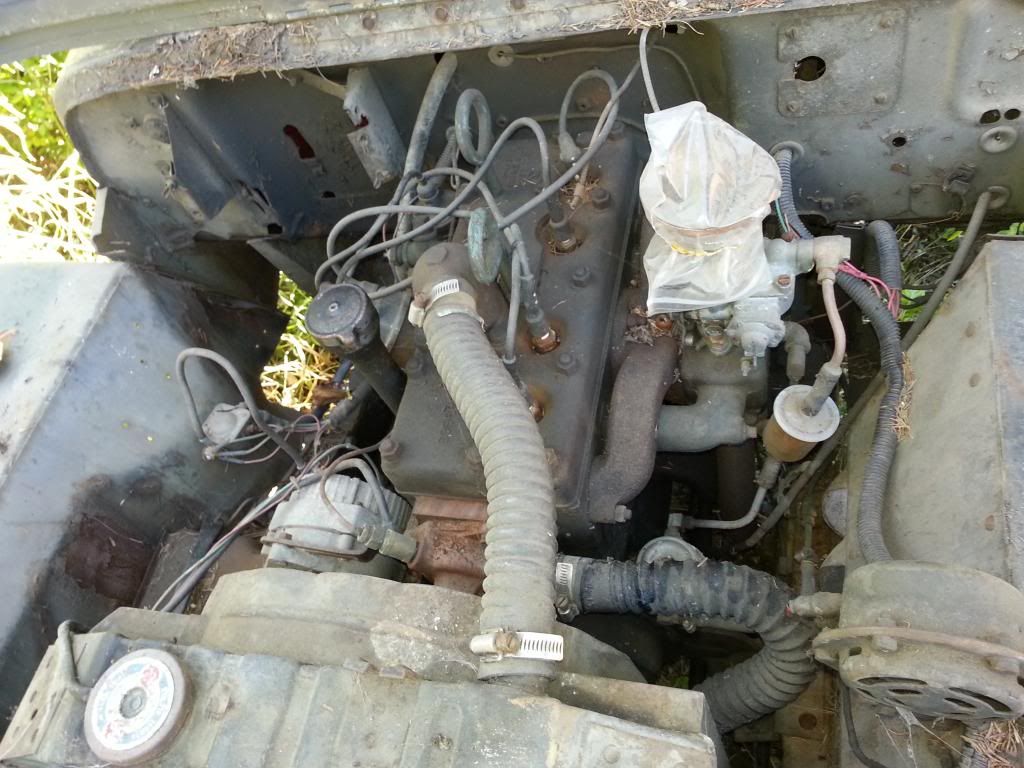 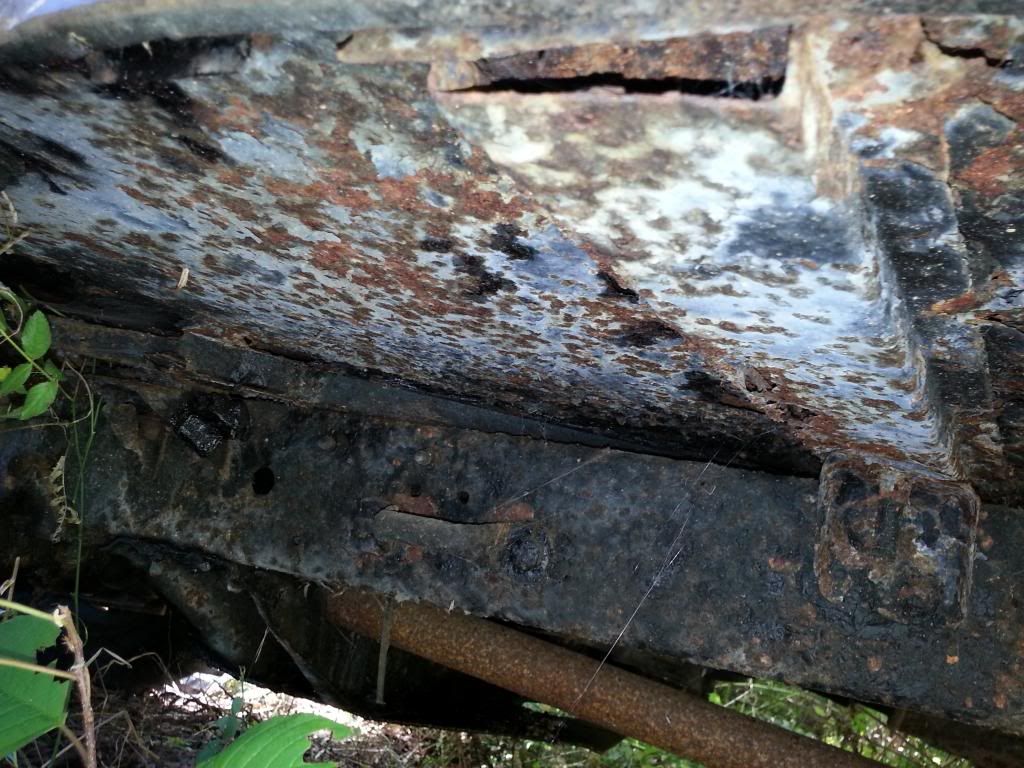 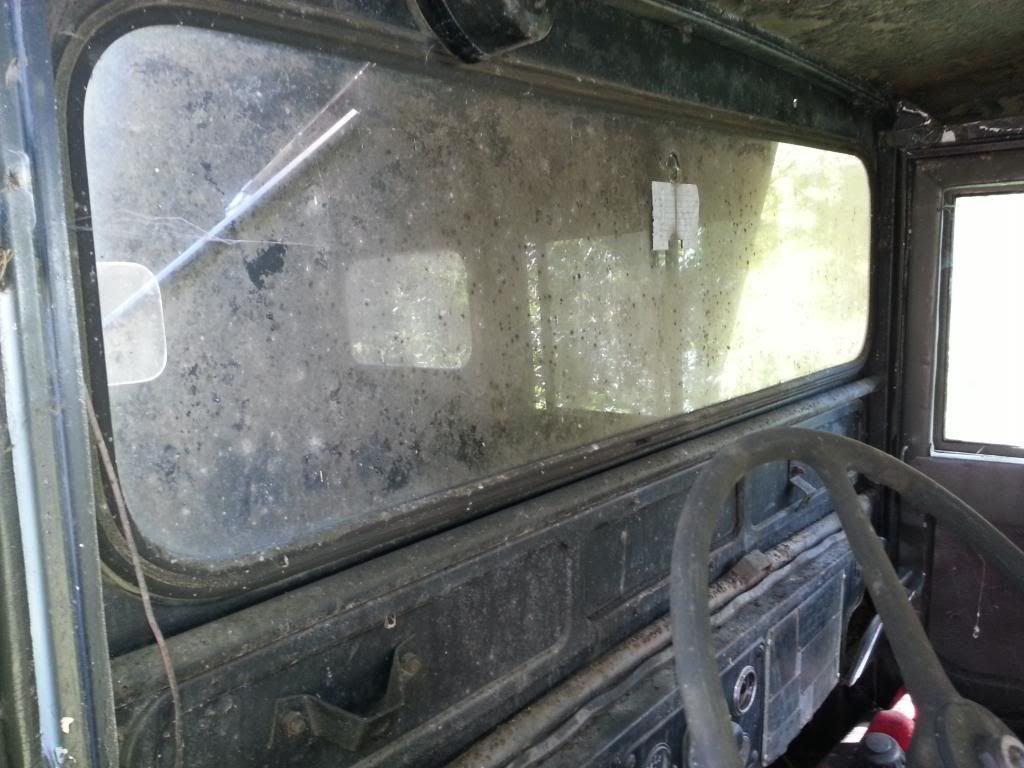 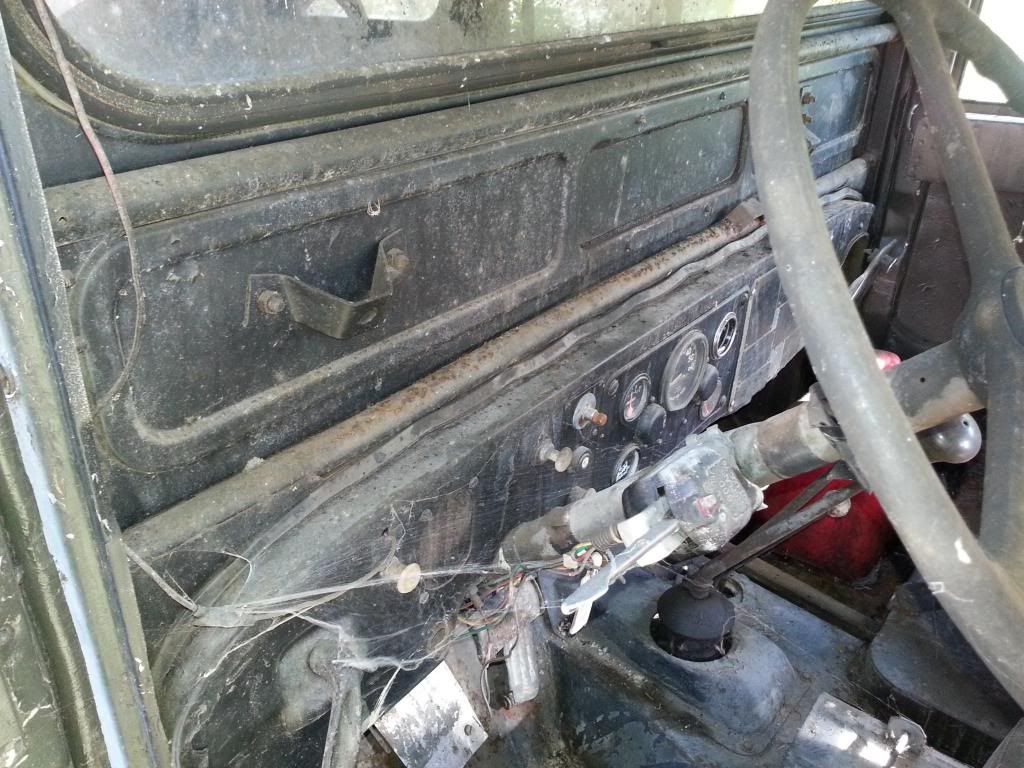 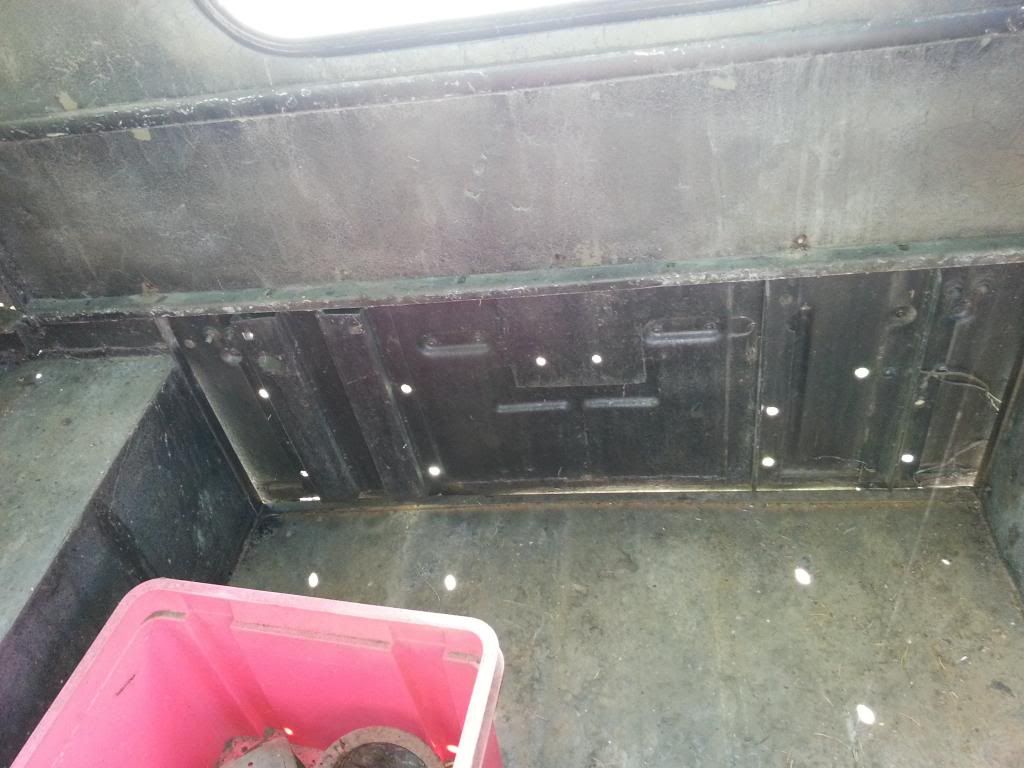 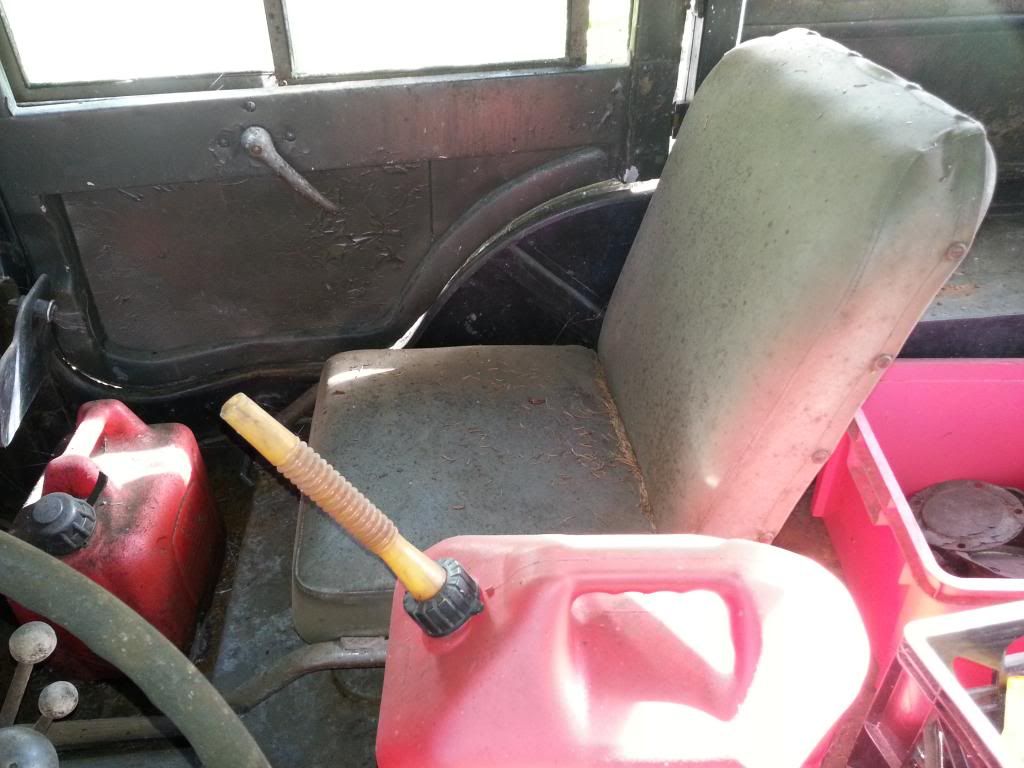 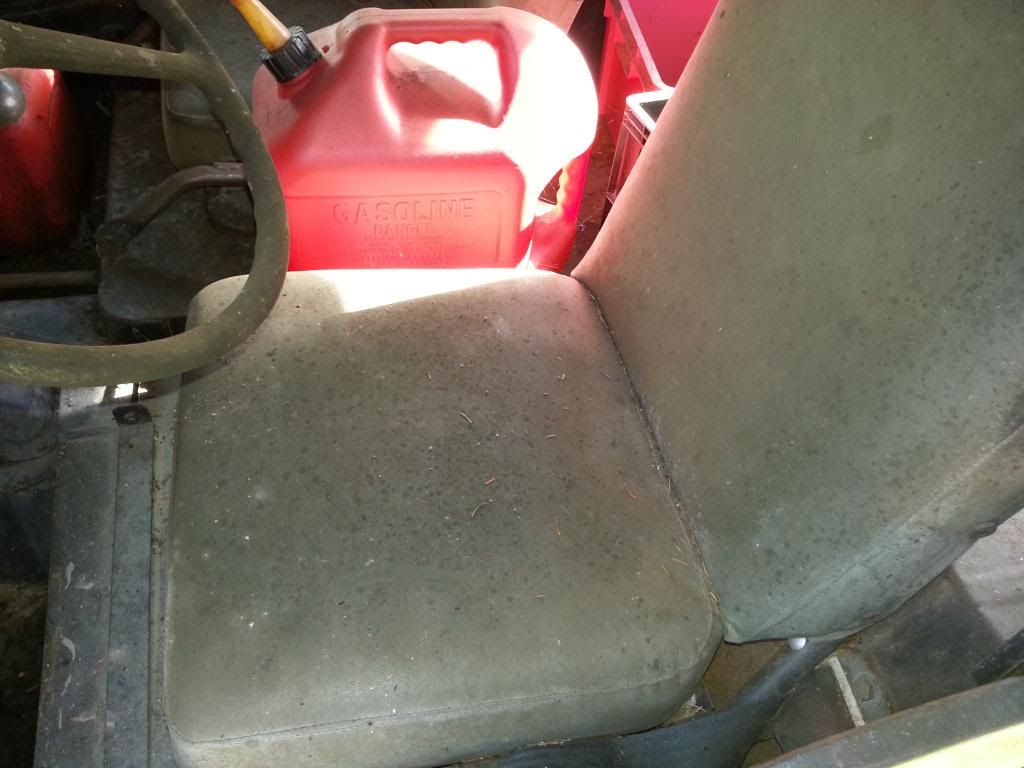 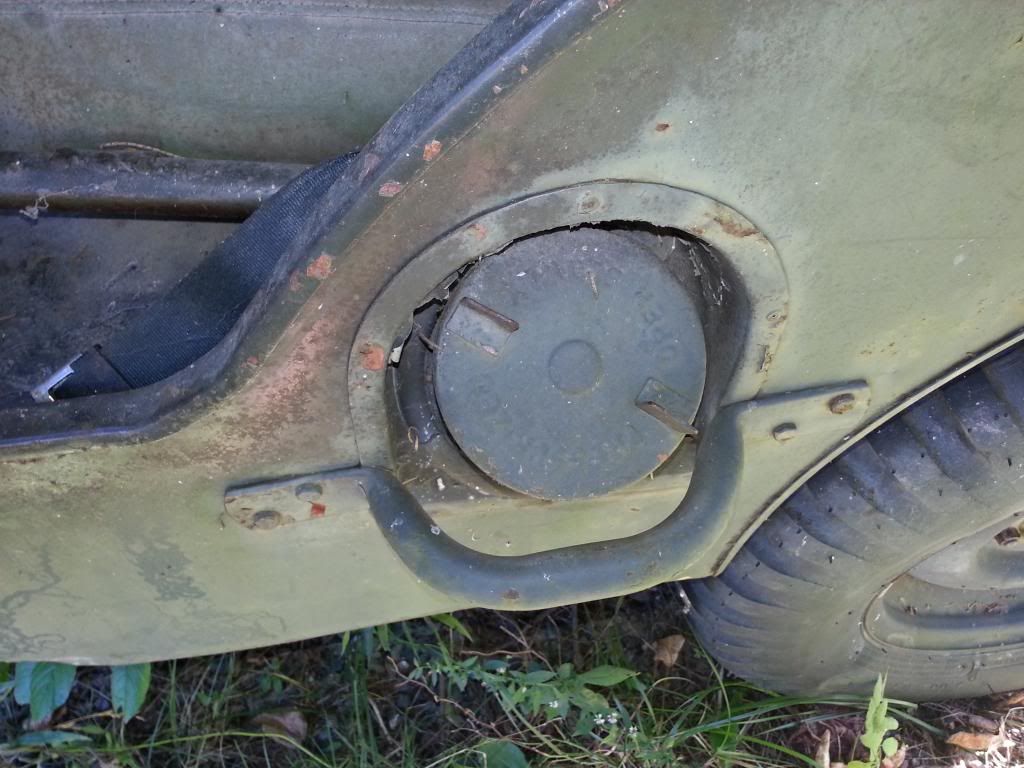 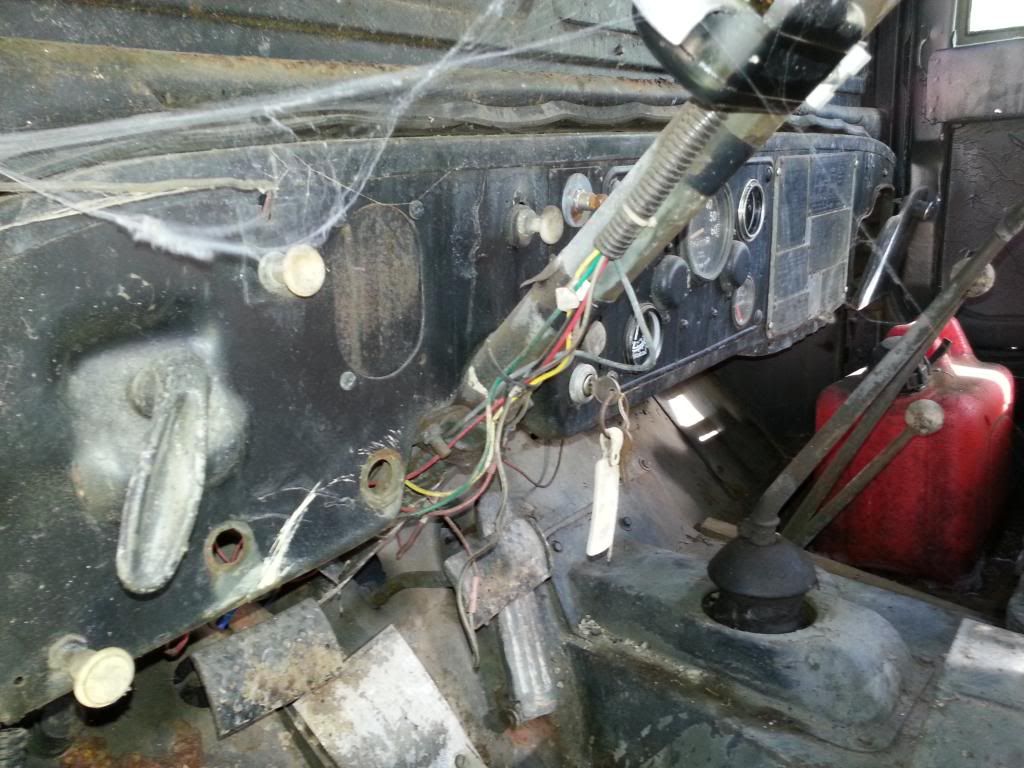 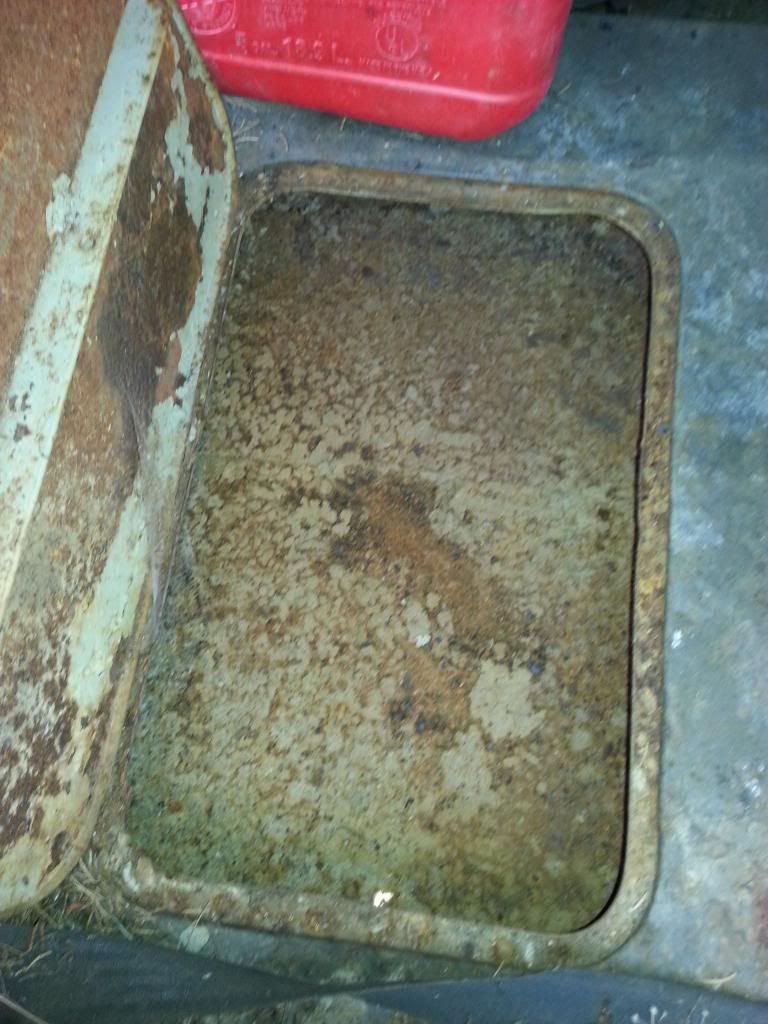 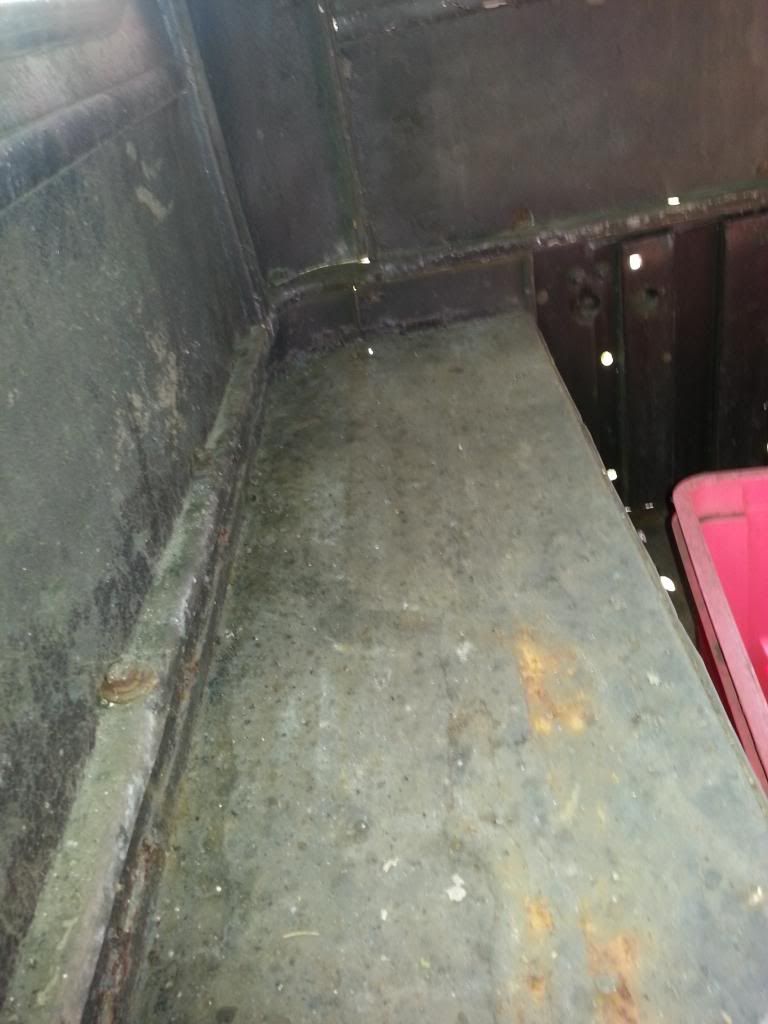 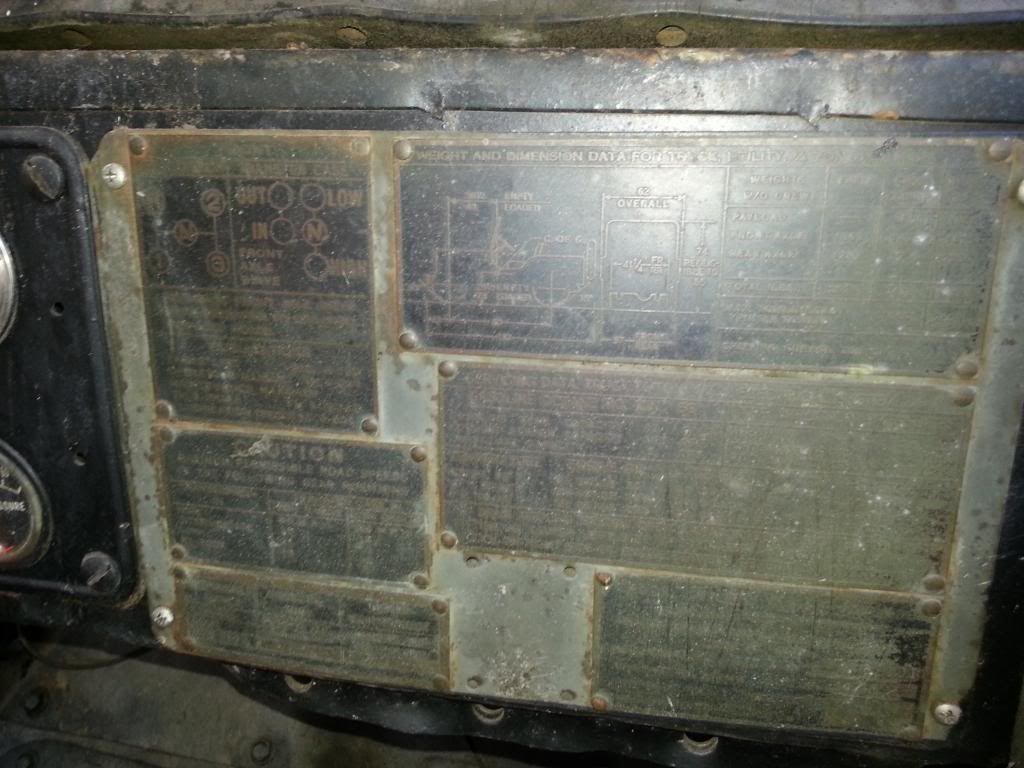 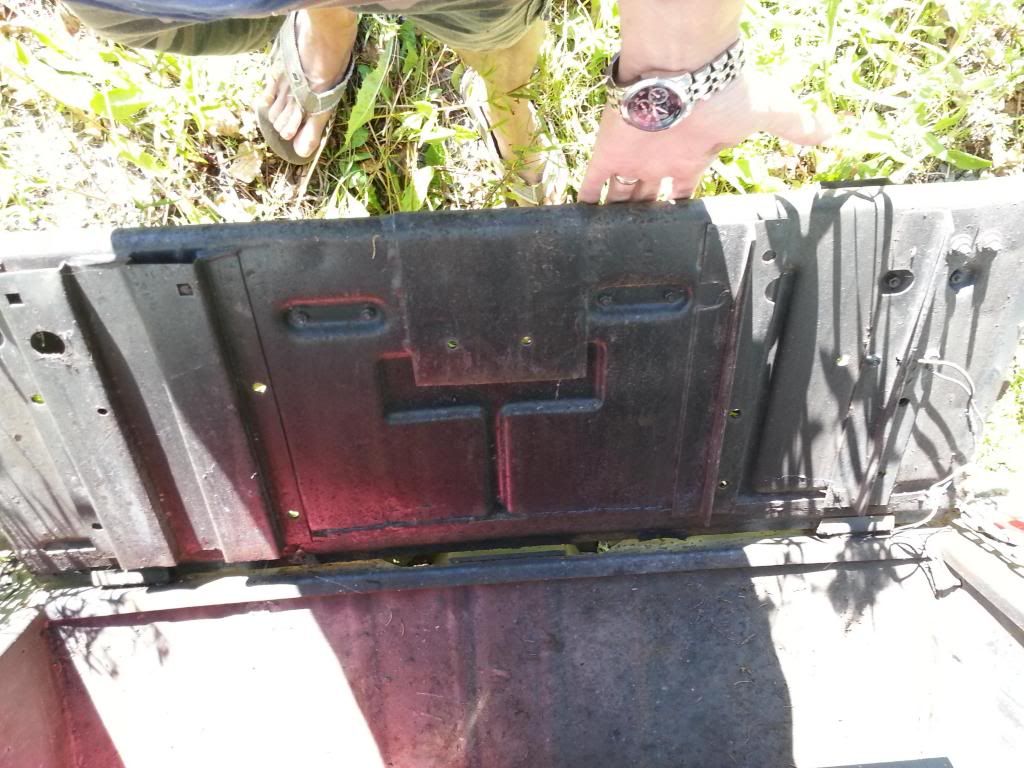 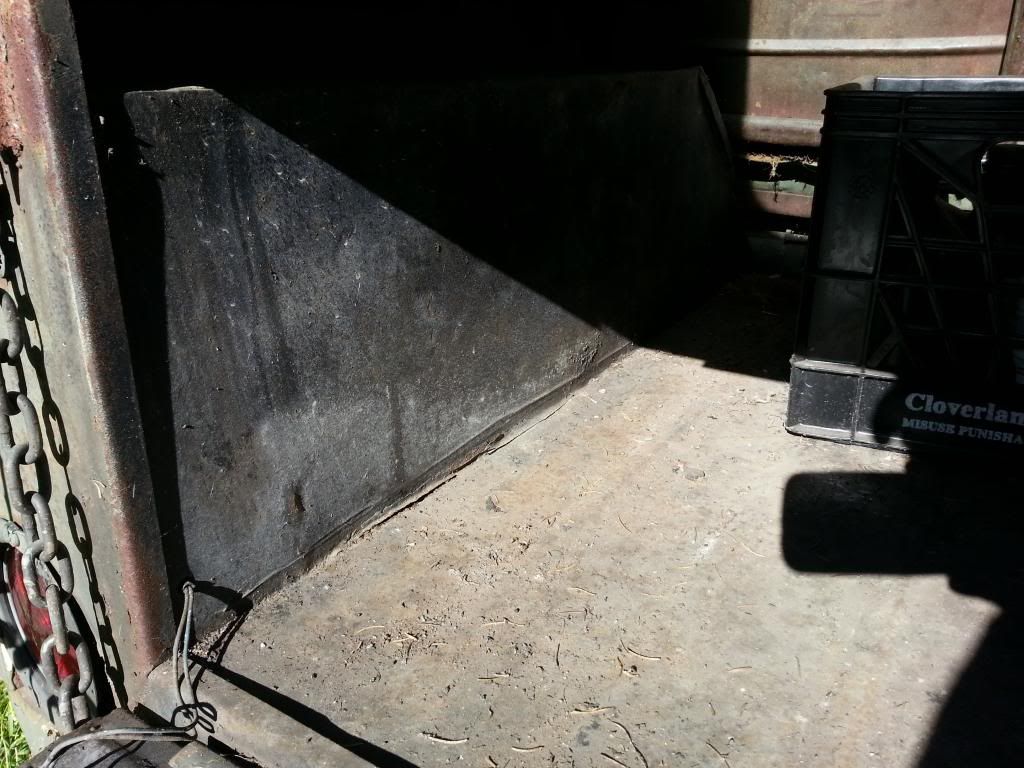 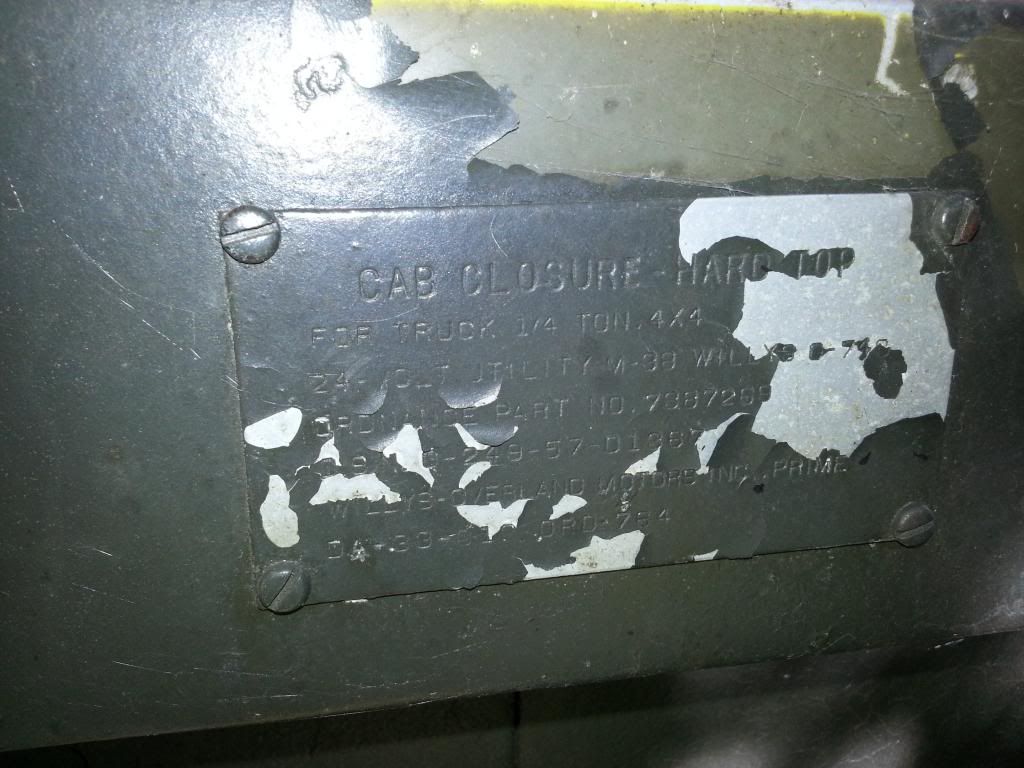 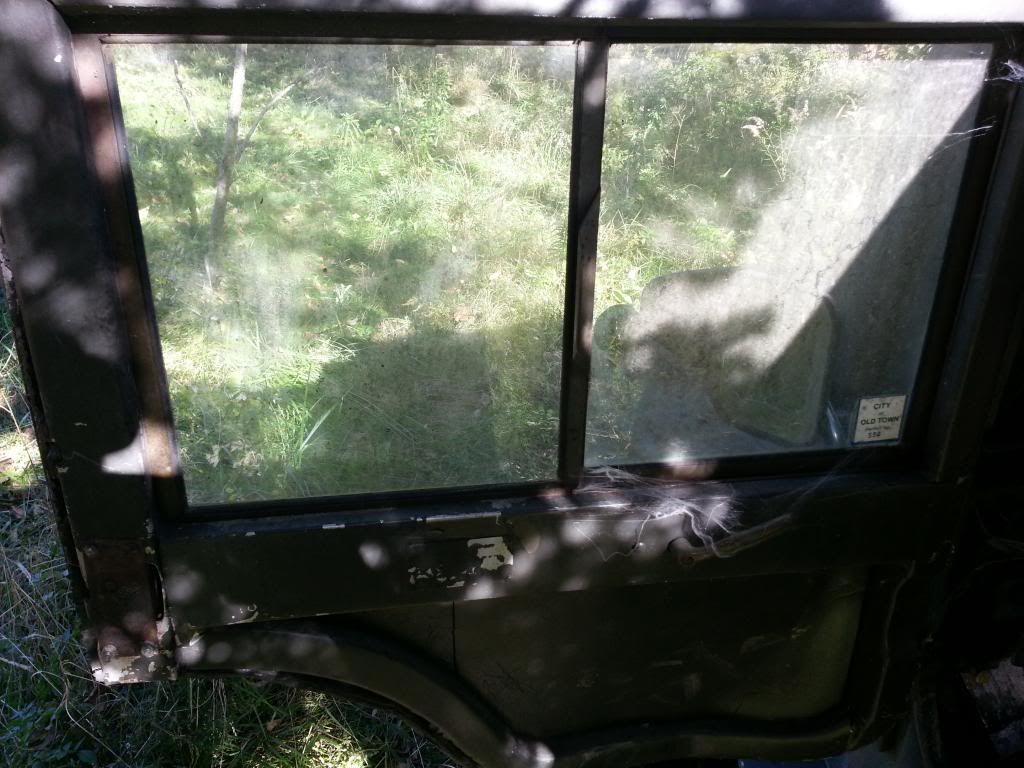 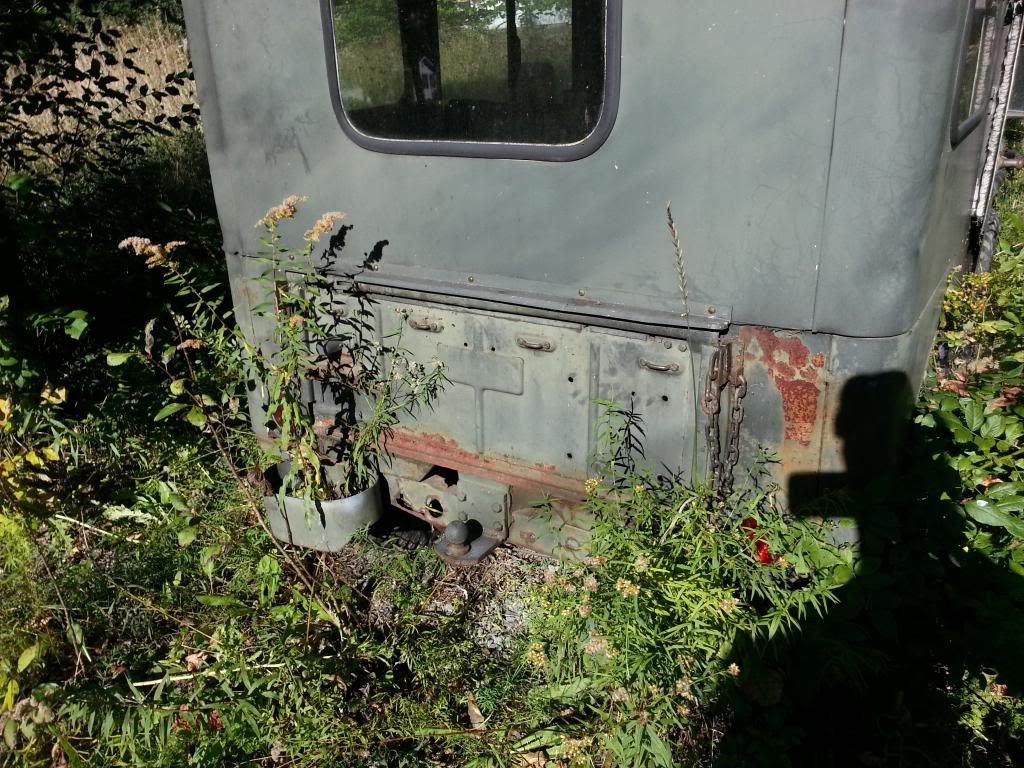 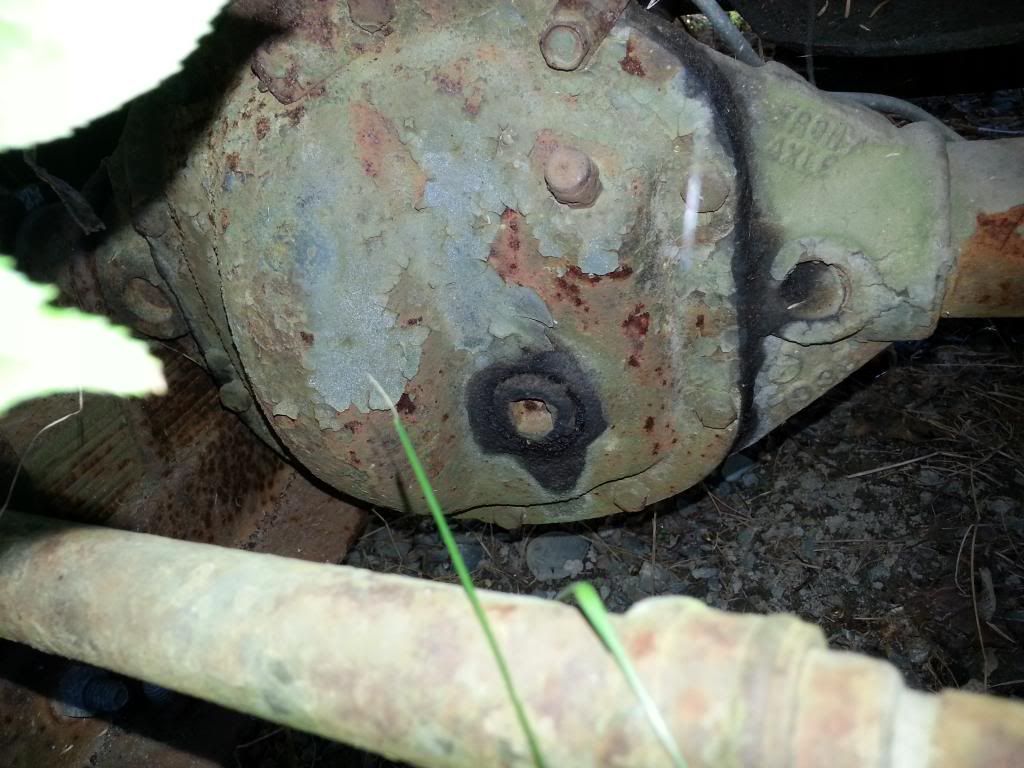 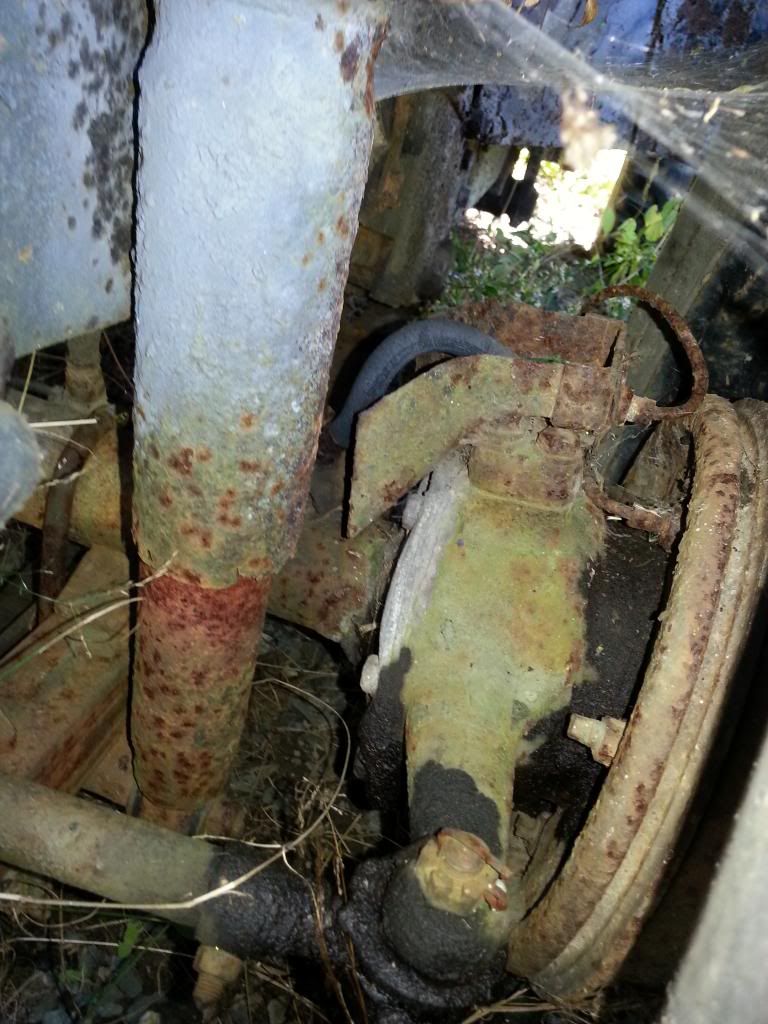 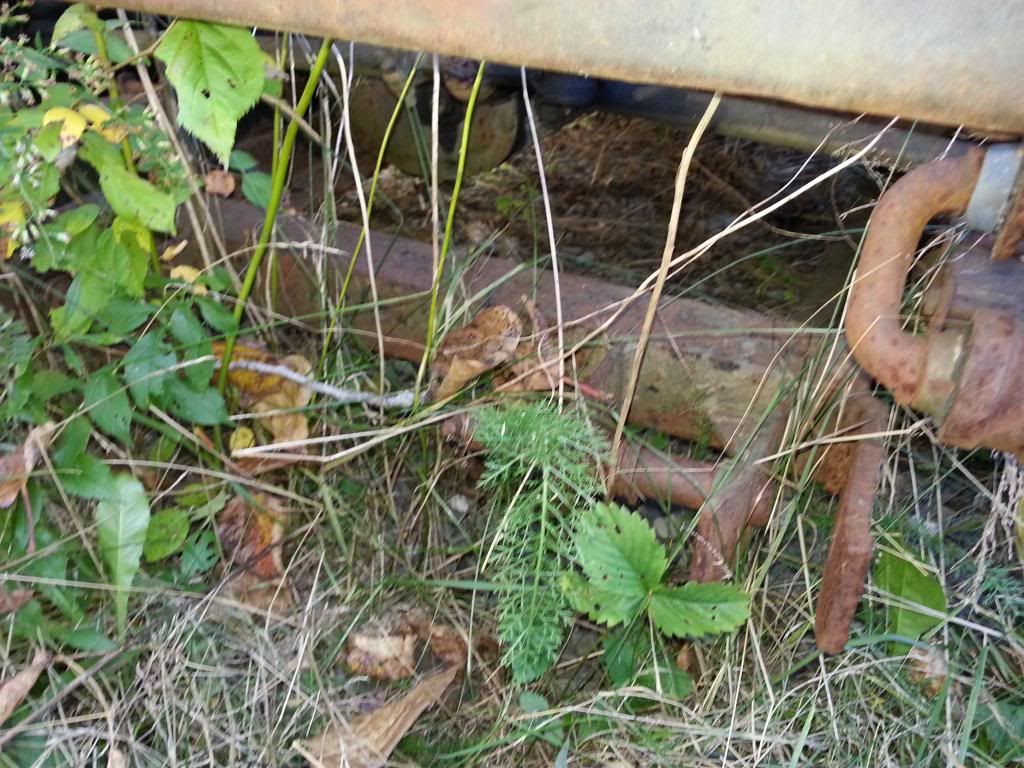 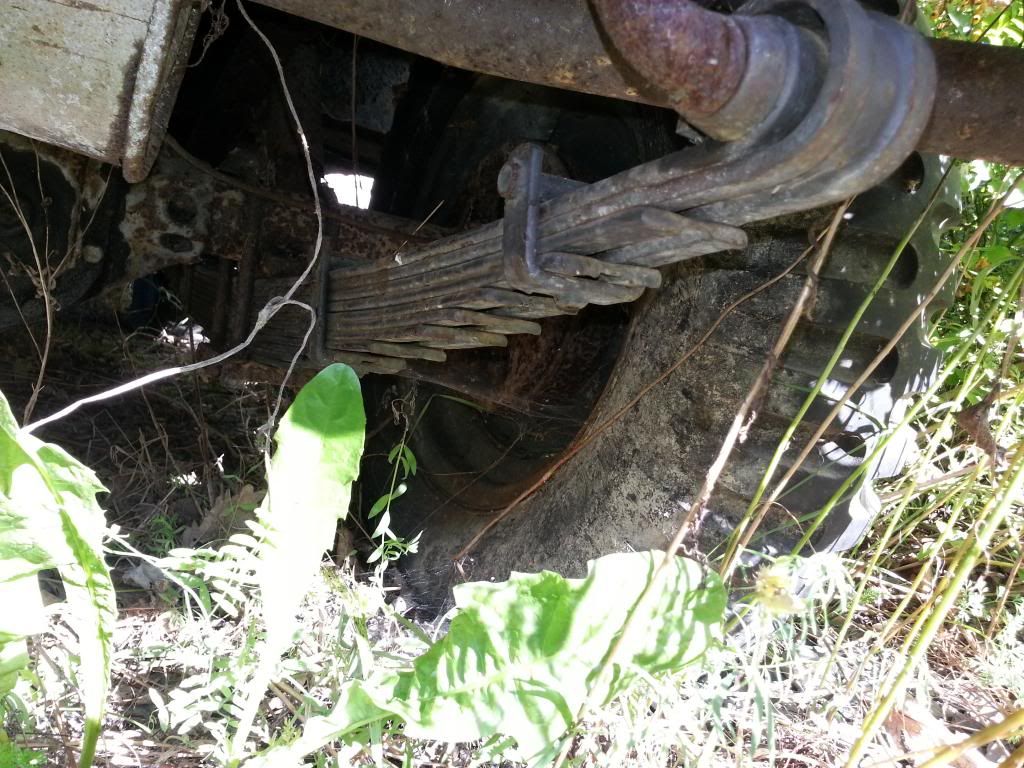 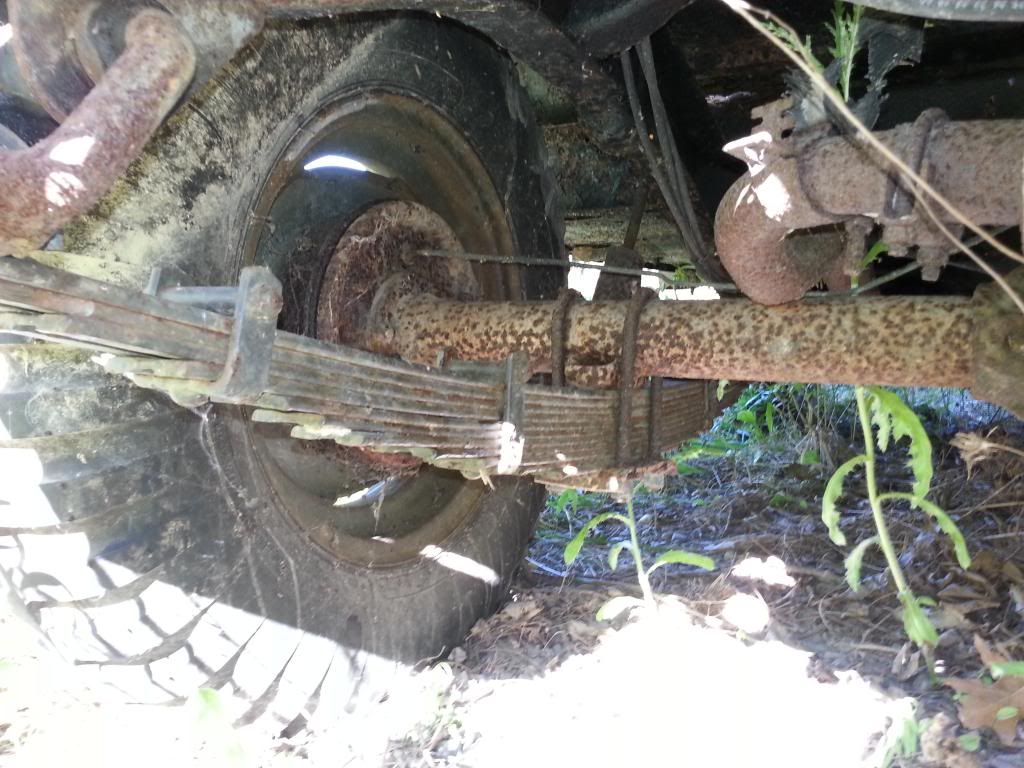 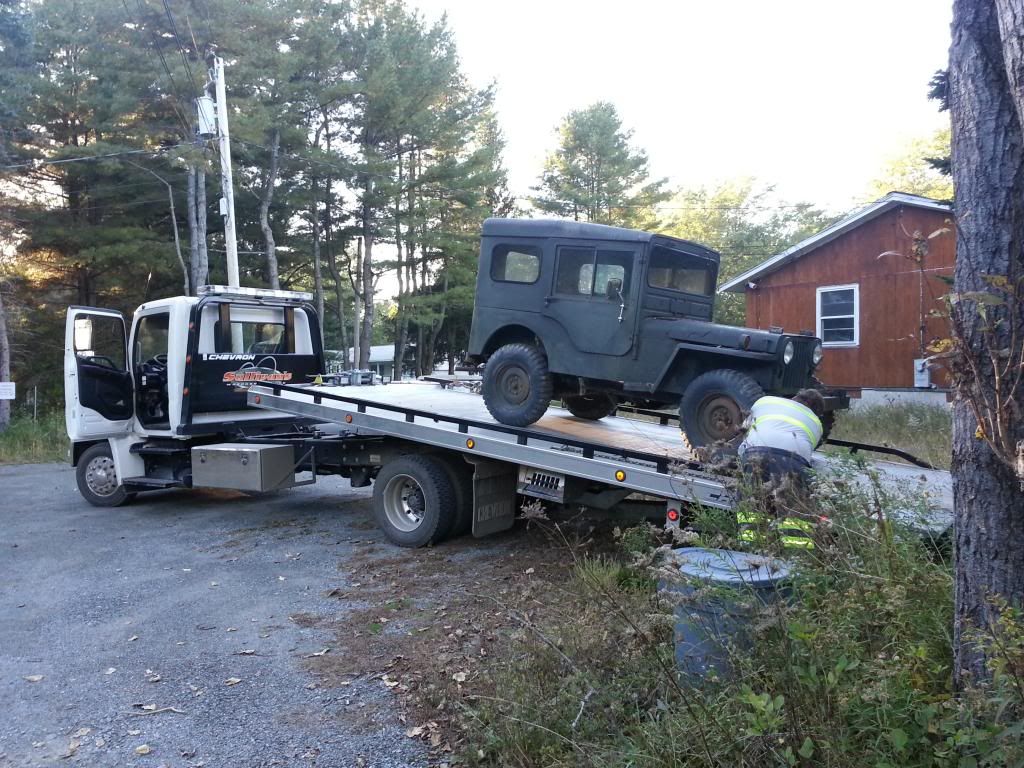 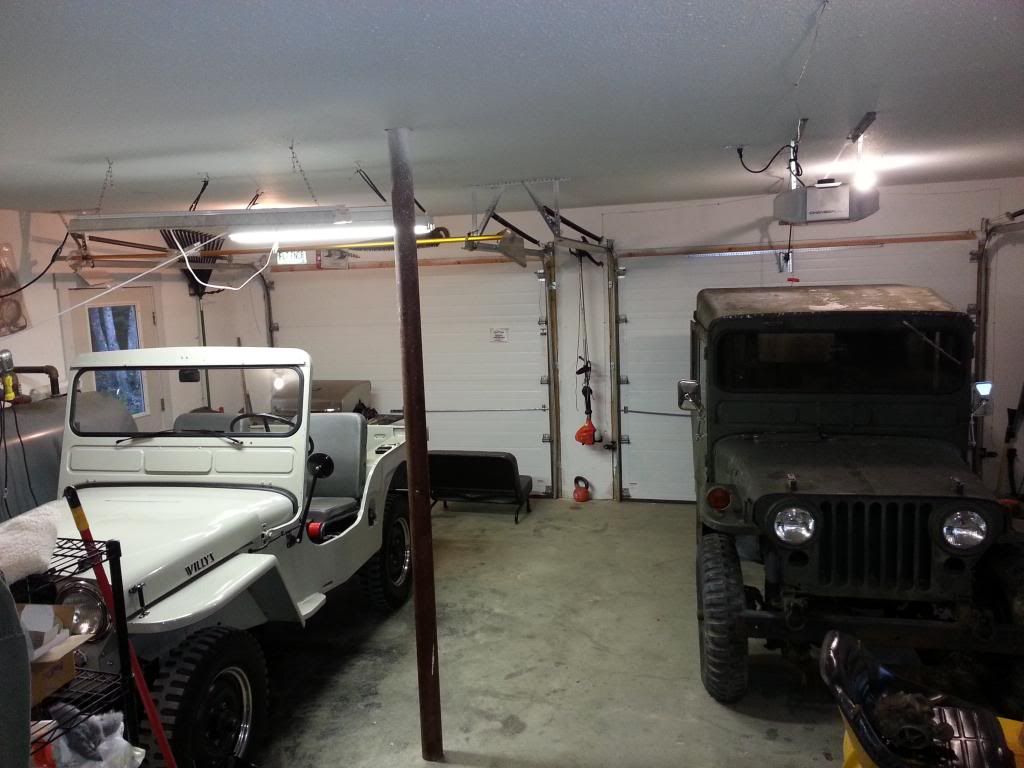
|
|
|
|
Post by Ryan_M on Jan 5, 2014 8:42:50 GMT -5
10/01/2013
I spent some time last night scraping layers of grime off Jeep. Now that I get a better look at it I realize the tub is much worse than I thought. There are numerous patch panels and lots of cracking bondo....and rust pretty much everywhere else. I think the wheel wells and tool box have been replaced at some point too....I think the guy even signed his work. Anyone ever hear of someone named "Bubba"? Although a little disheartening, I have no money into the Jeep (aside from the $20 I tipped the AAA guy for planting it right in my garage) so I'm still ahead.
The motor turns over strong but does not fire as there is no spark. I think the coil is bad and I picked up a replacement this morning (there goes another $19!). Once I get it running I will undoubtedly discover loads of other problems. If I do attempt to fix the tub - and it won't be anytime soon - I think it may be a good excuse to finally learn how to weld. I'd like to strip the whole thing down to the frame tonight and tear through it but from a financial standpoint I need to reign in my enthusiasm a bit on this project.
I'm still just psyched to have this thing and will be even happier if I can at least get it to a point where I can drive around the yard.
|
|
|
|
Post by Ryan_M on Jan 5, 2014 8:44:58 GMT -5
10/01/2013 Tonight I installed the new coil and replaced the points. The existing points looked fairly decent but I had another brand new set on the work bench so I threw them in. I took the top off the Solex and cleaned it up as best I could. I ran a new fuel line from the fuel pump to a plastic jerry can and ran fuel through the pump and into a water bottle to flush out what was sitting in there. After a little fiddling around I managed to get the old girl to start. Surprisingly, it quickly settled into a nice idle and sounds good when revved. Aftermarket oil pressure gauge reads nearly 60 psi. Temp gauge is broken so I'll need to do something about that. Of course, I had to attempt a test drive - in the dark with no lights except for instrument panel lighting so I could continually confirm that my temp gauge was still broken. I made it through reverse, first and second gear but did not attempt third. The brake pedal was stuck hard and when I mashed on it (in a half panic after almost shifting to third and then remembering I had no brakes and that the edge of the lake was fast approaching) it finally gave but never released. The brakes noticeably engaged and stayed there. I limped it back to the garage knowing that I'll need to attack the brakes before doing much else. Regardless, I am thrilled I got it running tonight. Here's a link to the first start video: www.youtube.com/watch?v=yJchrOEkiIQ&feature=youtu.be |
|
|
|
Post by Ryan_M on Jan 5, 2014 8:45:54 GMT -5
10/14/2013 Work continues - Almost every nut is rusted in place and a lot of them strip. As such an epic battle ensues in removing each one - makes for slow going. I am wire wheeling and rattling canning the underside in a relatively segmented and haphazard fashion. Certainly not the "correct" way to go about it but a short-term exercise in denial about how bad of shape the tub is really in - "ooh, new paint....pretty!" I would remove the tub and at least wire wheel and paint the frame if I wasn't afraid the tub would completely fall apart in the process. All new brake components arrived today so I have some shiny new metal to play with for a while. Gas tank is likely beyond salvation. Note the visible edge of the moisture absorbing sack which is now hard as a brick: 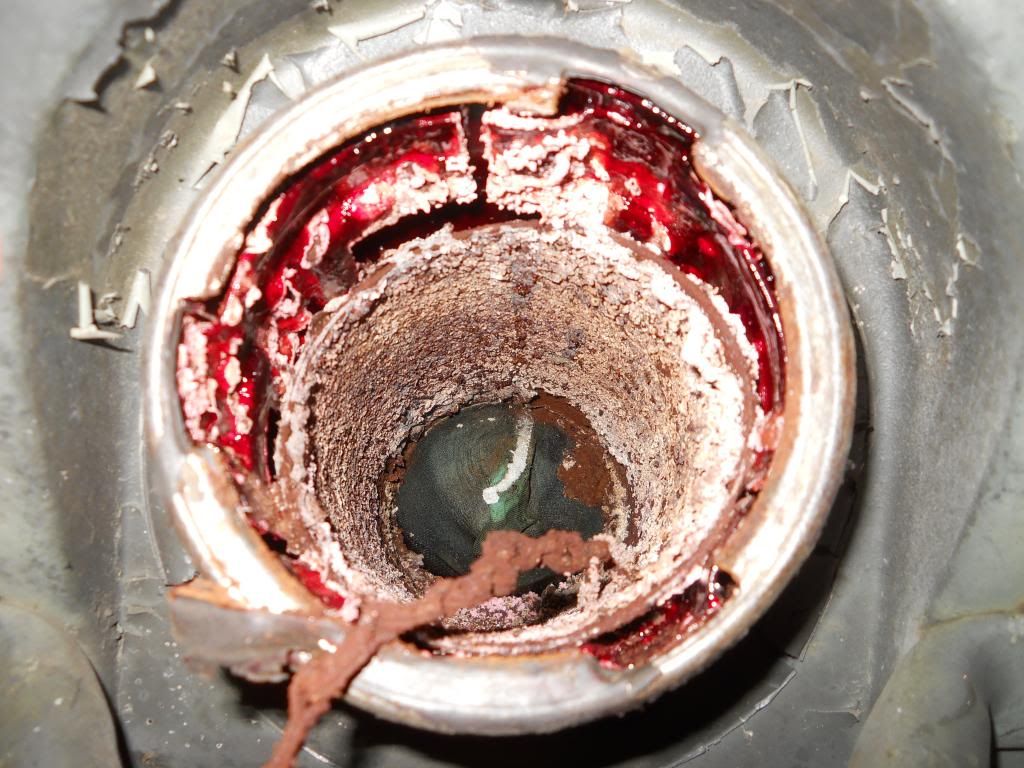 And a couple others:  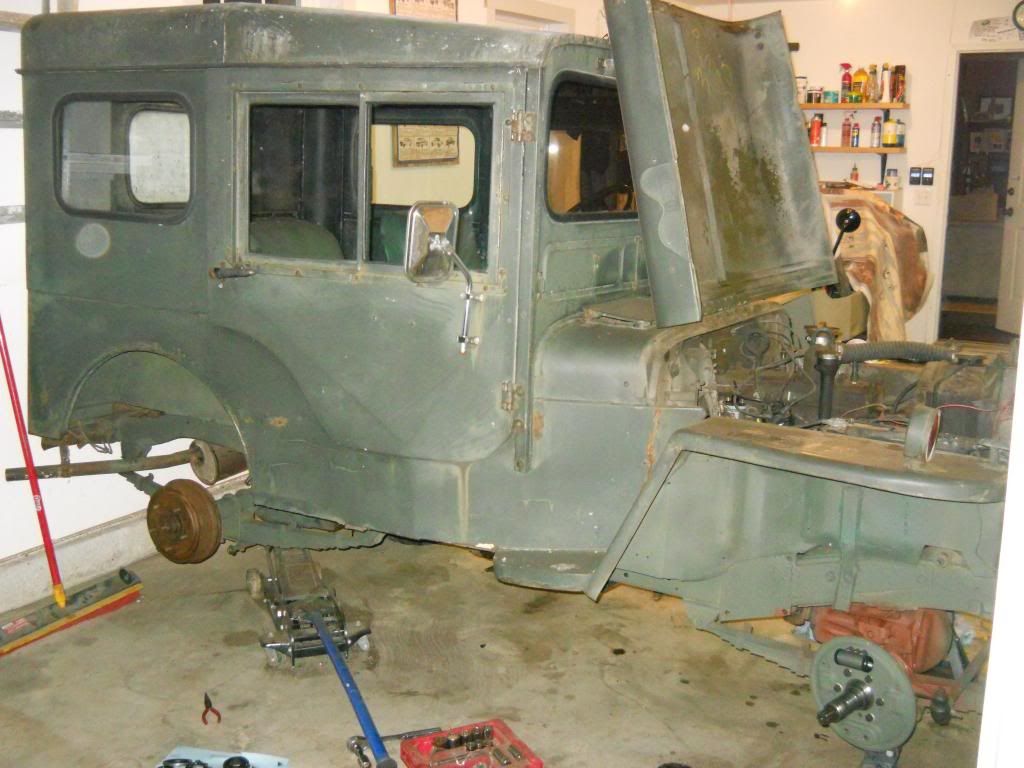 But most importantly, I have engineered a way to keep 2 Jeeps AND wifey's car all comfortably in the garage. This feat is critical to my own winter survival. The countless childhood hours of Nintendo Tetris have paid off.... 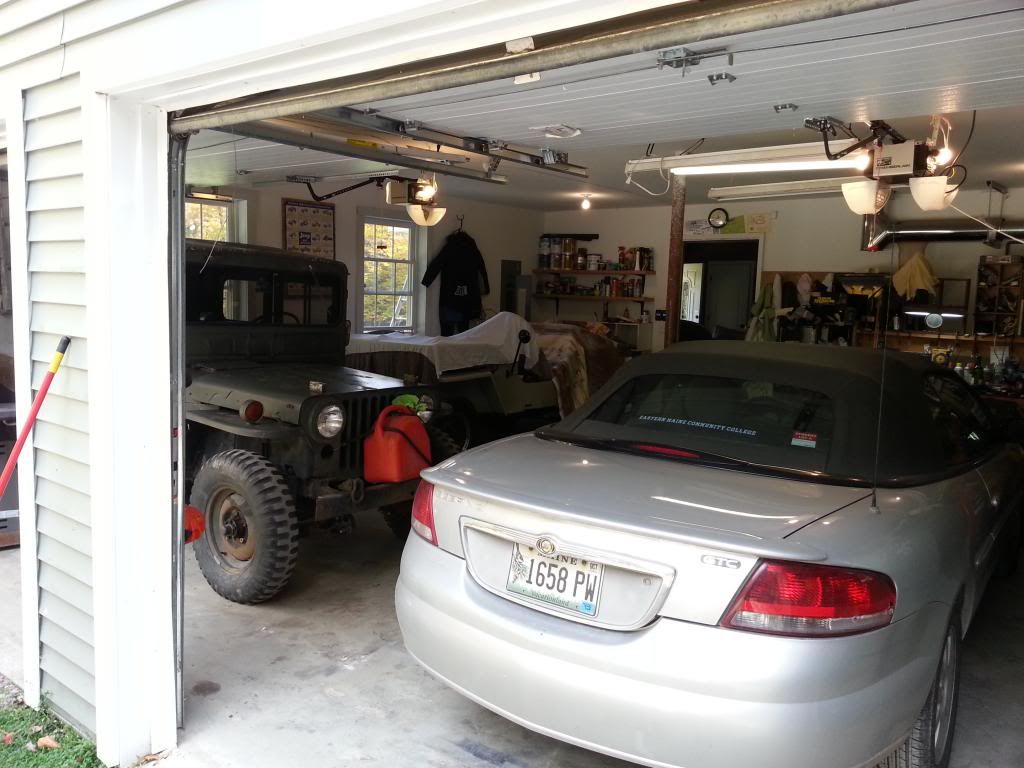 |
|
|
|
Post by Ryan_M on Jan 5, 2014 8:47:10 GMT -5
10/29/2013 All new brake components are now installed and working - everything from the MC, wheel cylinders, pads, eccentrics, brake lines, and pedal shaft. Pretty much everything except the drums and 3 out of 4 backing plates. The new found ability to stop means I can now DRIVE IT! I took the first few rips around the neighborhood Sunday and then some more tonight. It's registered and "legal" but I might have a tough time explaining the red gas can on the bumper. I have a used tank undergoing surgery right now that will hopefully be back to me and installed this weekend. It runs and drives surprisingly well but there are a few things that need immediate attention: [*]Steering wheel has much less slop than anticipated but I have already survived a death wobble to something is amiss. From the looks of the tie rod ends it's not surprising. [*]Temp gauge is still not working so I'm probably running at 240 degrees and completely oblivious
[*]I replaced three shocks but the remaining one was so rotted I broke the top mount and the shock has rusted and fused to the bottom mount. It is currently held in place with a piece of old wire
[*]Air cleaner is still non existent. Good thing bug season is over or they'd be funneling right into the ill-tuned Solex. I have a line on one posted for sale here. Hopefully it shows up.
[*]I found a small spring on the floor that I'm pretty certain puked out of the distributor. I'll see if I can find its proper place when I attempt to neaten up the timing.
So far I have still resisted the urge to pull the tub. I've been wire-wheeling chunks of rust away by the pound and replacing it with an equal amount of rattle can paint. I'm already a huge fan of the removable panel the M38's have for easy access to the tranny. Not sure why they never made 2A's and 3A's like that. I've already had it off a couple times and all that stuff you dread doing to a 3A for lack of access is now sitting right in plain view, begging you to rip it apart and rebuild it too. 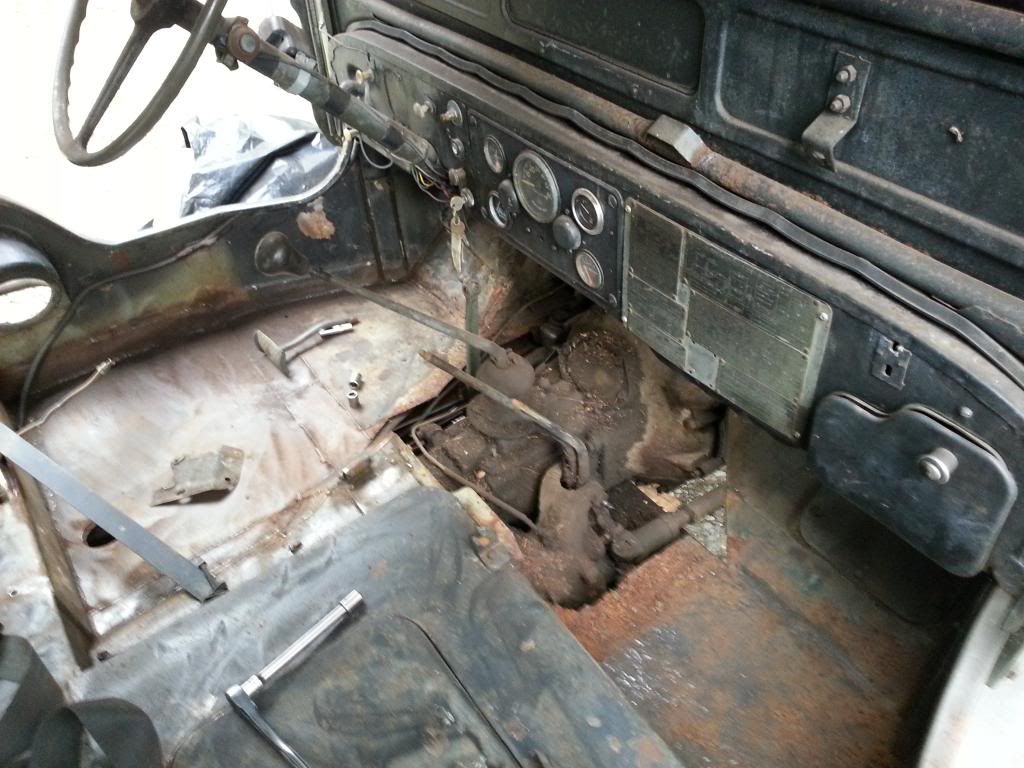  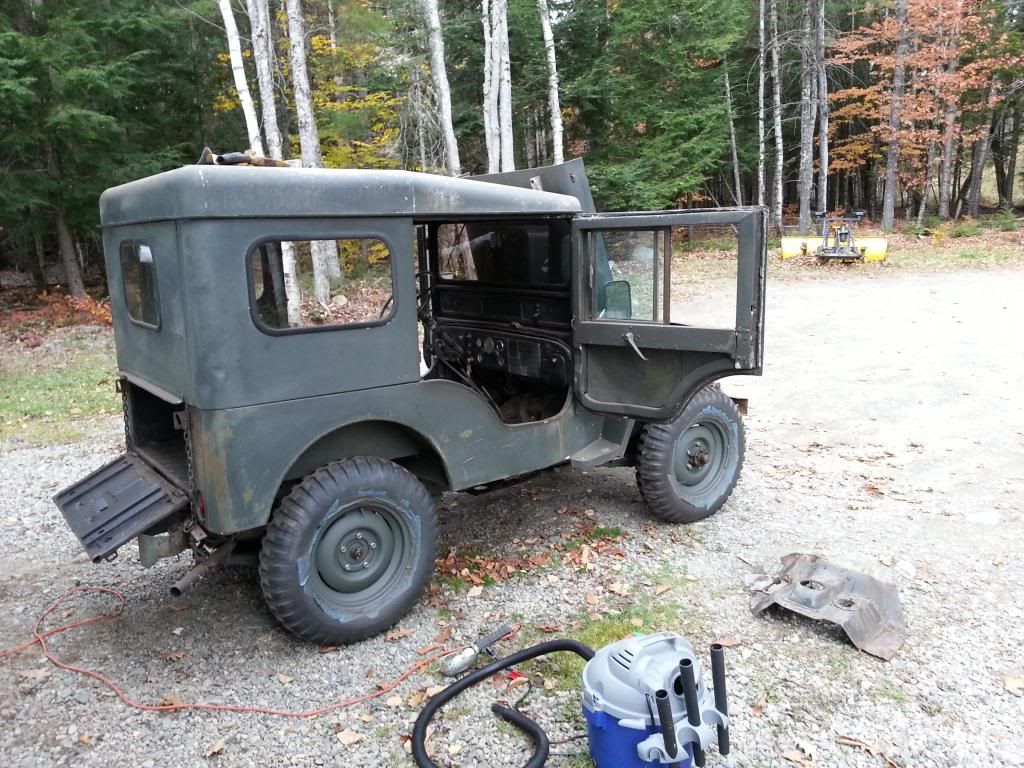 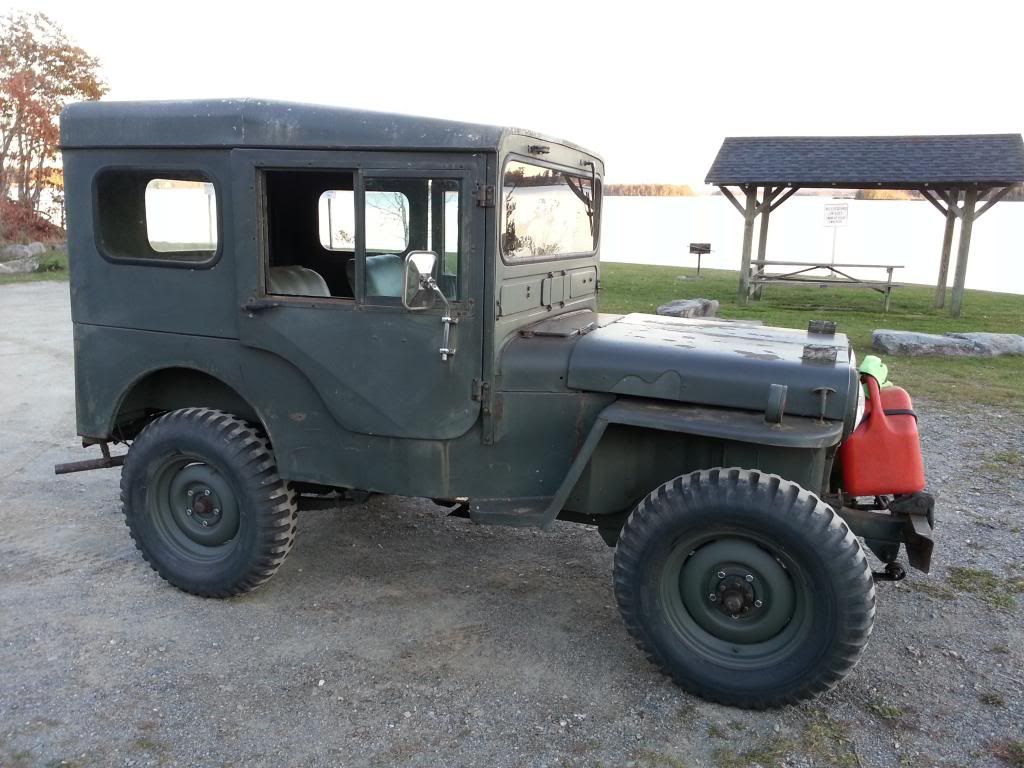  |
|
|
|
Post by Ryan_M on Jan 5, 2014 8:48:22 GMT -5
11/09/2013 While a lot of people tend to militarize their civilian jeeps, it seems I am headed in the other direction. So much of the original hardware is missing from this M38 - and while it's a shame not to replace it all, this thing is such a beater that I can't justify throwing the big bucks for original gear when it is possible the frame could break in half at any minute. The Solex carb has been discarded as it - even with a new fuel regulator - would do nothing but dump tremendous amounts of fuel into the intake manifold. Sooty plugs, horrible burning fuel smell, off it came. I ordered a rebuilt Carter 636 from scoutpilot. It hasn't even arrived yet but in seeing it in the test video he sent me I decided it looks too pretty for the M38 and will go on my 3A instead. Today, I transplanted the existing Carter from my 3A to the M38. I've done remarkably well not scavenging parts from the 3A, tempting as it is, but I have recently decided if I need a nice new part it should go to the 3A and the hand-me-downs will go to the M38. Now, with the purchase of one part it's like I upgrade 2(!) jeeps. That's like half-price parts, right??? I have also decided it's helpful having two jeeps with the same parts so I can swap them out to help troubleshoot specific problems before blindly buying new parts. I have determined the M38's distributor is in fact junk and I stole the one from my 3A. The 3A, in turn, will get a nice new one. Fuel tank has been cleaned, repaired, and treated with some sort of magical liner. All new fuel lines installed. Crusty air cleaner as purchased from Tom here on the 3A page has been installed and is working great. I didn't even bother to paint it as it looks better "as-is". Rotted muffler was cut off and replaced. It is currently mounted with wire coat hangers but I will improve that arrangement, maybe. New plugs, wires, dist cap, condenser, and it really runs good now. Temp gauge is working and reads right were it should. I changed the oil again with less than an hour of run time and it was as black as oil gets - pretty gross. I'm hoping the upgrade in carburetors and just flushing the oil a couple times will clean up the engine a little bit. Next up will have to be the steering. This rig is scary to drive as any hint of a bump sends it into the throes of a death wobble. 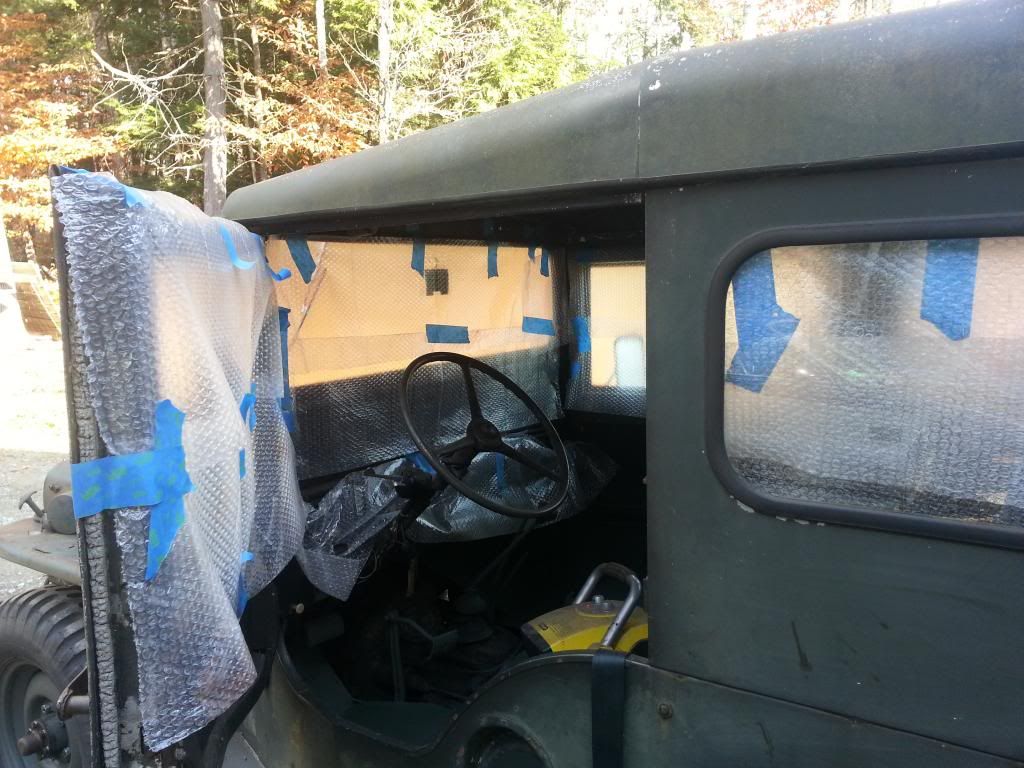 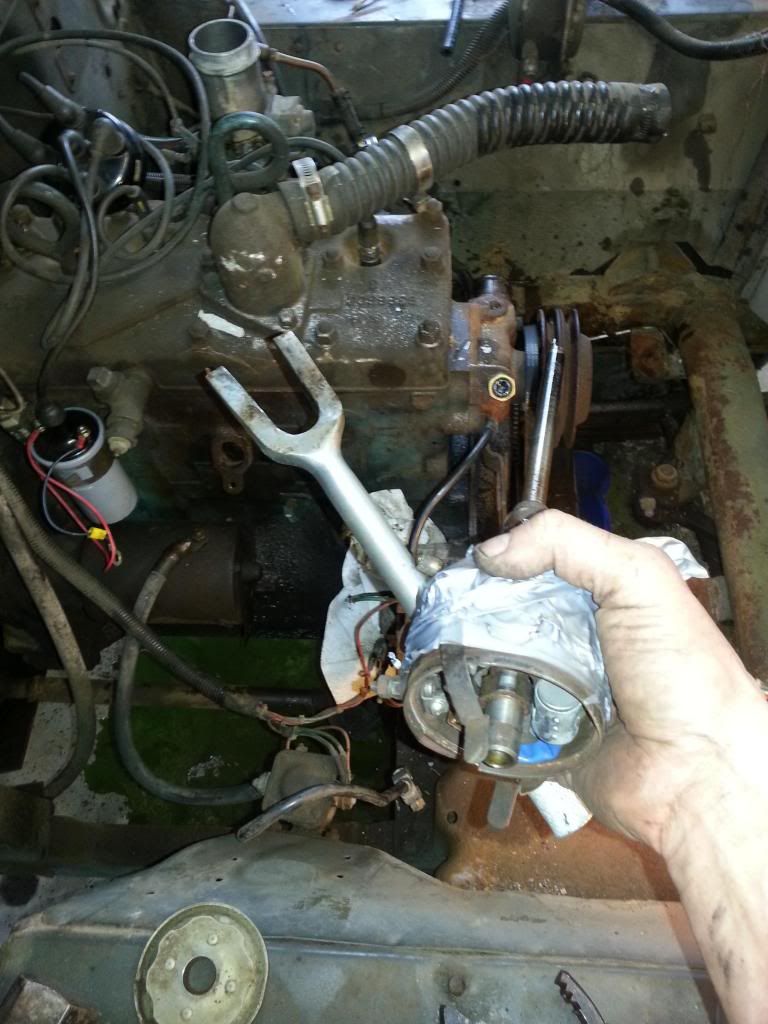 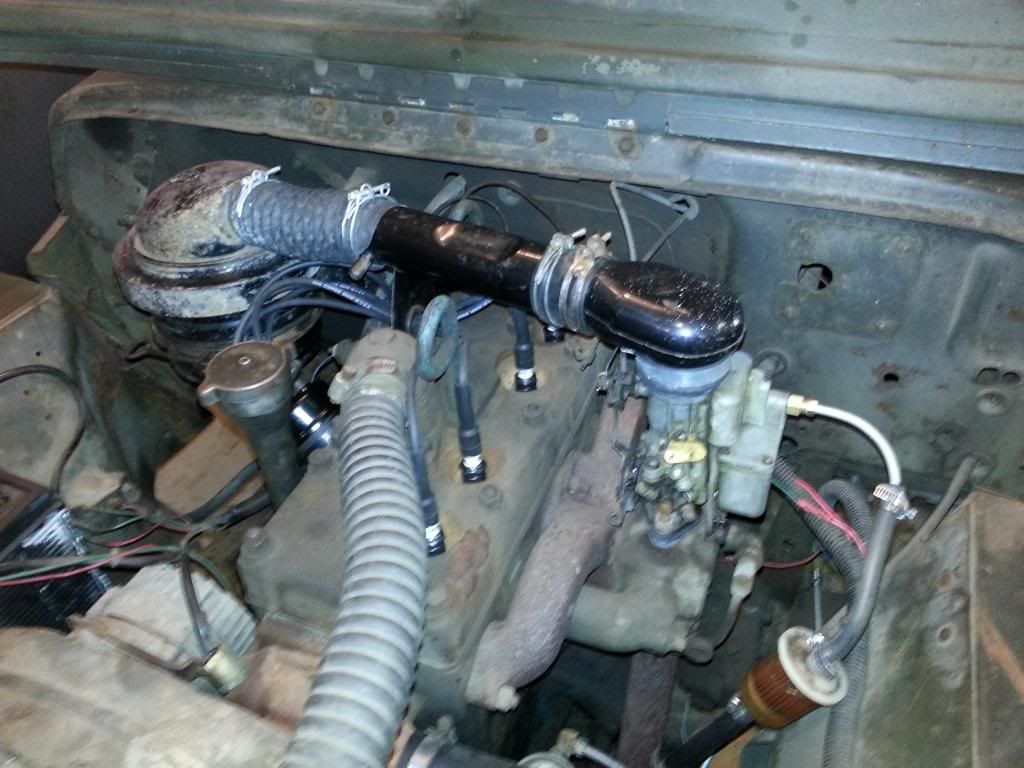  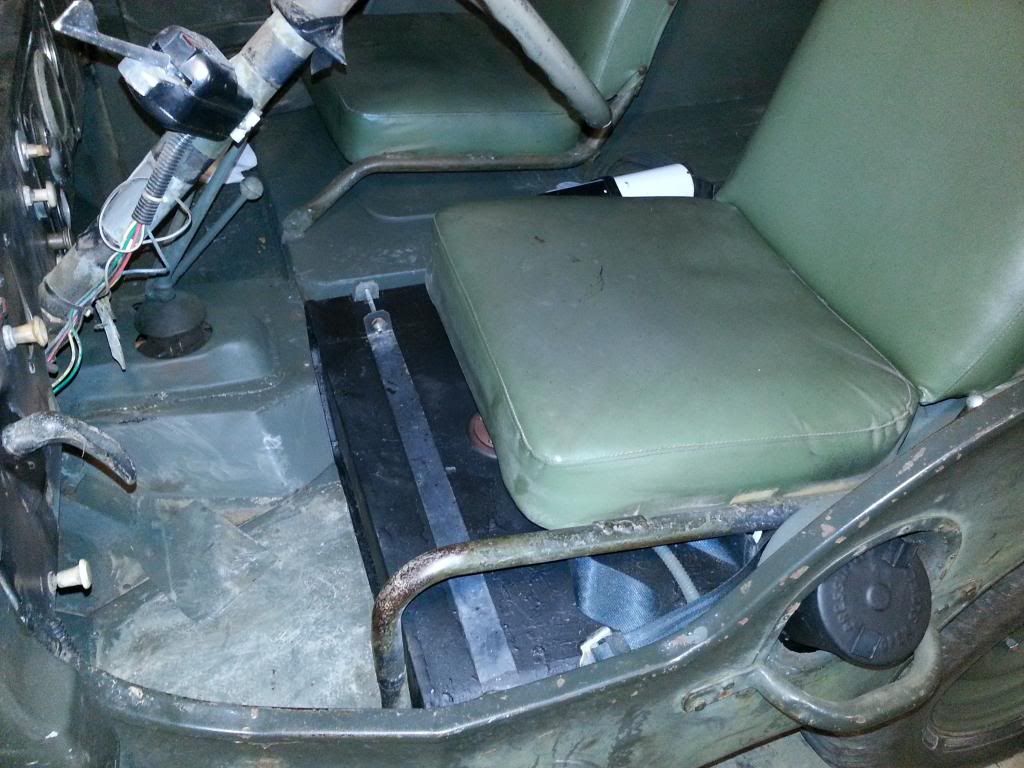 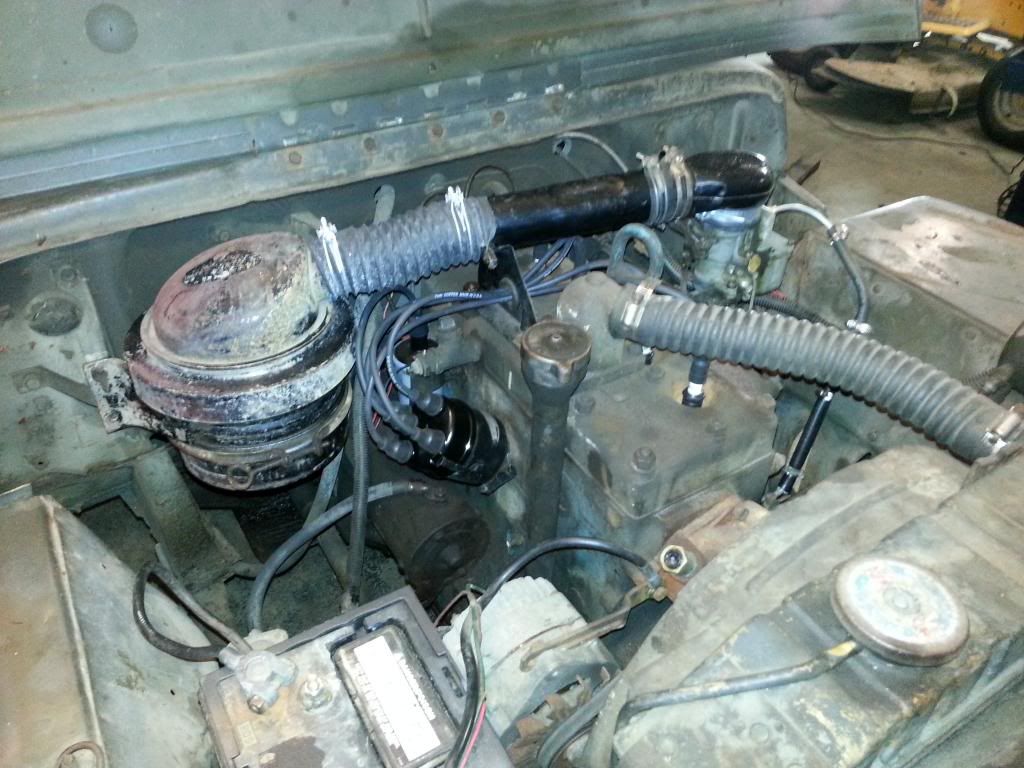 |
|
|
|
Post by Ryan_M on Jan 5, 2014 8:49:14 GMT -5
11/10/2013 Today I took the M38 out for its first real drive beyond the confines of the neighborhood and the first time without the red gas can strapped to the bumper. It is always a little nerve-wracking on these initial drives beyond easy walking distance to the house. I prefer to attempt such voyages only when the wife is home and available to come retreive me from the roadside should trouble arise. She had no idea she was on call but I made sure her phone ringer was on full volume and strategically placed right next to her still sleeping head before I left the house. My on-board tool kit consisted of a couple wrenches and a AAA card. Luckily I didn't use any of it. Steering is still a wreck but the "new" carb and distributor are just what the doctor ordered. The speedometer is pretty whacky but a handy-dandy speedometer phone app shows that I logged 28.7 miles with a top speed of 44mph. It ran great the whole time. I received a few "thumbs up" and I was photographed at least twice that I'm aware of. Doesn't seem to matter if you're driving a museum quality piece or a total wreck like this one, people just love these old jeeps. I was likely on the receivng end of a few other hand gestures too as I chuffed lazily along in Sunday shopping mall traffic but I really didn't care. Good thing the rearview mirror is long gone and the side mirrors bounce too much to make out that level of detail behind me. It's a damp 35 degrees here today but I was surprisingly comfortable in the cab, even without a heater. Enough engine heat radiates back towards the interior that with a jacket on I was able to drive with the window open. This Jeep was last registered in 2005 and I'm pretty sure had been sitting in the spot where I found since that year. So today would be the first time in around 8 years, possibly longer, that it has really been driven for any considerable distance. It's amazing how resilient these little vehicles really are. Nothing spectacular here but this is a video of part of the drive with a quick walk-around at the end: www.youtube.com/watch?v=MO6TTBGjFGo |
|
|
|
Post by Ryan_M on Jan 5, 2014 8:50:00 GMT -5
12/21/2013 The Willys Garage is in full swing this winter. The M38 has been the recipient of a near-complete steering upgrade. I pulled and inspected the front axles and all is good. King pin bearings and races have been replaced. Old tie rod ends, bell crank innards, and drag link components were unceremoniously gutted and new stuff installed. The only thing I haven't done is open up the steering box. I'm hoping the death wobble problems have been chased away by the rest of the new parts but since the roads are now heavily encrusted with salt I'll need to wait until spring for another good test drive. If I still have issues I'll go in after the steering box. Today, I pulled the TC, tranny, and bellhousing. The transmission jumps out of second gear so I know it needs help and I have some good NOS parts on the shelf for it. I'll inspect the TC and replace the seals but hopefully that's all that will need. I have a new clutch ready to go in too - might as well since I'm now staring right at it. The transmission crossmember was so rusted I needed to cut it off the frame with my angle grinder - what a mess. I'm definitely questioning my decision to pick away at these repairs vs. a full frame-off rebuild. If the frame-off hadn't been shot down by the Budget Committee it would be a no-brainer. Since I'm heavy on time and light on money, this method will have to suffice for now. It is a little discouraging putting this much work into a vehicle with a highly questionable frame and completely crumbling body. A rotbox with a rebuilt transmission and new brakes is still a rotbox. Here's some pics of today's adventures: Motor supported by blocks, transmission precariously balanced on the wrong kind of jack. I was unable to remove the skidplate which didn't make bottom access any easier. 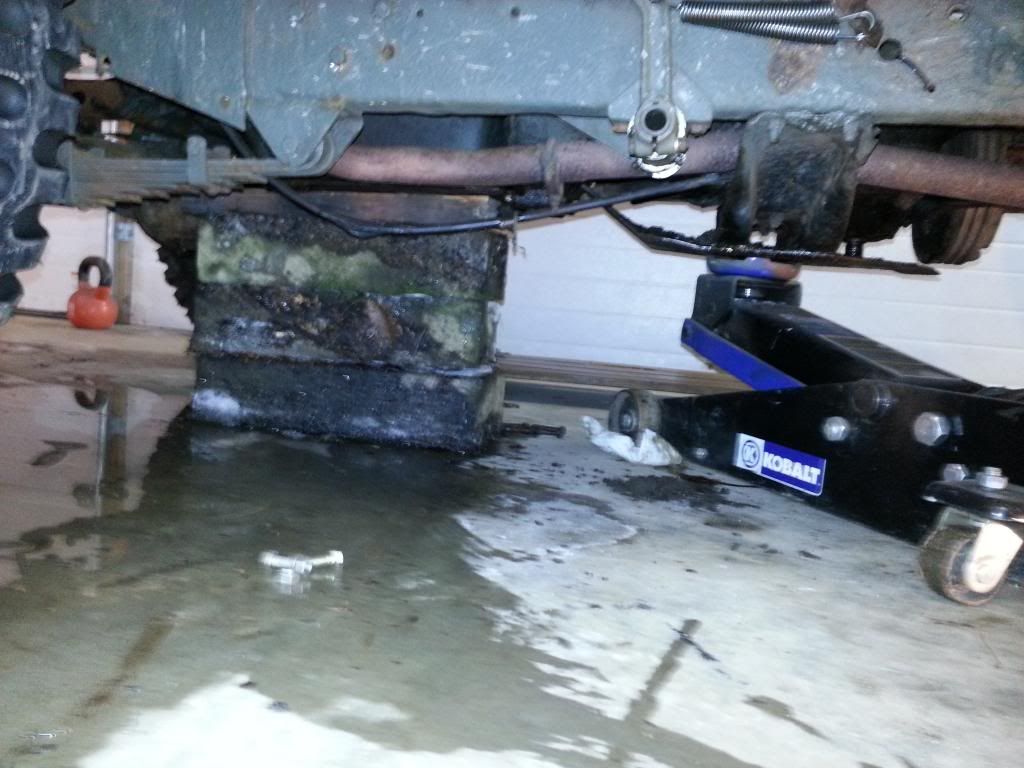 Thank you again to whoever designed and implemented the M38 removable floor!! 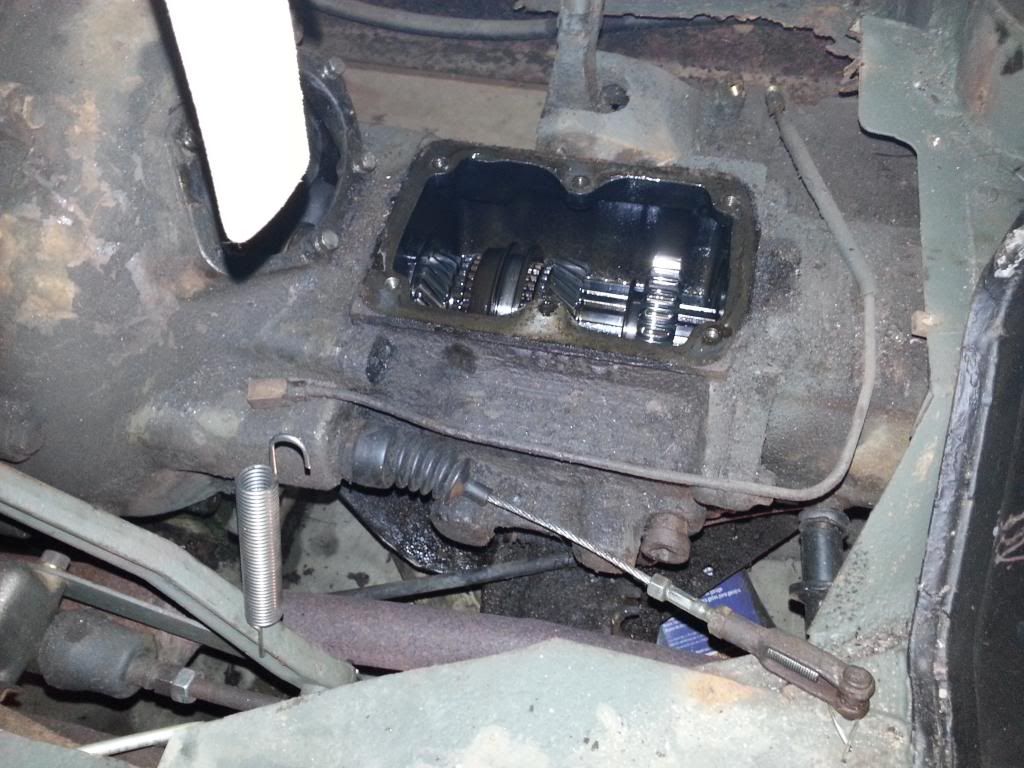 Hello Mr. Clutch 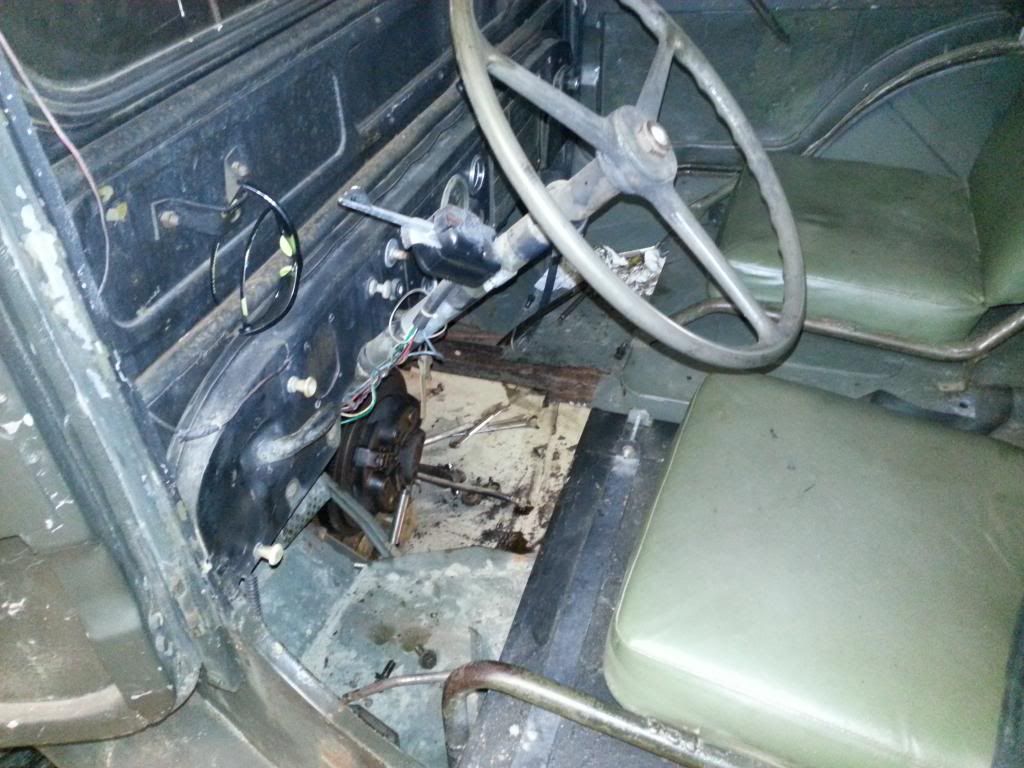  The spoils of war-  I quickly wired brushed the heavy crud off. OD paint on everything which is a slightly encouraging indication that all these components may be the original ones....or they could be replacements from a Bubba overhaul years ago. Not sure if there is any real way to tell. At any rate, I've got enough mini-projects now to last for quite awhile. |
|
|
|
Post by Ryan_M on Jan 5, 2014 8:51:32 GMT -5
12/24/2013 A little bit of progress to report today. I found a shop to resurface the flywheel "while you wait and hang-out and watch" which is always a bonus.  New clutch installed, bolts torqued to the tender 12-14lbs. 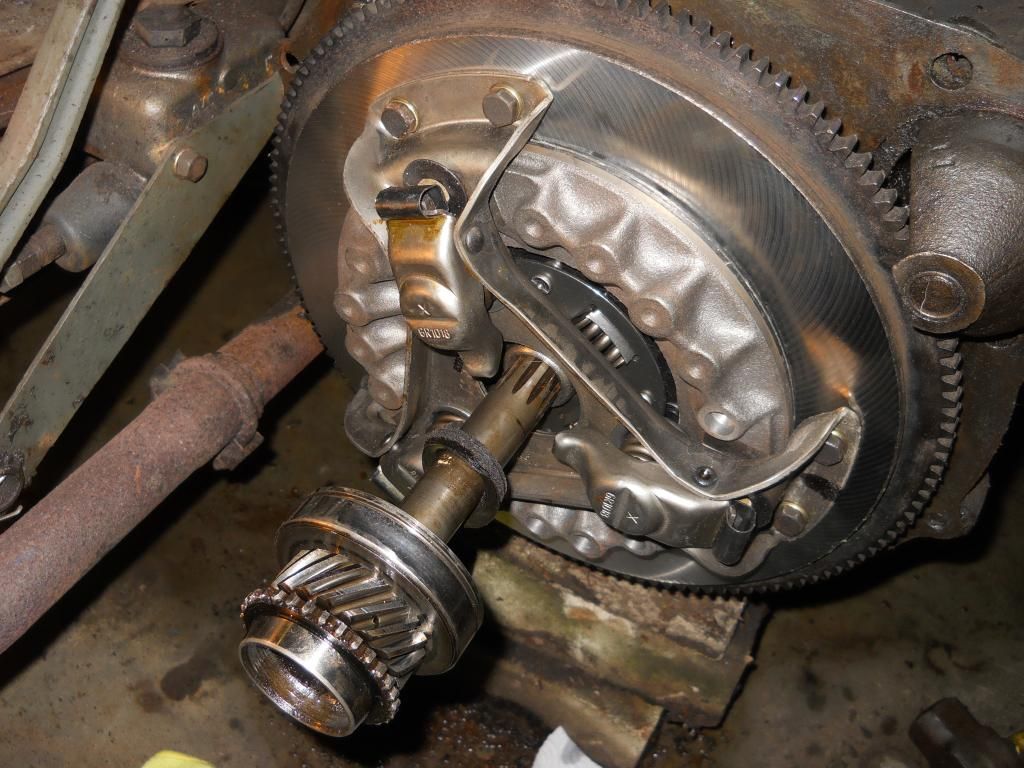 Transmission now looks like this. Gotta step back before you move forward....  |
|
|
|
Post by Ryan_M on Jan 5, 2014 8:52:10 GMT -5
12/25/2013 Today's adventure - endlessly wire wheeling and cleaning greasy parts. Transmission housing dated 3-27-52. 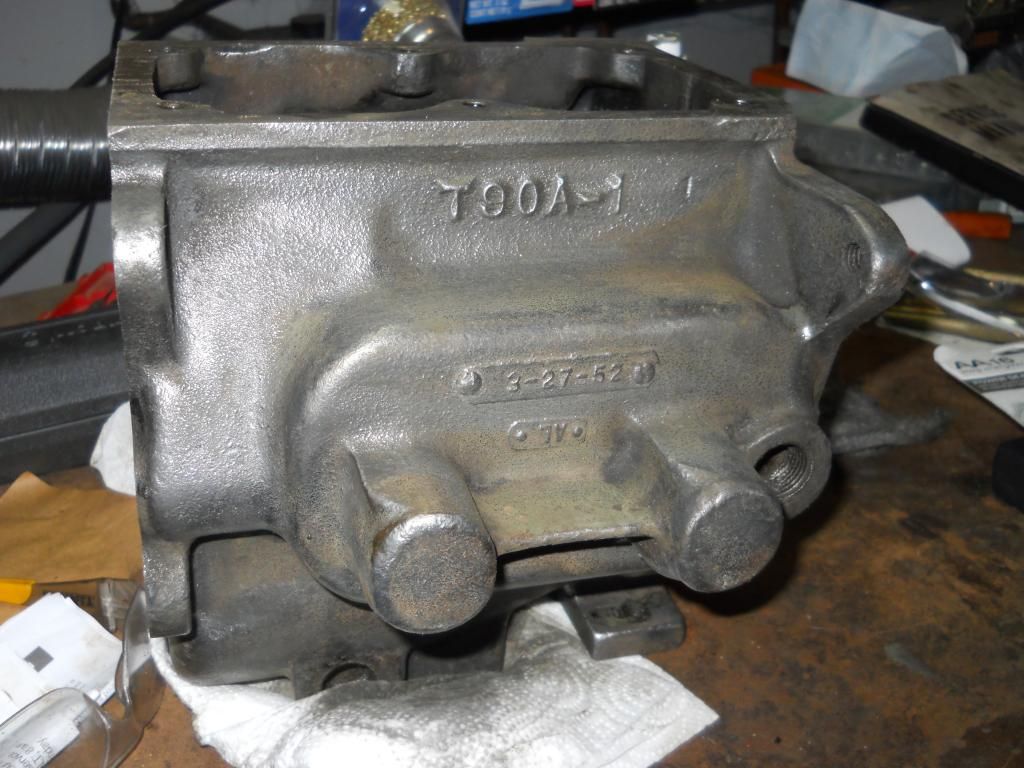 Here's how the rest of the tranny looks now. Most of the big expensive parts can be re-used which is great. The pile in the upper right on the concrete will be replaced. I like organizing the nuts and bolts on empty boxes with diagrams. No matter how simple an arrangement I never seem to remember how they go if I don't do this...and even then I still sometimes screw it up... 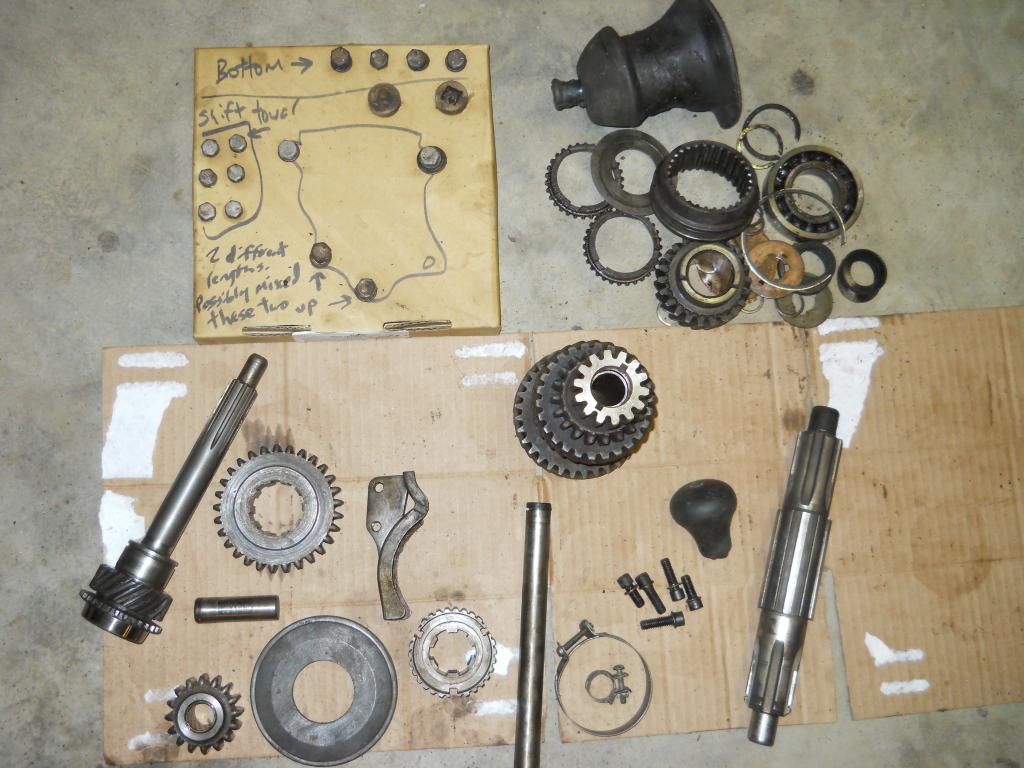 Shift Tower almost ready for primer and paint. 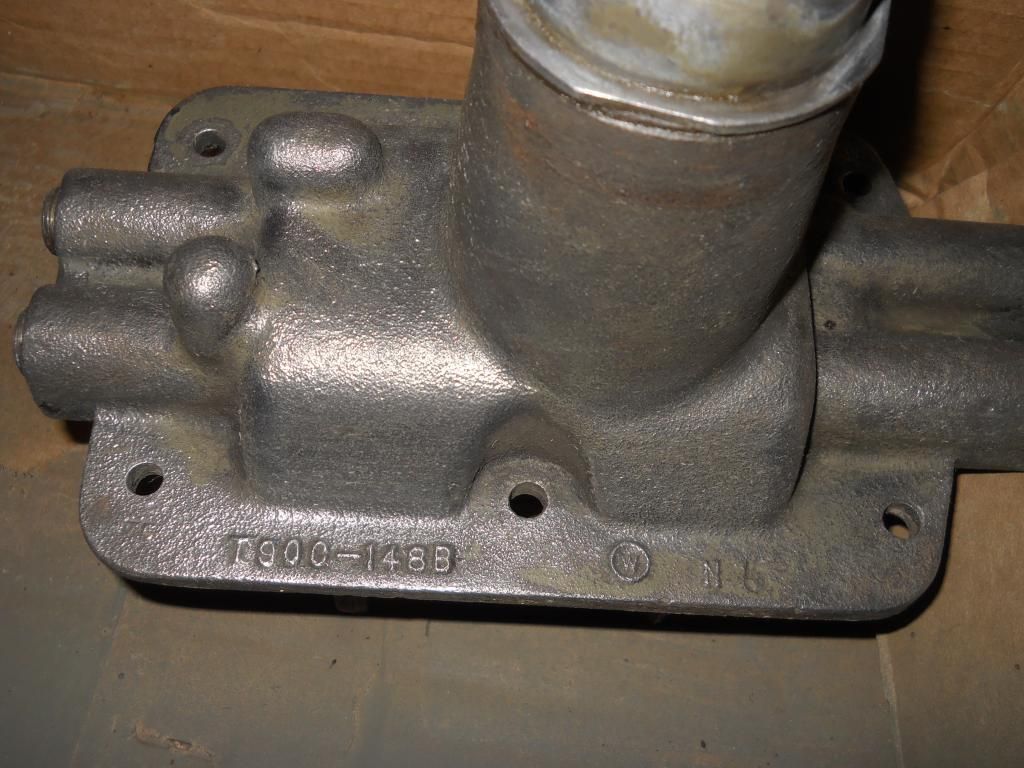 Nice to do something that doesn't involve grease for awhile: 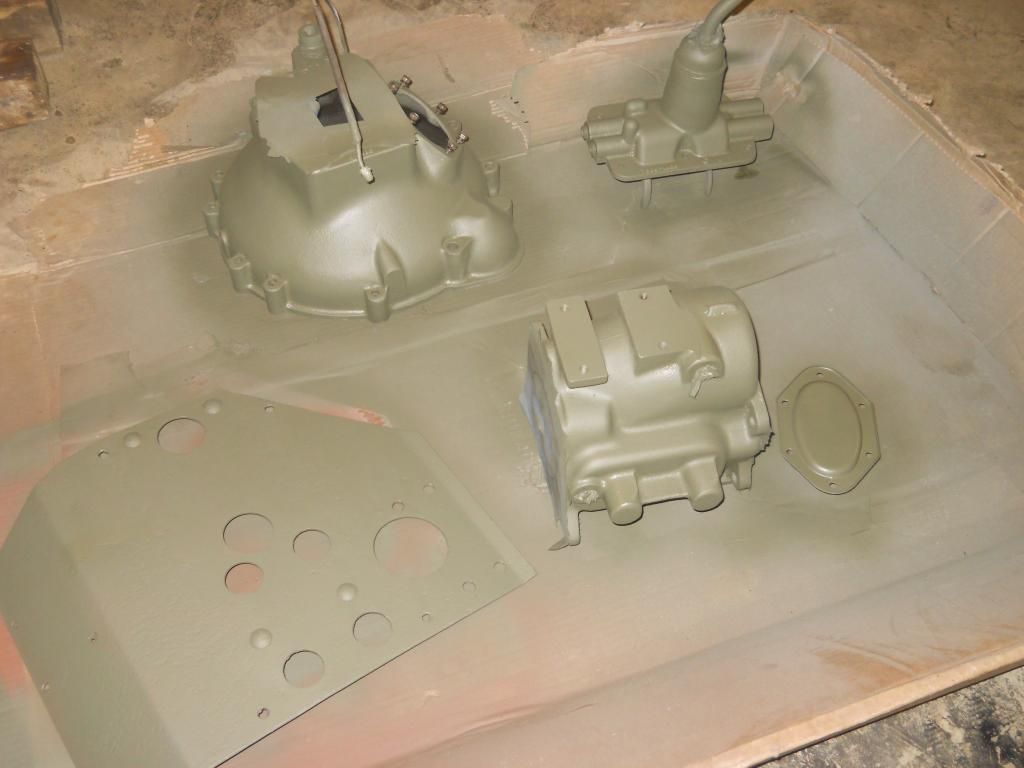 Round 1 of exterior TC clean-up. This'll be opened up and inspected later  |
|
|
|
Post by Ryan_M on Jan 5, 2014 8:52:56 GMT -5
12/29/2013 Today started with a little home cooking. Frozen Main Drive Gear quickly topped with boiling hot Input Shaft Bearing all glazed with a generous coating of "Assemblee Goo". Jeep Parts, it's what's for dinner.....er, breakfast 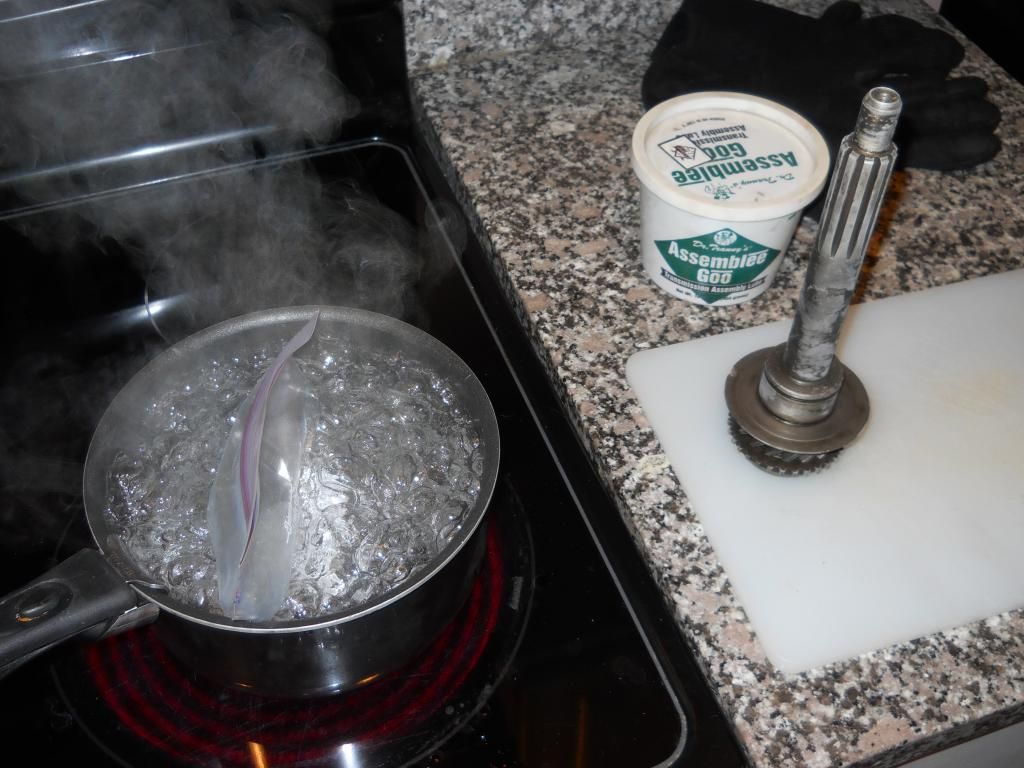 Cluster gear needle bearings in their new home. By the time you are done with this step you can count 22 needle bearings out of a random pile by eye, Rain Man style.  Countershaft going in, Rick Stiver's rebuild guide "Tool A" coming out 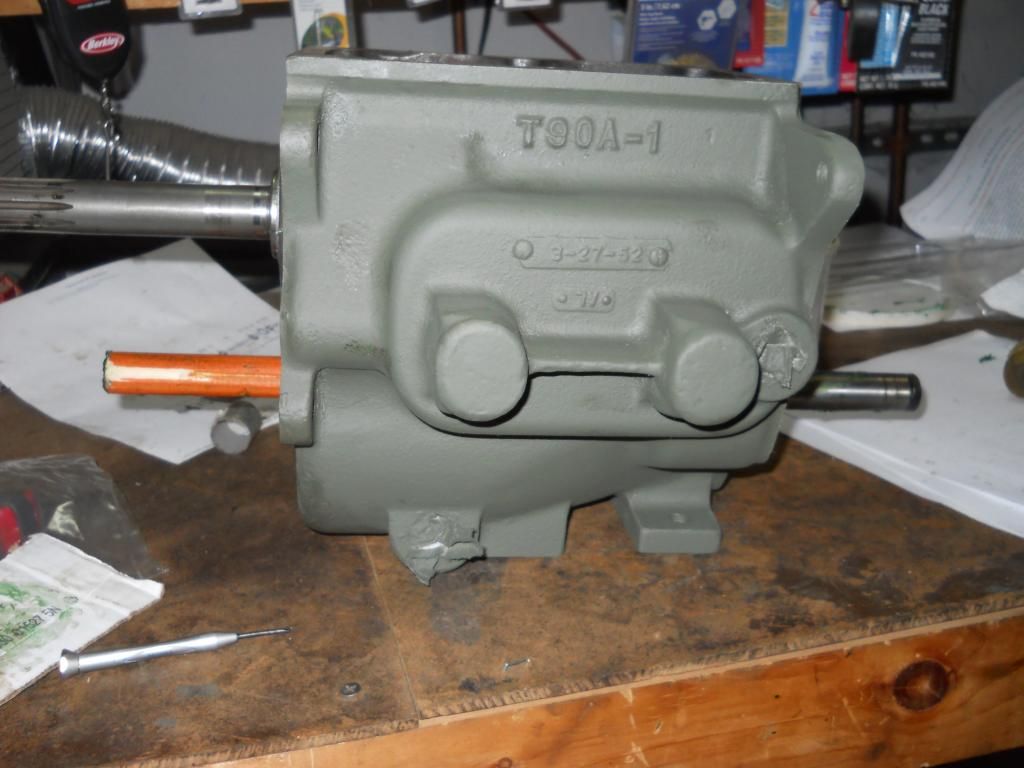 Cluster gear and main gear installed. 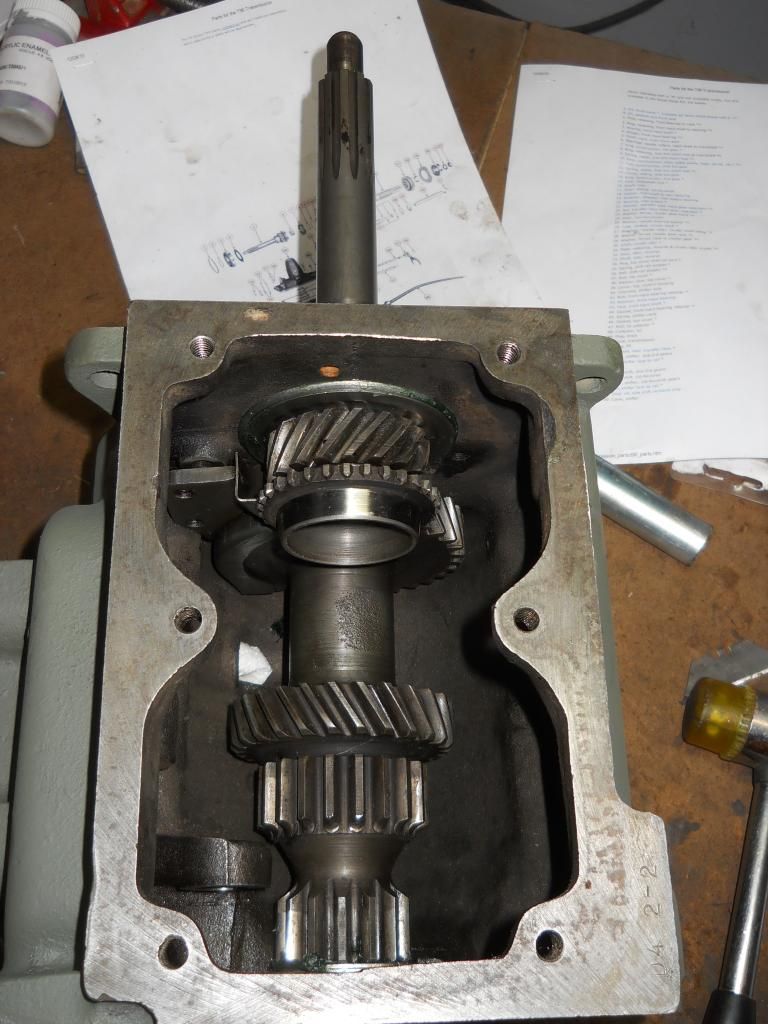 That's all I can do for now. I'm at a standstill awaiting an NOS second gear to appear in the mailbox. I decided the original one was toast and not worth re-using. I'm hoping to see it in the next day or two and then get this transmission buttoned back up. A greasy transfer case anxiously awaits me. |
|
|
|
Post by Ryan_M on Jan 5, 2014 8:53:55 GMT -5
01/01/2014 As previously mentioned the tranny rebuild is on hold awaiting a new 2nd gear to arrive. I was inspecting all the parts again yesterday and realized the reverse idler shaft is pretty well roasted. Not sure how I missed that the first time around but one of those now has to be ordered. It's moments like these I really wish Walck's had a franchise here in town. So, in spite of really not being exited about having both the transmission and transfer case ripped apart simultaneously, what's a guy to do? Might as well work up a list of required TC parts so I can at least qualify for free shipping. Only one way to do that.... The obligatory disgusting e-brake pic:  Anyone else's projects always look like the disassembly was achieved with the sole use of C-4 or is it just me? What a mess.  Cleaned up a little bit and at least organized into a manageable pile 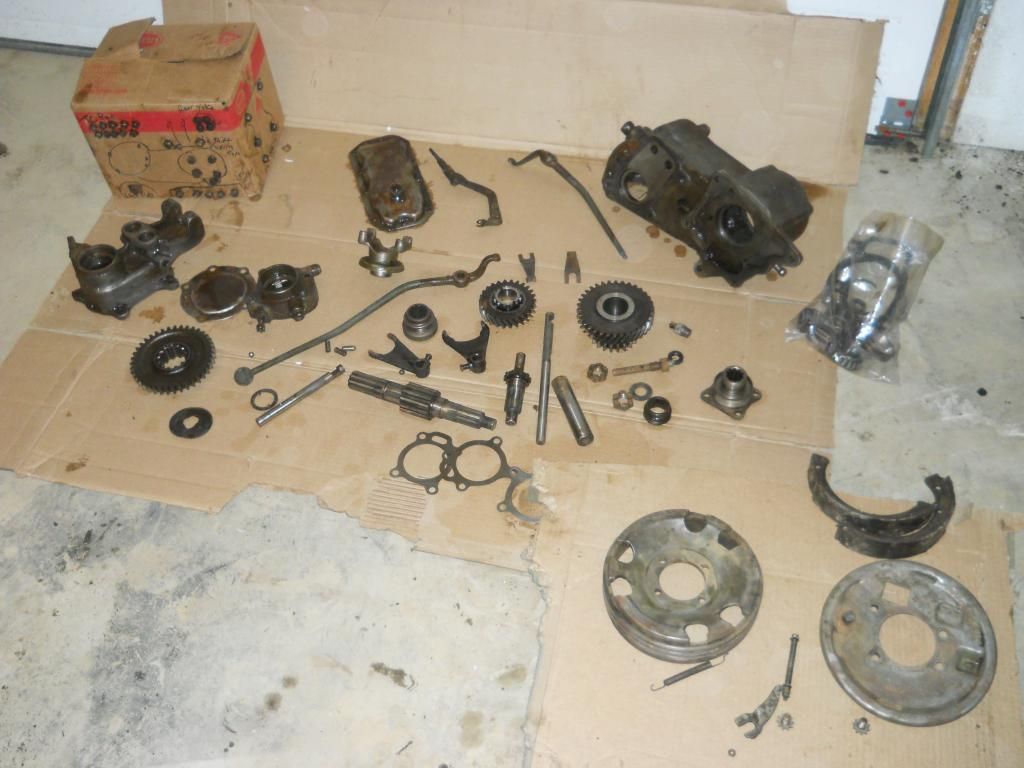 I can spend the weekend cleaning and painting so I'll be ready to go (I hope) by the time the new parts arrive. |
|
|
|
'52 M38
Jan 5, 2014 12:12:45 GMT -5
via mobile
Post by Haines Garage on Jan 5, 2014 12:12:45 GMT -5
Ryan!
Glad to see you. Awesome Project!
PM me your address. I have something I want to donate to your Transmission Rebuild.
|
|
Deleted
Deleted Member
Posts: 0
|
'52 M38
Jan 5, 2014 13:22:54 GMT -5
Post by Deleted on Jan 5, 2014 13:22:54 GMT -5
Great job. You aren't scared to get with it. You are wise to get the transmission right while there. Going back in is a pain. Your engine is out of a what? Smooth head, did you find any serial numbers? What's good about your Jeep is that you will drive the heck out of it. That's where the fun is. Did you check out the bellcrank on your steering? That's usually where a ton of looseness is. Enjoying your story, Thanks, John
|
|
|
|
'52 M38
Jan 5, 2014 14:37:22 GMT -5
Post by Ryan_M on Jan 5, 2014 14:37:22 GMT -5
John - Not sure what the history on the smooth head is. Obviously it's not original and somehow came from a much older Jeep. The rest of the engine appears to be original, or at least out of another M38. The serial number above the water pump is "MC84560". And yes, the bellcrank was a mess and a saga in its own right as posted here: hainesgarage.proboards.com/thread/304/bellcrank-woes |
|
|
|
'52 M38
Jan 10, 2014 22:53:41 GMT -5
Post by Ryan_M on Jan 10, 2014 22:53:41 GMT -5
New reverse idler shaft and 2nd gear arrived so that means it's back to work on the T-90. After the initial transmission disassembly it was tough for me to determine what parts were good and what was junk. It's not always obvious if you don't have new stuff to compare too, and even then it can be a challenge. Here's the new second gear on the left and the old one on the right. The wear is most apparent on the two notches on the front face of the gear and the teeth of the blocking rings. 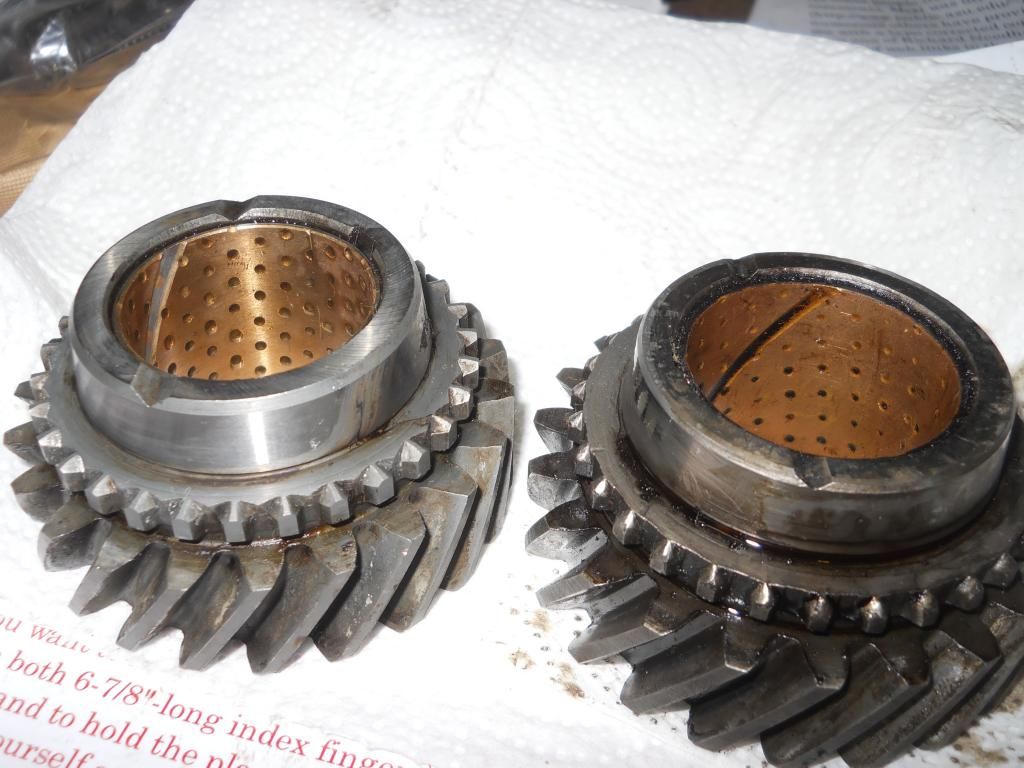 The old one was really chewed up:  New one has nice crisp front edges: 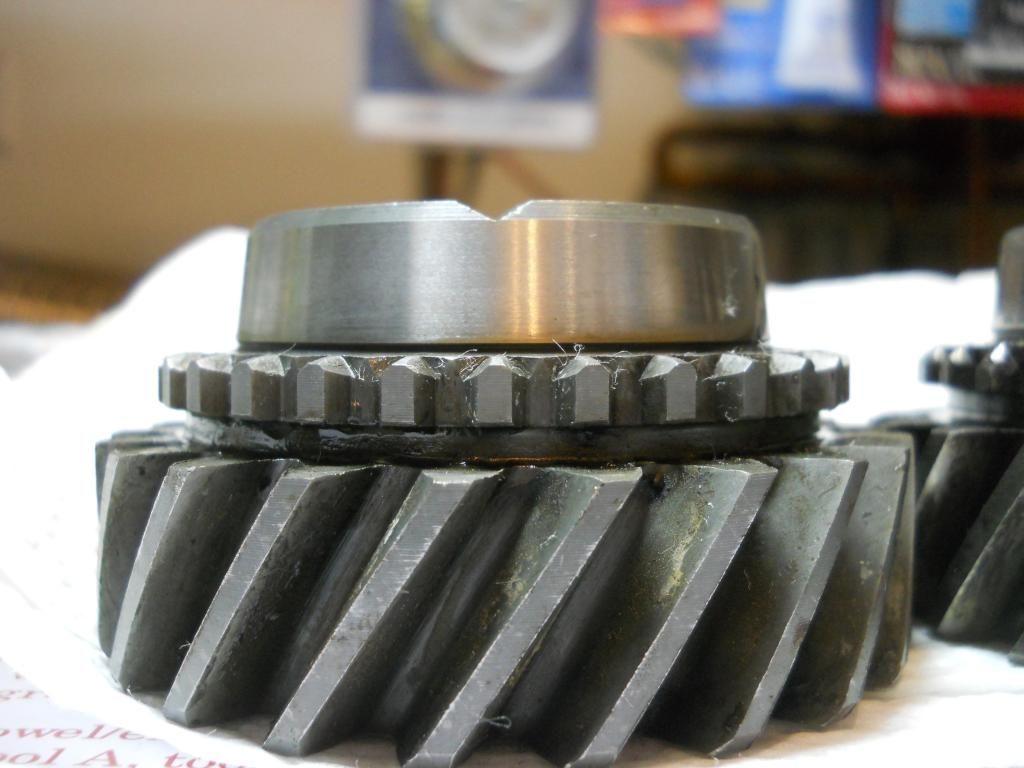 NOS synchros, clutch sleeve and clutch hub that I have been saving (thanks for the ebay tip when these were for sale last year Carlsjeep)  And it all looks better inside the case. 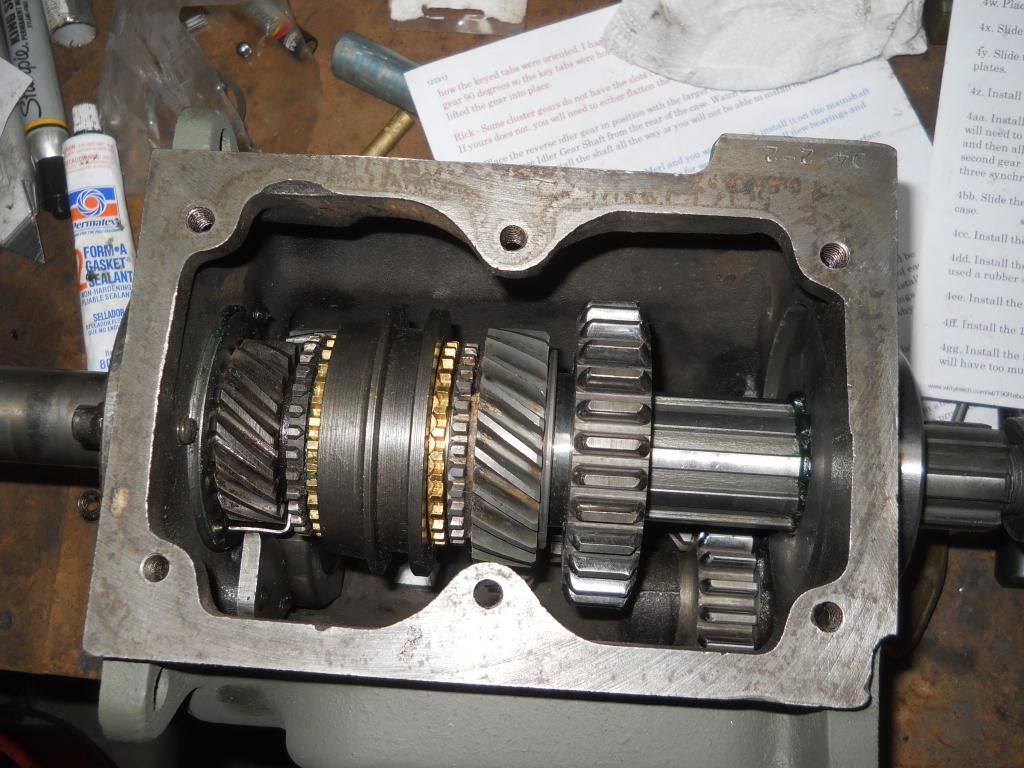 Shift tower on the operating table. The M38 towers are a little different than the 3A towers. Note the threads for the screw-on cap. 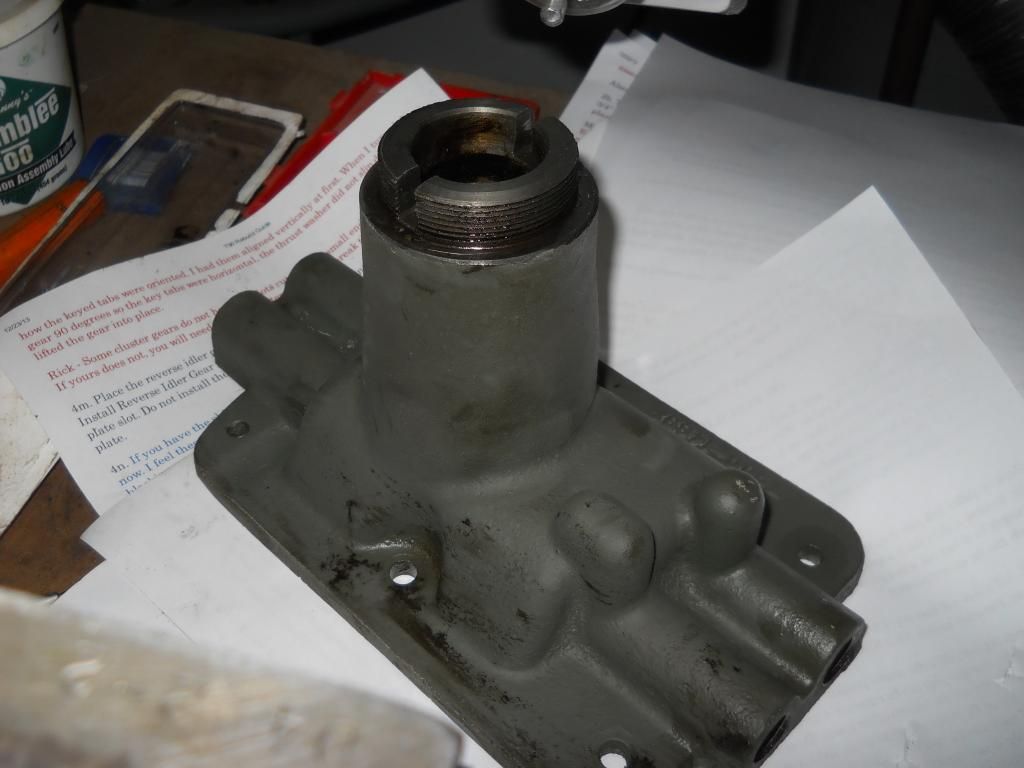  And somehow, it all ended up back together. It'll be even more shocking if it actually retains gear oil and works properly. I have left the shift tower unsealed and only finger tight for now. I'll button it up for good after it's back in the Jeep. I also was the recent recipient of some Haines Garage Brand gasketry, which will find their way on to this hulk of steel when the time comes.  Next up, transfer case! Case is painted, innards are mostly clean, and bag of new bearings, seals, and small parts is waiting patiently on a garage shelf. I hope to start that reassembly adventure tomorrow. 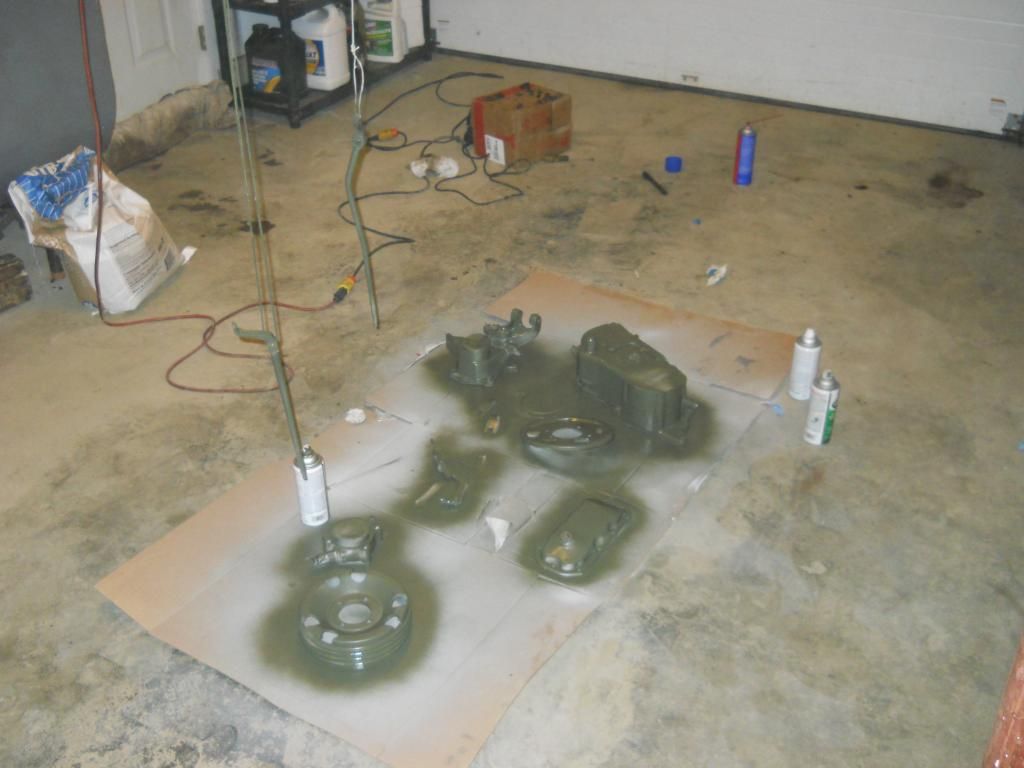 |
|
Deleted
Deleted Member
Posts: 0
|
'52 M38
Jan 11, 2014 8:25:13 GMT -5
Post by Deleted on Jan 11, 2014 8:25:13 GMT -5
When I did mine, I put roll pins in the two shifter fork attachment holes. The transmission friend across the street from me recommended safety wiring through the roll pins so they can't fall out if they get loose later on. Your tranny looks good! John
|
|
|
|
'52 M38
Jan 11, 2014 16:09:15 GMT -5
Post by Ryan_M on Jan 11, 2014 16:09:15 GMT -5
When I did mine, I put roll pins in the two shifter fork attachment holes. The transmission friend across the street from me recommended safety wiring through the roll pins so they can't fall out if they get loose later on. Your tranny looks good! John Great idea. On Haines' suggestion I was able to successfully remove the original capped pins and the reinstall them. After giving it some thought I decided the original ones were just too cracked and worn and replaced them with new roll pins today but was concerned about the potential for them to eventually work themselves out. The wire is the perfect solution. |
|
|
|
'52 M38
Jan 11, 2014 22:04:06 GMT -5
Post by Haines Garage on Jan 11, 2014 22:04:06 GMT -5
Looking Good...What Paint are you using? I like the color.
|
|
|
|
'52 M38
Jan 11, 2014 23:46:55 GMT -5
via mobile
Post by Ryan_M on Jan 11, 2014 23:46:55 GMT -5
Looking Good...What Paint are you using? I like the color. Rustoleum Camouflage Deep Forest Green. When anything but the best will do! For some reason all the local stores stopped carrying it after I had used just enough that switching to a new color would have been a real pain. I had to mail order a case of the stuff. |
|
|
|
'52 M38
Jan 12, 2014 18:05:51 GMT -5
Post by Ryan_M on Jan 12, 2014 18:05:51 GMT -5
I managed to log some serious and reasonably uninterrupted garage hours this weekend which is always a welcome occurrence. Transfer case assembly time! Walck's bearings and small parts kit. 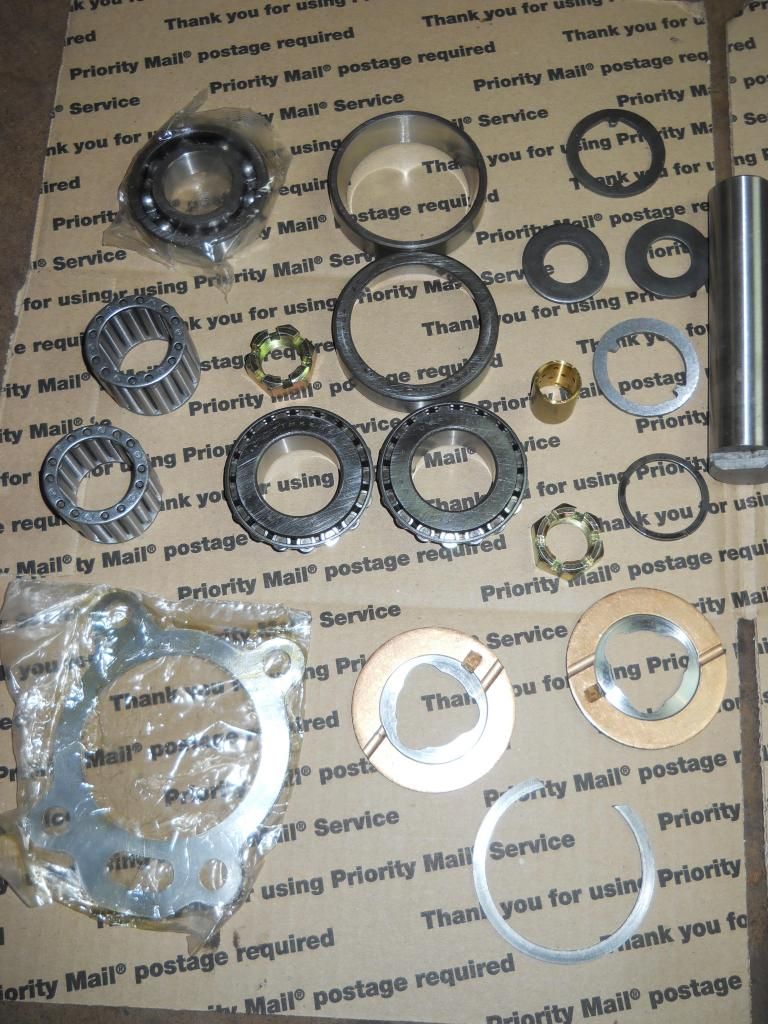 New Output Shaft Gear next to the old one. 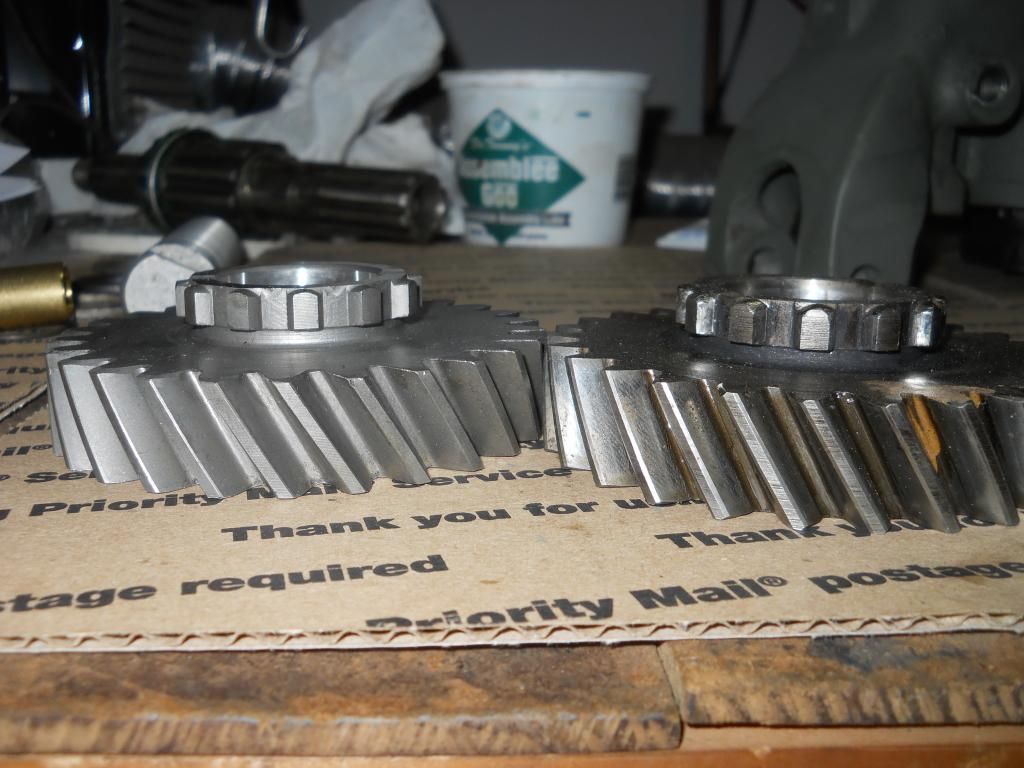 Old one is pretty chewed up...at least I think it is. Remember, I still have no idea what I'm doing with this stuff most times..... 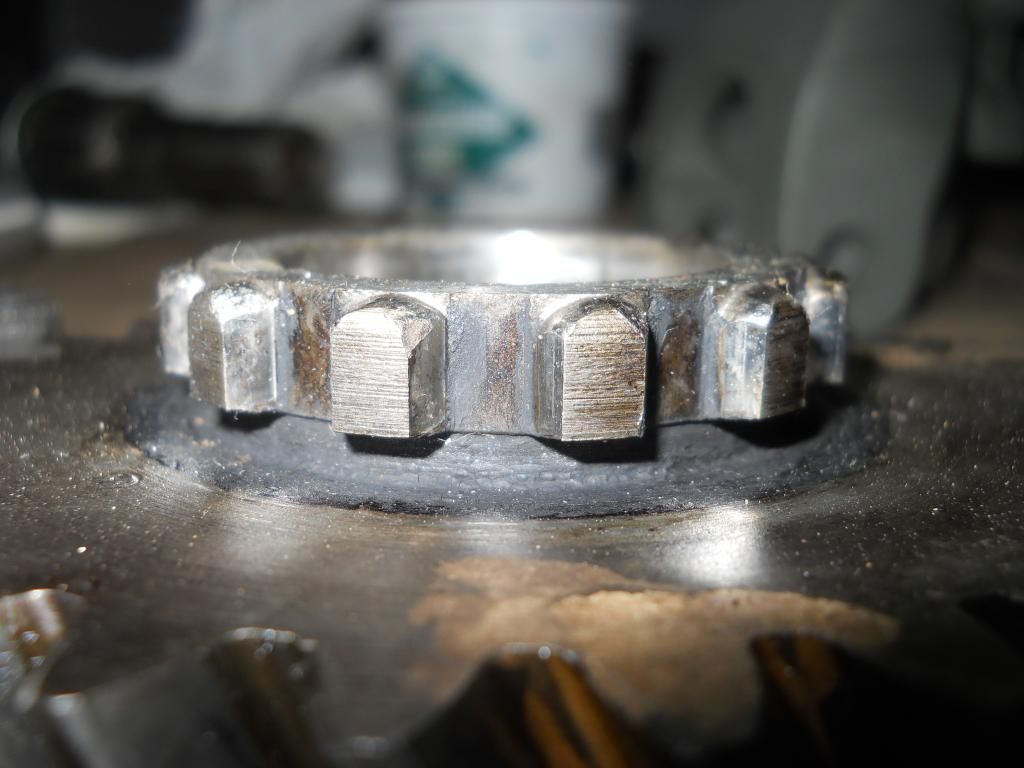 I should have done a better job of this before cleaning and painting but I had to touch up a few cruddy threads.  New wire (Rebar tying wire) for securing the nice clean shift fork nuts. 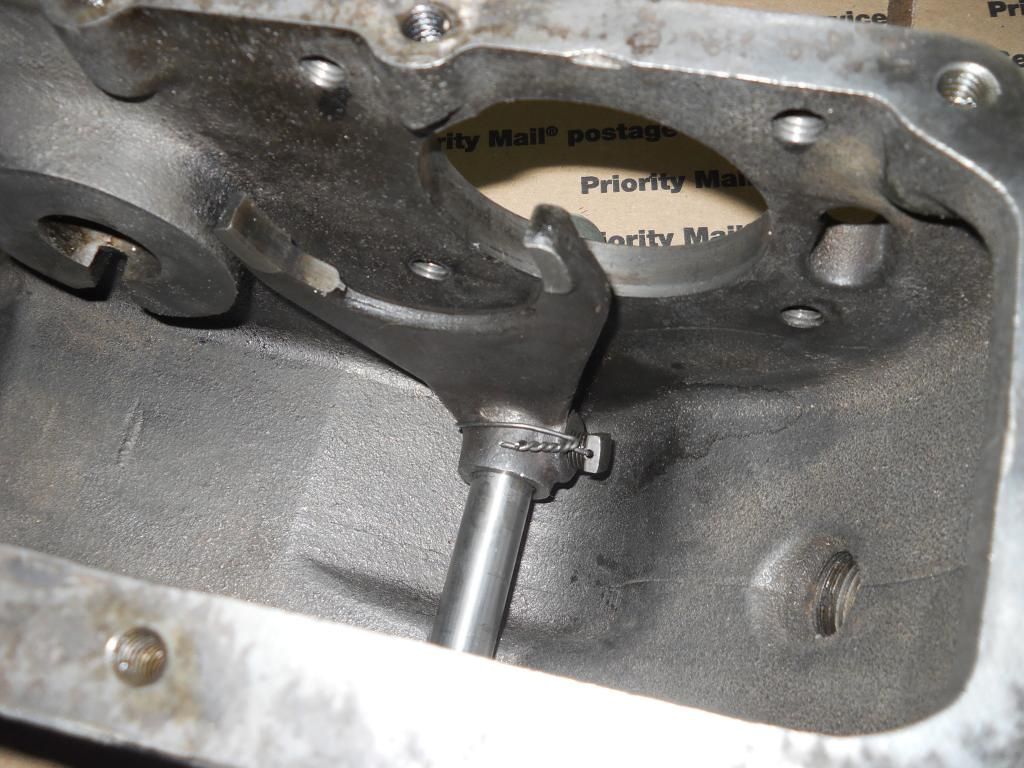 Output shaft sliding into place  This was probably the most-not-fun part of the rebuild. I had to remove the rear bearing cap 6 or 7 times changing Schimmms out to get the right end-play.  Set the end play close and then a quick coat of copper gasket spray on all the Schi-zzims 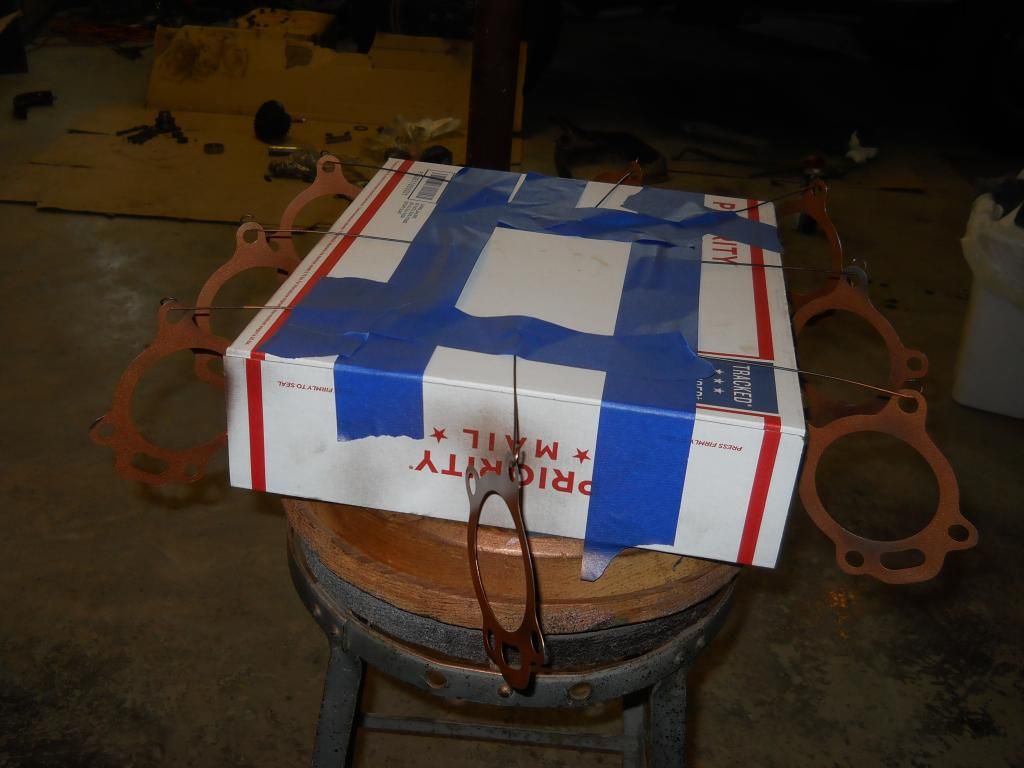 Bearing cap installed for the final time. End play right where it should be.  Really coming together now. Rick's guide suggests marking front and rear of the case, as silly as it may seem. When your mind works as simply as mine does a single letter on a blue piece of tape can be a huge help. 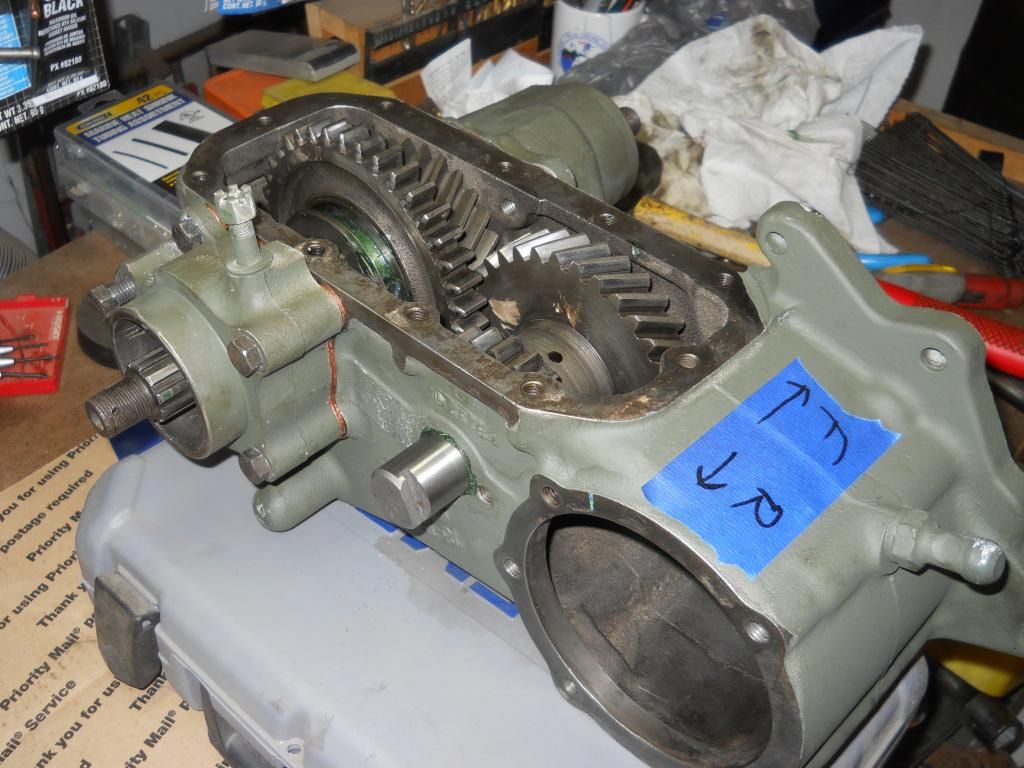 Handbrake innards spiffed up and re-installed. I just cleaned up the old Bendix brand shoes and reused them. I wouldn't reuse a wheel shoe but I think I can get away with it here. 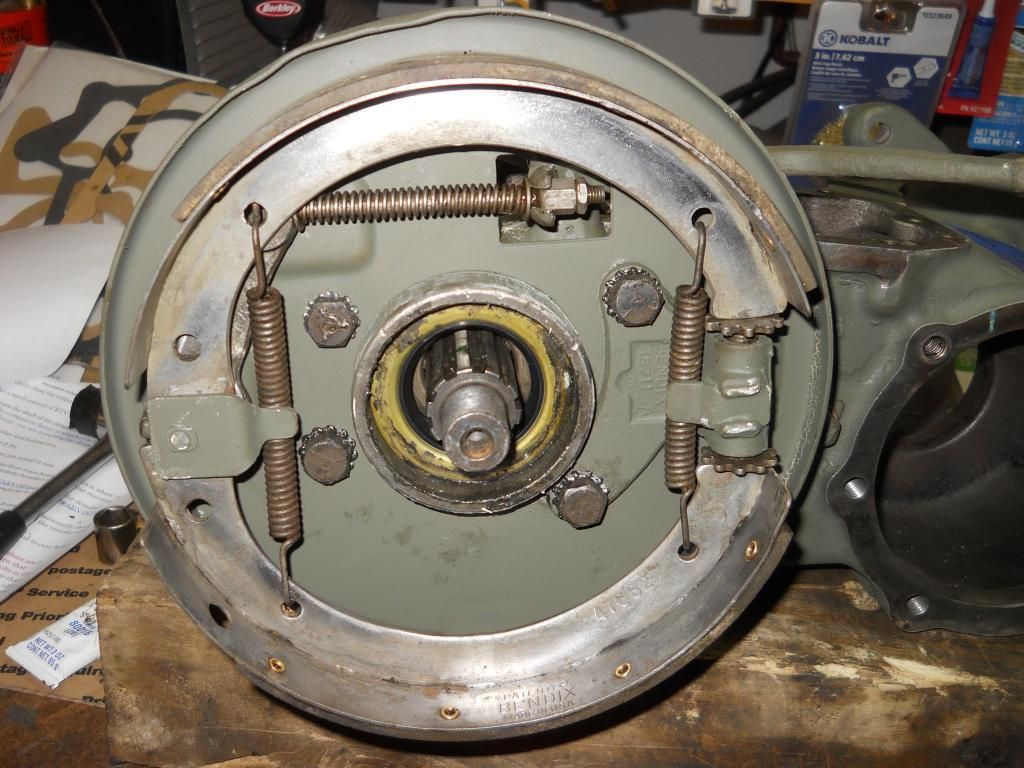 The ol' Rustoleum paint really took a beating from the assembly and occasional spurts of brake cleaner. Once I get the tranny mated up to it I'll probably blast everything with another couple coats. 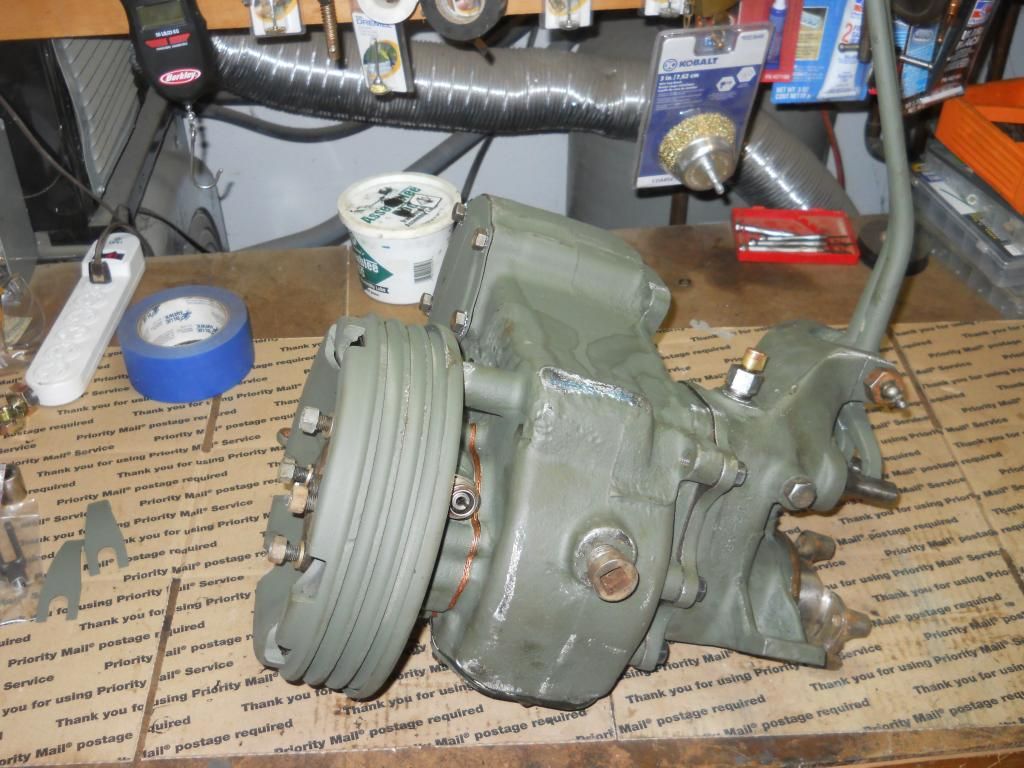 I've found that taking pics after every single step comes in very handy if you are not extremely familiar with what you are doing. There was more than one occasion when I questioned a much earlier step and by going back through all of my pictures I could determine exactly what it was that I had done. Especially helpful if you end up with a leftover washer or something. I tore the tranny apart once during that overhaul just to verify that the right parts were there - they were. If I had pics, I wouldn't have had to do that. Glad to have this step out of the way, although I won't be completely relieved until it's back in the Jeep and successfully tested. |
|
|
|
'52 M38
Jan 12, 2014 20:08:00 GMT -5
via mobile
Post by Haines Garage on Jan 12, 2014 20:08:00 GMT -5
Ryan...looking great..you are making great strides.
I agree 100% with the taking of pictures.
Besides we all love seeing them.
Carry on my Friend
Can't wait to see more!
|
|
Deleted
Deleted Member
Posts: 0
|
'52 M38
Jan 12, 2014 20:24:07 GMT -5
Post by Deleted on Jan 12, 2014 20:24:07 GMT -5
I'm going to need you to change your vote for the best flatfender. With your pictures, you are proving that you like a M38 the best. That's a M38 Tranny you are building you know!!!!!!!!!!!!!!  John |
|
|
|
'52 M38
Jan 13, 2014 8:50:21 GMT -5
Post by Ryan_M on Jan 13, 2014 8:50:21 GMT -5
I'm going to need you to change your vote for the best flatfender. With your pictures, you are proving that you like a M38 the best. That's a M38 Tranny you are building you know!!!!!!!!!!!!!!  John Sorry, John. I can dig up and post a pic of me rebuilding a 3A transmission if it makes you feel any better  |
|
Deleted
Deleted Member
Posts: 0
|
'52 M38
Jan 13, 2014 15:31:35 GMT -5
Post by Deleted on Jan 13, 2014 15:31:35 GMT -5
 Not necessary! Love Jousting is all. John
|
|


 John
John
 Not necessary! Love Jousting is all. John