|
|
Post by Haines Garage on Jan 12, 2015 23:02:04 GMT -5
Gasket in place, I clean and coat lip of the pan, and the bottom side of the gasket with sealant. Make sure all of the bolt hole line up correctly. Press the pan to crush the rear main seal gaskets. I install a few of the rear pan bolts finger tight to hold them down in place. 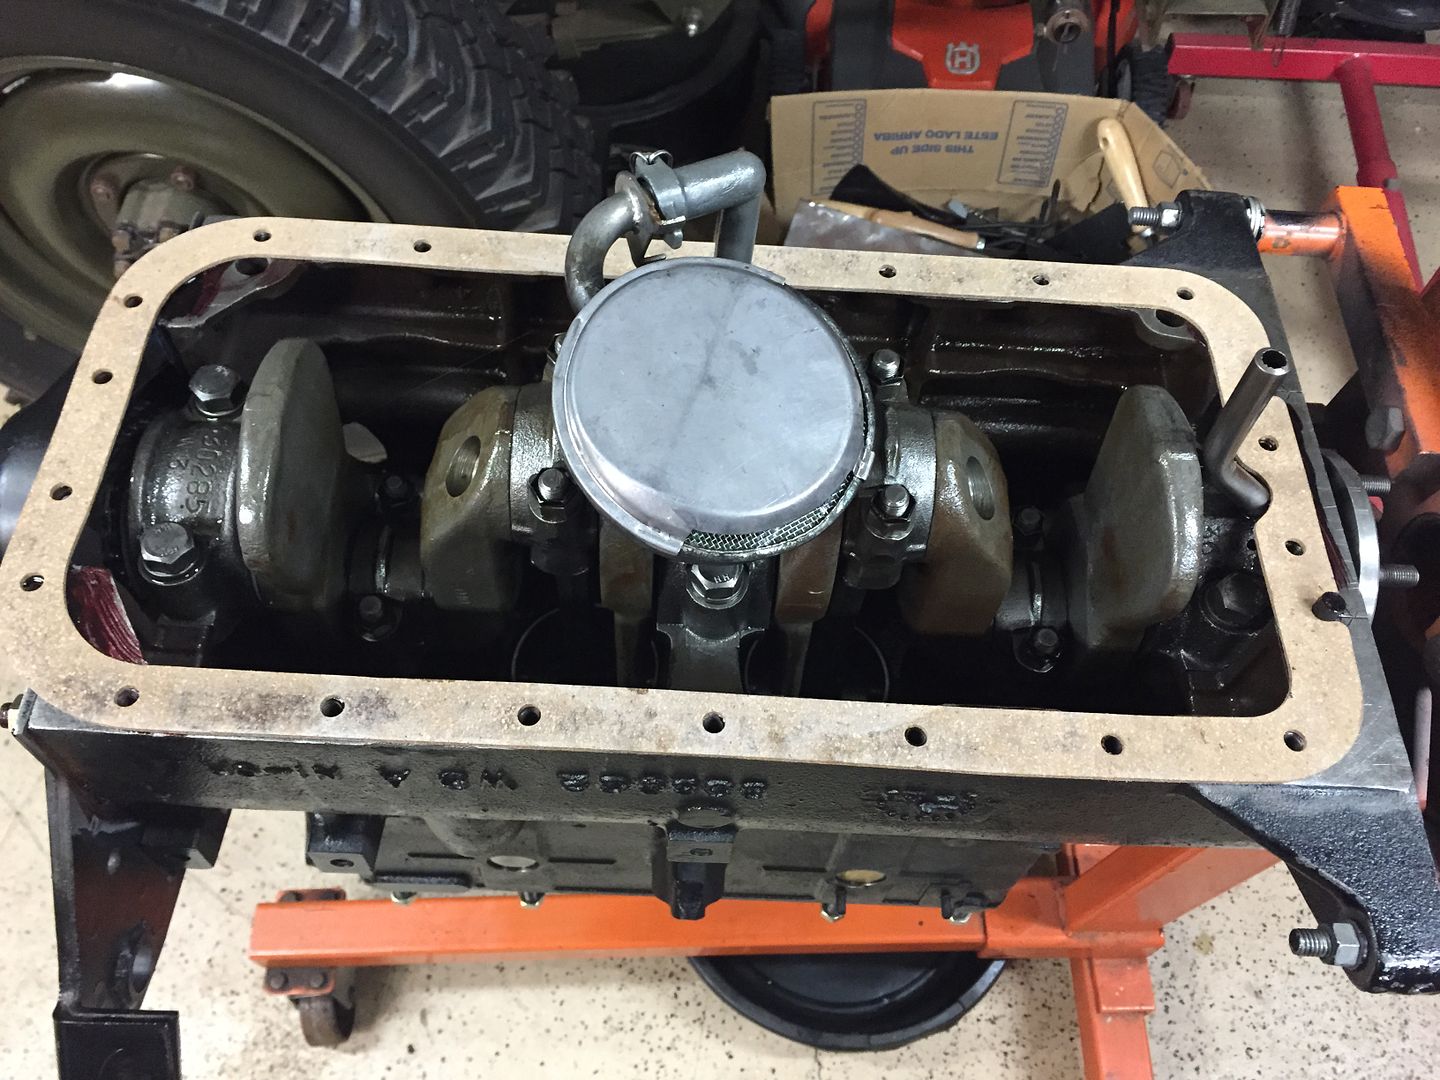 There are special sized spacers that go between the oil pan, and the crankshaft pulley splash shield. 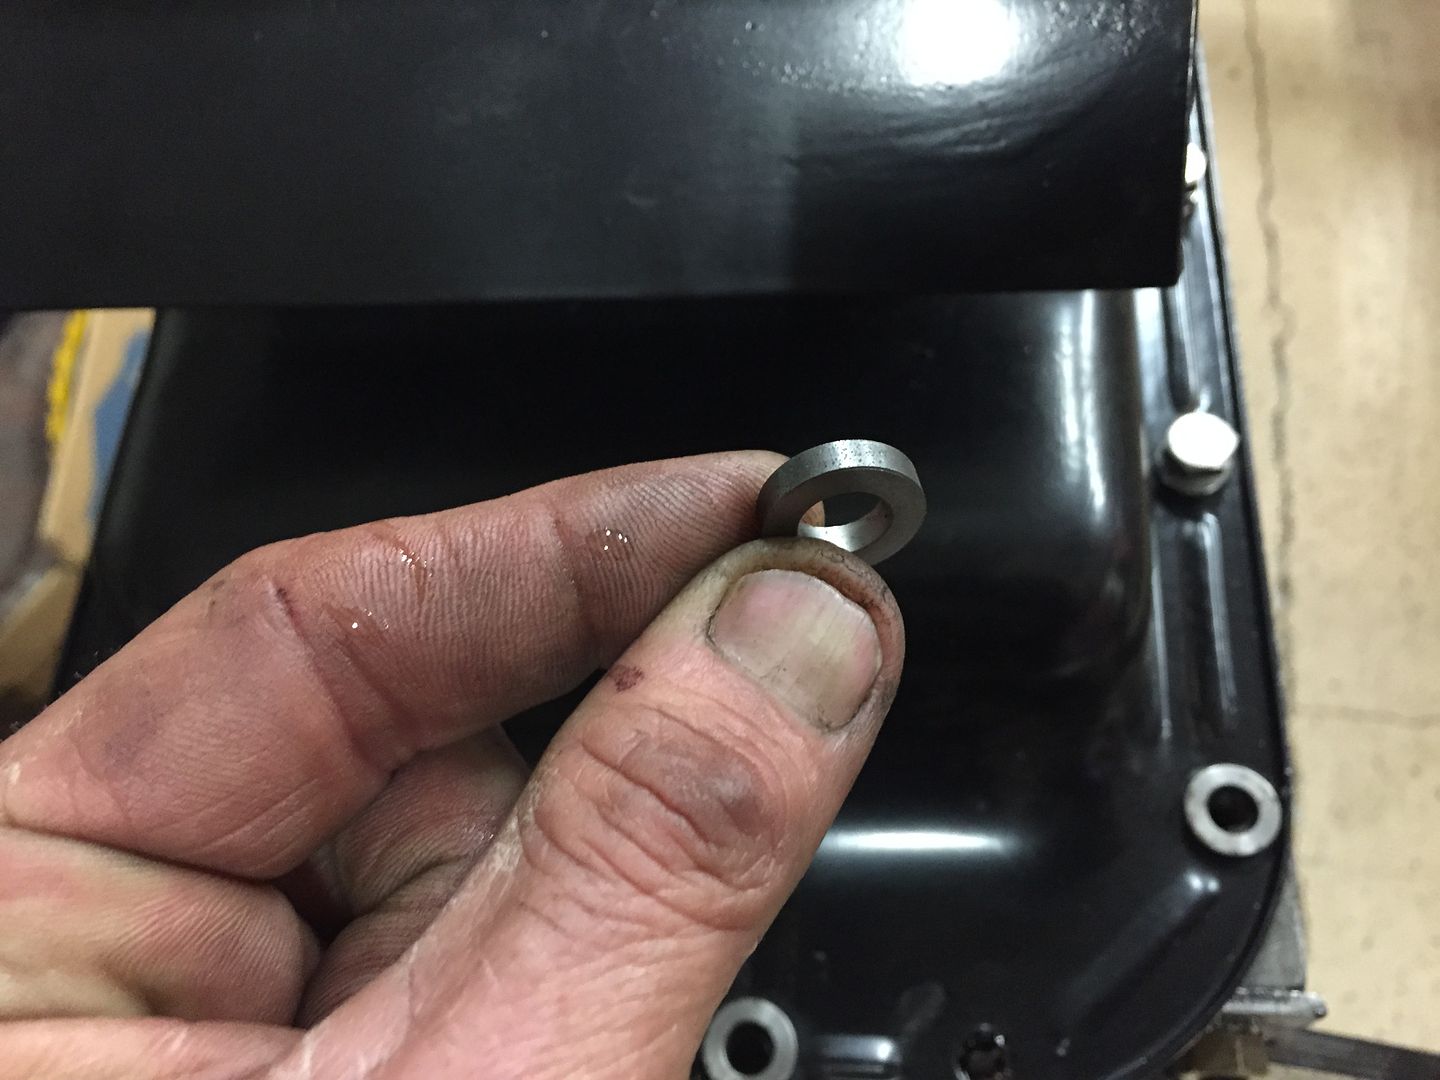 These are available through some of the vintage Jeep Suppliers. Install in the front area of the pan as shown. 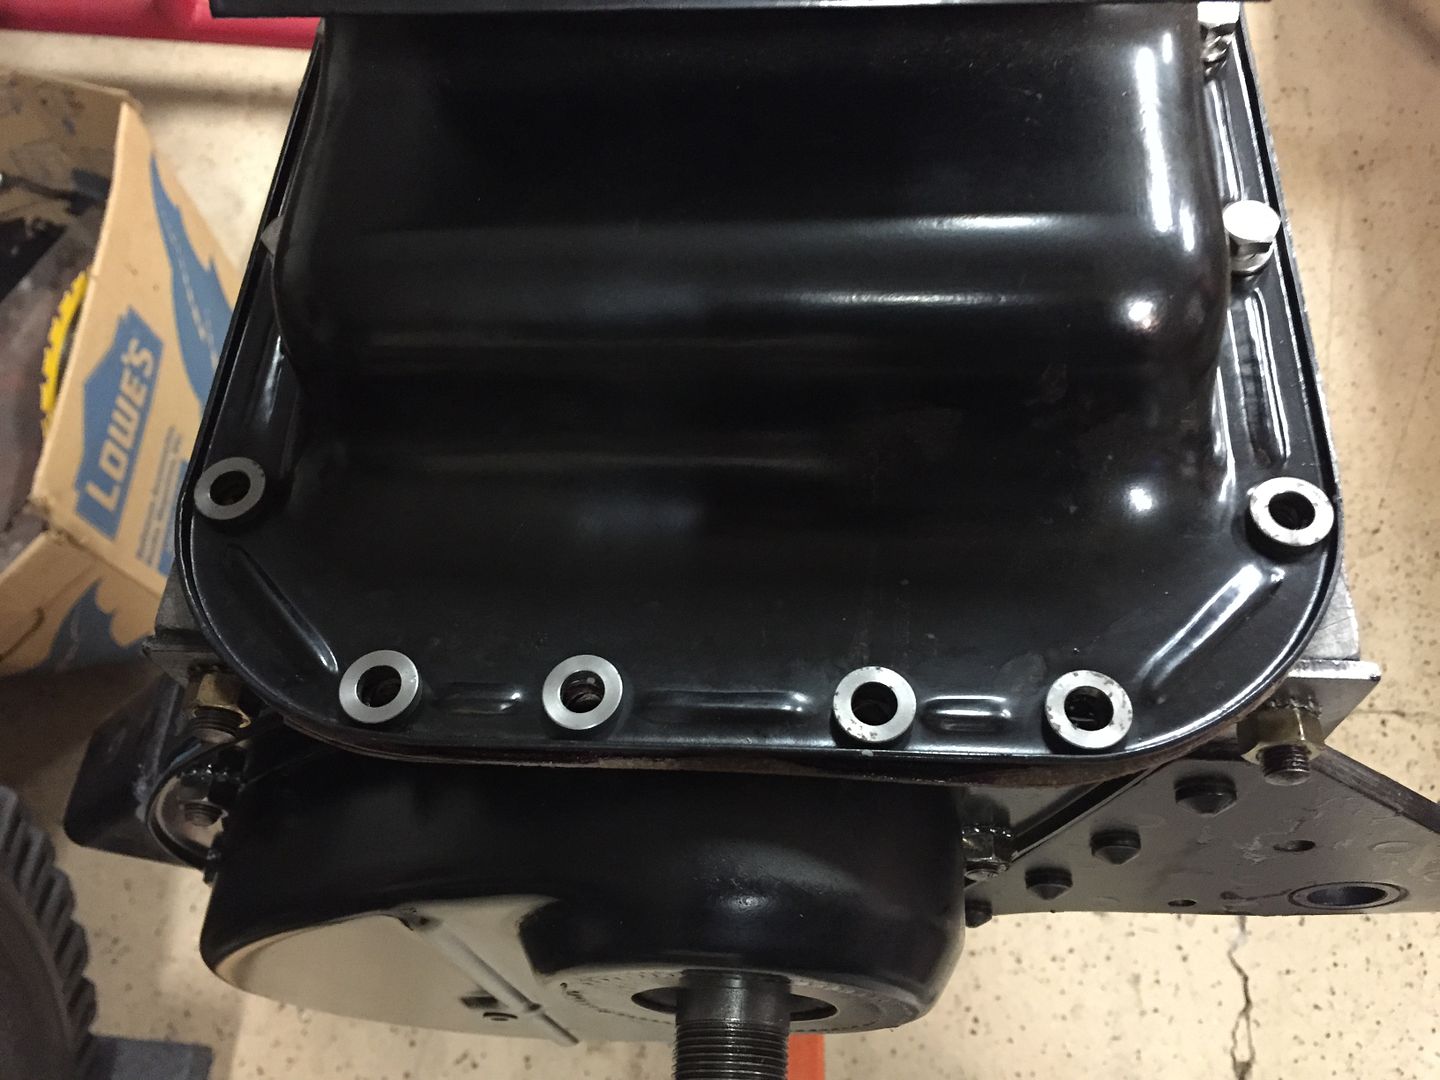 Bolts and Lock Washers installed, with Crankshaft Pulley Guard. 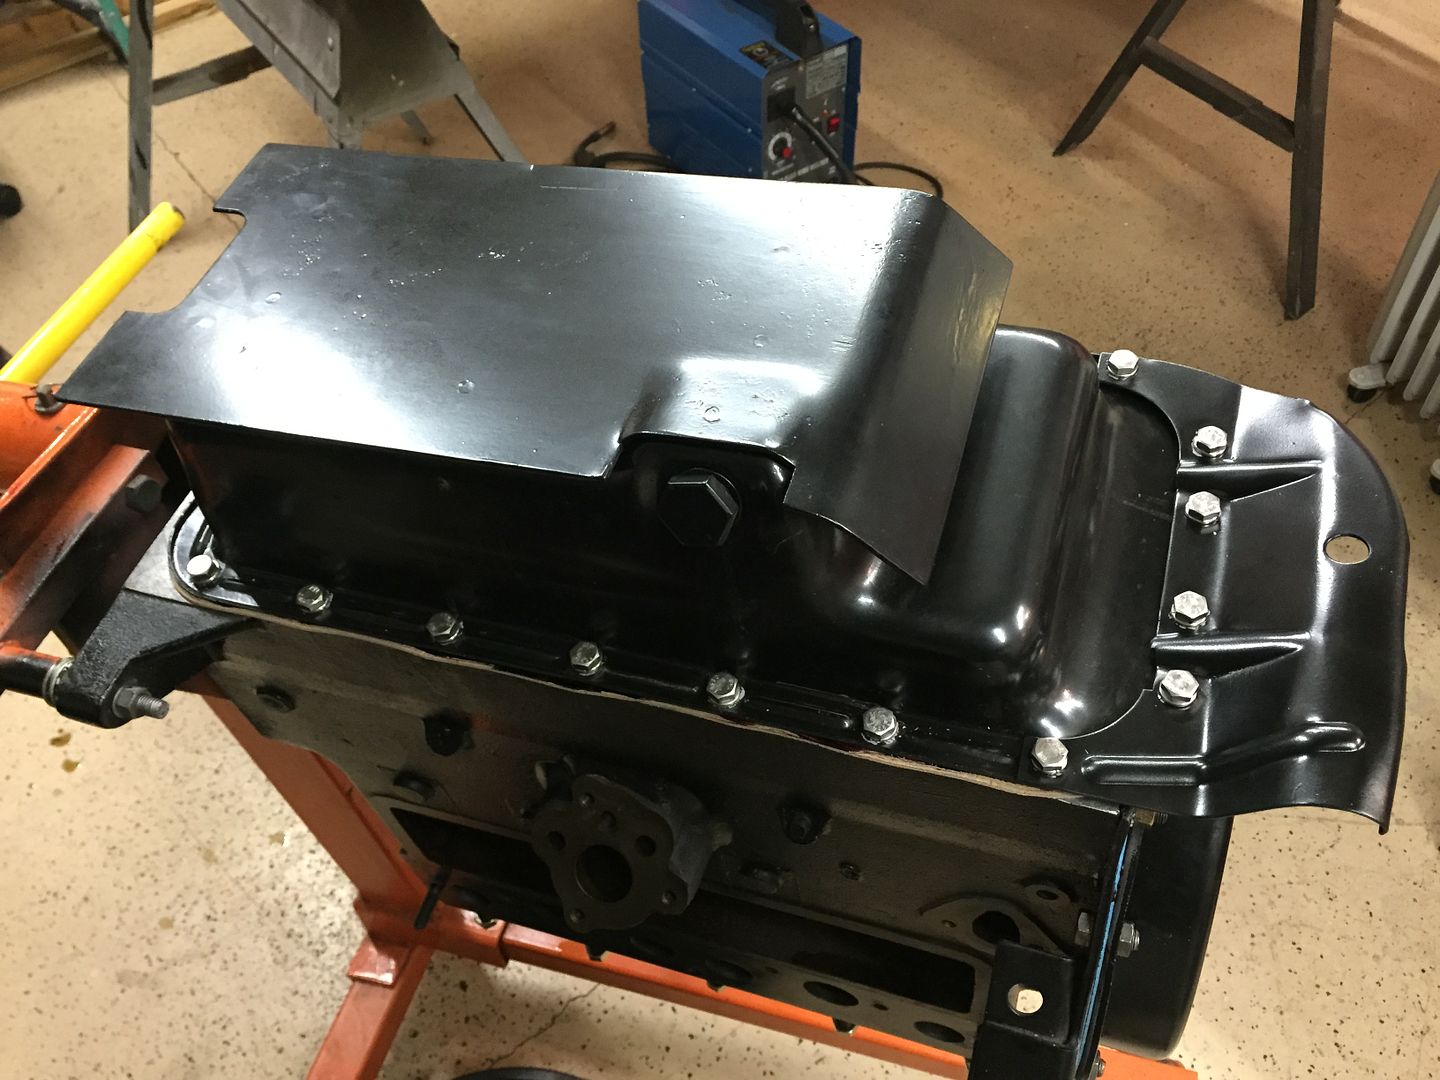 |
|
|
|
Post by Haines Garage on Jan 12, 2015 23:11:53 GMT -5
Oil Pan bolts are torqued from 9-14 ft pounds. I start in the middle of the pan and torque them from side to opposite side. Think stitching pattern. As you torque the bolts, watch for bulging in the gasket. I decide it is time to install the water pump. Clean both mating surfaces. I use Permetex #2 on this area as well. 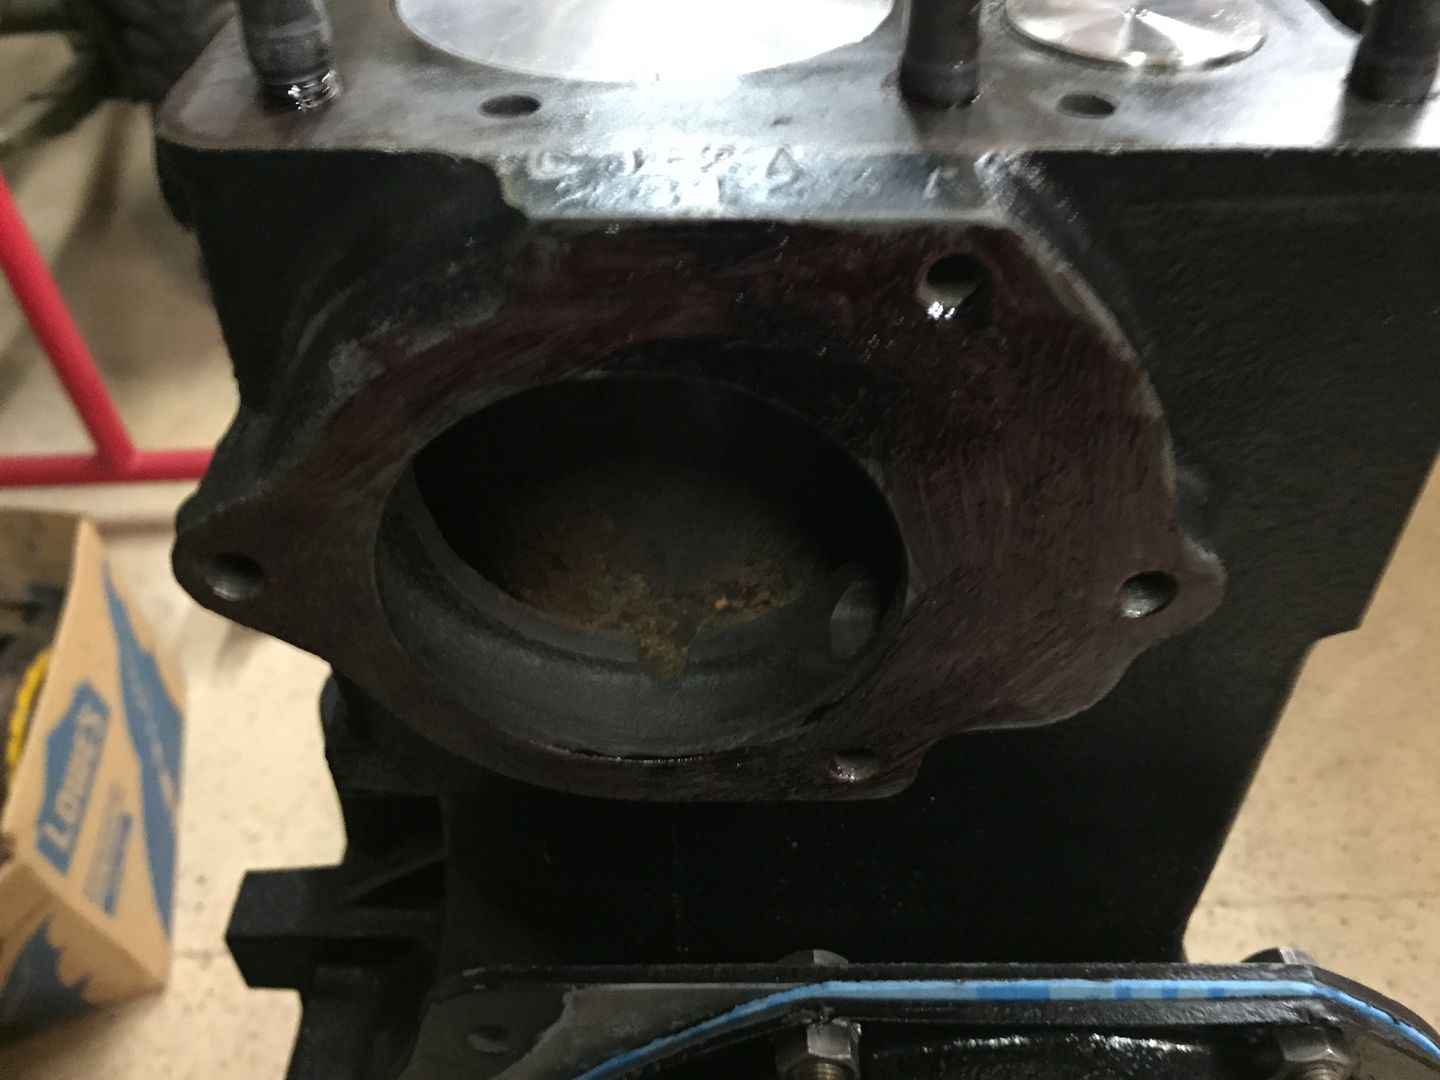 Install the gasket on the water pump. 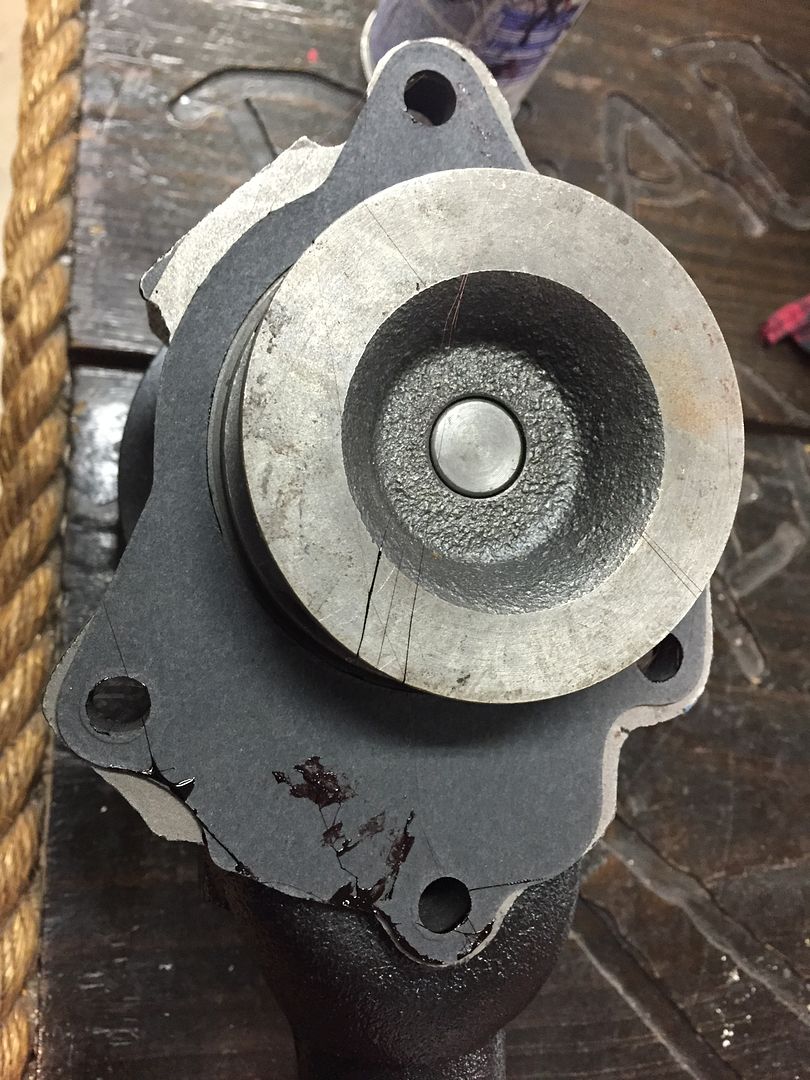 Install the water pump onto the block, fasten with the bolts and lock washers. 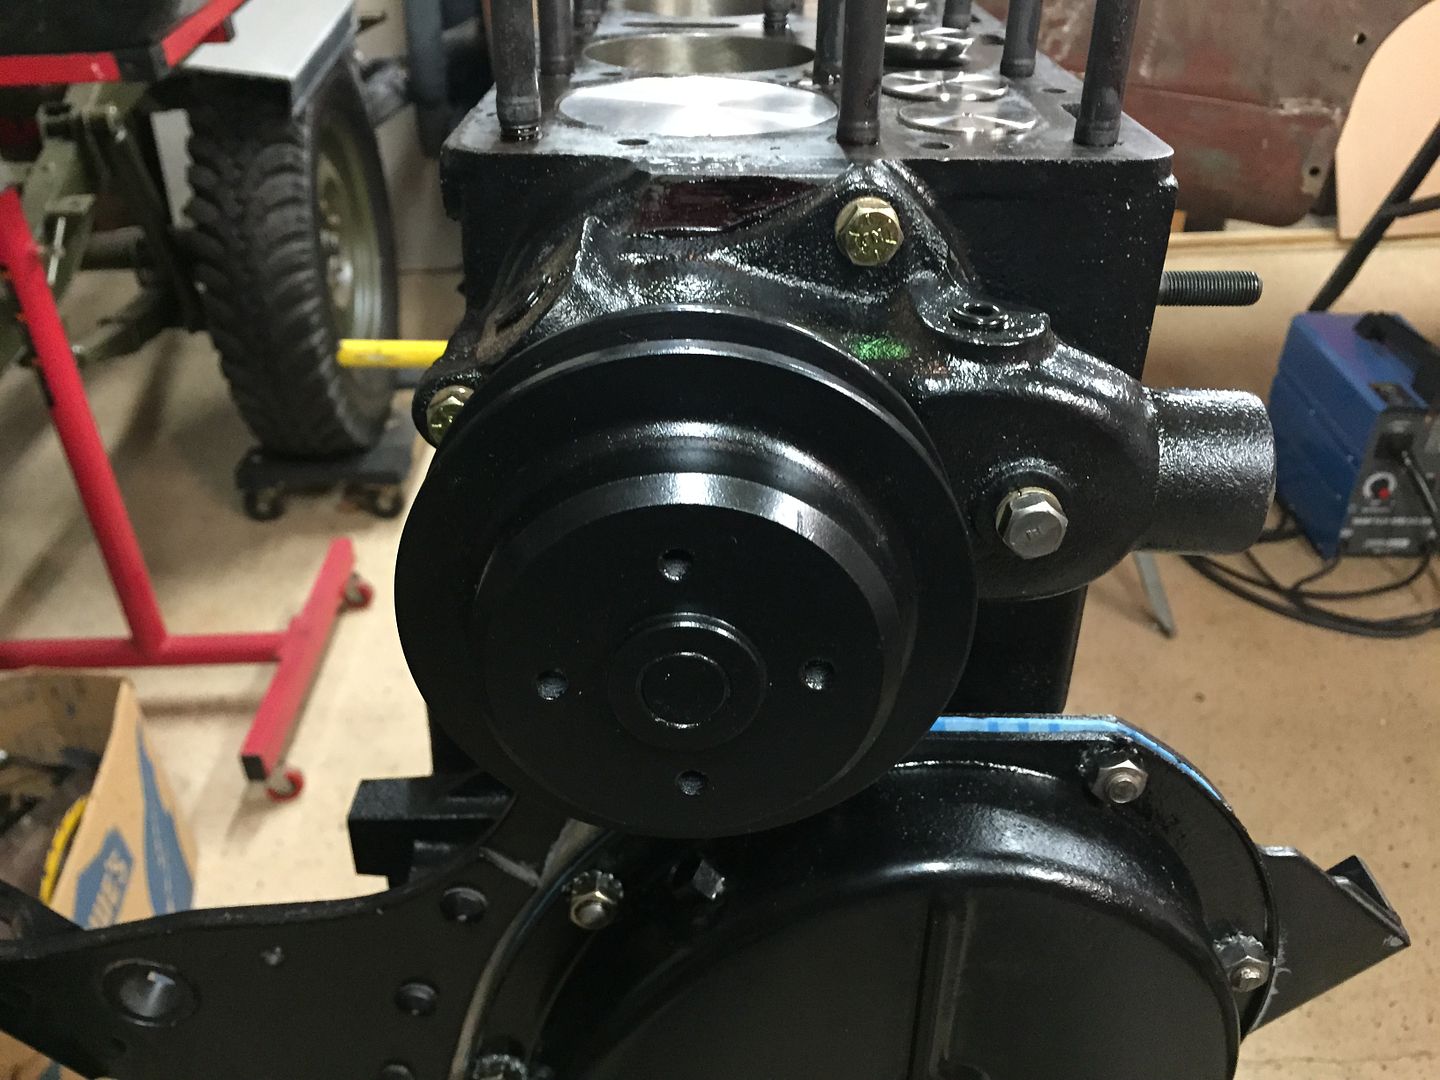 Torque bolts to 15 ft pounds. |
|
|
|
Post by Haines Garage on Jan 16, 2015 19:39:09 GMT -5
Installing The Head I purchased a quality set of new head studs, and nuts. Before installing, I coat threads with Permetex #2 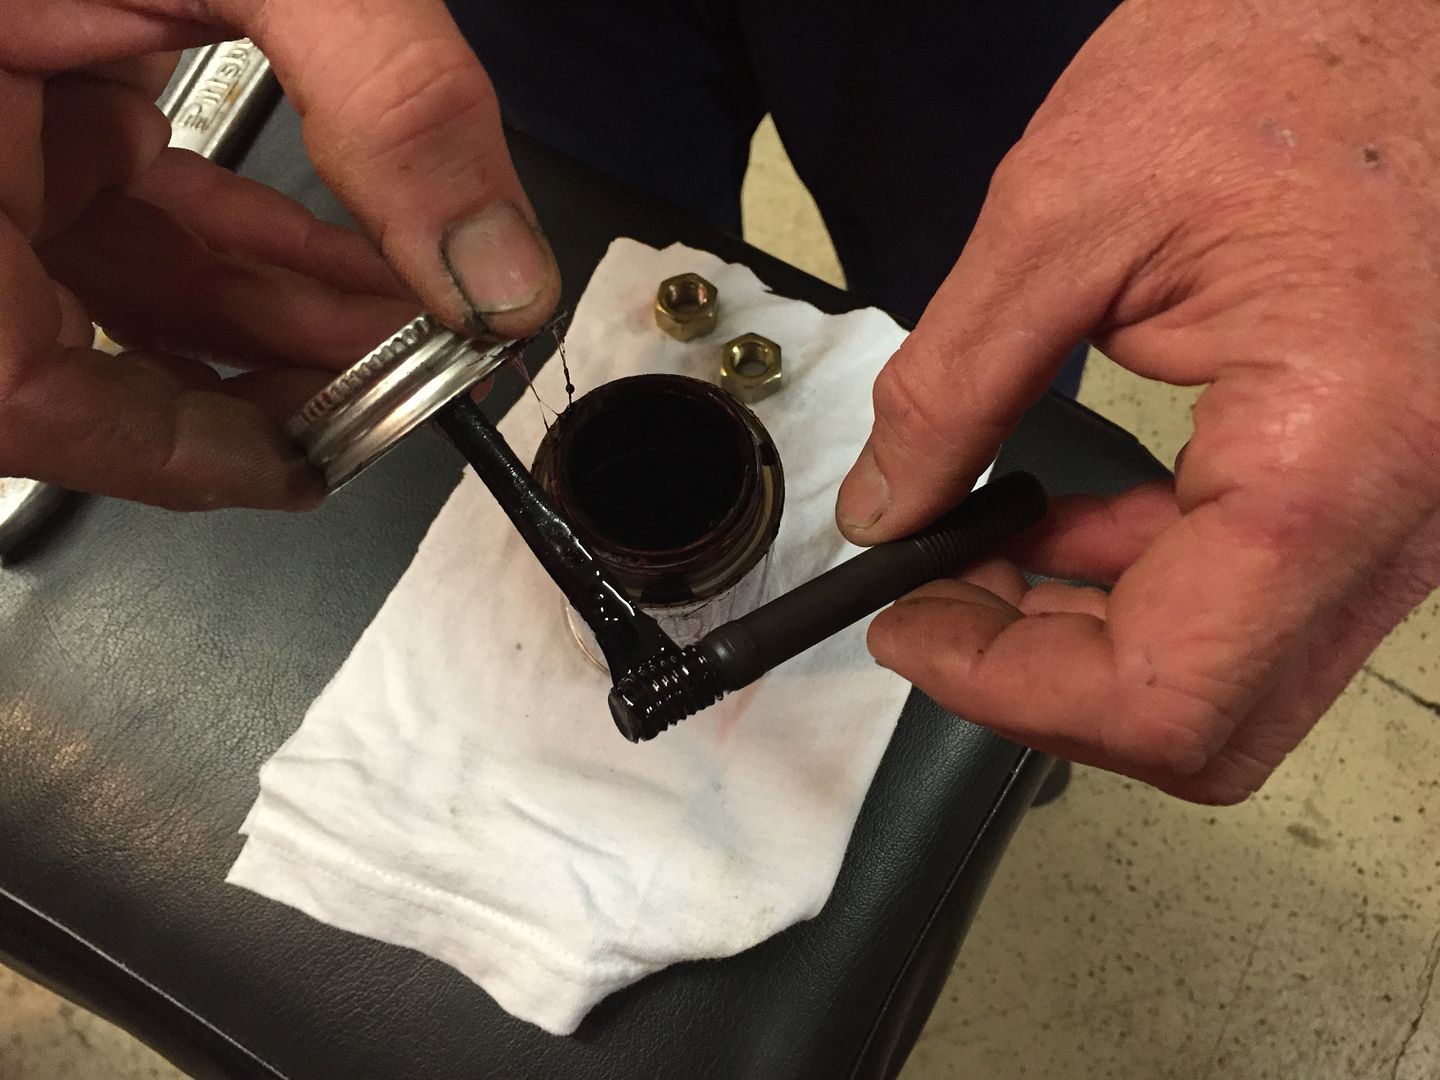 I install the stud into its location by hand using a short twisting motion, as to work the Premetex into the threads on the block. Then use a nut backed against another to finally turn the stud in. I turn only until the stud stops. Stopping either buy bottoming out in the block, or being stopped by the threads ending. Most thread locations on the block penetrate through to the Water Jacket of the engine. 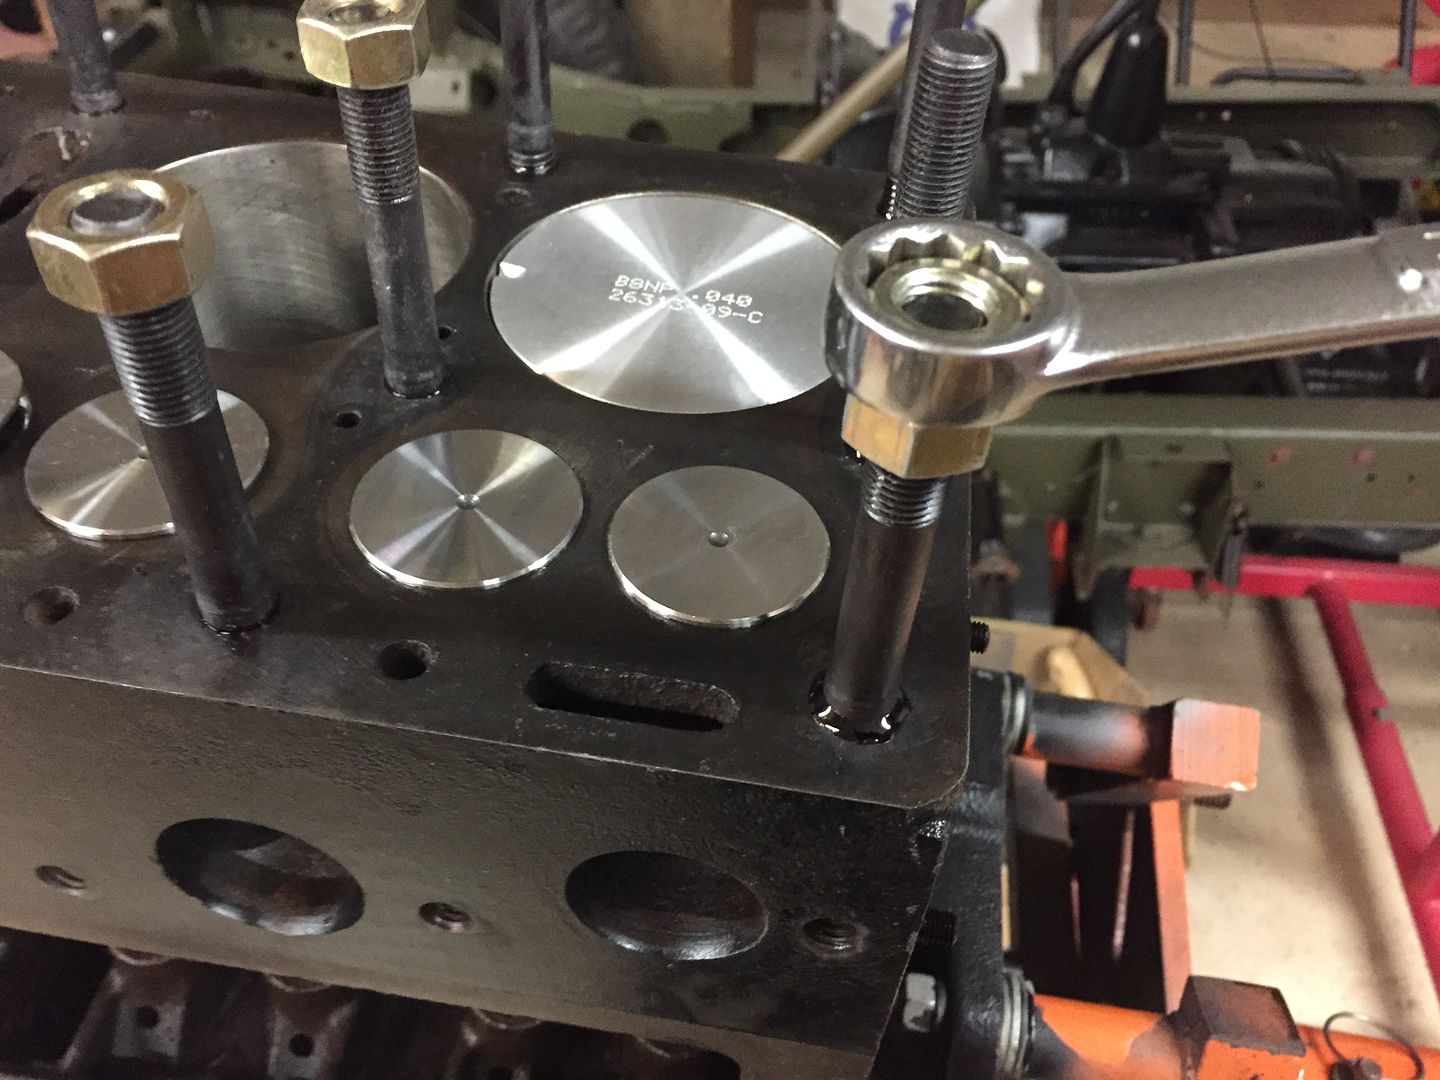 All studs installed, I clean any excess Permetex, and the top of the block with Lacquer Thinner. 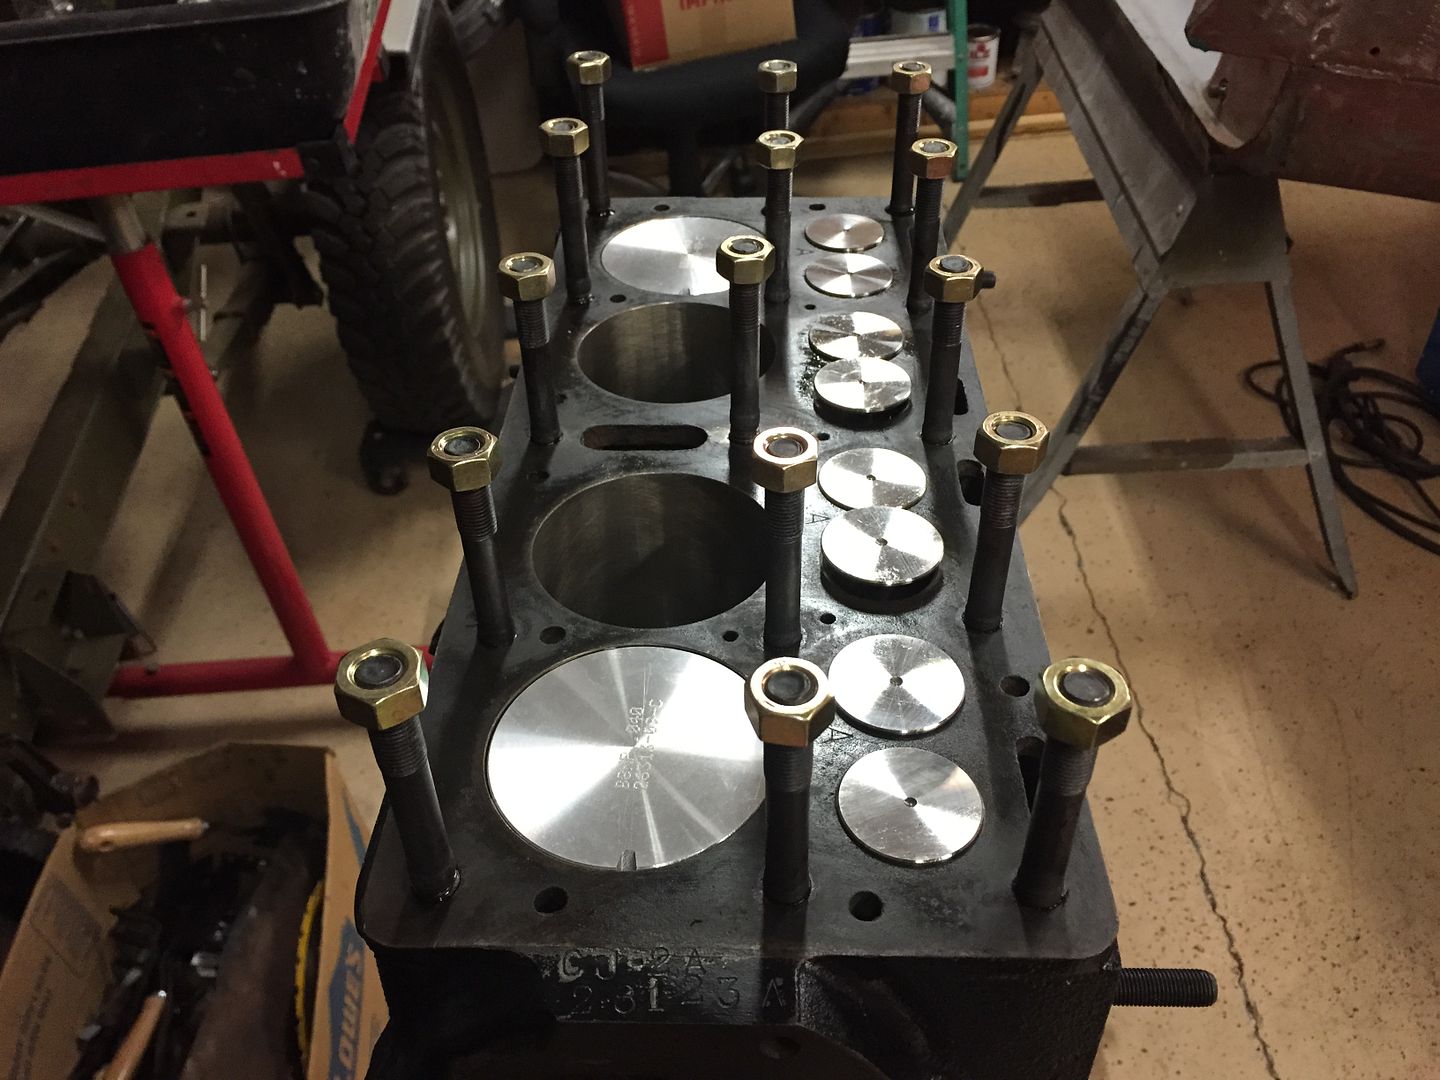 |
|
|
|
Post by Haines Garage on Jan 16, 2015 19:56:47 GMT -5
I am using a copper gasket By Best Gasket Co. This gasket is installed dry. No sealants required. 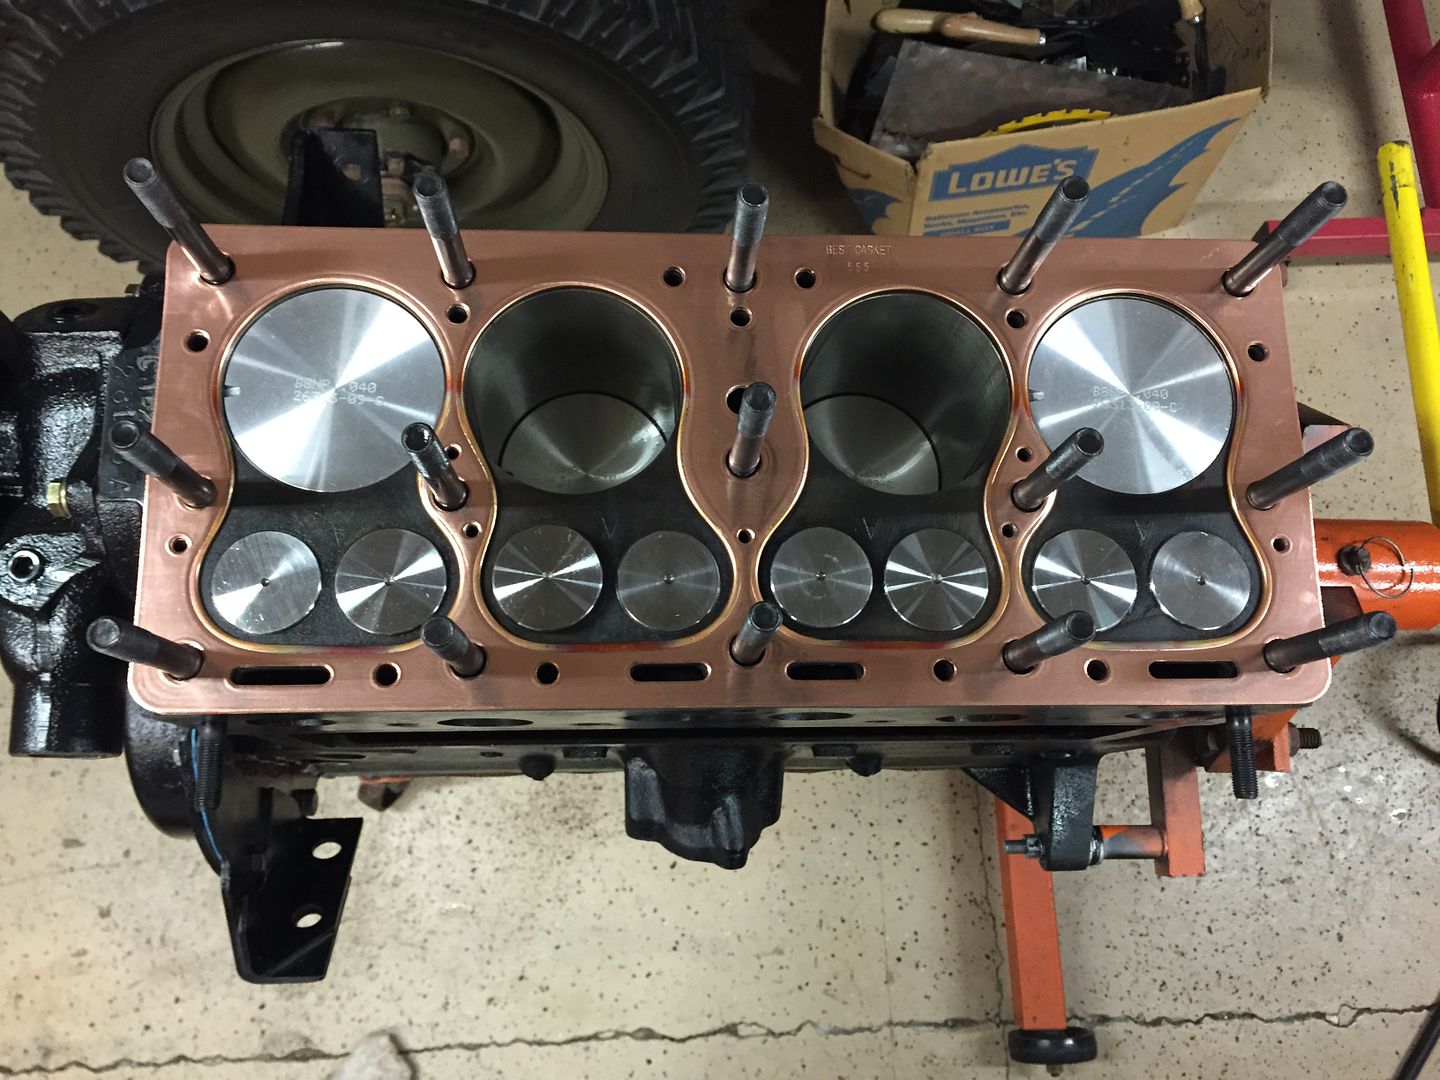 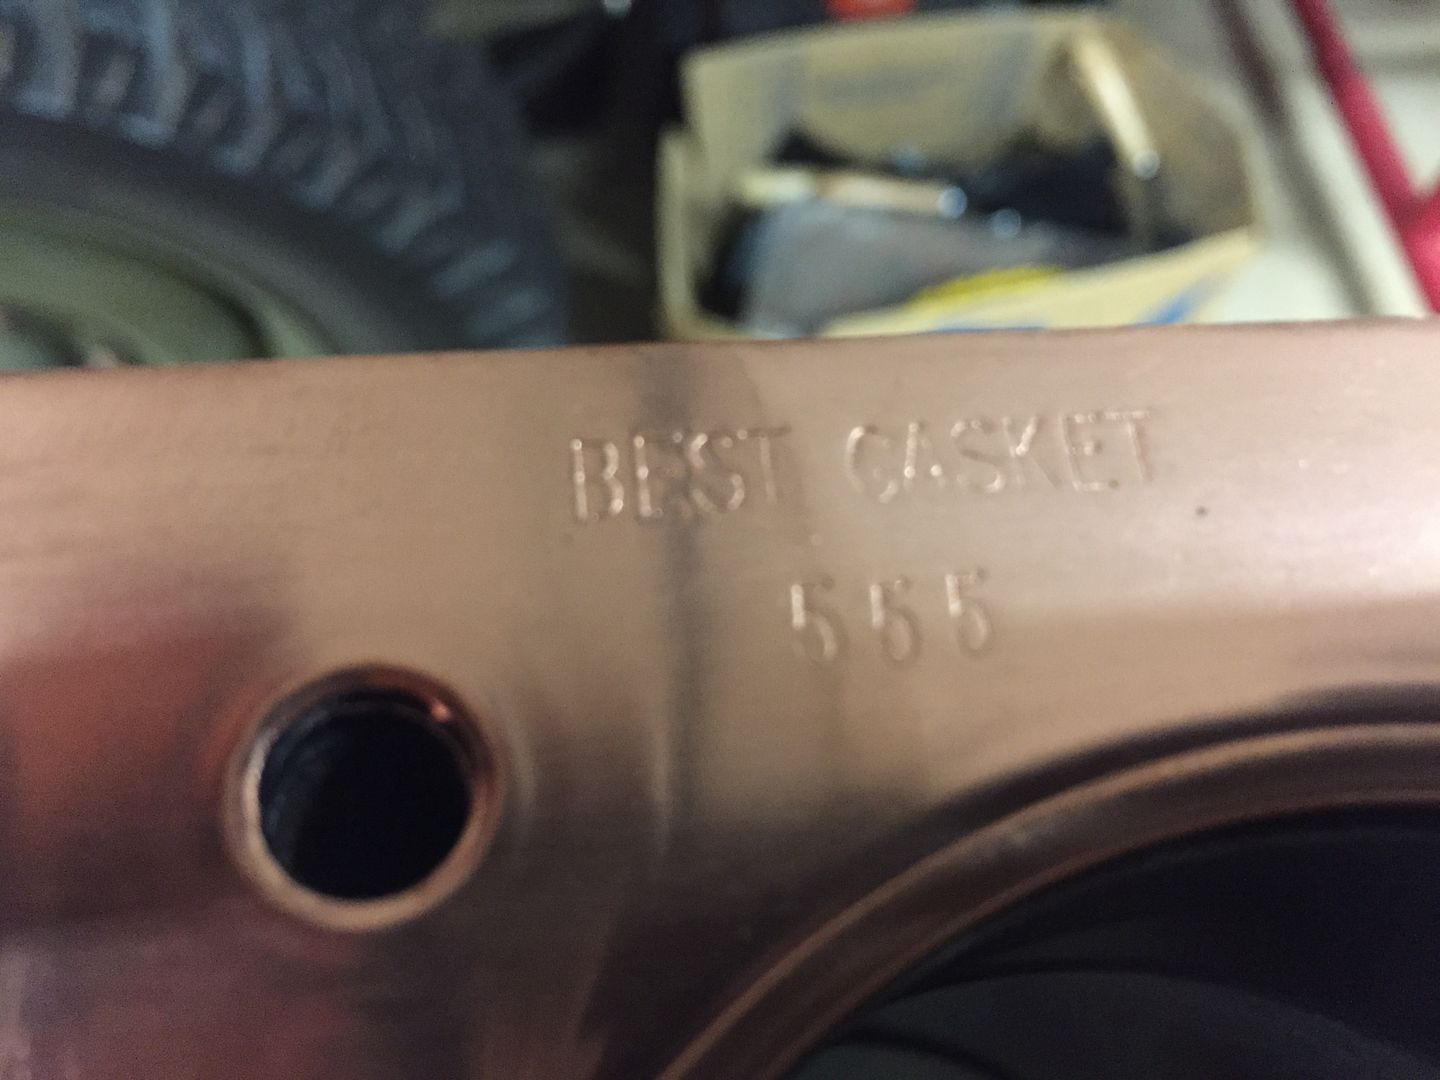 Be careful when installing the gasket not to damage it. Take your time and work it down the threads of the studs evenly. Next install the head. Make sure the mating surface is clean. 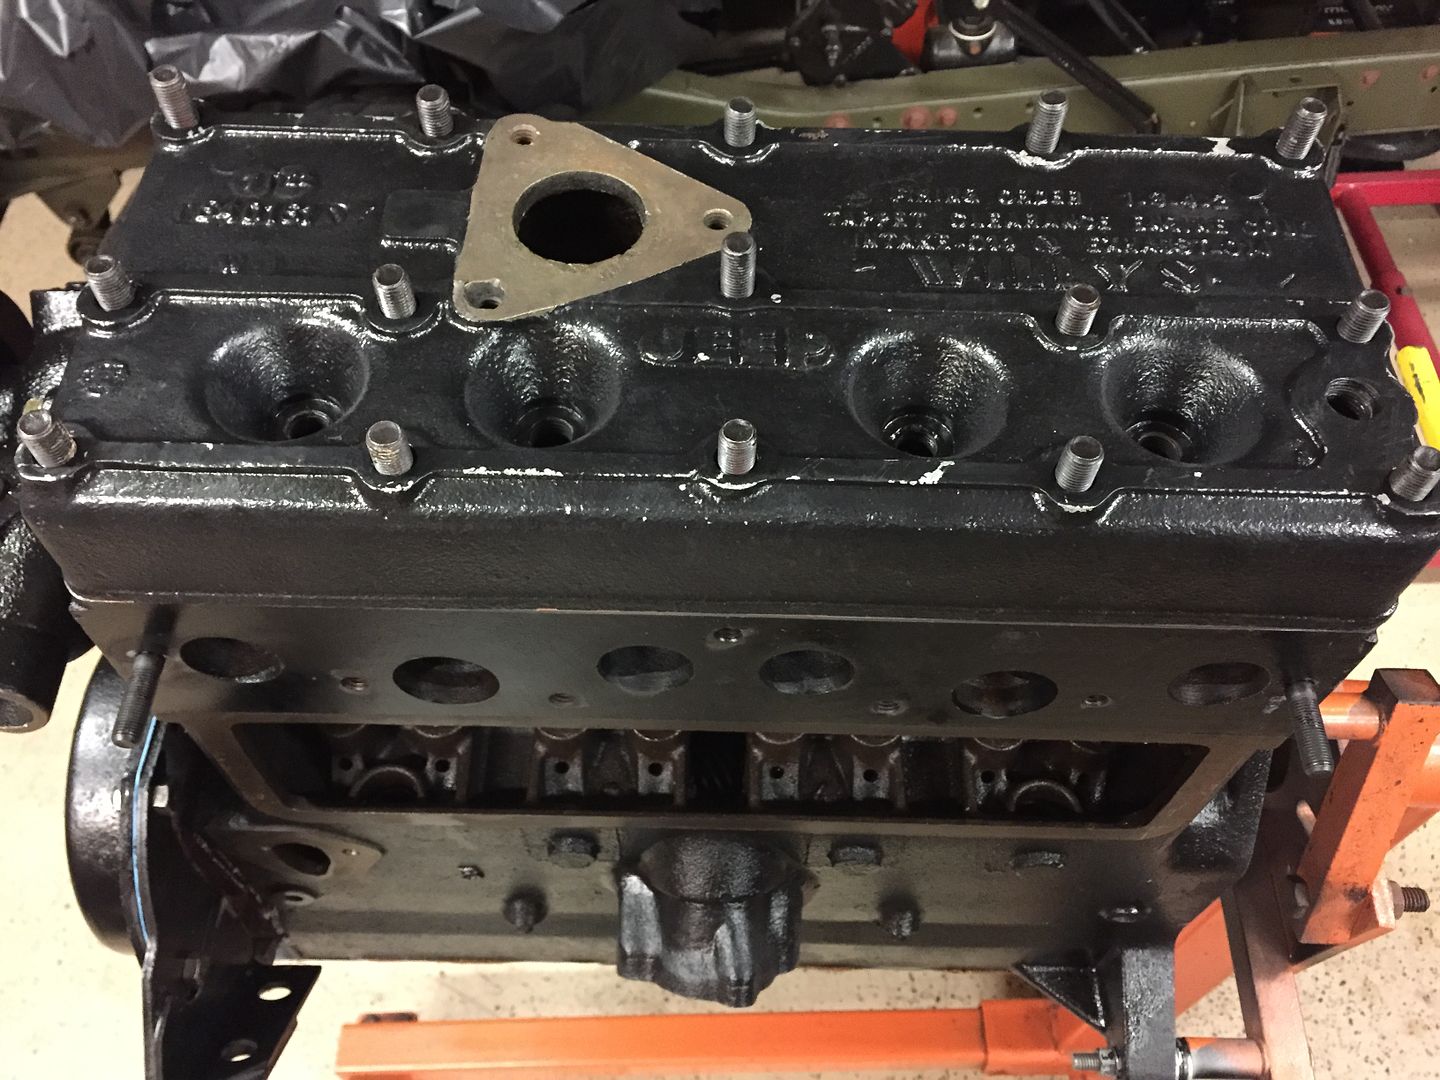 My head went onto the studs very easily. I install buy simply holding the ends, and lower it into place slowly, and most importantly squarely. Install the oil filter bracket as shown. 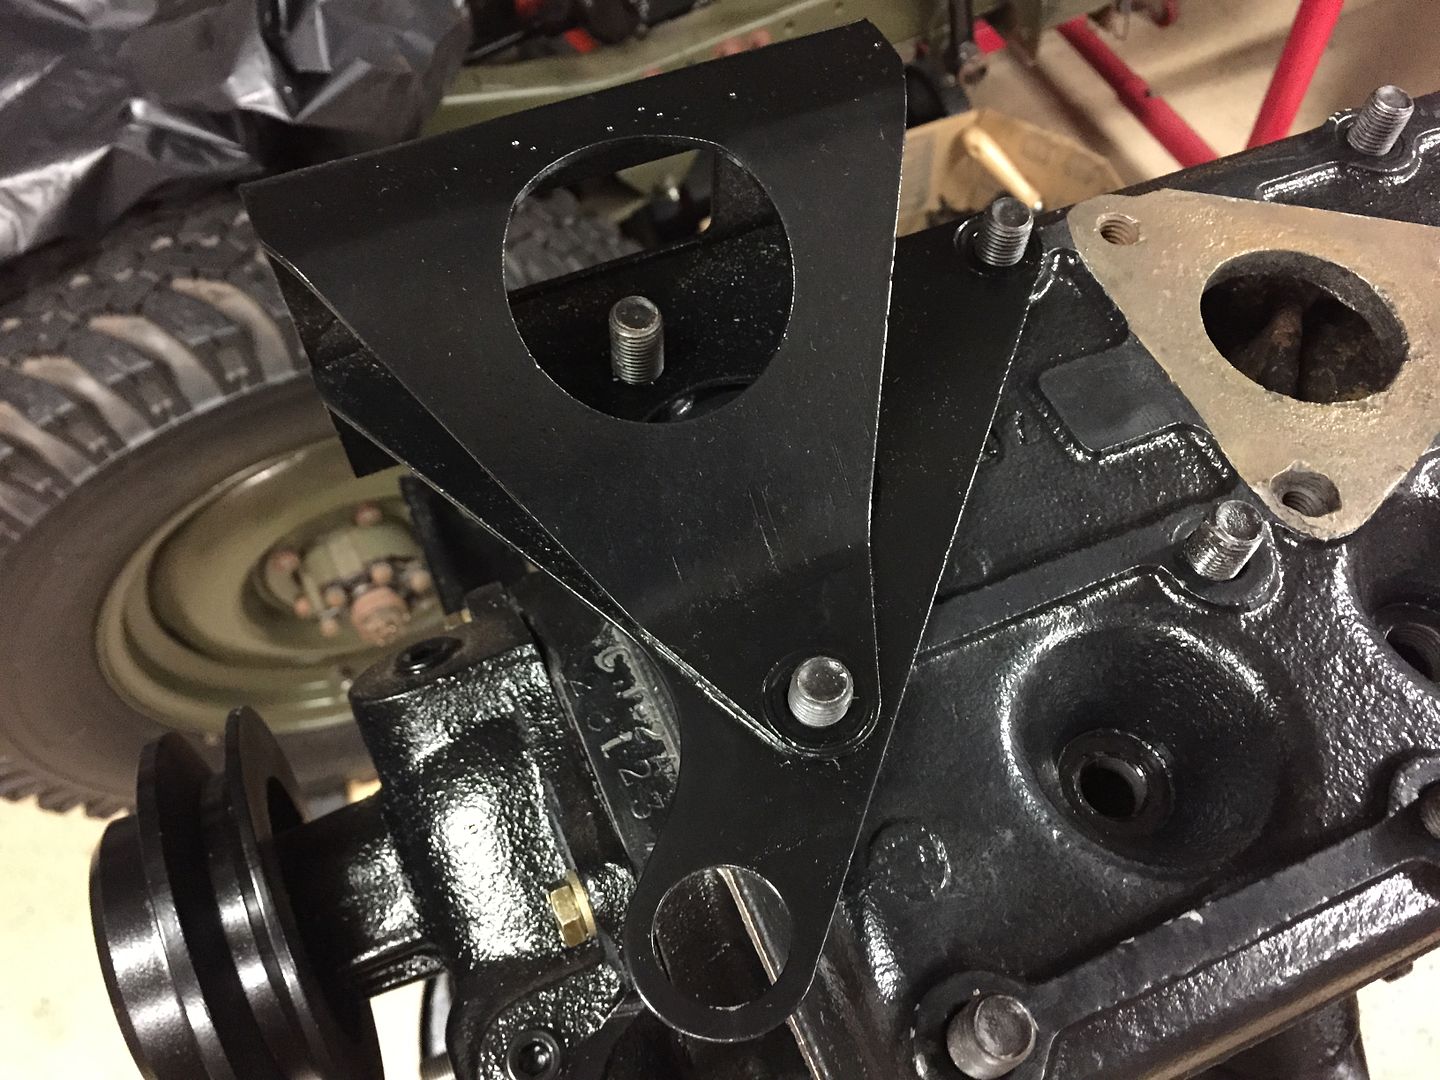 The cross over tube for the air filter is installed on the third and forth stud from the front of the engine, passenger side. Brackets are installed before the stud nuts. Nuts are installed by hand, and finger tight. |
|
|
|
Post by Haines Garage on Jan 16, 2015 20:10:10 GMT -5
Here is the nut torqueing pattern for the head 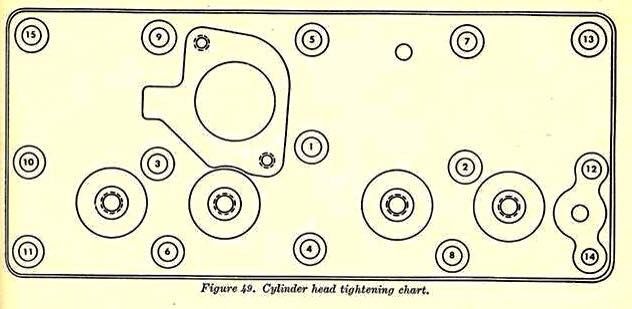 Following the sequence, I torque first to 30 ft lbs, then 55 ft lbs, and finally 75 ft lbs. |
|
|
|
Post by Haines Garage on Jan 16, 2015 20:59:51 GMT -5
Houston We Have A Problem!! I don't know if anyone noticed in the head install post that there is a broken bolt area to the thermostat hosing on my head. I am including this in the build thread for three reasons. One, when you think you have all the bases covered , you don't. Two, to show you how to repair it. Three, to show that a little mishap, that you overlooked could cause you big problem. My head is installed. I will use Helicoils to repair. That requires drilling and tapping. Metal Shavings! I would not want metal shavings in my freshly rebuilt engine anyplace. I brought a correct T Stat hosing bolt to the local Auto Parts store to match the threads. They sell a complete kit with correct drill bit, Tap, and installation tool. Here we go. Damaged Threads 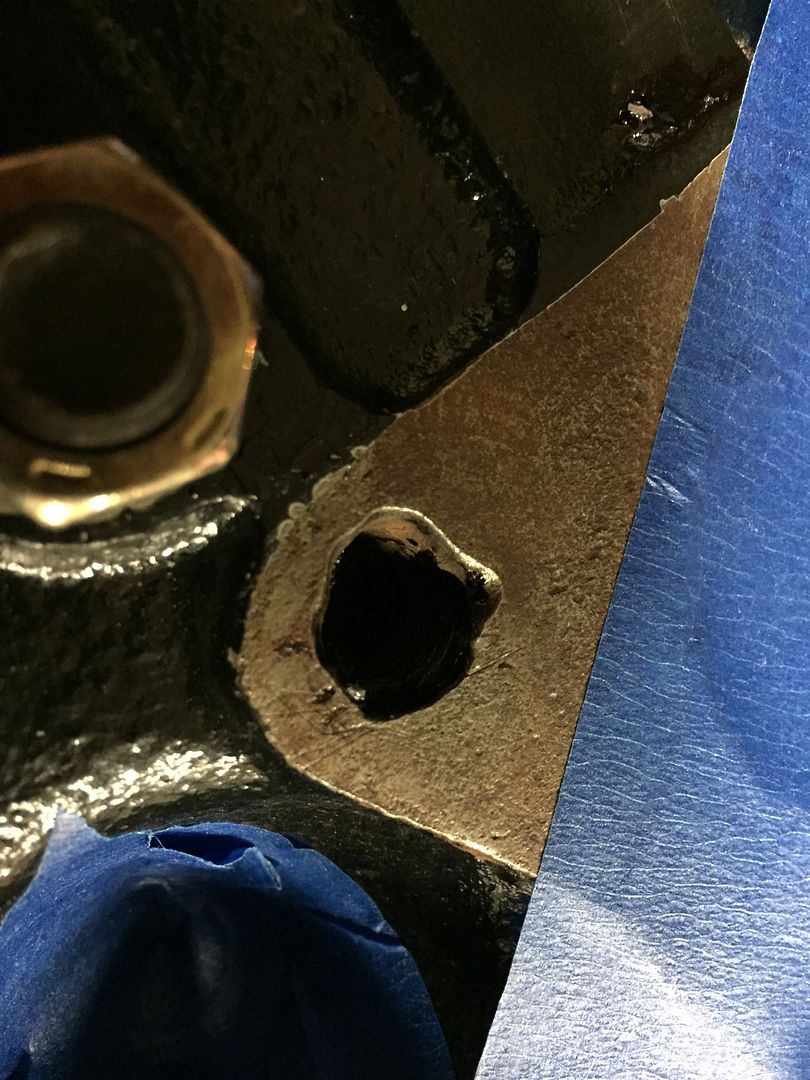 I tape all surrounding area openings with painters tape. 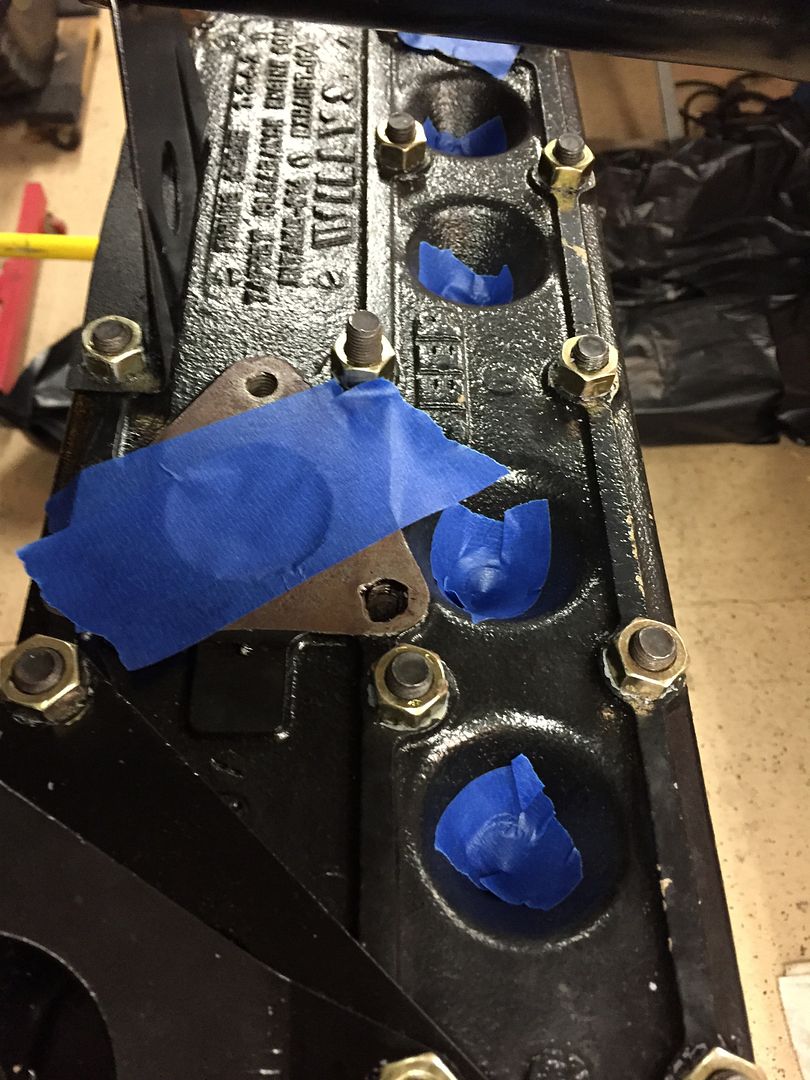 While using the drill bit provided in the Helicoil kit, I use a Shop Vac while I drill. 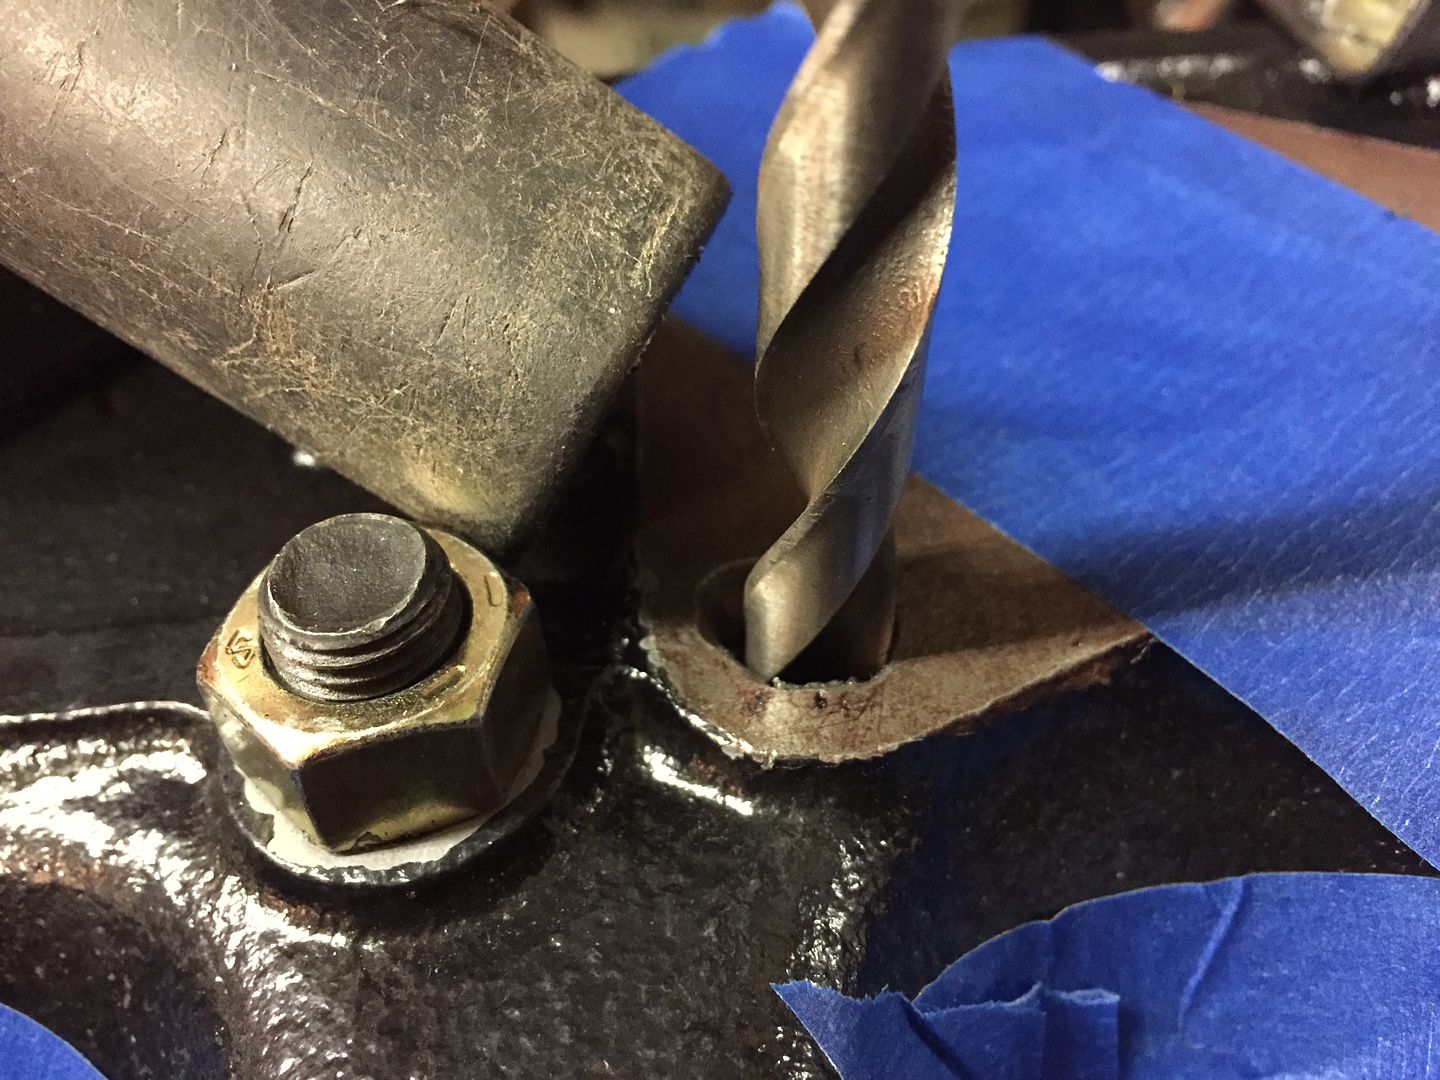 I use the tap provided in the kit as well to thread the drilled hole. 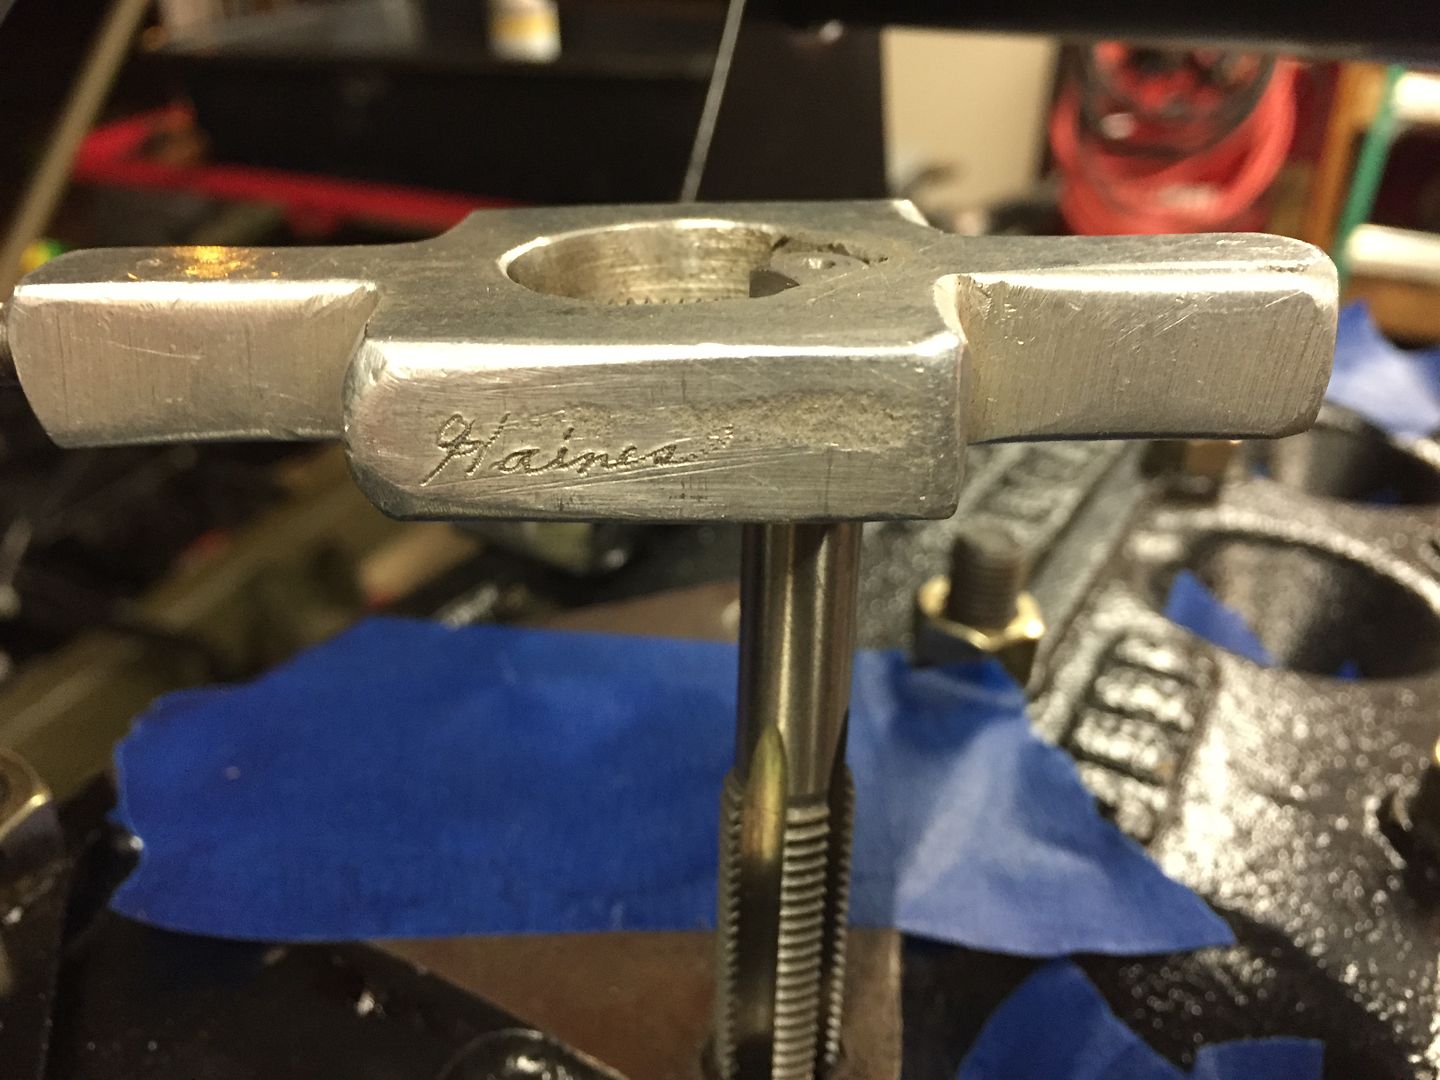 Notice the tap handle. It was My Grandfathers. I believe he made it. 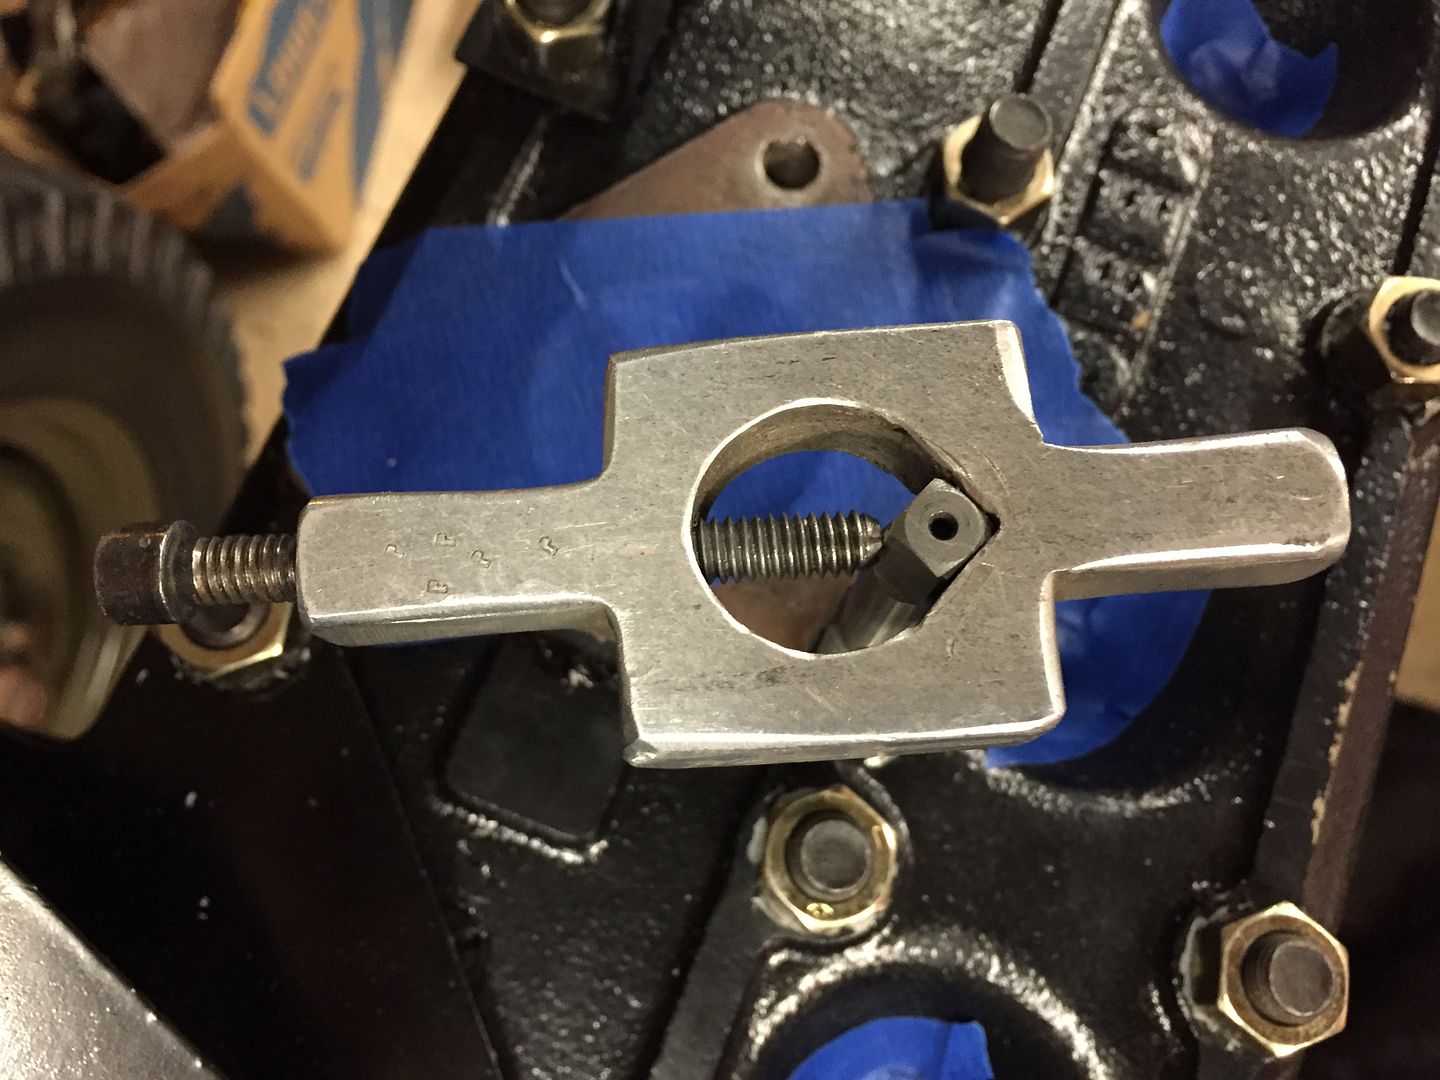 I use the Shop Vac While tapping as well Here are the newly cut threads 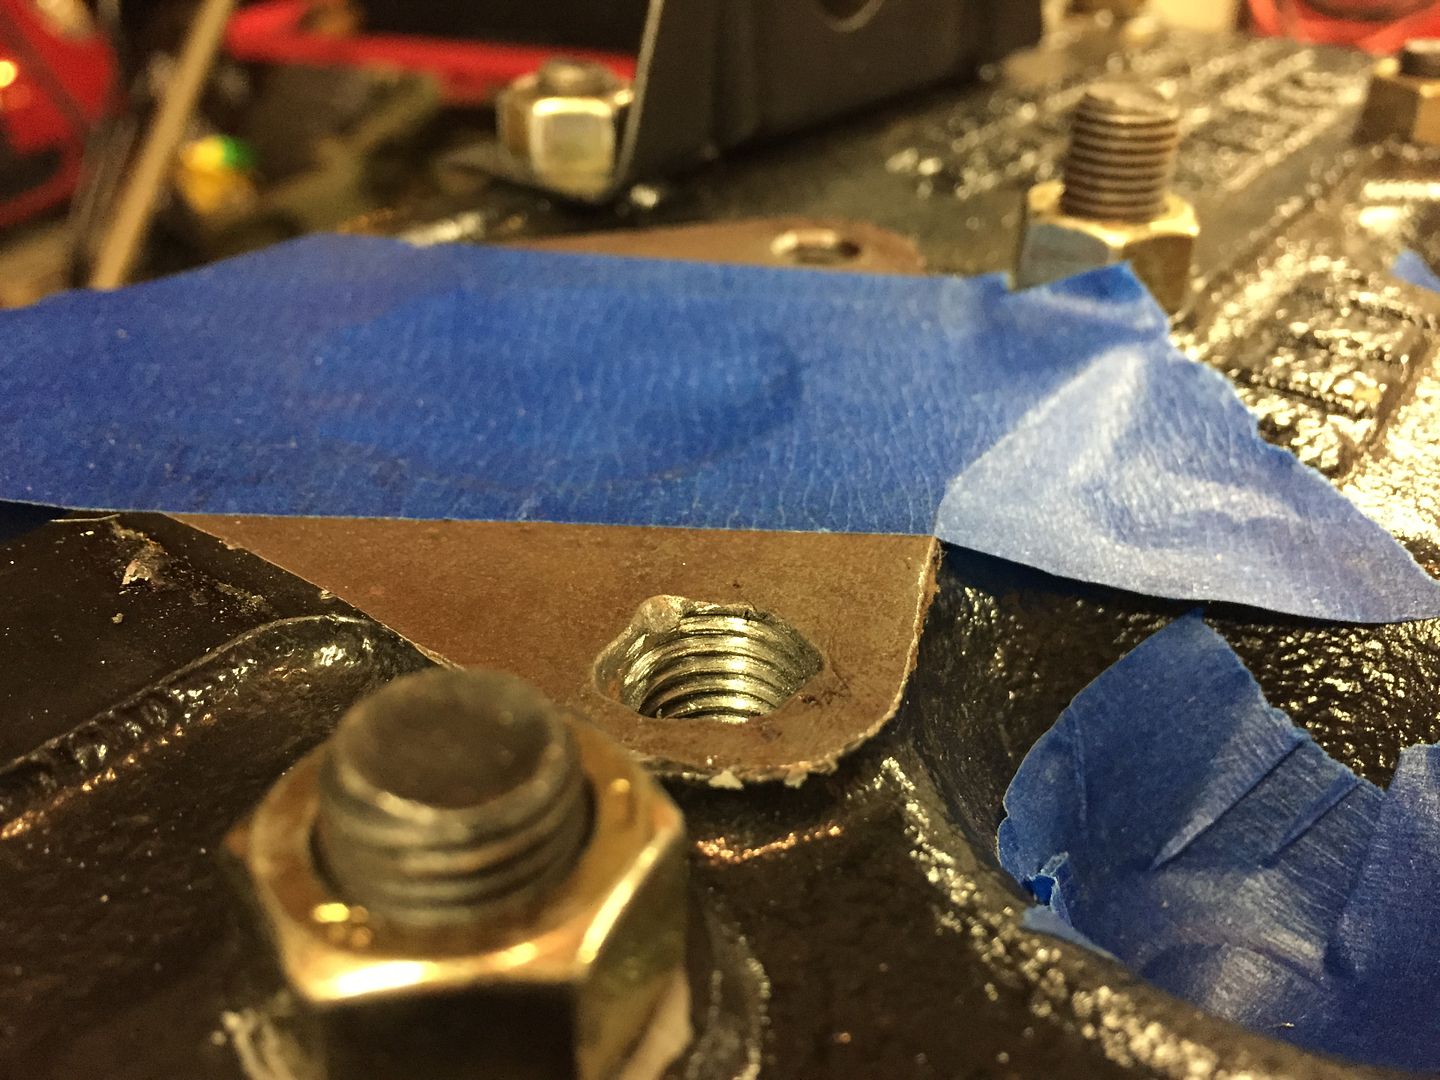 Using the provided installation tool, I turn in the Helicoil to the threads. Then simply unscrew the installation tool. 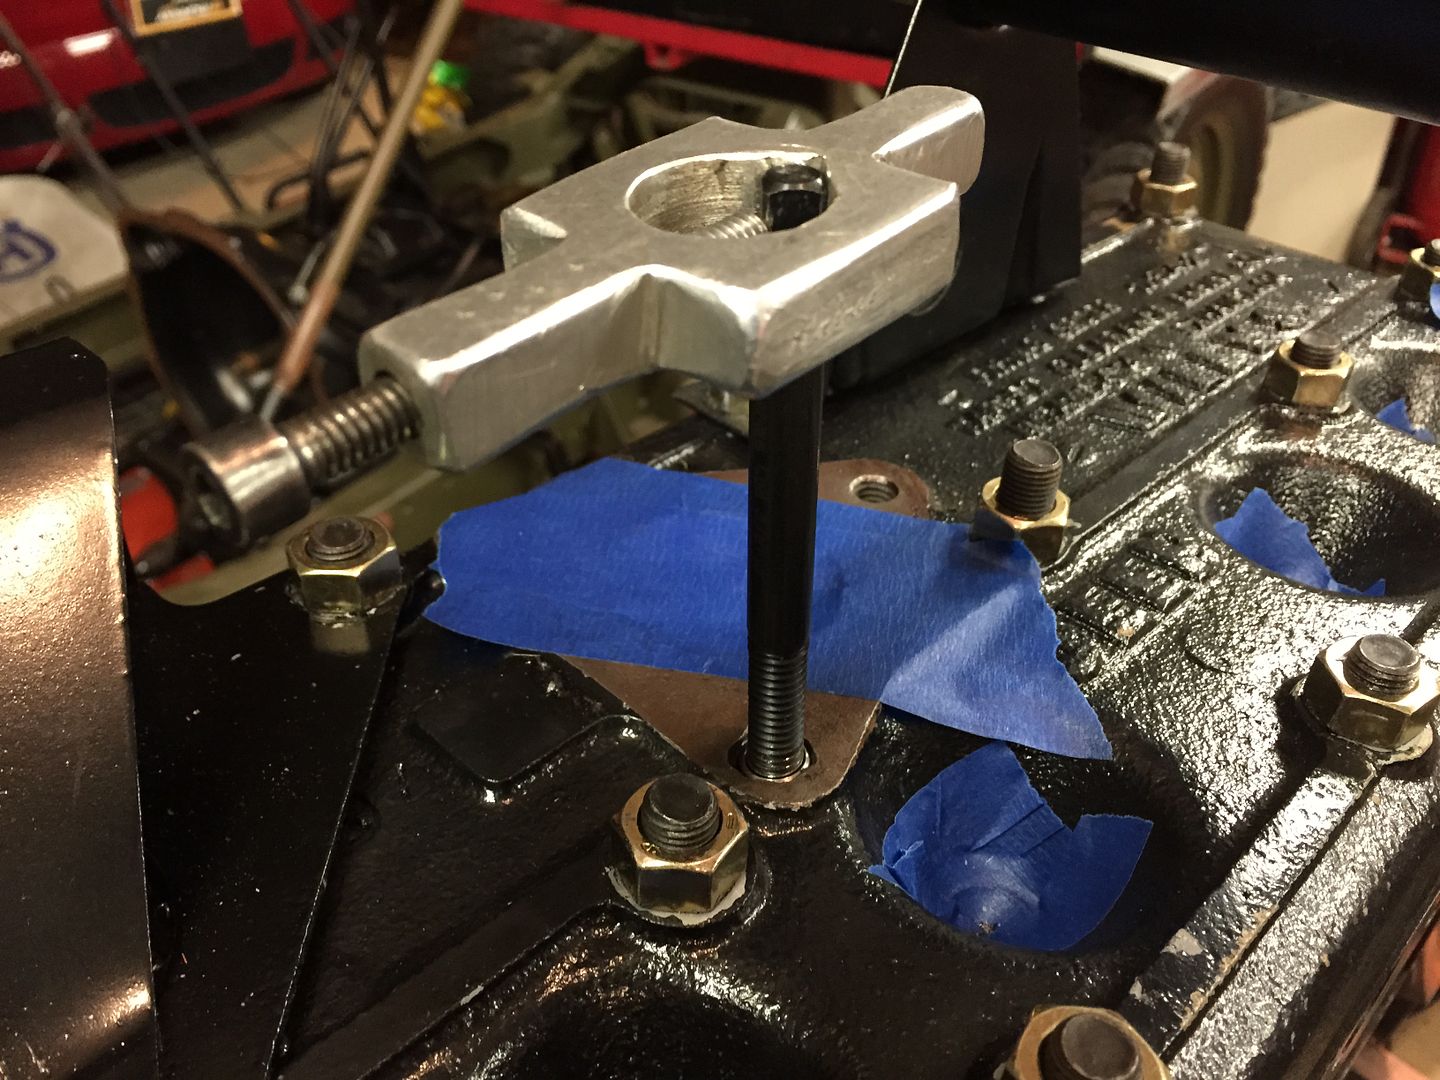 Coil in, and I am done and CLEAN. 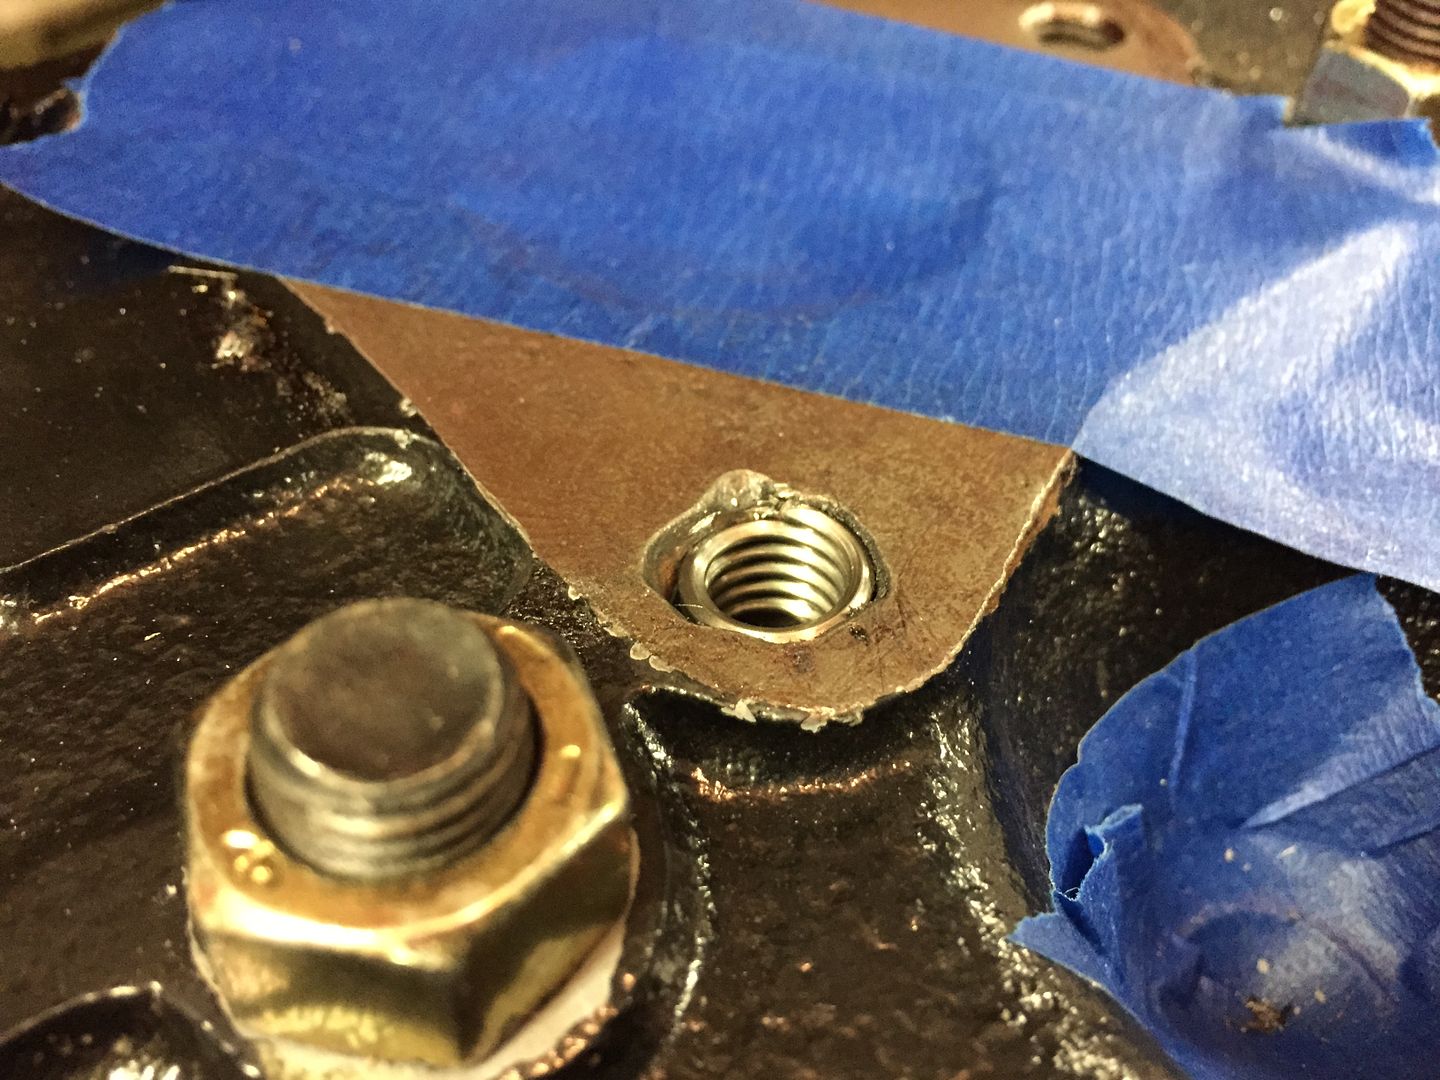 Hope this helps someone out.  |
|
|
|
Post by Haines Garage on Feb 25, 2015 21:01:19 GMT -5
Installing the Oil Pump and Distributor The oil pump, and the distributor are keyed in together. They mesh by means of a groove on the oil pump shaft, and a tongue on the shaft of the distributor. The tongue on the distributor, and the slot are both machined off center, so they only mesh correctly one way. Correct positioning of these two items is critical in the timing of the engine. The oil pump and distributor are driven by teeth on the camshaft. Engine is at Top Dead Center. A close set is achieved as follows. Final timing adjustment will be made in the future. Oil Pump studs installed. 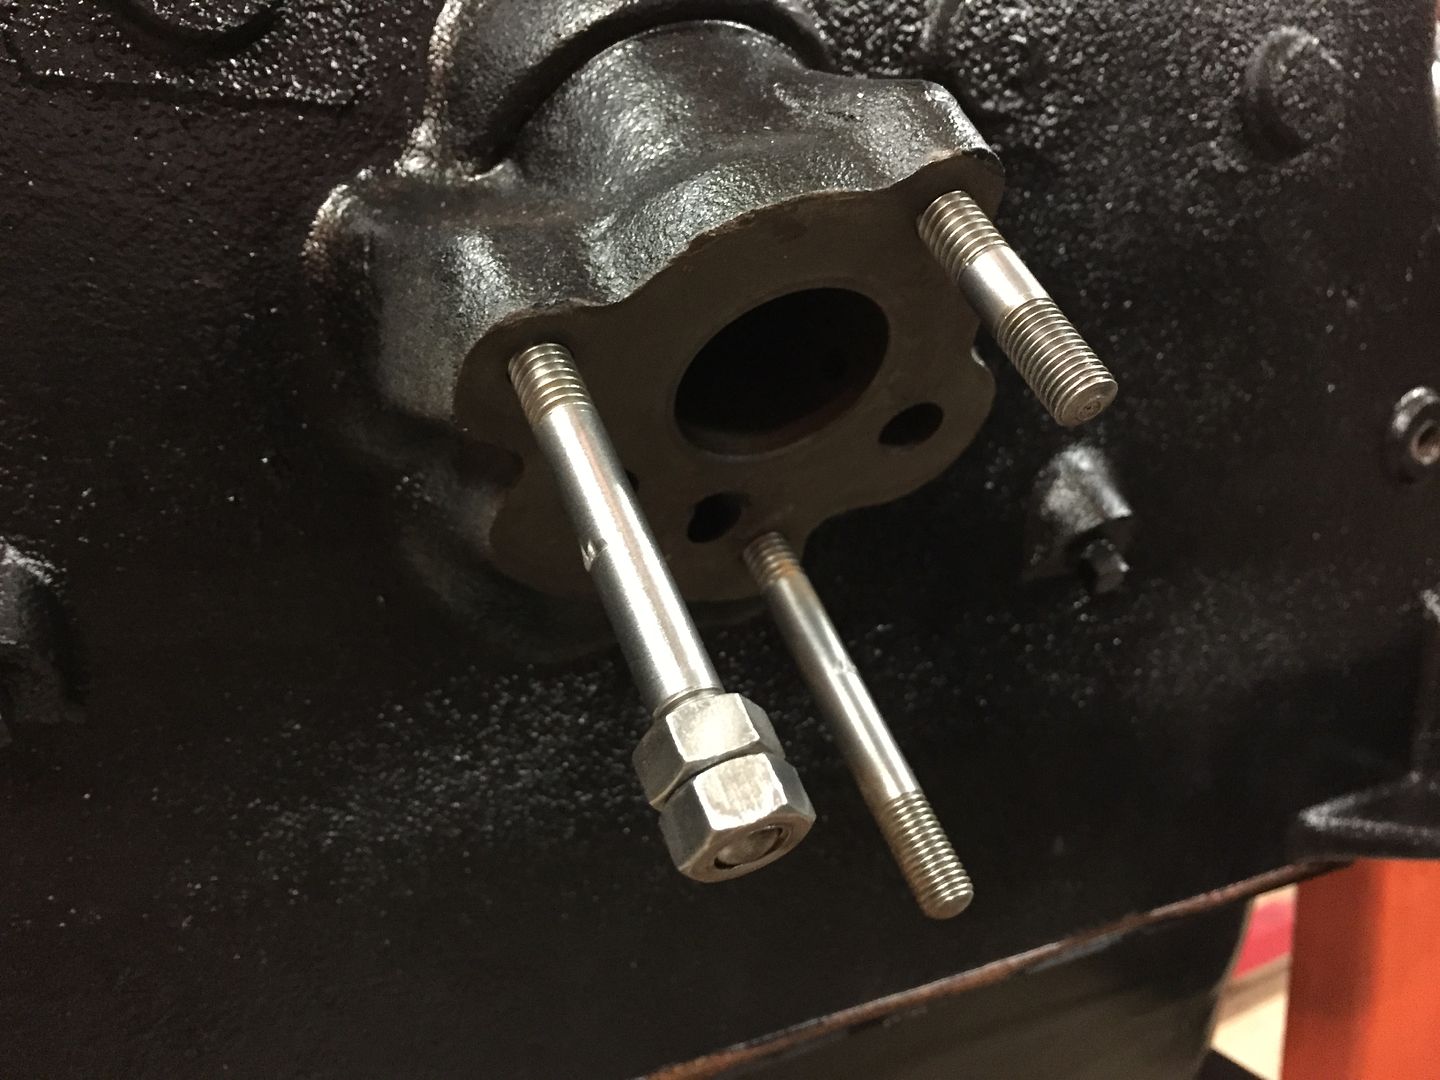 Install the oil pump and gasket dry. I use a bolt to hold it in place. 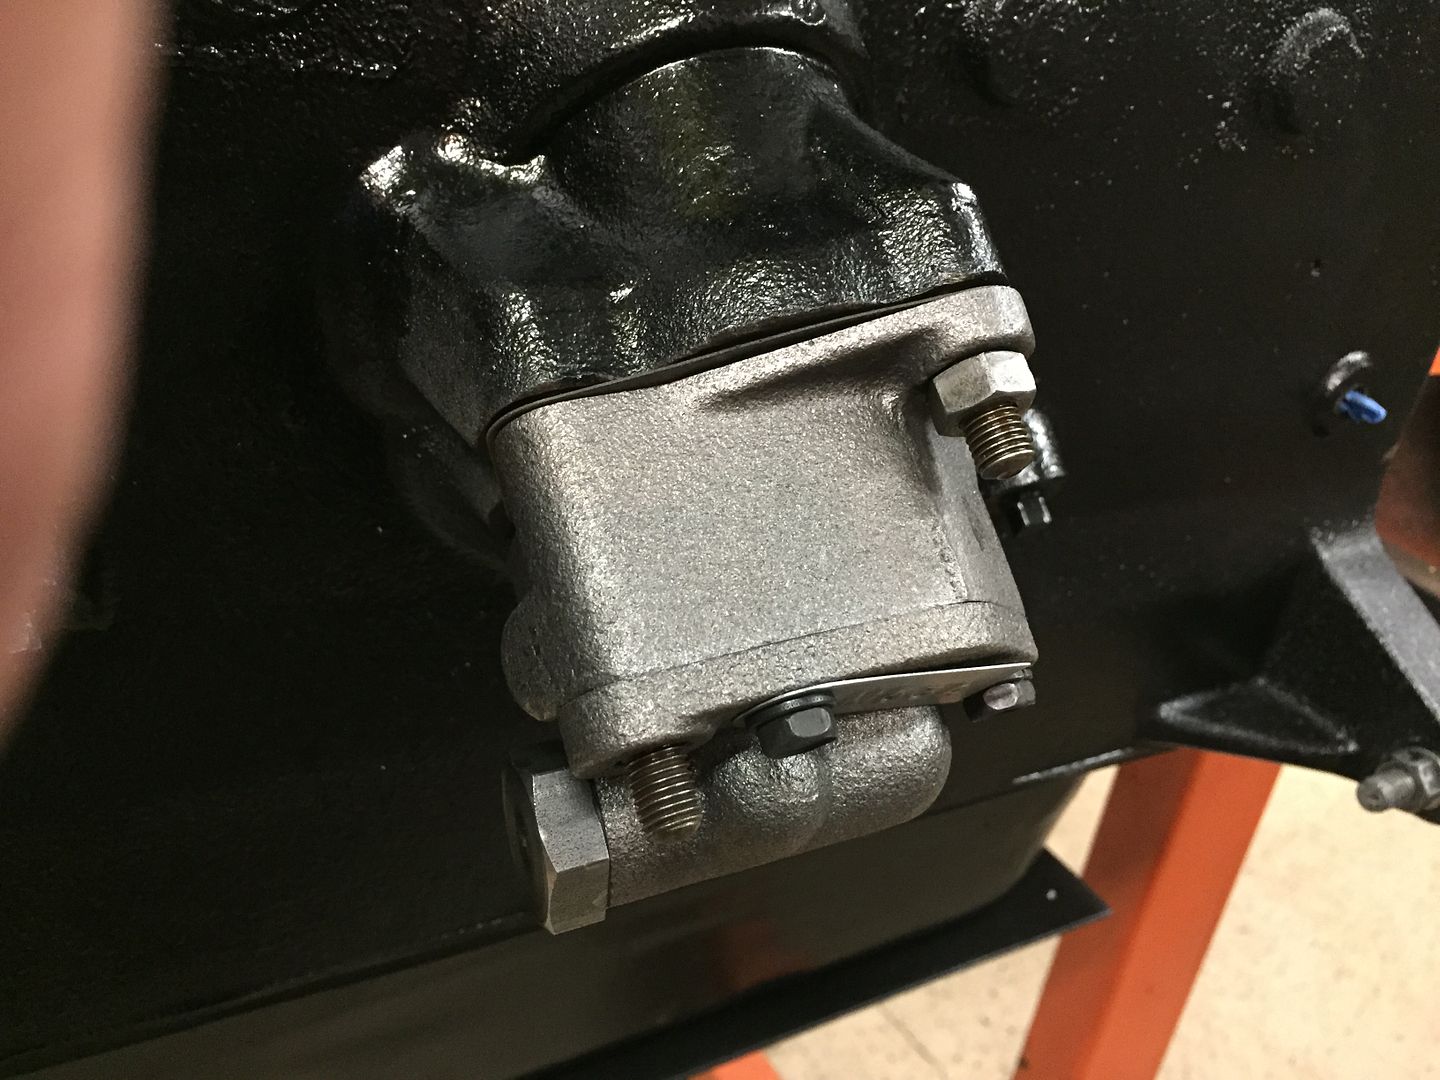 Loosen the bolt holding the oil pump to the point the gears on the pump and the camshaft are free. Looking down the distributor bore on the block, turn the slot with a long straight blade screwdriver, to move the slot to the 9 o'clock position. Then press the oil pump back into the block. The slot orientation should be at the 11 o'clock position. 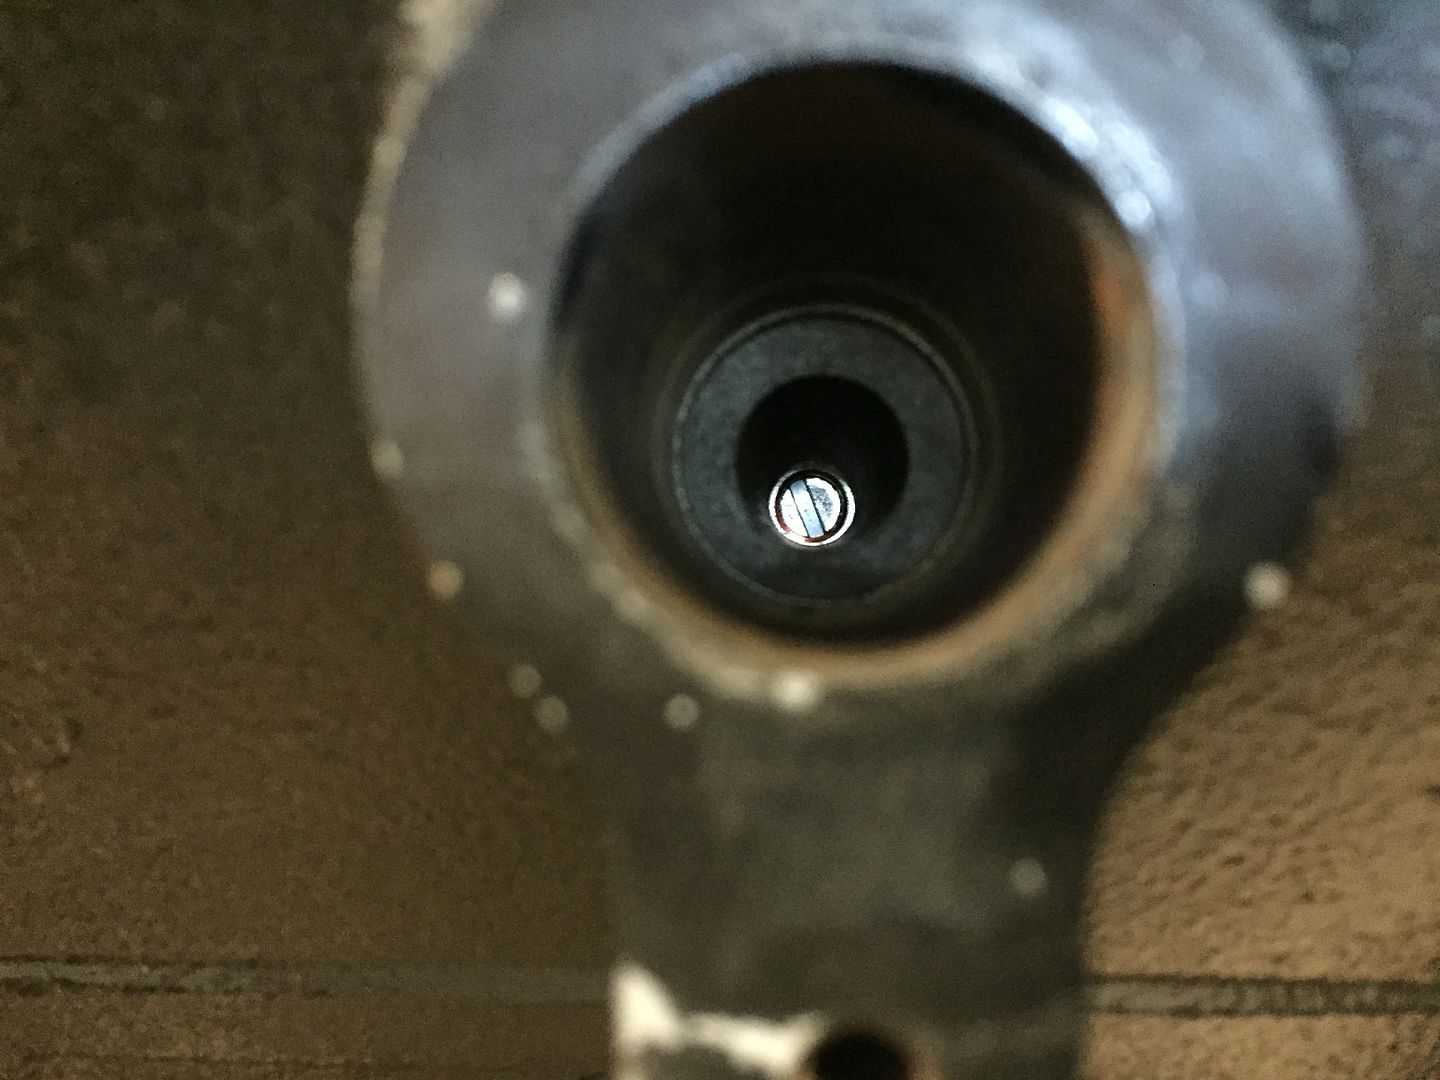 Note the position in the photo of the heavier or fatter side of the slot. |
|