|
|
Post by Haines Garage on Jan 22, 2016 12:21:18 GMT -5
|
|
|
|
Post by Haines Garage on Jan 22, 2016 12:23:56 GMT -5
Painted and installed the hood blocks. Those are the ones you sent me a long time ago Jimbo! I'm digging it. 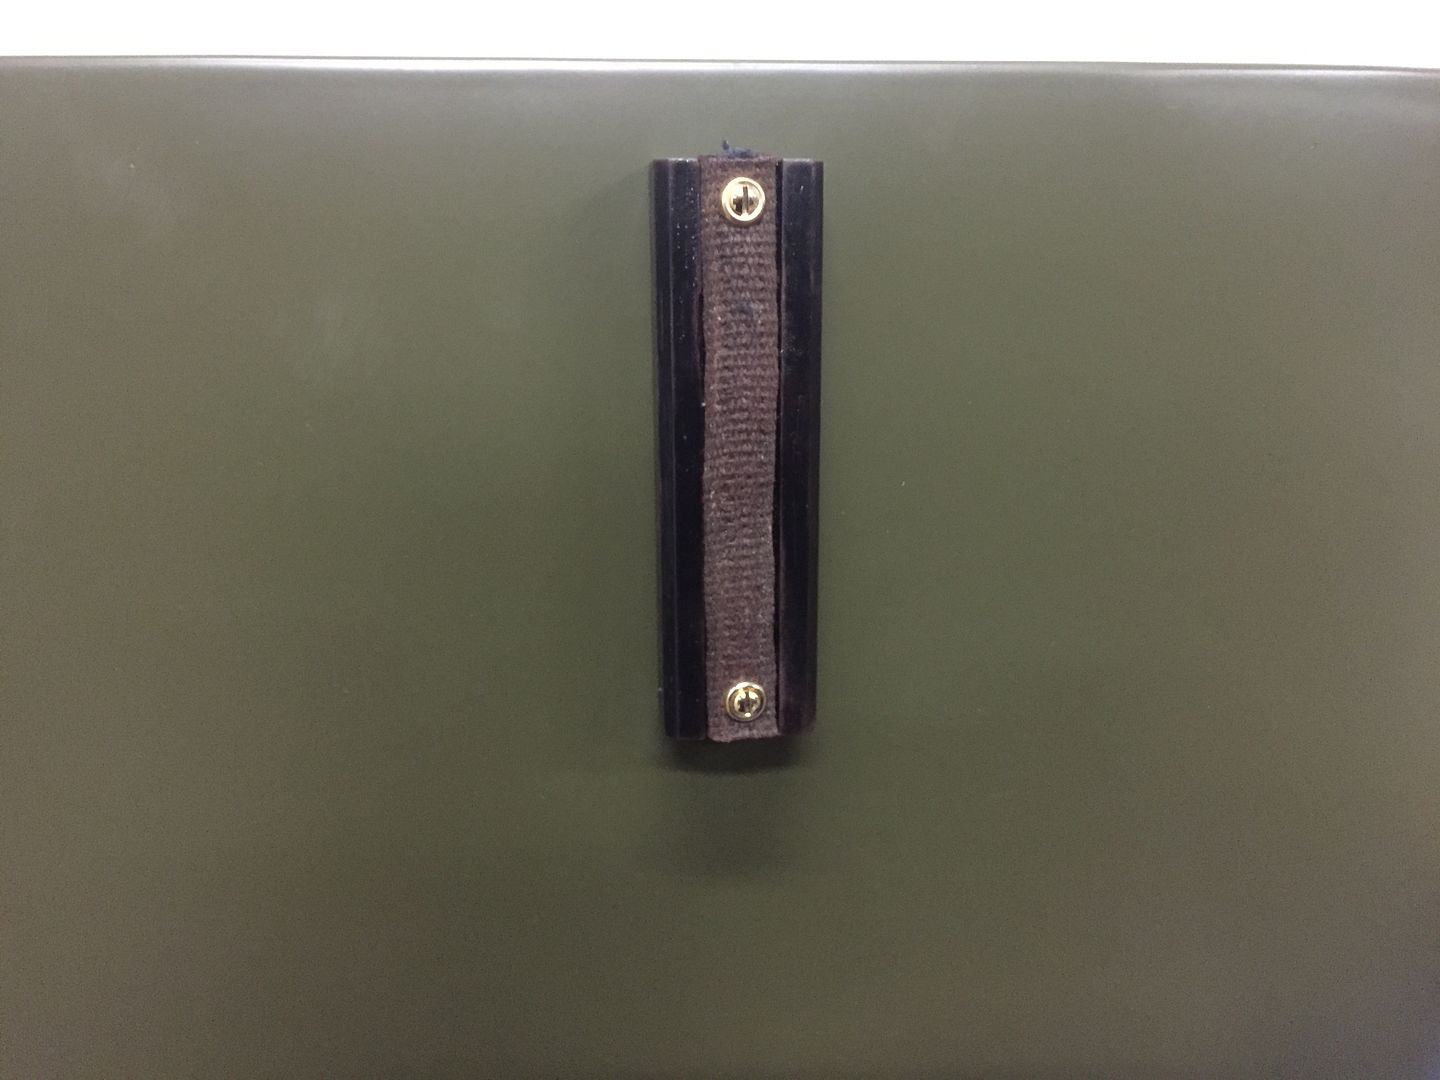 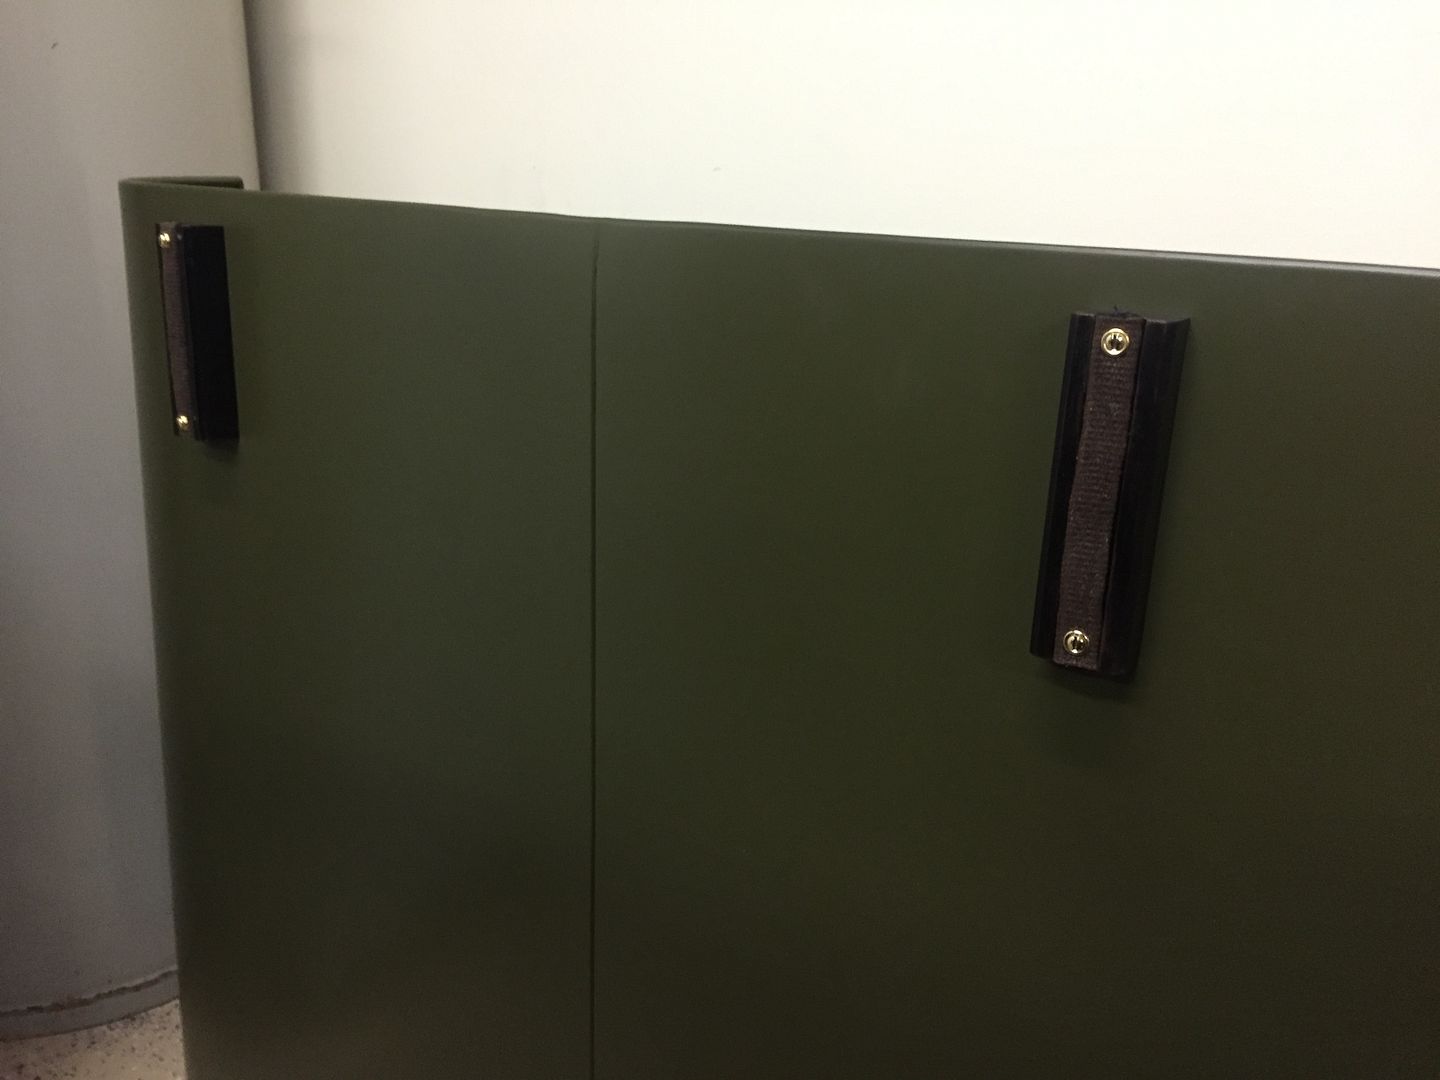 |
|
|
|
Post by surveypunk on Jan 22, 2016 15:28:03 GMT -5
That's just bitchin'! A part of me lives in Chuck Town.  JB |
|
Deleted
Deleted Member
Posts: 0
|
Post by Deleted on Jan 22, 2016 15:37:10 GMT -5
They do look good! When you get a chance, touch a small flame to the cut frayed ends to solidify them and reduce further fraying.
|
|
Deleted
Deleted Member
Posts: 0
|
Post by Deleted on Jan 22, 2016 18:38:32 GMT -5
Good job on the welding there Mr. Haines. That is as good as it gets. Now you need a WW2 first aid kit bracket and kit to mount behind the tag you just installed. Look up WW2 Jeep first aid kit. I anxious to take you up red cut and break in that Willys or Willis!  Did I just say that? |
|
Deleted
Deleted Member
Posts: 0
|
Post by Deleted on Jan 22, 2016 23:21:49 GMT -5
Good job on the welding there Mr. Haines. That is as good as it gets. Now you need a WW2 first aid kit bracket and kit to mount behind the tag you just installed. Look up WW2 Jeep first aid kit. I anxious to take you up red cut and break in that Willys or Willis!  Did I just say that? Yes you did! Freudian slip! WILLIS!  |
|
|
|
Post by Haines Garage on Jan 24, 2016 19:51:47 GMT -5
|
|
Deleted
Deleted Member
Posts: 0
|
Post by Deleted on Jan 24, 2016 21:40:07 GMT -5
Interesting!........ One question on hood blocks, are the ww2 ones as high as 2A ones, I should know this but too lazy to look.
|
|
|
|
Post by Haines Garage on Jan 28, 2016 19:16:12 GMT -5
Check out these hood bolts. 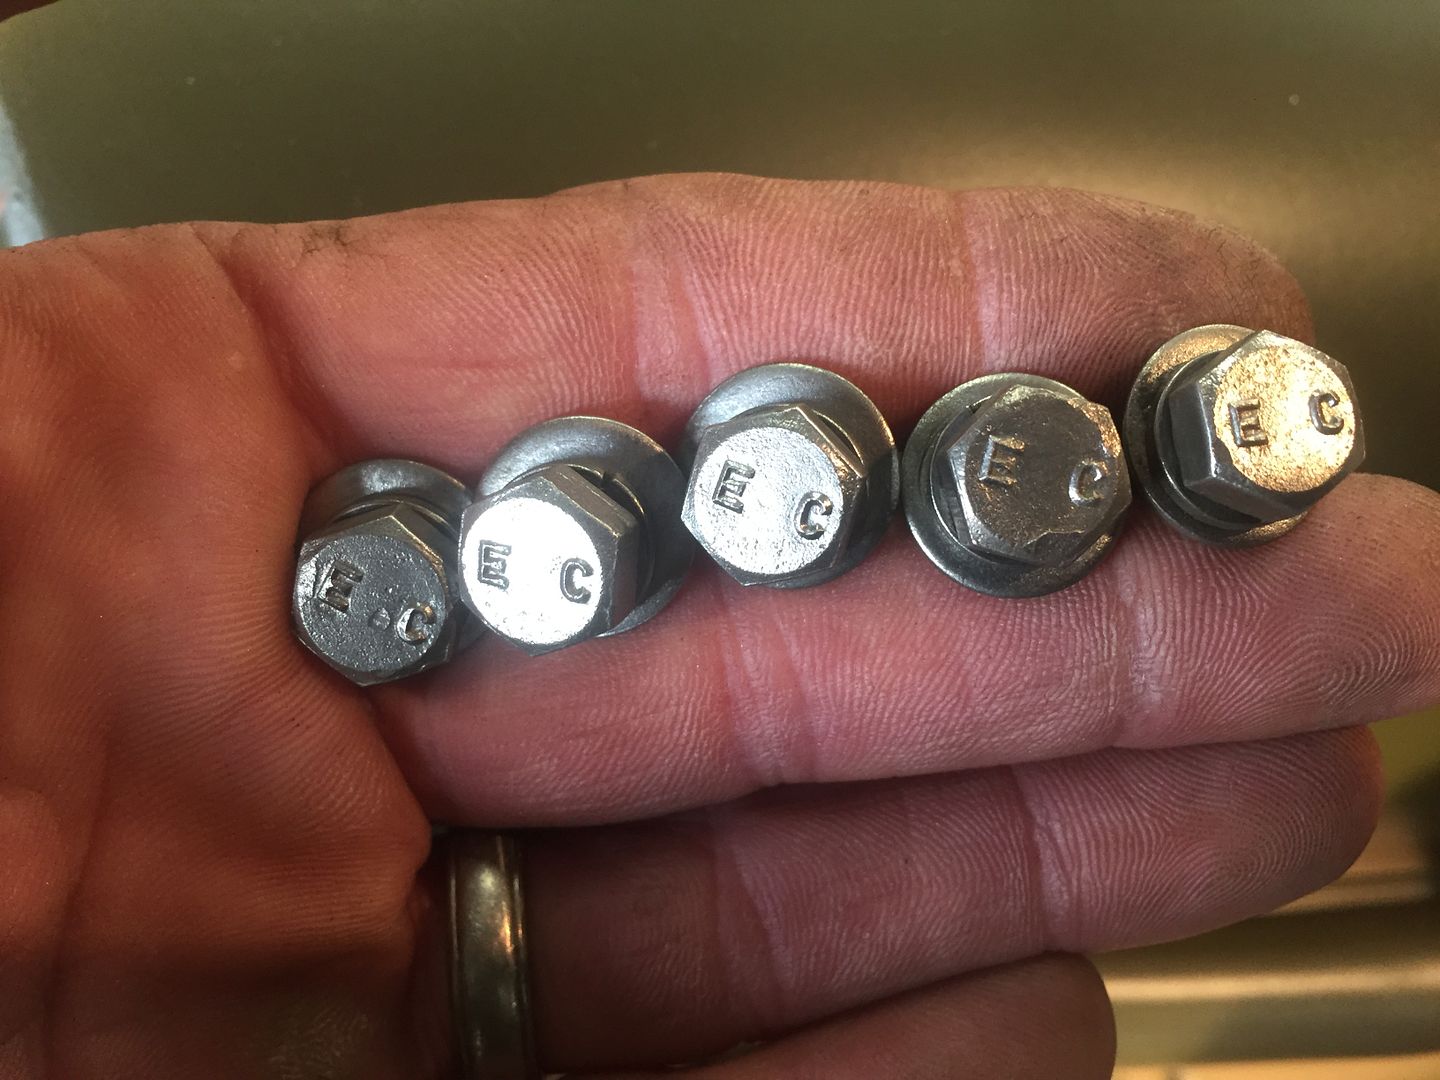 |
|
|
|
Post by Haines Garage on Jan 28, 2016 19:18:36 GMT -5
|
|
|
|
Post by Haines Garage on Jan 30, 2016 20:36:27 GMT -5
|
|
Deleted
Deleted Member
Posts: 0
|
Post by Deleted on Jan 31, 2016 4:42:33 GMT -5
Too purdy!
|
|
|
|
Post by athawk11 on Jan 31, 2016 8:22:51 GMT -5
It looks very nice. What's left? Time to make a list...then knock it out.
Did you ever get the gas tank worked out?
Tim
|
|
|
|
Post by Haines Garage on Jan 31, 2016 10:03:32 GMT -5
It looks very nice. What's left? Time to make a list...then knock it out. Did you ever get the gas tank worked out? Tim Thanks Tim, And that is exactly what I did. Made a list, checked it twice. I have a goal to be finished for something special in mid March. The gas tank.......ummmmm it's on said list. |
|
|
|
Post by Haines Garage on Feb 8, 2016 23:53:16 GMT -5
I have been diligently working on all the small items that need to be finished . Still much to be done. I have been frustrated by things like crimp style electric fasteners on my turn signal switch. Those things SUCK!! Before you pass judgment, go to any auto parts store. Ask them for soldierable connectors. You will get the Deer in the headlights look. Yeah just when you think you are done. I talked with Ron Fitzpatrick today, and put together what I believe should be my final order for a while. Always nice to talk with him. He is a pleasant and down to earth guy. He is including in my order, a one of a kind ....that's right , only one exists, item. Don't be Jelloness.....   One of the items is a new gas tank sending unit. I need that before the seats go in. Always something... My wife just commented to me....She sees me typing.. "I'm glad your so important!" I am not, but the Willys is... Time to check out.......  |
|
Deleted
Deleted Member
Posts: 0
|
Post by Deleted on Feb 9, 2016 5:19:51 GMT -5
Here is some impetus for you. Imagine this as a lead in; Or this |
|
|
|
Post by Haines Garage on Feb 13, 2016 21:35:51 GMT -5
Has been a busy day today. Restored an original drivers side seat mount and welded it in place . 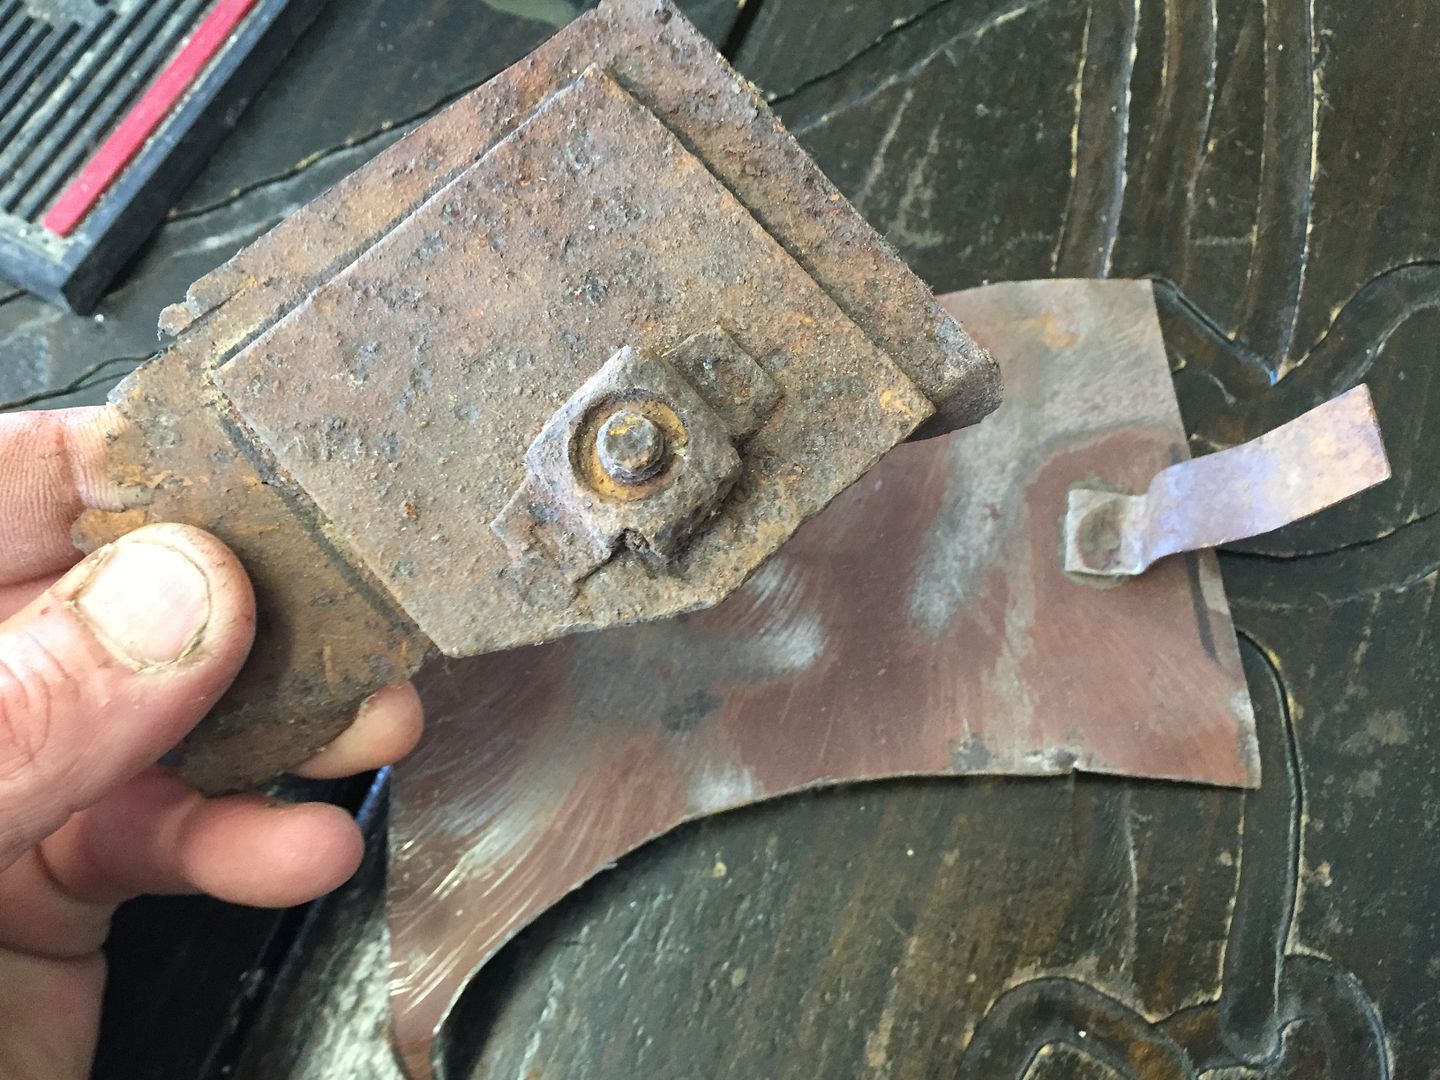 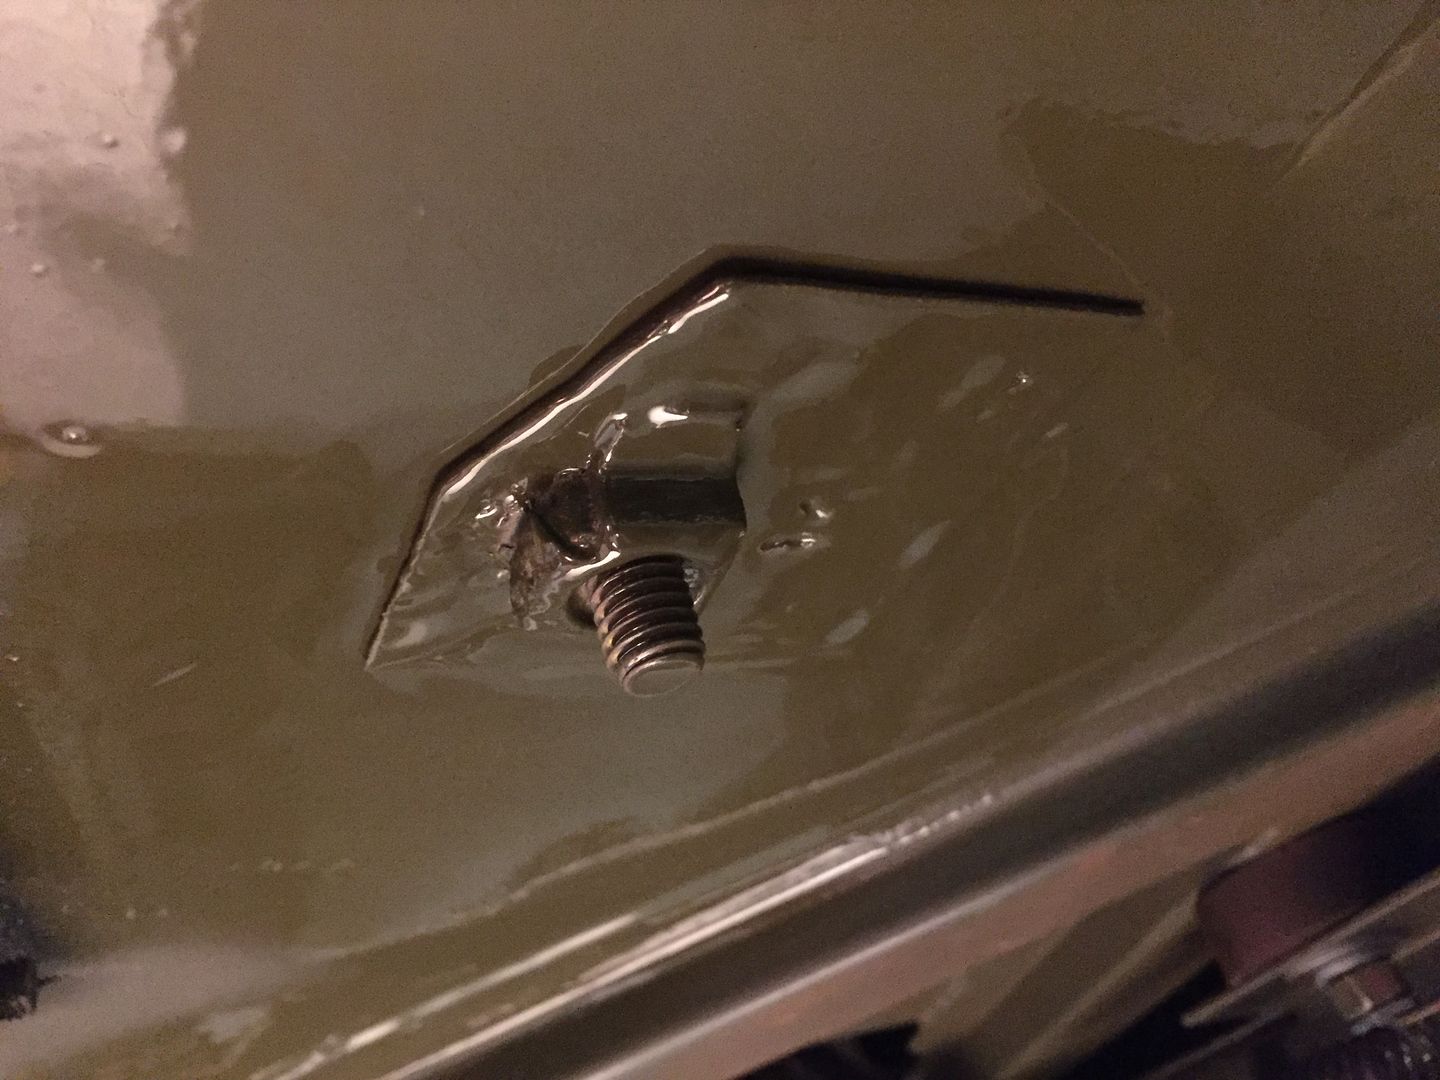 The paint is still wet in this pic. Installed the fuel sending unit and installed the gas tank. 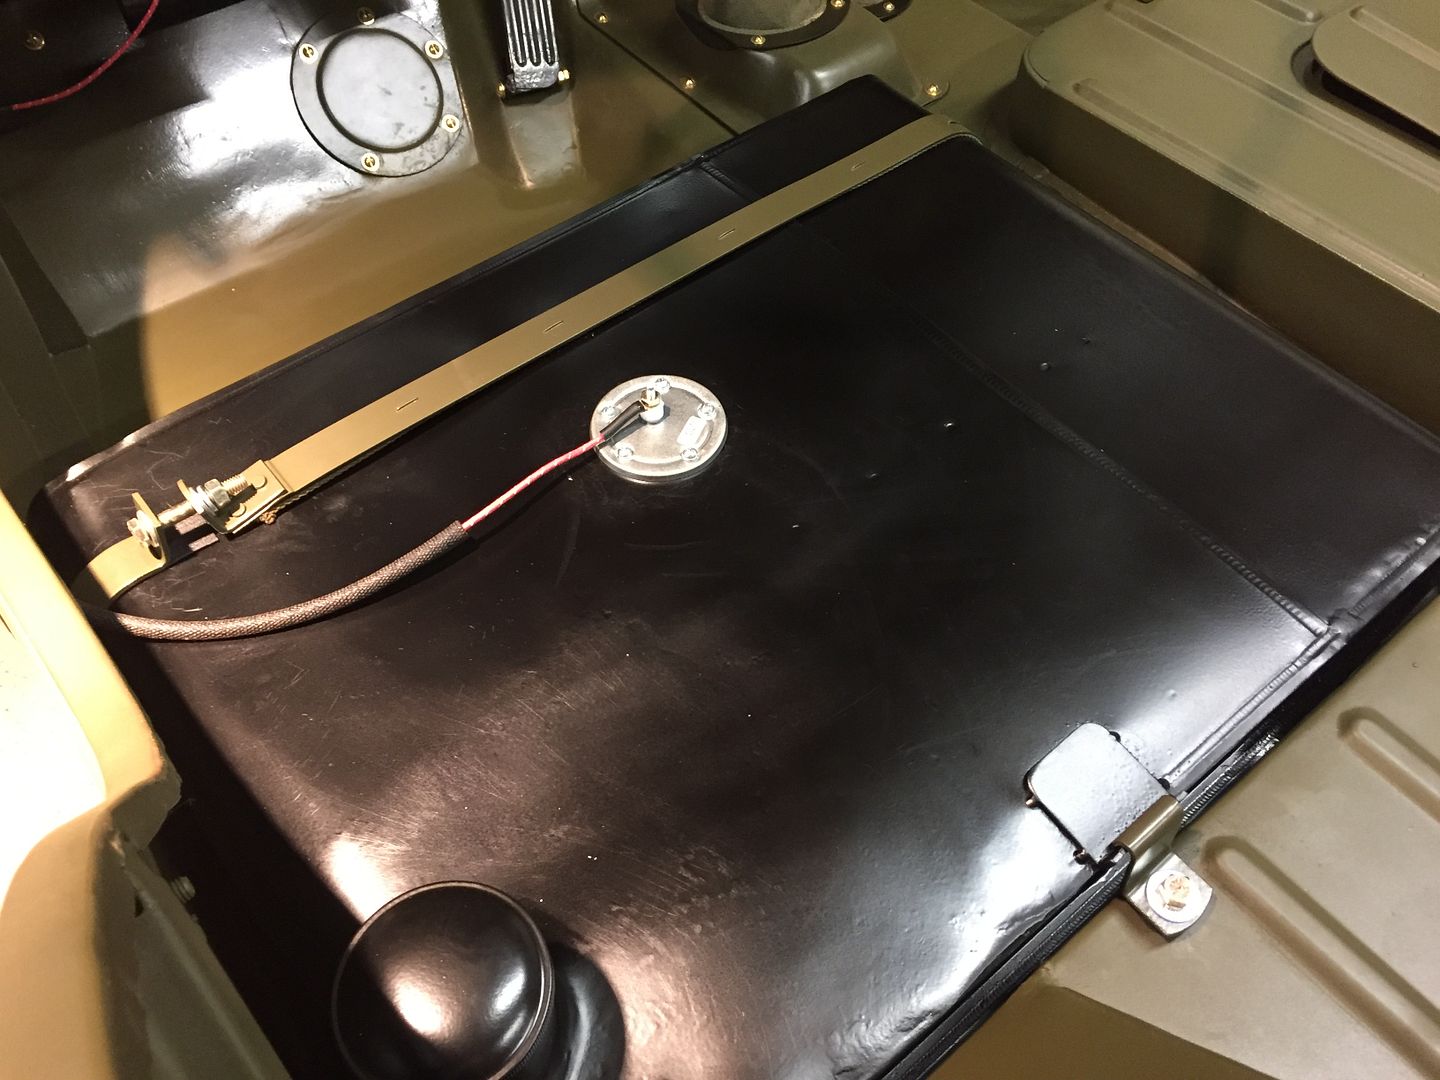 Installed the front seats... 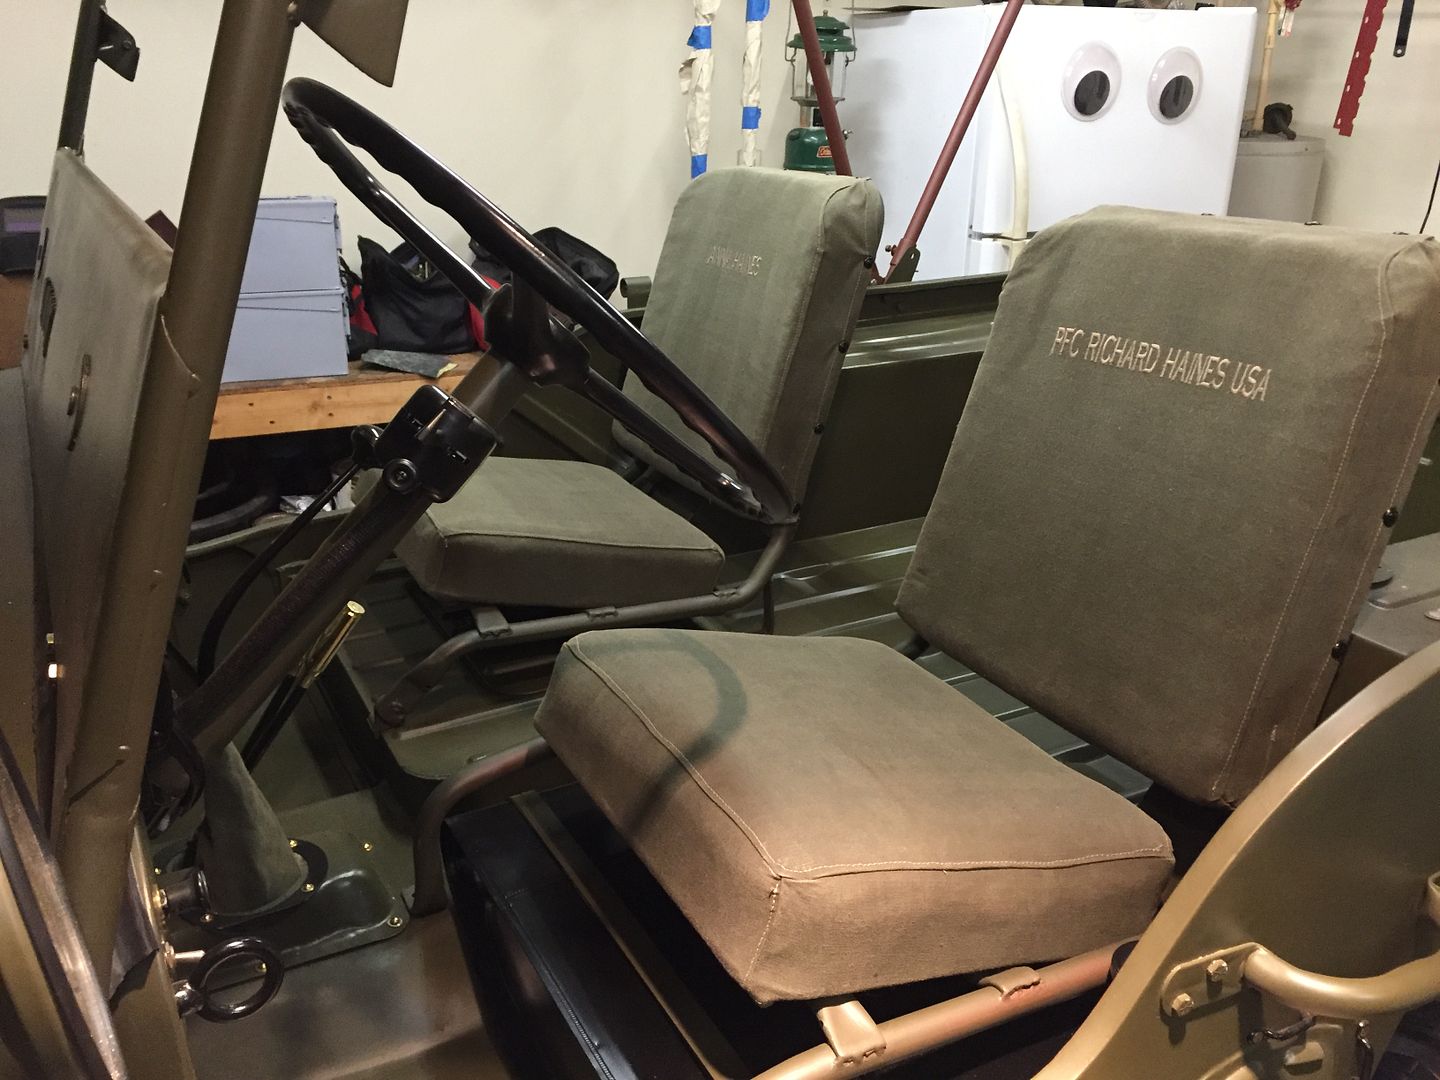 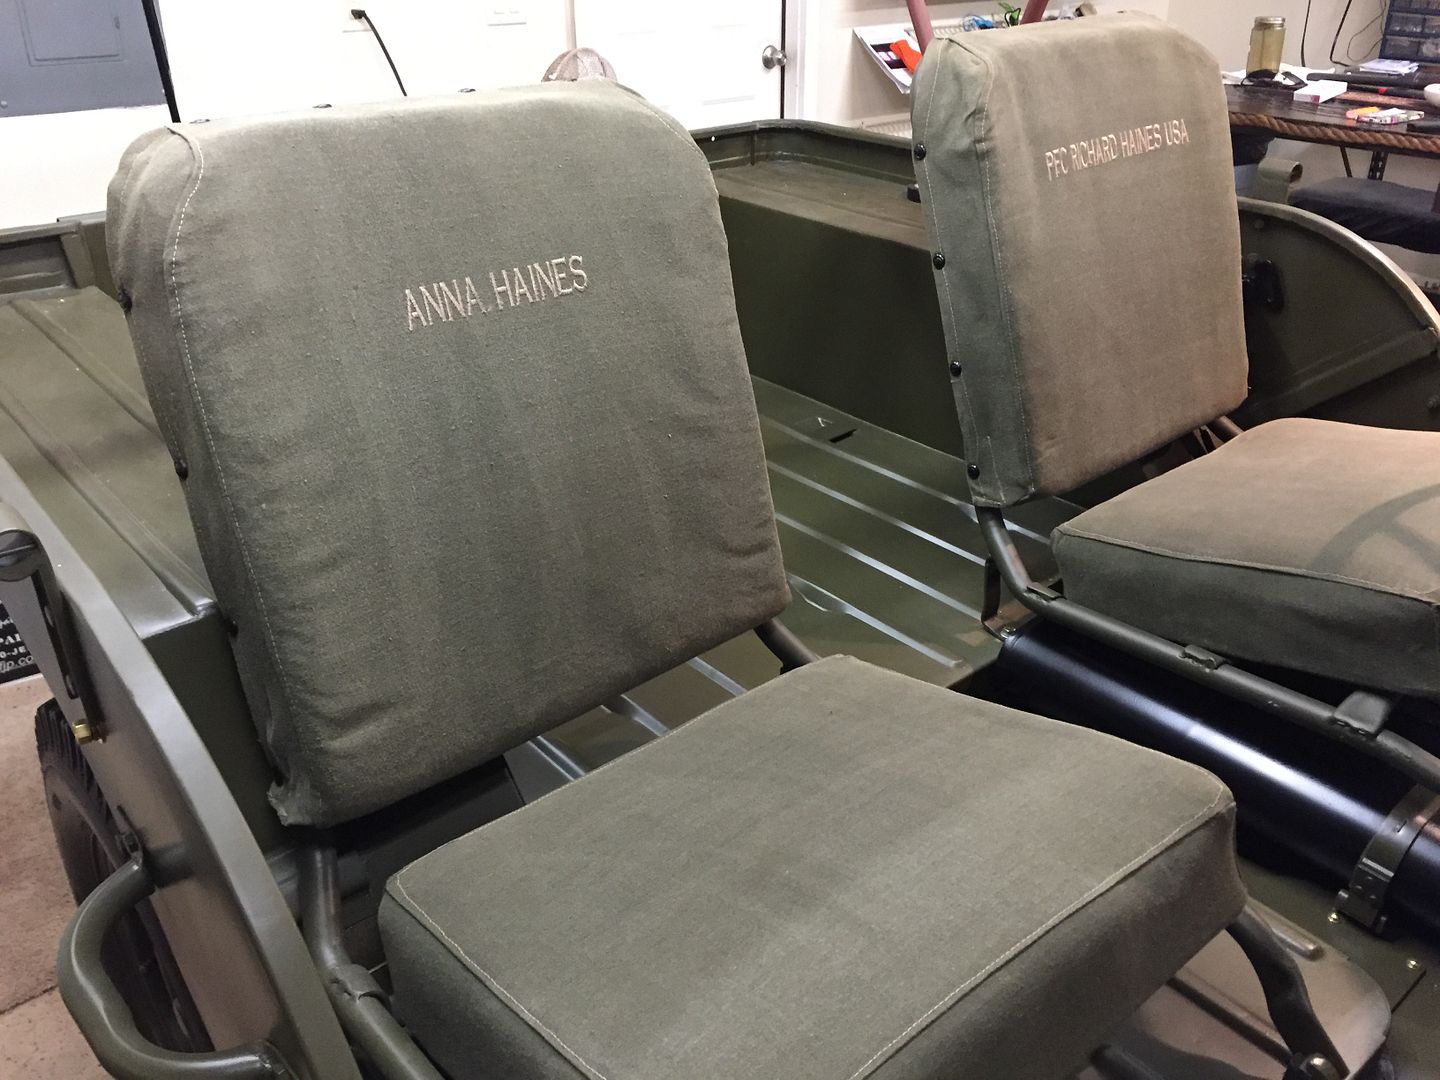 It has been a long time since I sat in Grandpas Jeep. |
|
|
|
Post by Haines Garage on Feb 13, 2016 21:37:58 GMT -5
The filler tube for the gas tank should work out nicely. 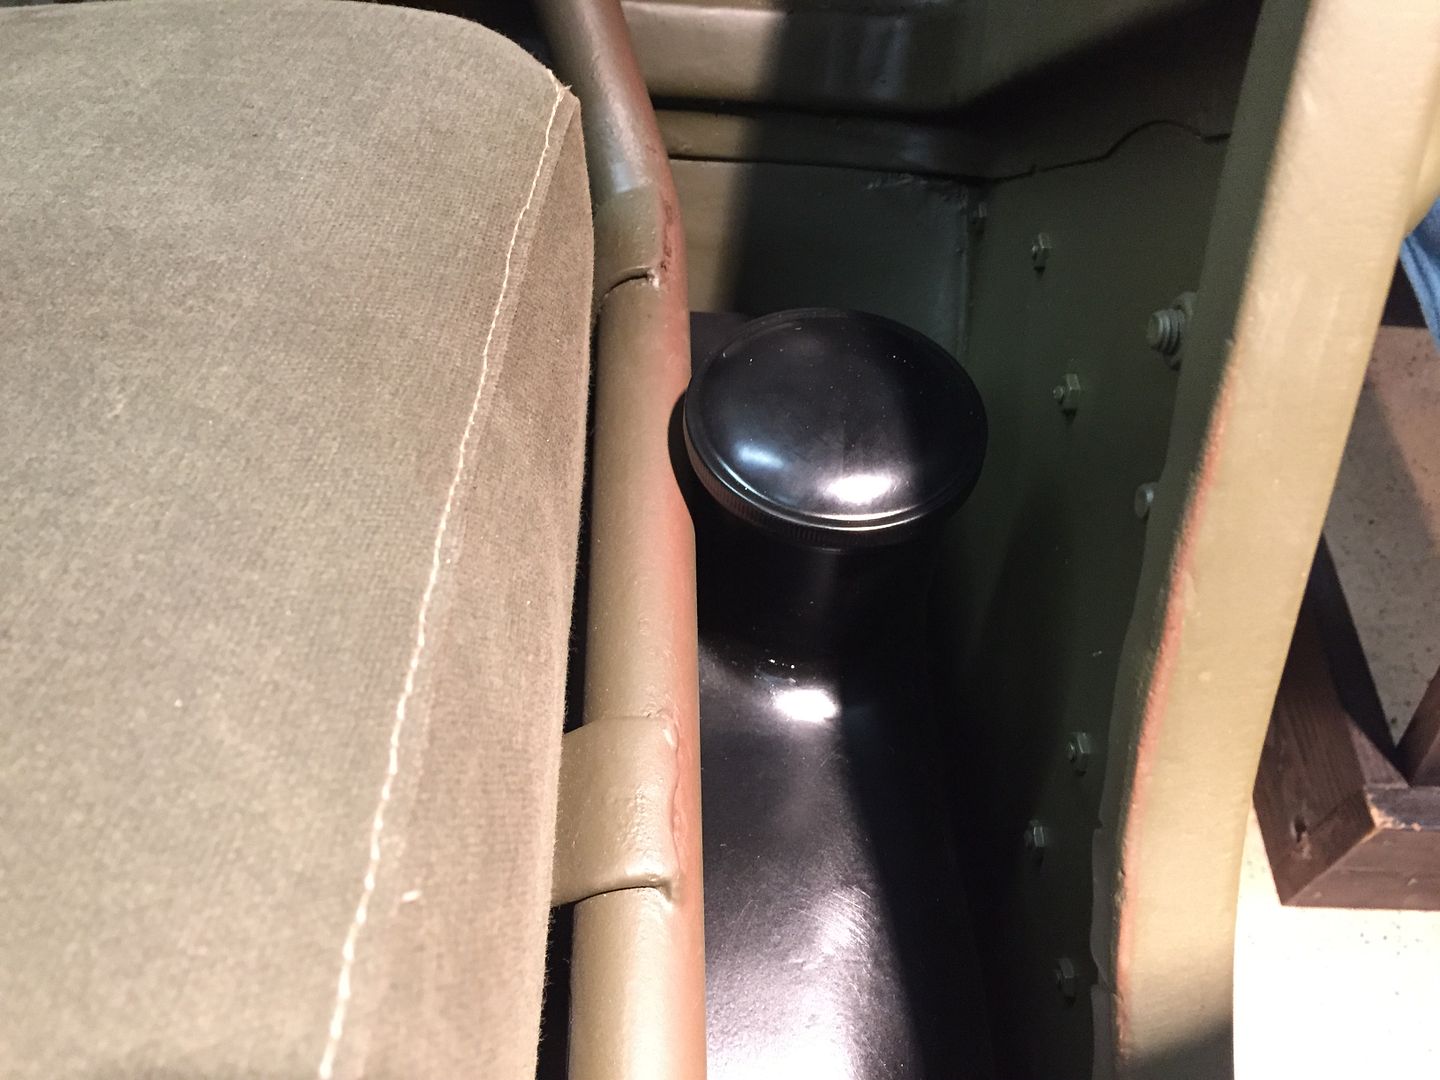 And sitting in the saddle again!! 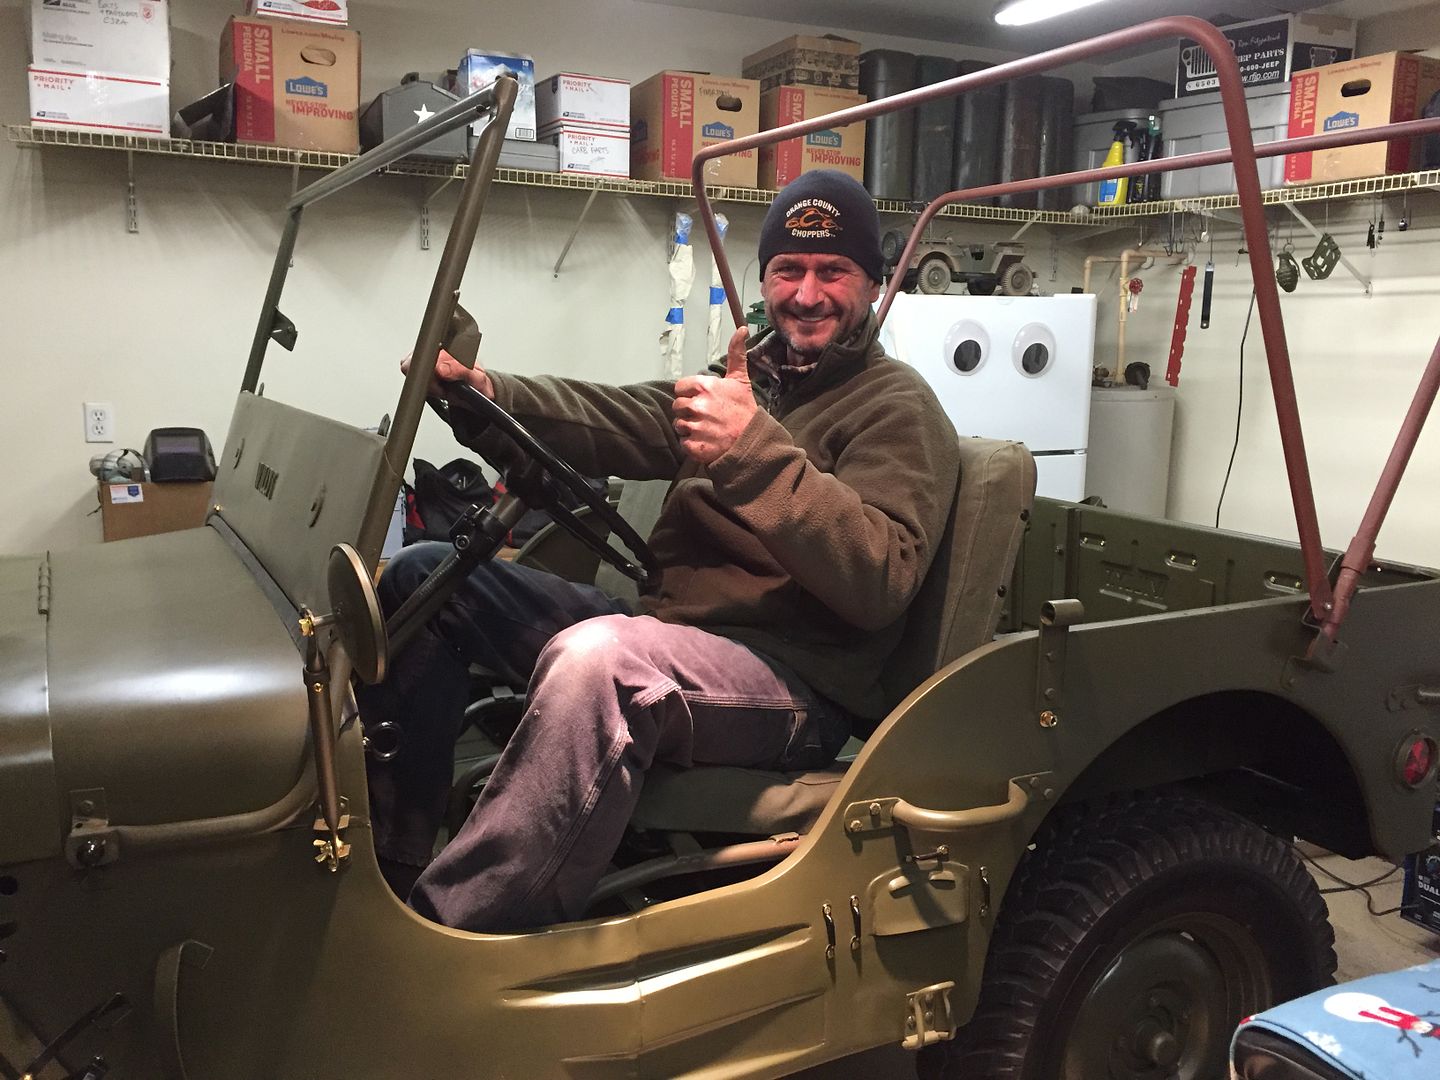 |
|
|
|
Post by zooke581 on Feb 13, 2016 21:43:59 GMT -5
Gettin' close to muddin' time.  |
|
|
|
Post by Haines Garage on Feb 13, 2016 22:06:33 GMT -5
Gettin' close to muddin' time.  You think I won't, but I will!!! Well maybe... |
|
|
|
Post by zooke581 on Feb 13, 2016 22:32:40 GMT -5
Gettin' close to muddin' time.  You think I won't, but I will!!! Well maybe... Just start out with small puddles and work your way up. That way it won't hurt so much.  |
|
Deleted
Deleted Member
Posts: 0
|
Post by Deleted on Feb 14, 2016 4:47:42 GMT -5
 It’s starting to look like a Jeep. It’s starting to look like a Jeep.
|
|
Deleted
Deleted Member
Posts: 0
|
Post by Deleted on Feb 14, 2016 6:39:16 GMT -5
Two checks: make sure the filler neck surface the gas capseals on is nice and flat so the cap seals or you'll have a wet left side. Secondly, you need a ground wire from a sender screw to a good ground point like the tank or seat holding bolt in the floor. The sender needs a ground. Paint doesn't ground well. Your fuel line may be doing all the grounding. That said, the plastic float most likely will be back to haunt you. Oh, my hearing aid works well. Pascal said Willys the correct way!  |
|
|
|
Post by Haines Garage on Feb 16, 2016 21:50:50 GMT -5
|
|
Deleted
Deleted Member
Posts: 0
|
Post by Deleted on Feb 19, 2016 15:08:46 GMT -5
Hey...numbnutz...here is what you are looking for: lift the dotThese are your WWII style. You can probably find cheaper versions somewhere else that would be perfect for you. You might even be able to find them in brass. windshield studsYou will need something like these for your canvas top... washers and eyelets |
|