|
|
Post by Haines Garage on Nov 9, 2013 20:18:59 GMT -5
|
|
|
|
Post by Haines Garage on Nov 10, 2013 22:12:12 GMT -5
The inside of this axle was a MESS!!!  Dirt Grim, even pieces of metal and shredded seals in the axle housings... Still in cleaning/tear down stage..... 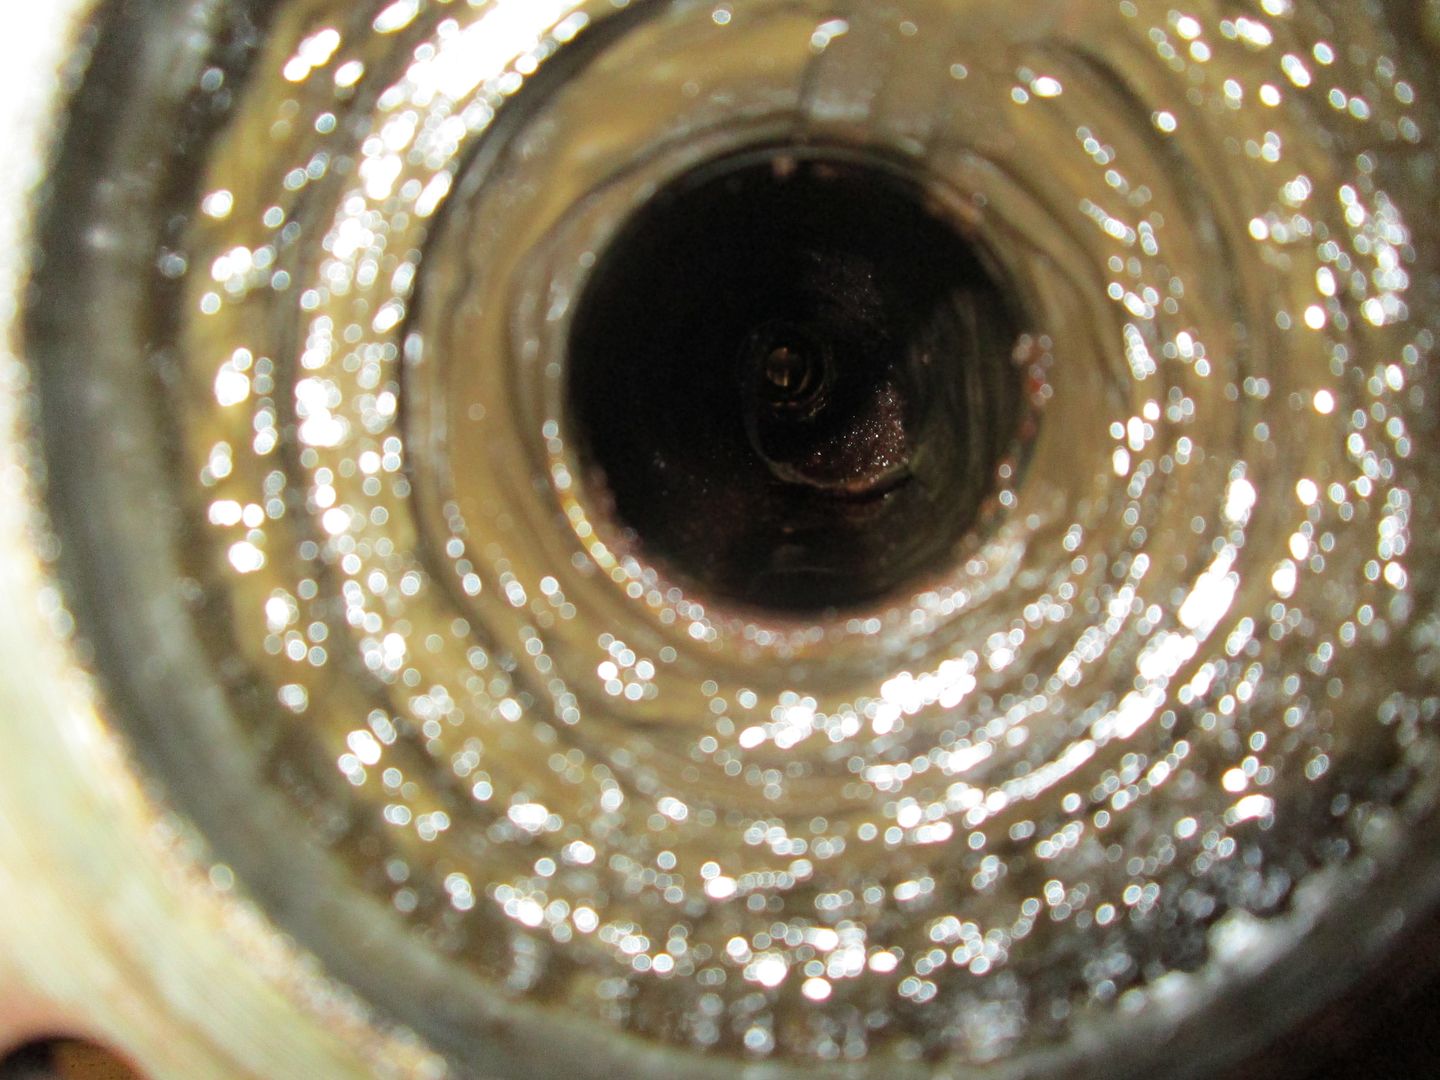 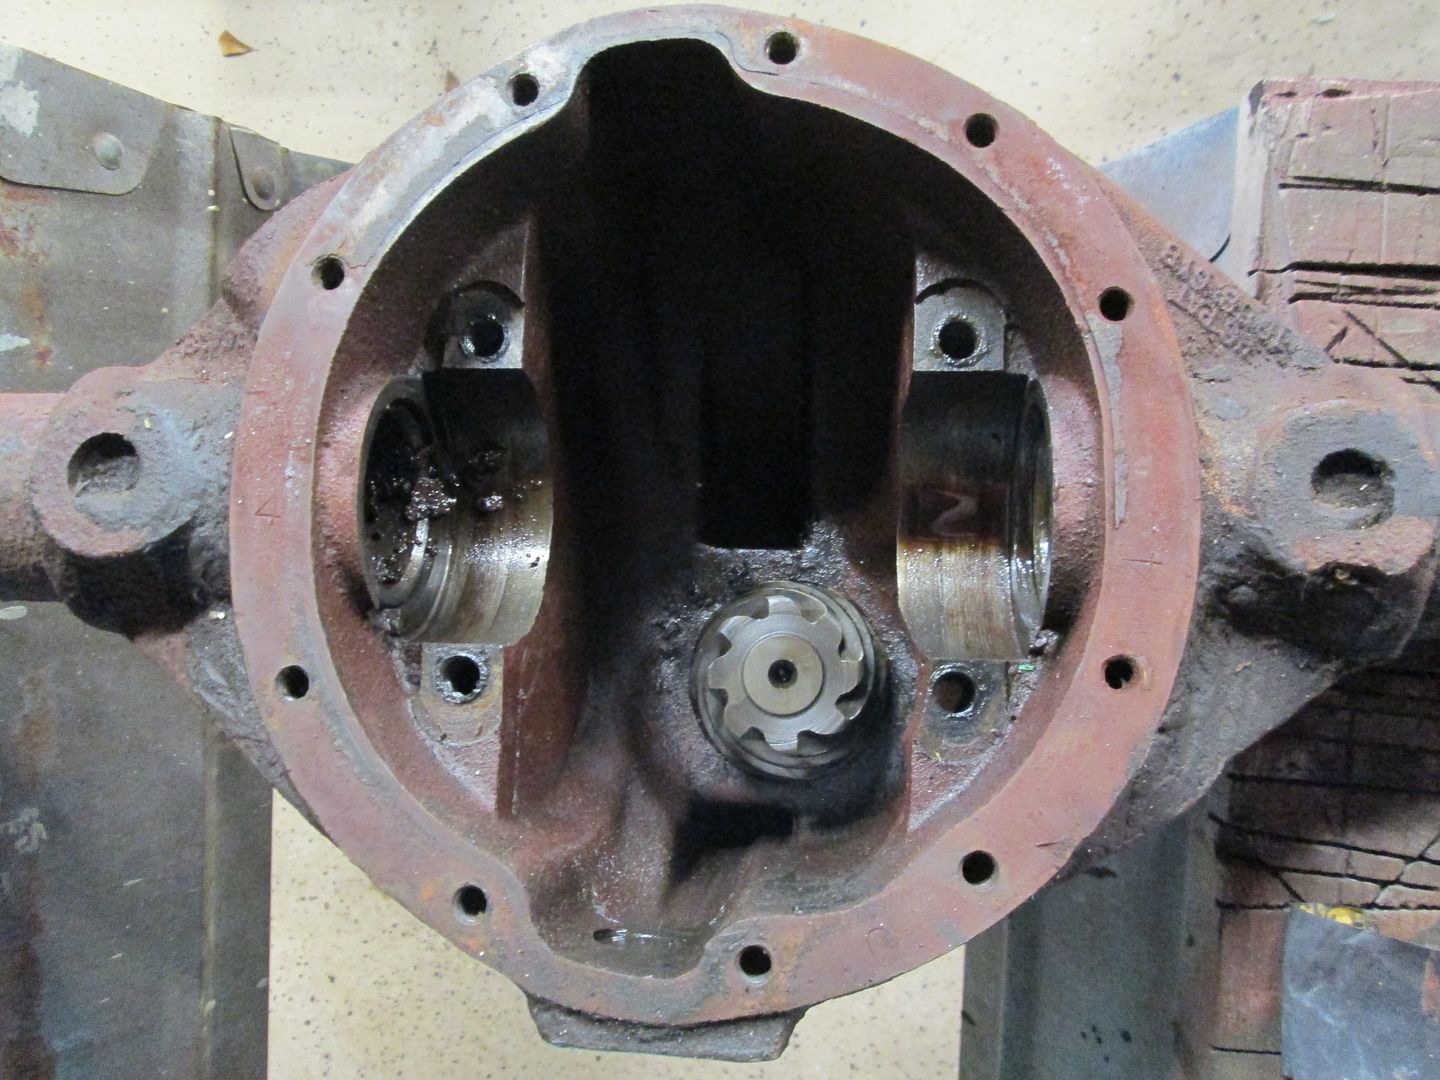 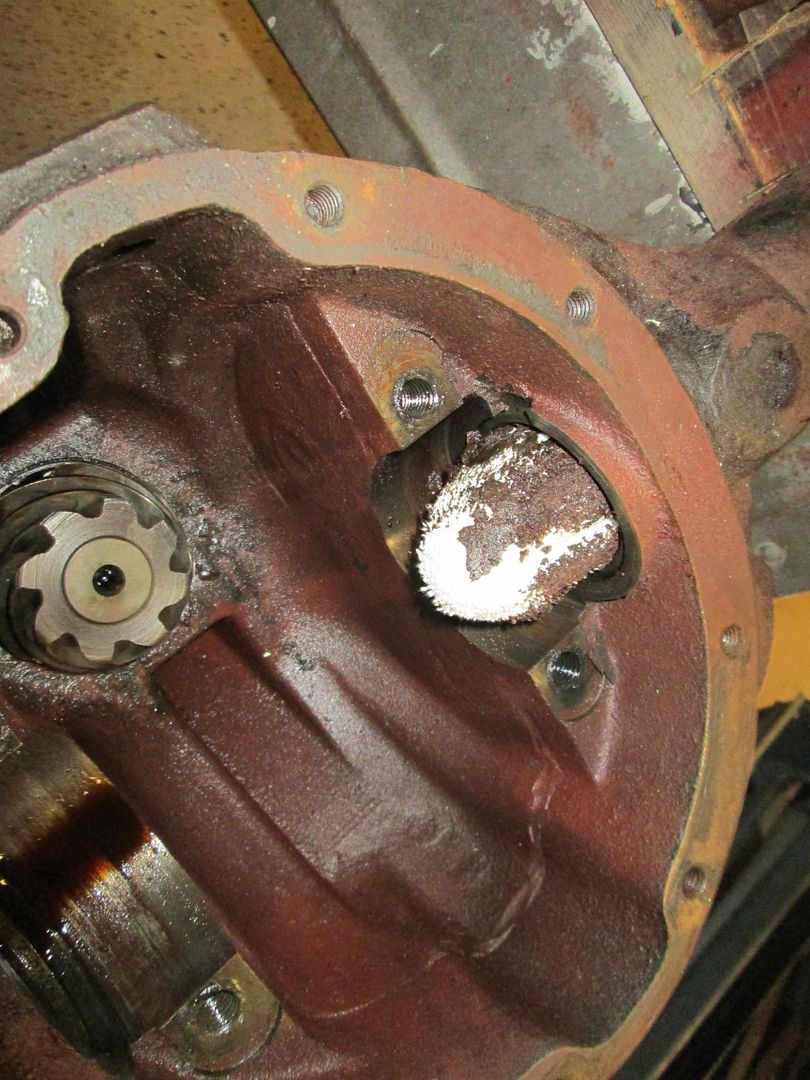 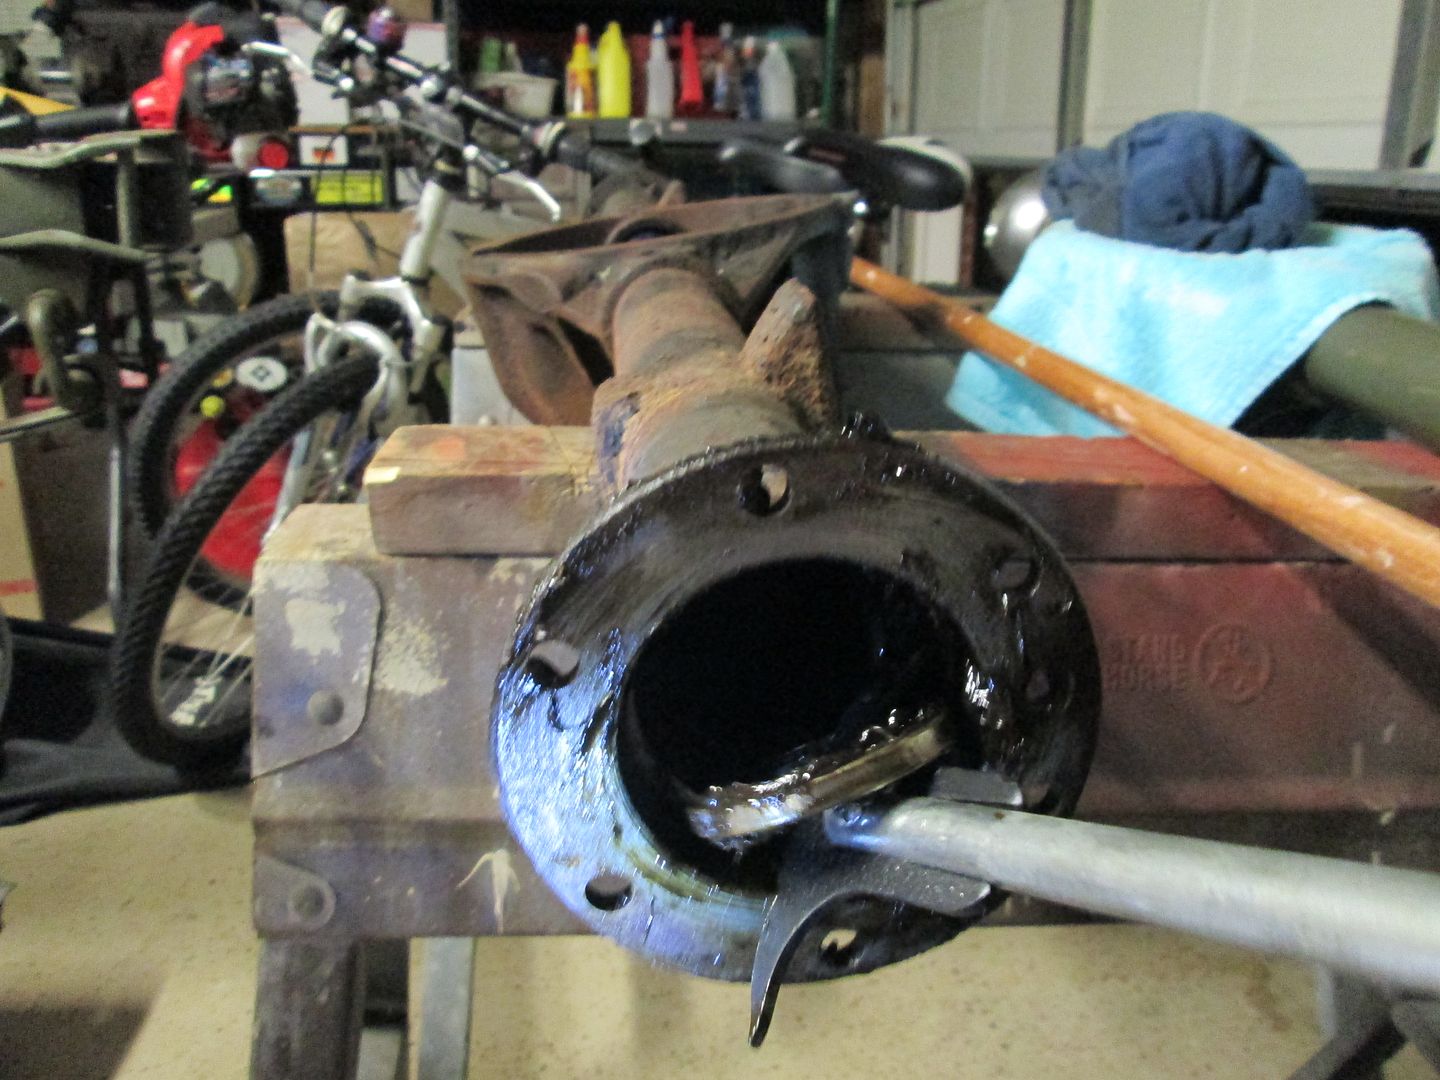 Pulling the outer seals... 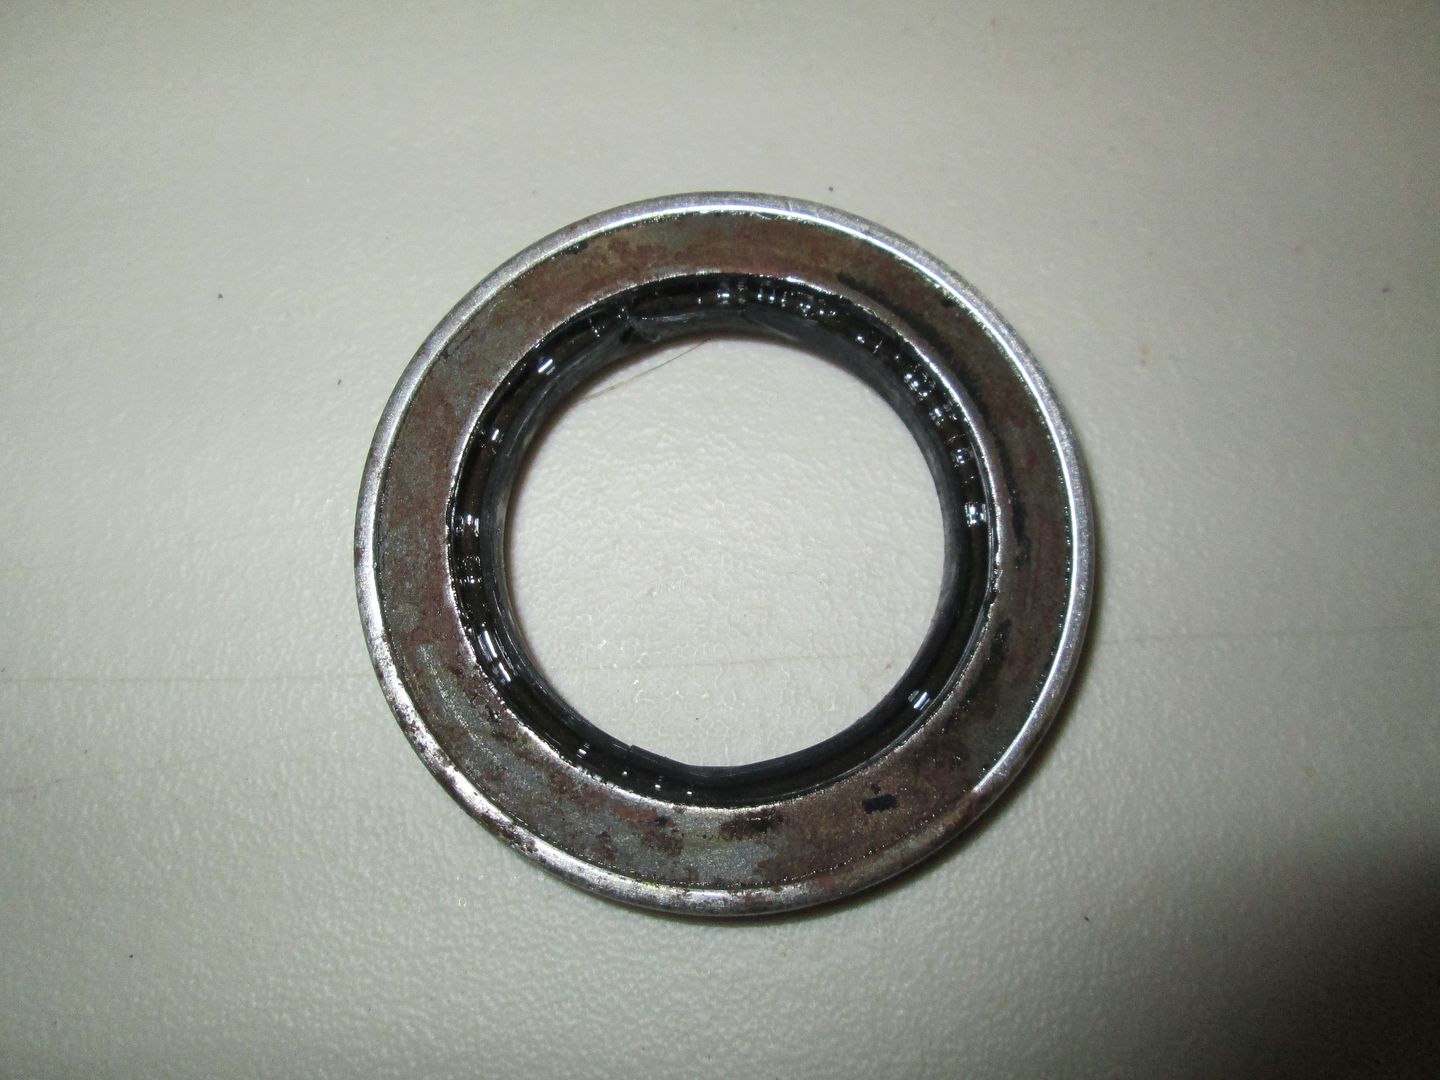 Not much seal left.....  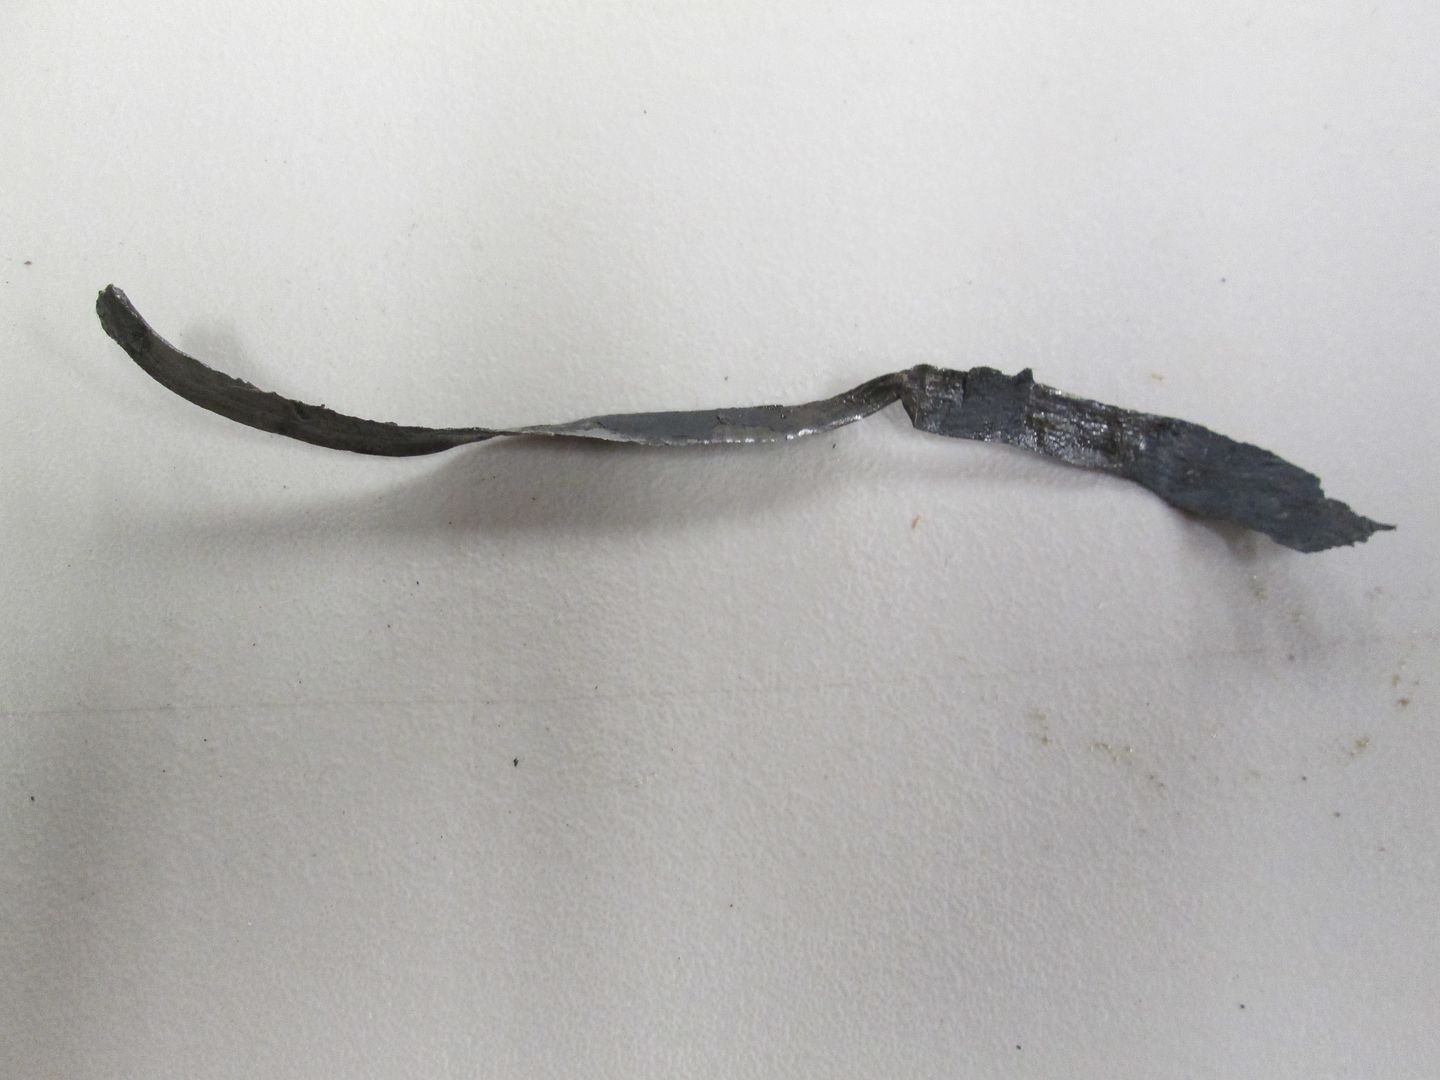 This was a metal peeling inside the axle housing, part of an old seal. |
|
|
|
Post by Haines Garage on Nov 13, 2013 19:56:00 GMT -5
Removed the Pinion today...Here are the photos I removed the yoke nut with an impact driver. I drove the pinion out wit a Brass drift, and a 2 pound hammmer. Tapping very lightly. I have no pictures of that, Hands are kind of full. ;D When you drive the pinion out, DO NOT LET IT HIT THE FLOOR! I keep an old seat cushion foam that I keep under the axle just in case. I pull the seal with 'Ole faithful  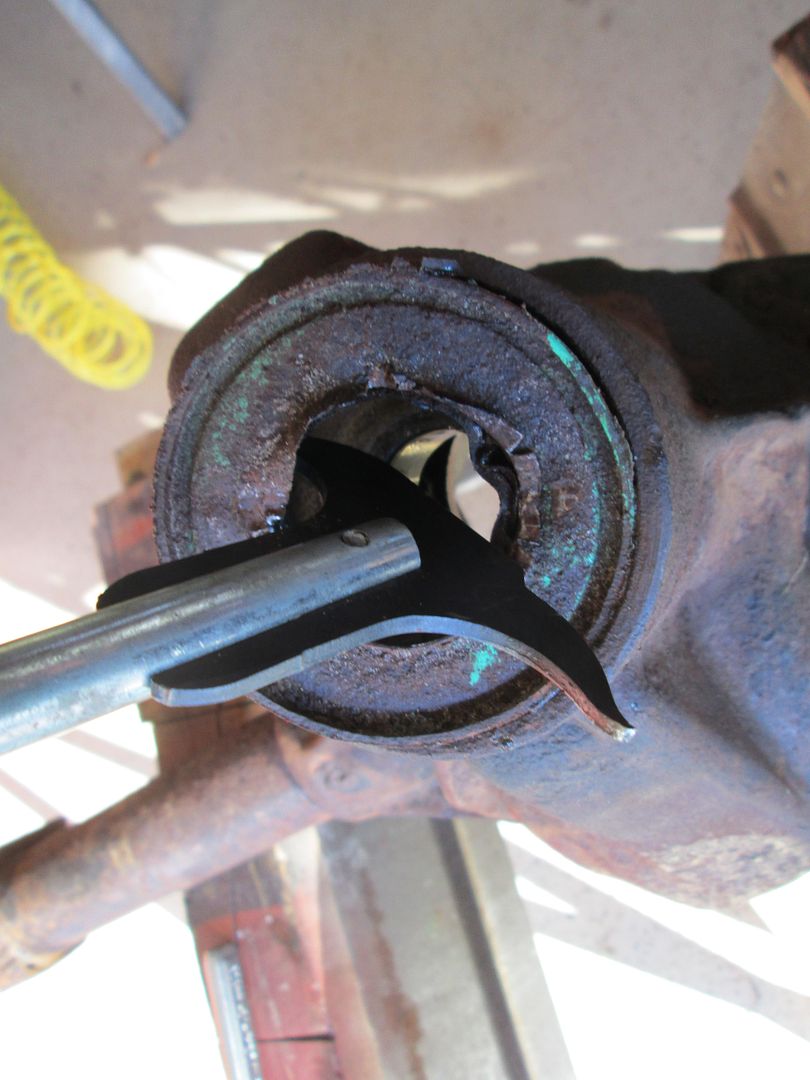 Remove the oil Slinger... 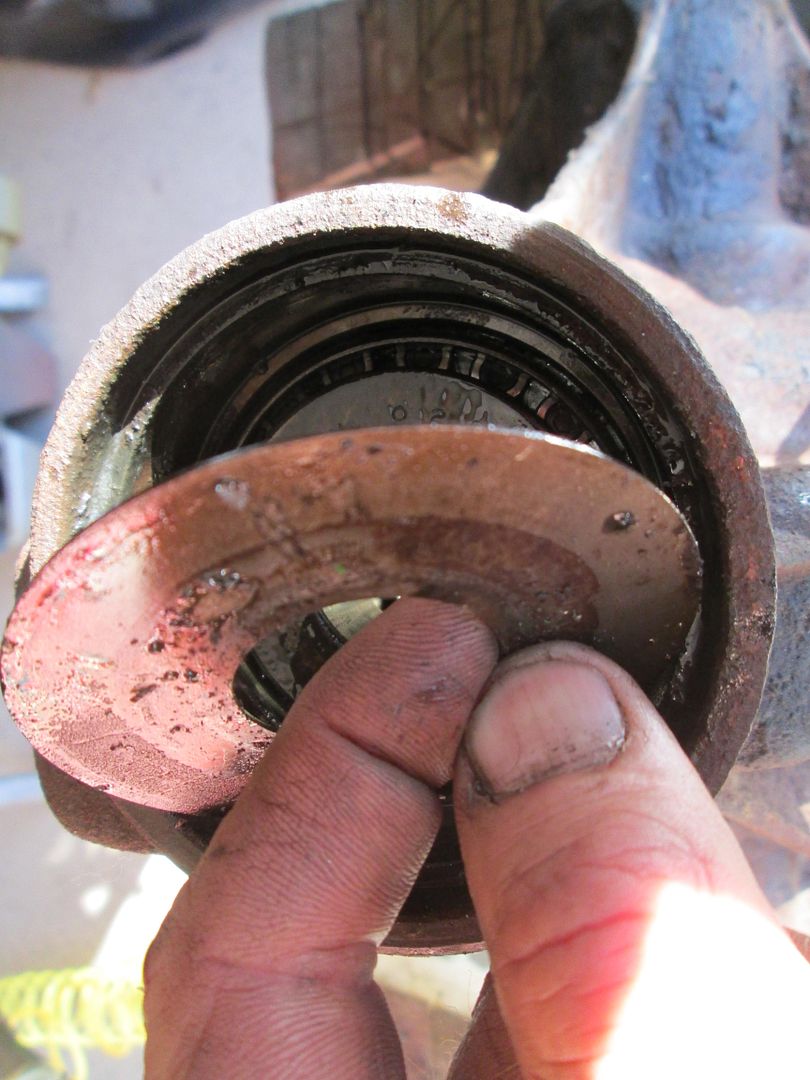 Bearing (cone) lifts right out of the cup (Race) . Notice the scores in my Race (Cup) 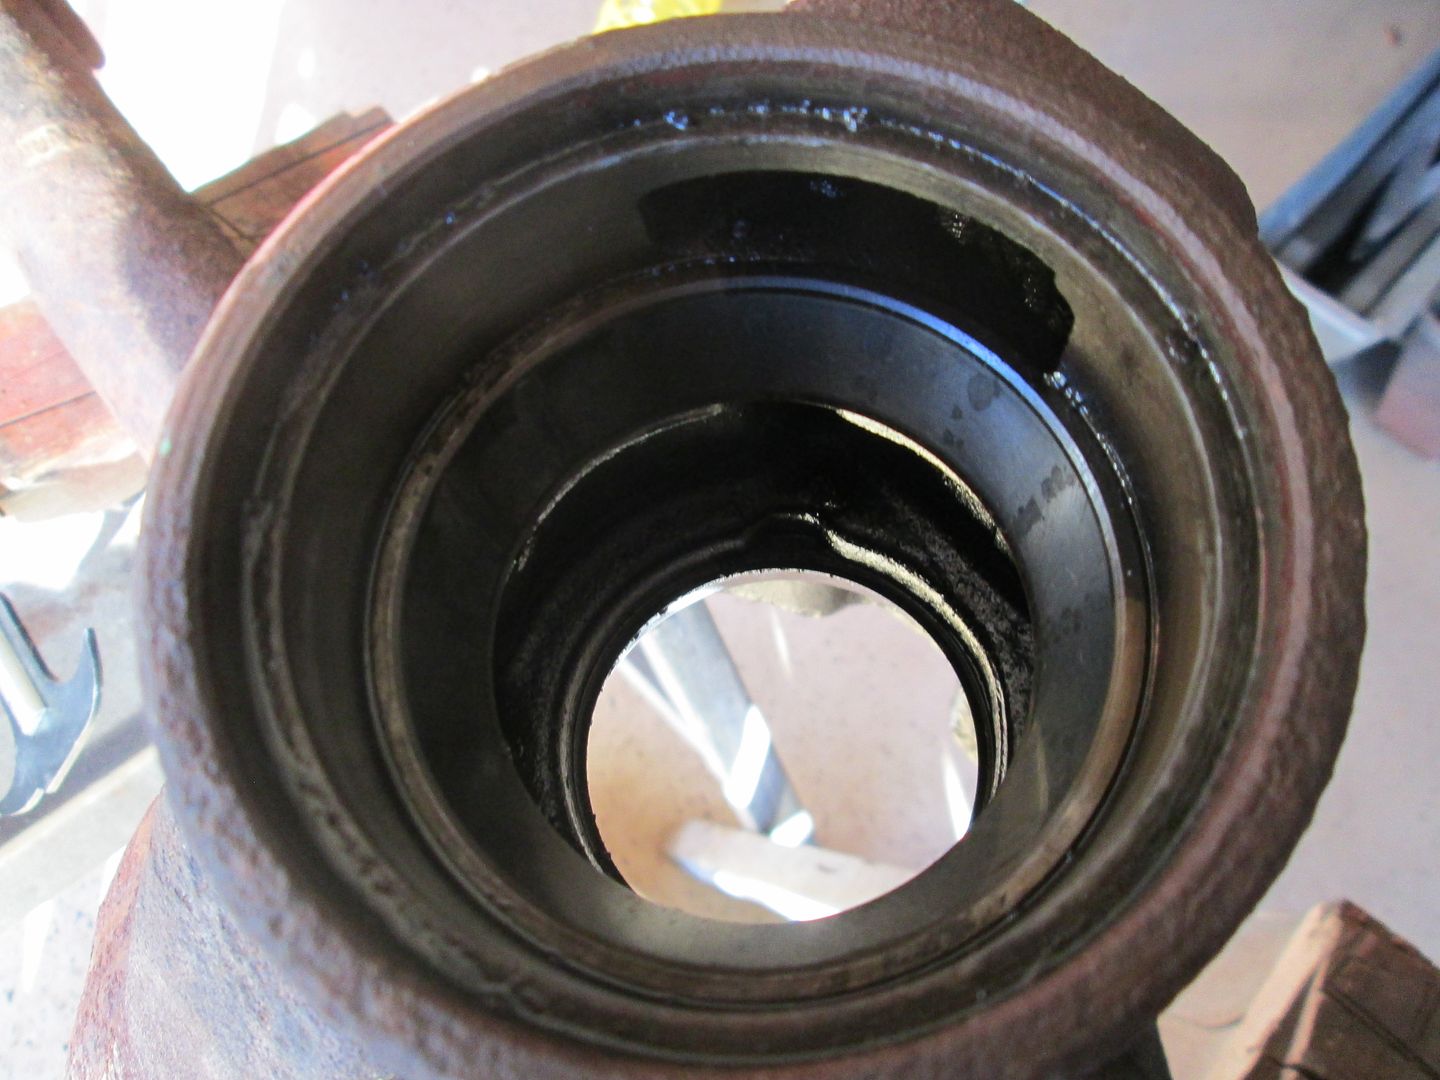 Also take note of the two spaces at the bottom of the axle housing , like indents...these spots allow you to pull, or tap out the race (cup) Getting confusing yet.....   Stay with me!!  ;D I dove out the races and found Shimms behind the inner cup. I damaged them with my puller, need to replace. I kept originals for thickness.. 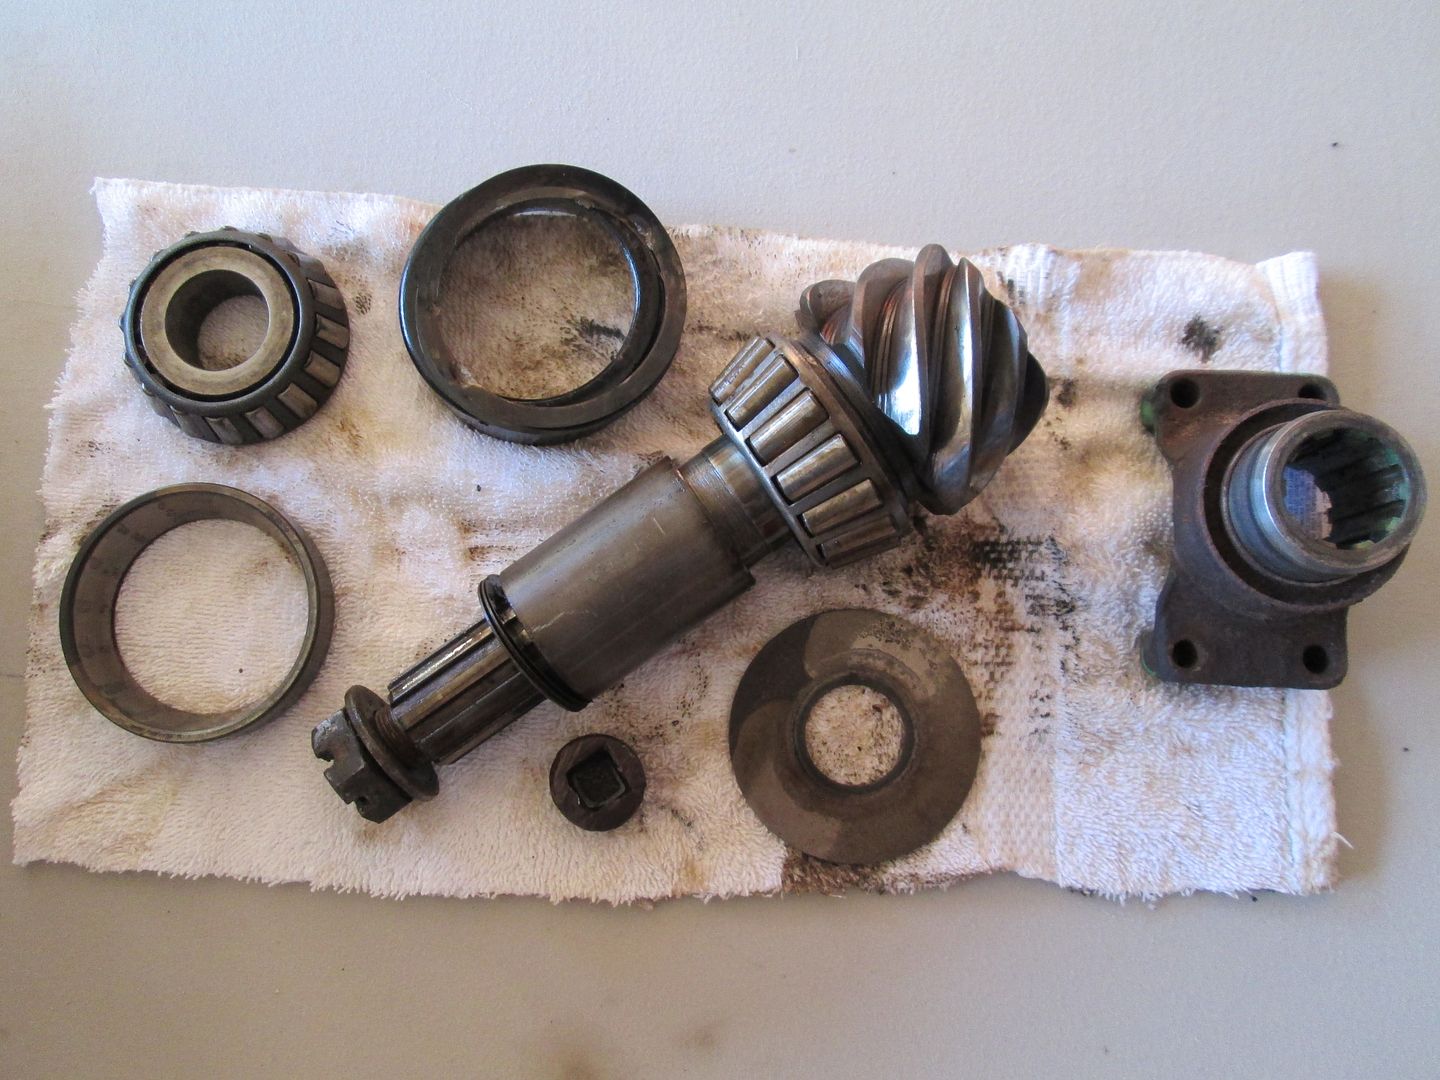 EVERYTHING AS IT CAME OUT< TAGGED AND BAGGED!  My yoke is hosed.....Will replace, those pits and grooves SCREAM leeky... 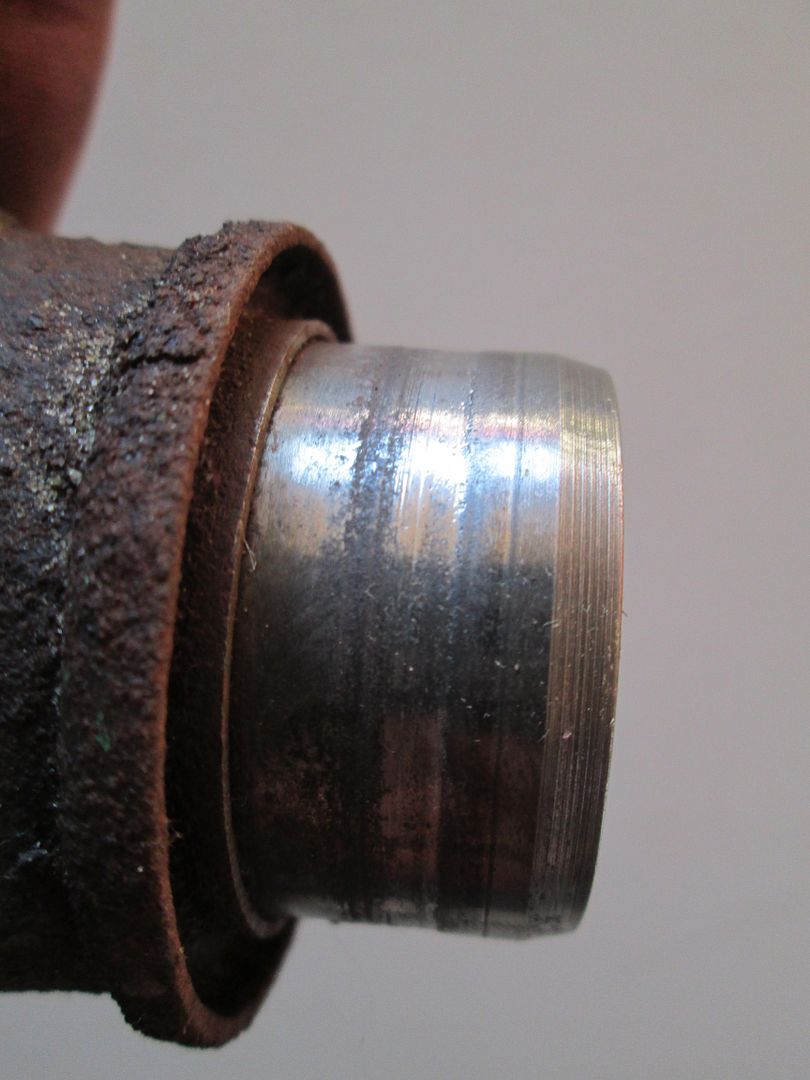 Last night, I cleaned the Axle Shafts Before.... 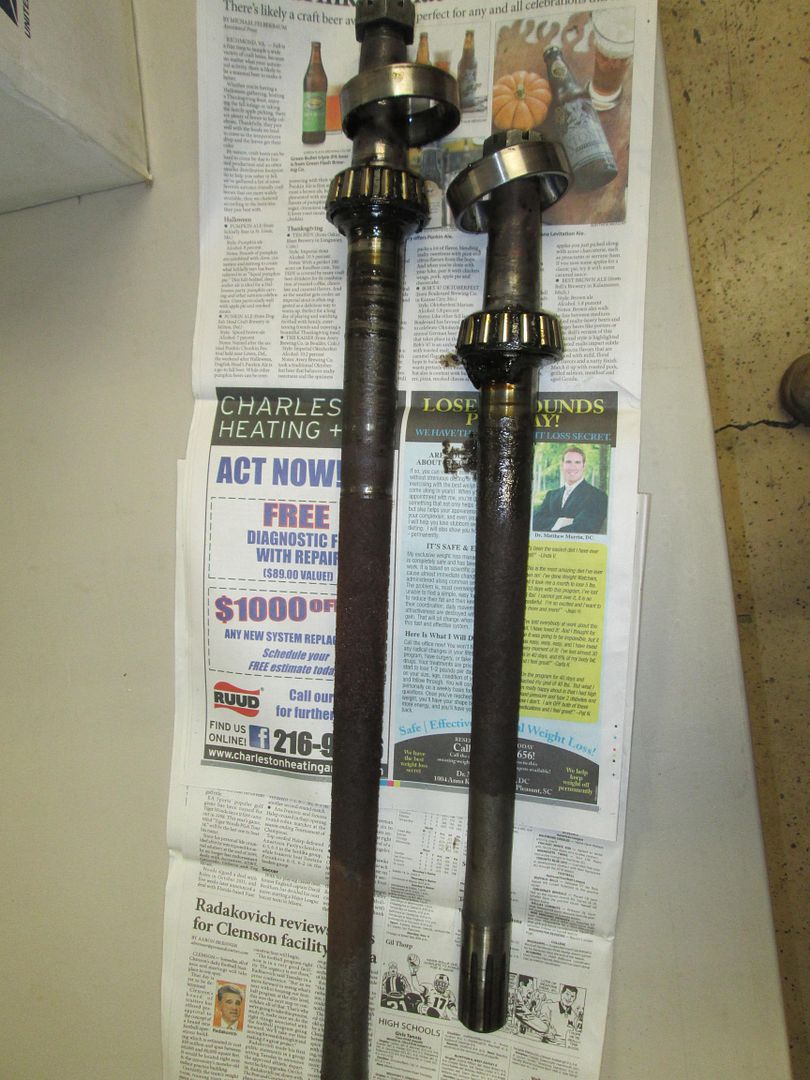 After.... 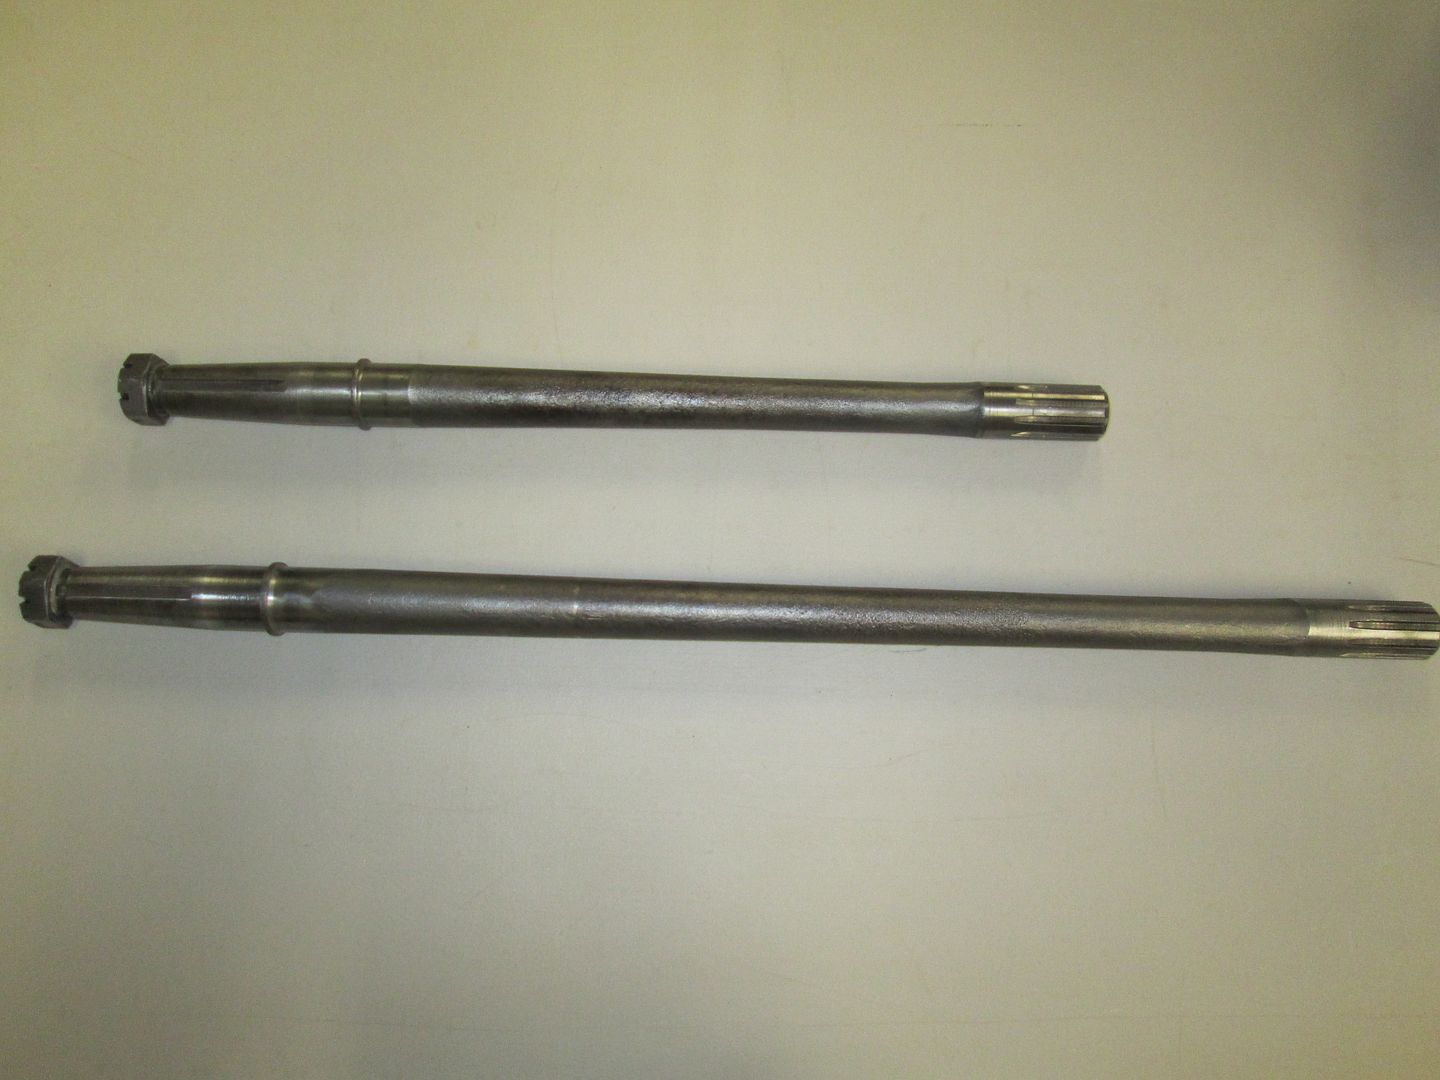 |
|
|
|
Post by Haines Garage on Nov 13, 2013 20:02:06 GMT -5
Now we talk some smack ;D ;D ;D ;D ;D ;D Behold the Original Haines Garage Axle Housing Cleaning Kit!! 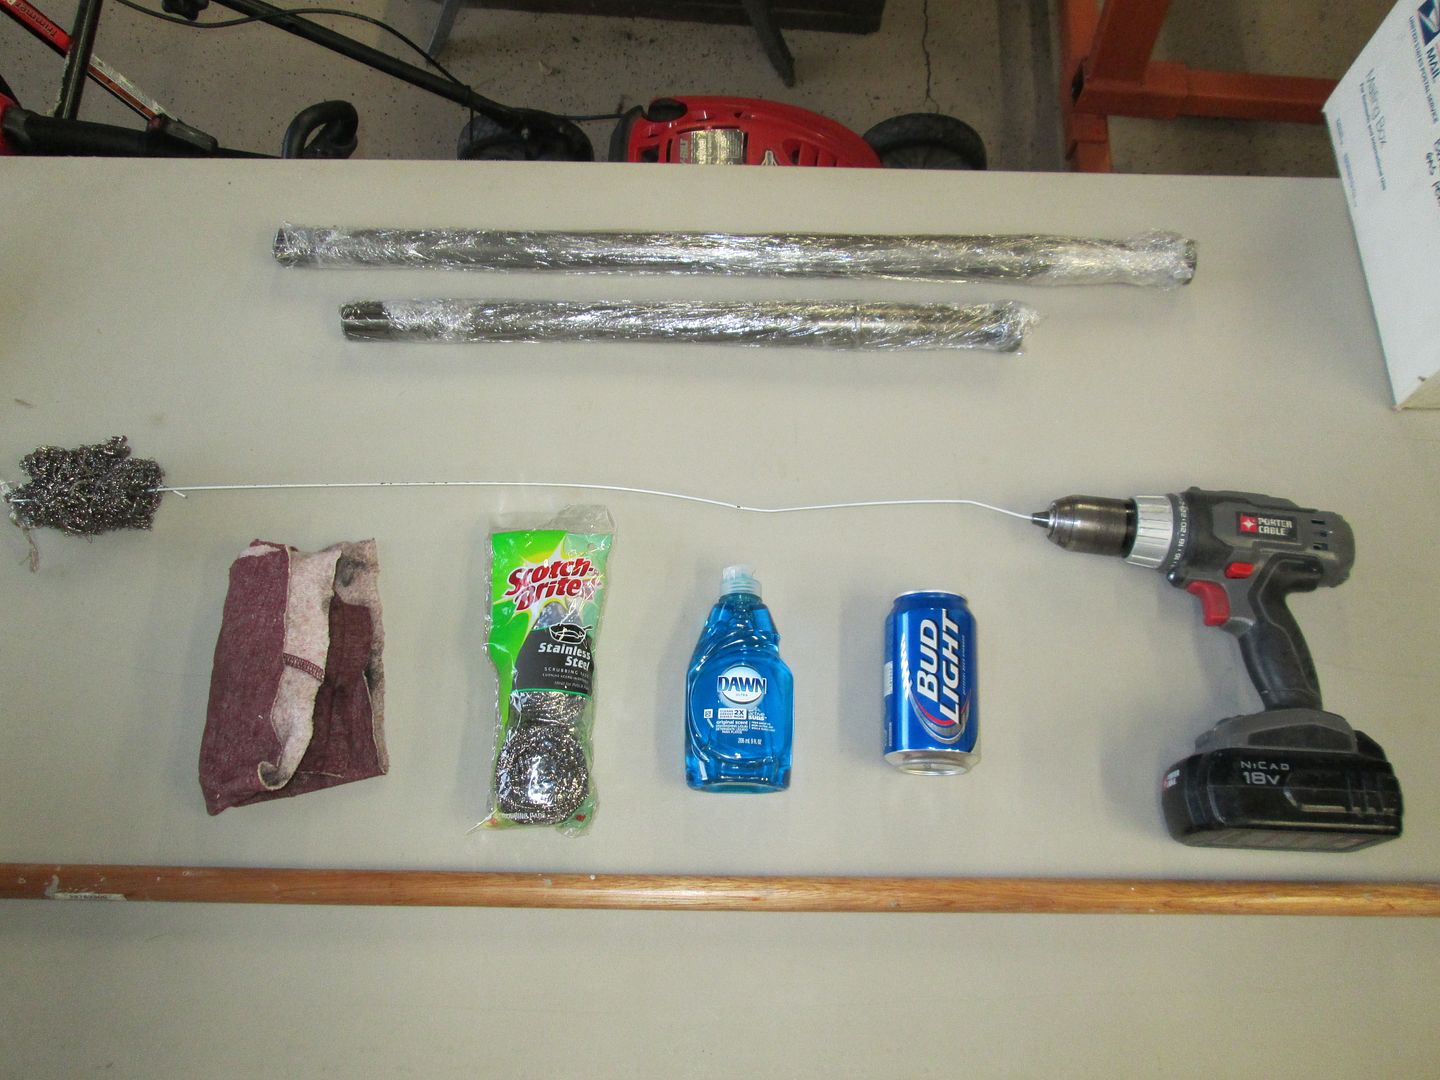 A paint pole, a drill, some stainless steel scoring pads, a well, beverage  , some Dawn detergent (Best de-greasing soap I know of) and a wire hanger....... And Here it comes........... |
|
Deleted
Deleted Member
Posts: 0
|
Post by Deleted on Nov 13, 2013 22:05:12 GMT -5
Nice video, good idea,,,,,,,,,,,,ya'know, the axel hsg cleaner ;D Lee  |
|
Deleted
Deleted Member
Posts: 0
|
Post by Deleted on Nov 14, 2013 9:44:54 GMT -5
For the record...that isn't the only state of SC approved cleaning kit. Truthfully, I think the Town of Mt. P is more like an outlaw renegade...that's why those misfits hang out on the other side of the river. Not sure how he's getting internet access.  |
|
|
|
Post by Haines Garage on Nov 26, 2013 18:28:48 GMT -5
Seeing that my acting career is not a big hit, lest do an update  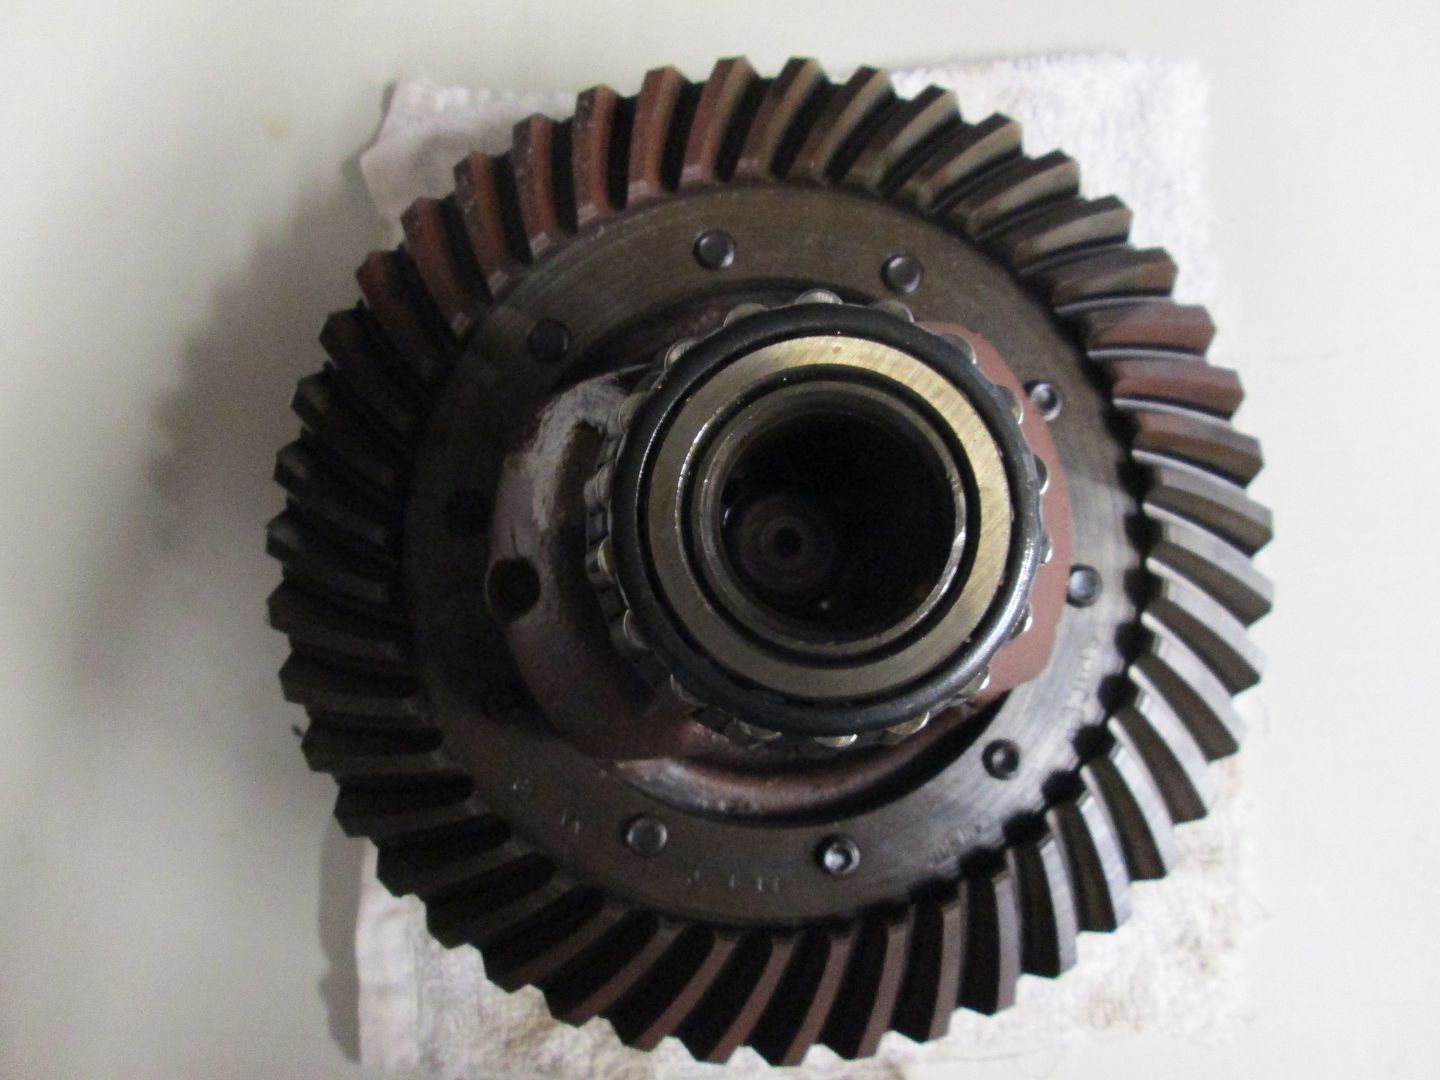 Differential is removed from axle housing....It again is a MESS!! 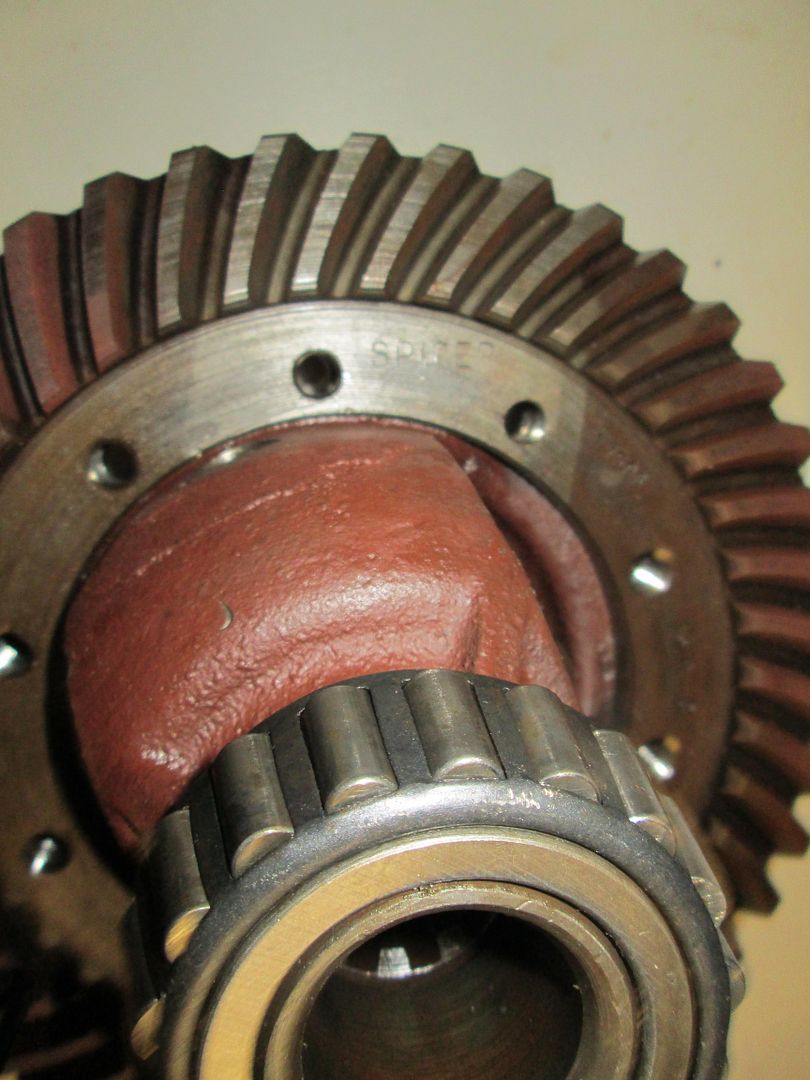 A shot of the Spicer Marking for future reference  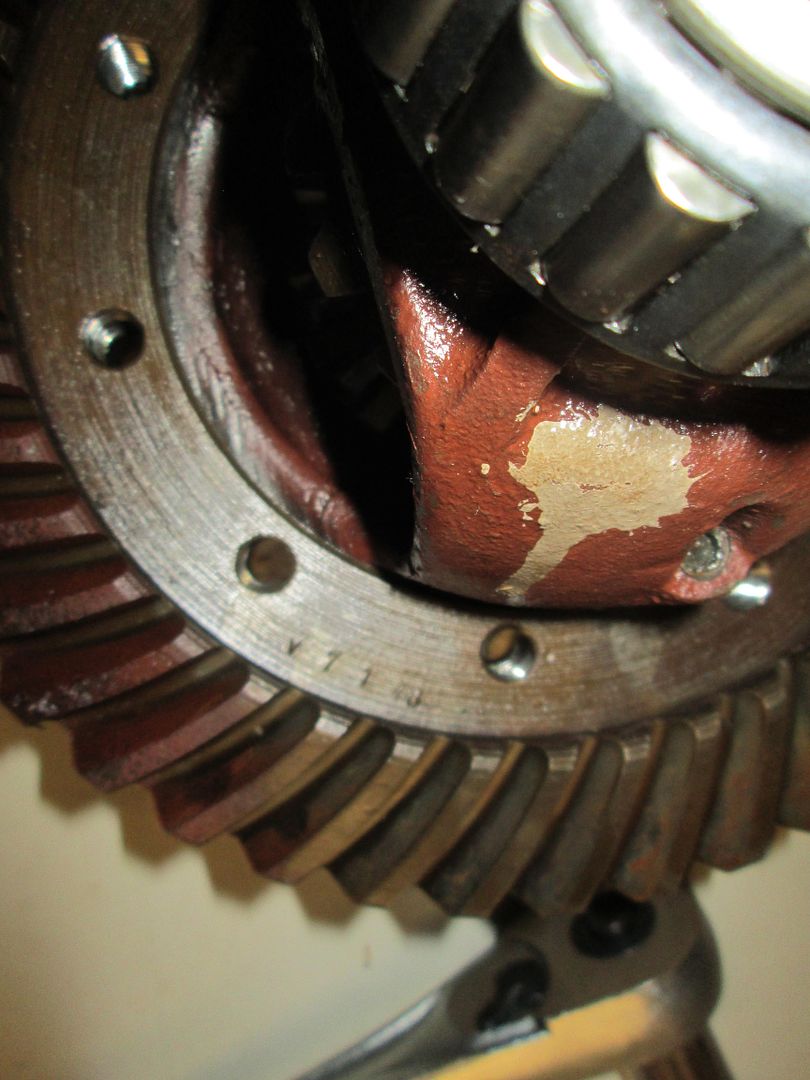 Opposite side markings...not the OD green Paint Blotch...I have no idea what that is about. 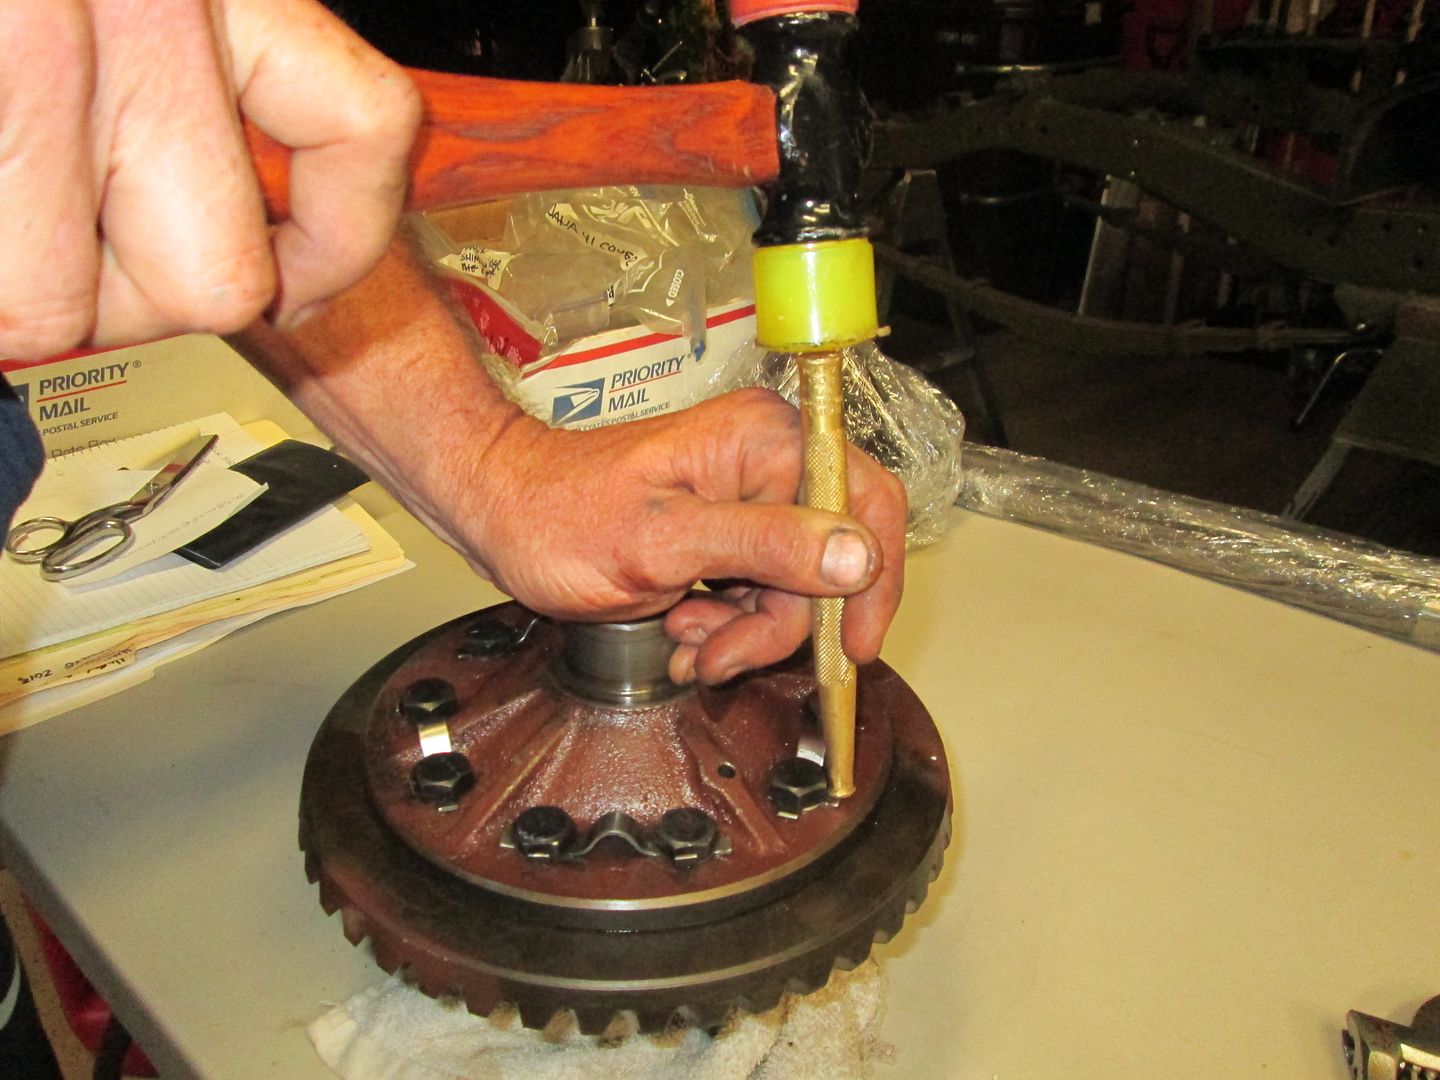 I try to bend the ears back on the strap locks with a brass drift, and a soft faced hammer. The strap locks break in spots and I notice there are a few bolts that dont match what I will call originals. 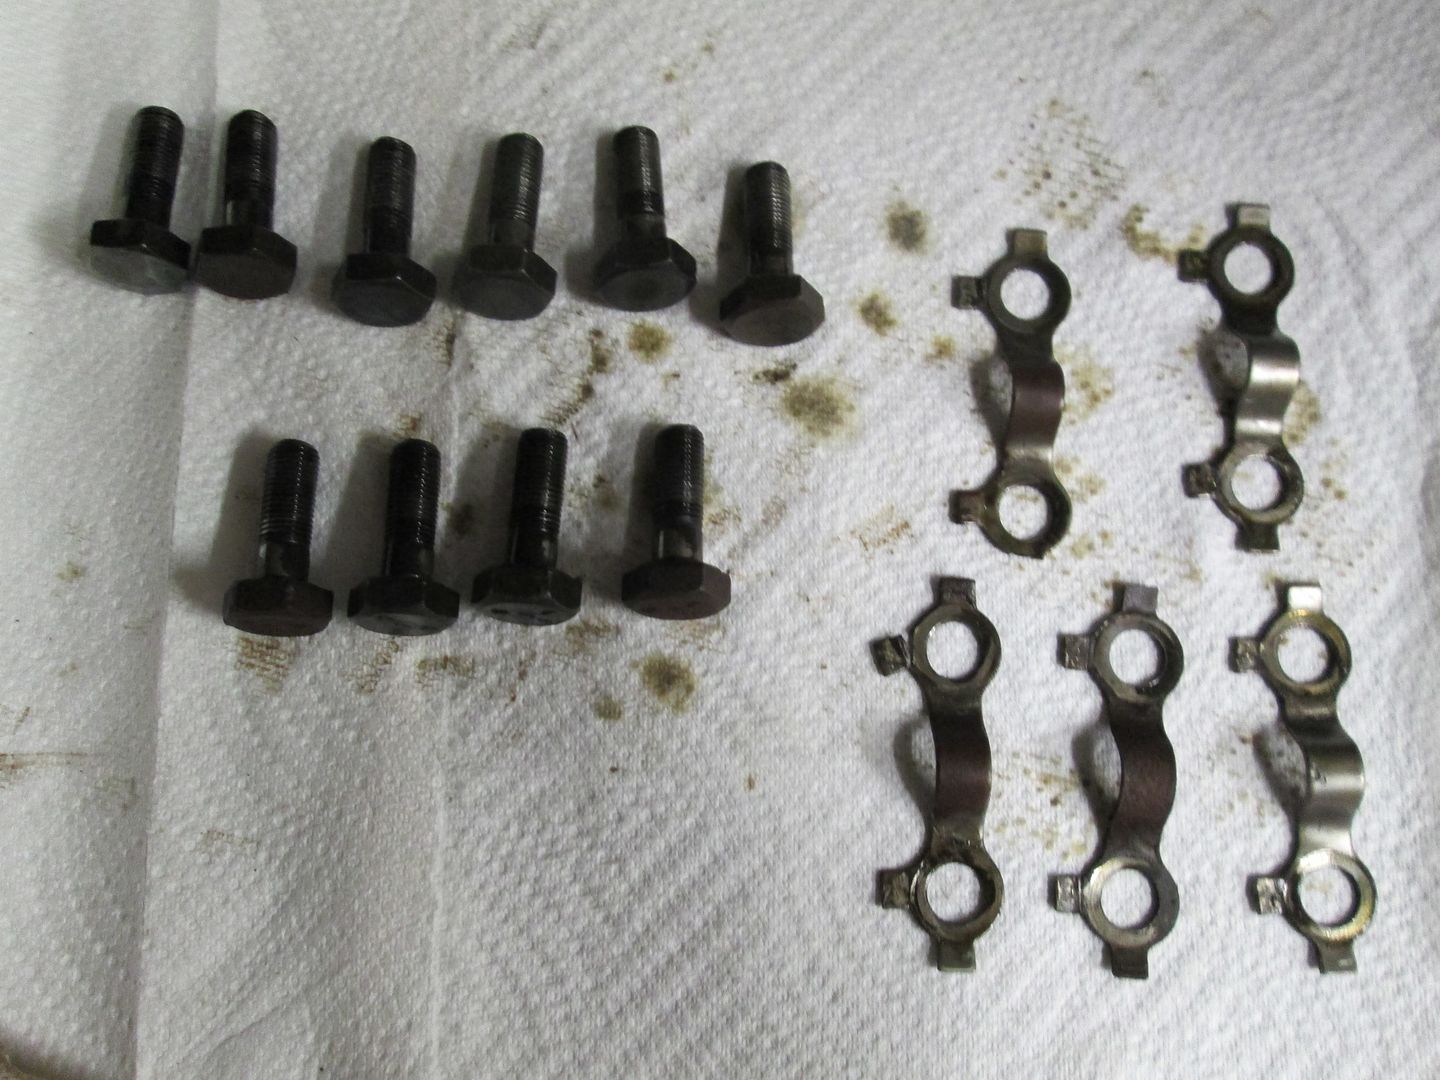 The Four bolts towards the bottom have different markings than the rest. The lock straps are not usable...to many broken ears. 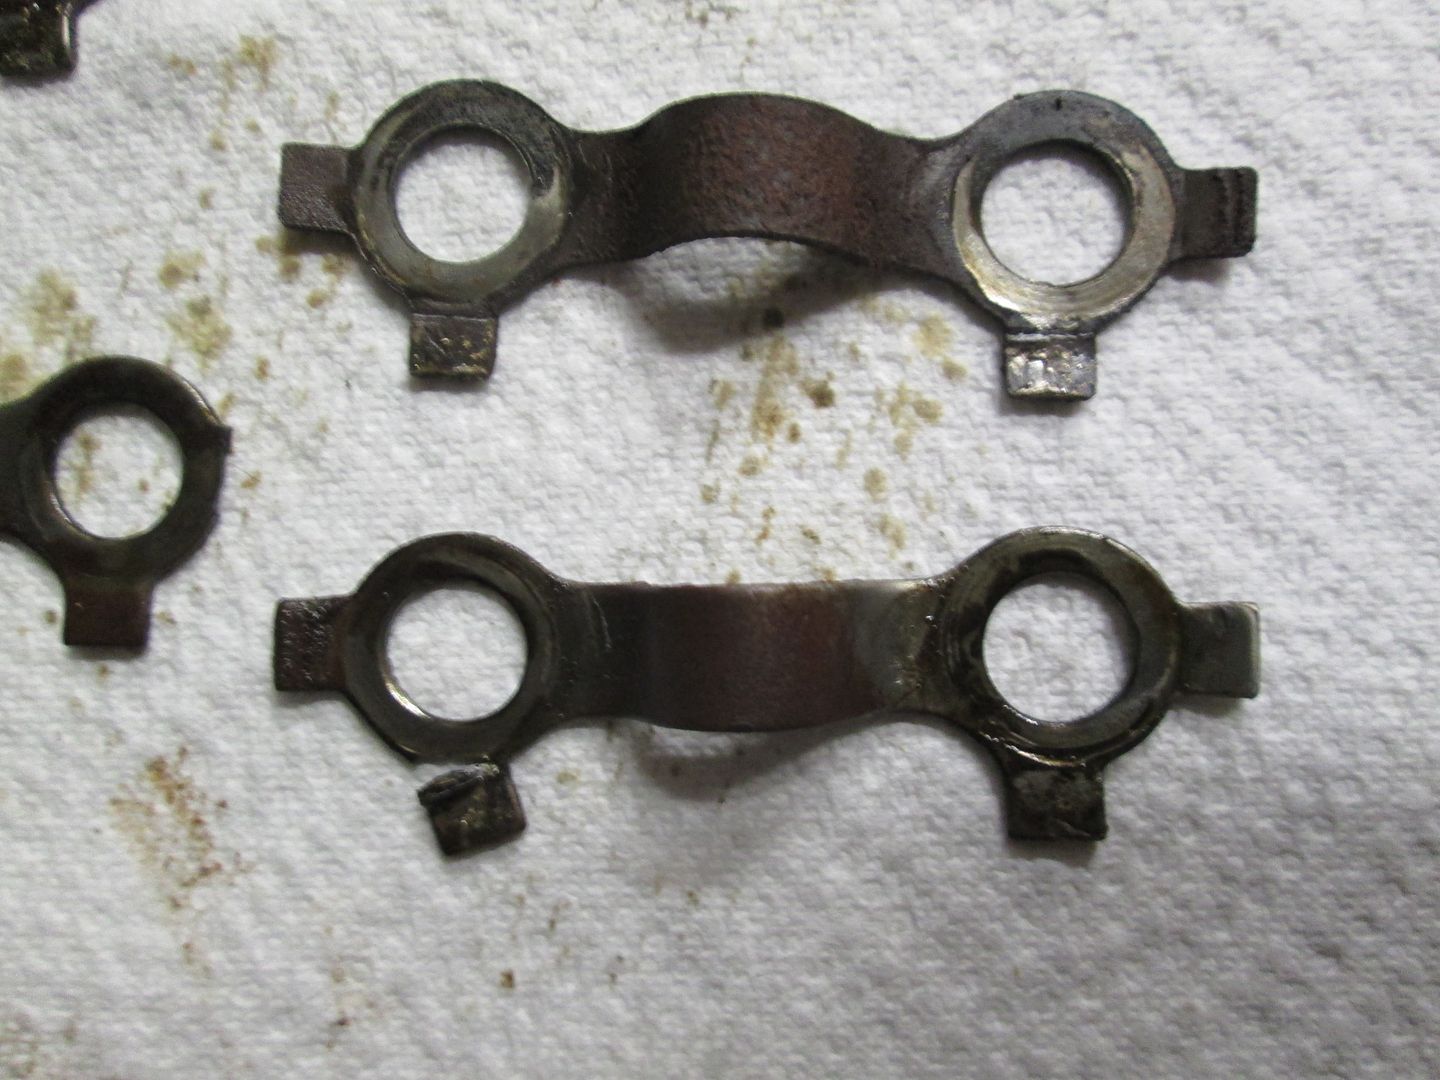 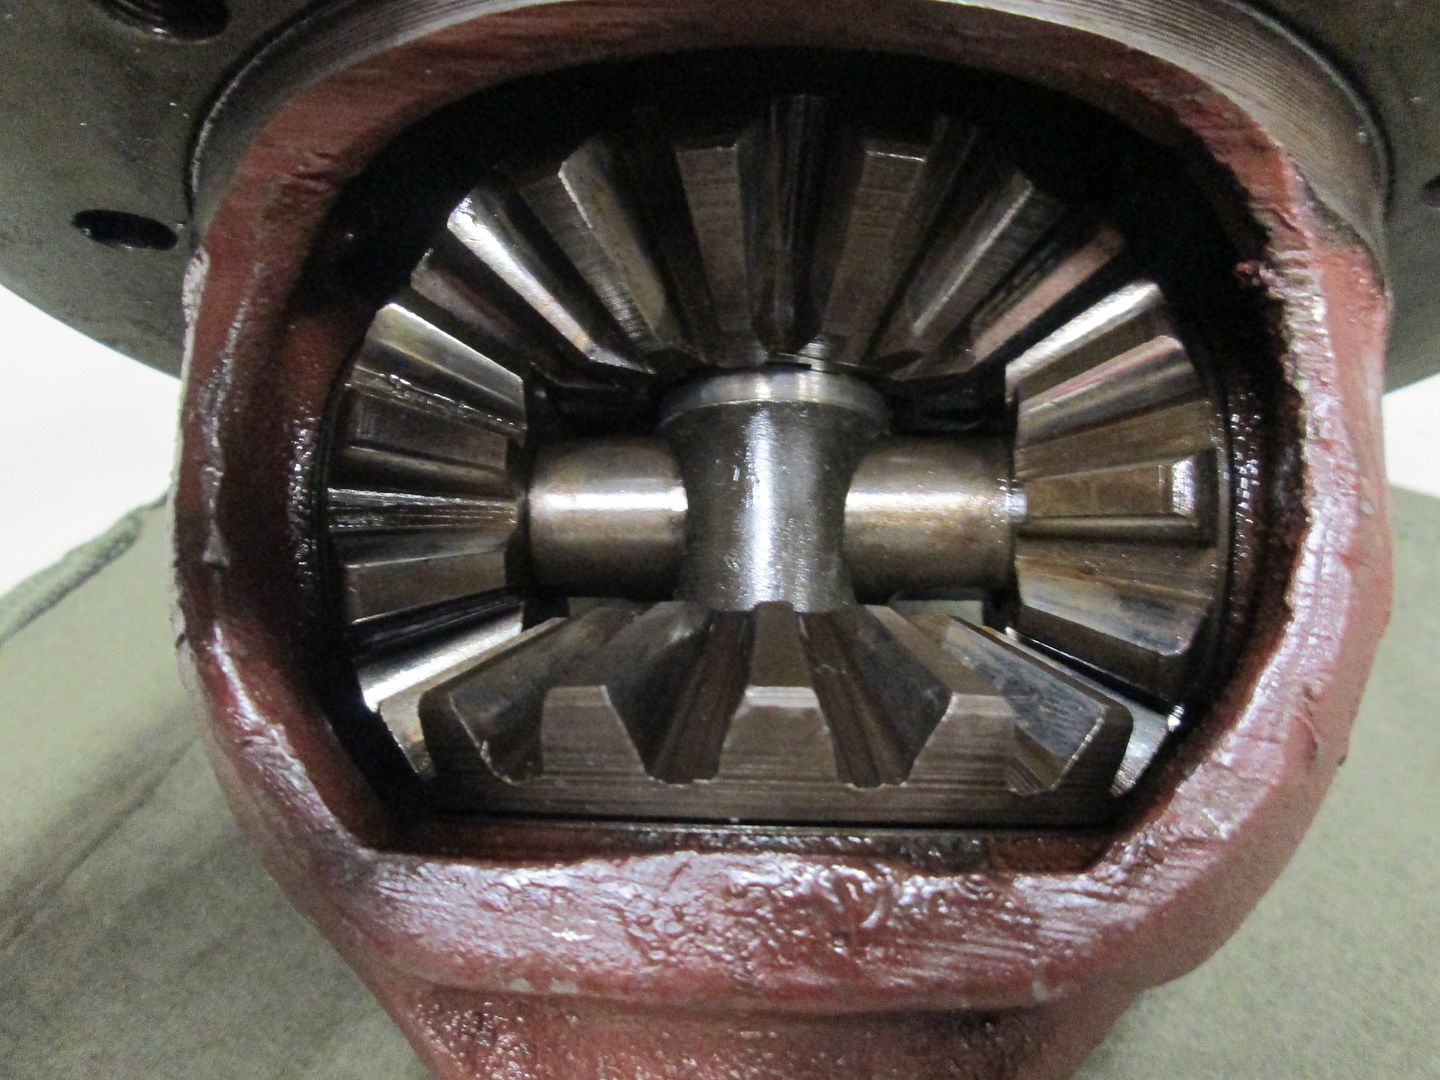 Spider Gears before removal. No broken teeth , and they do spin. If you have been following the Dana 25 thread , do you see any differences in the Spider Gear set up....    |
|
|
|
Post by Haines Garage on Dec 6, 2013 19:28:36 GMT -5
I took the axle housing out in the front yard, and scrubbed, wire wheeled and sandblasted it, then cleaned it again.... Man Vinnies tool works like a charm   I Didn't take many pics, because I have to stealth blast...HOA you know ;D ;D ;D ;D ;D Before... 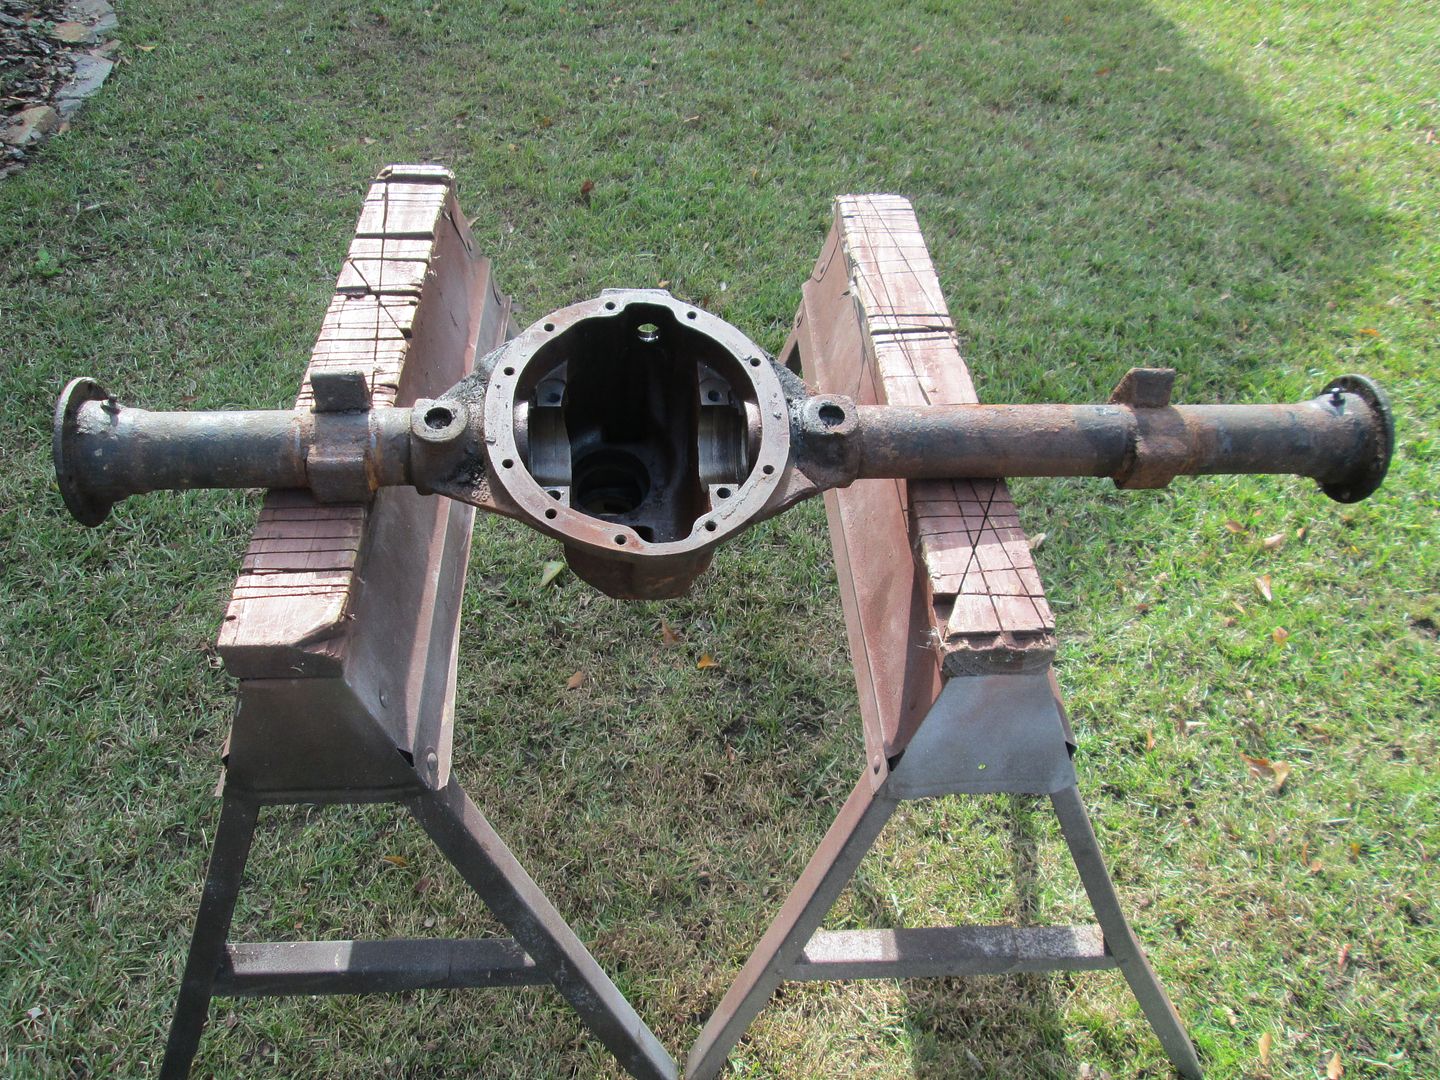 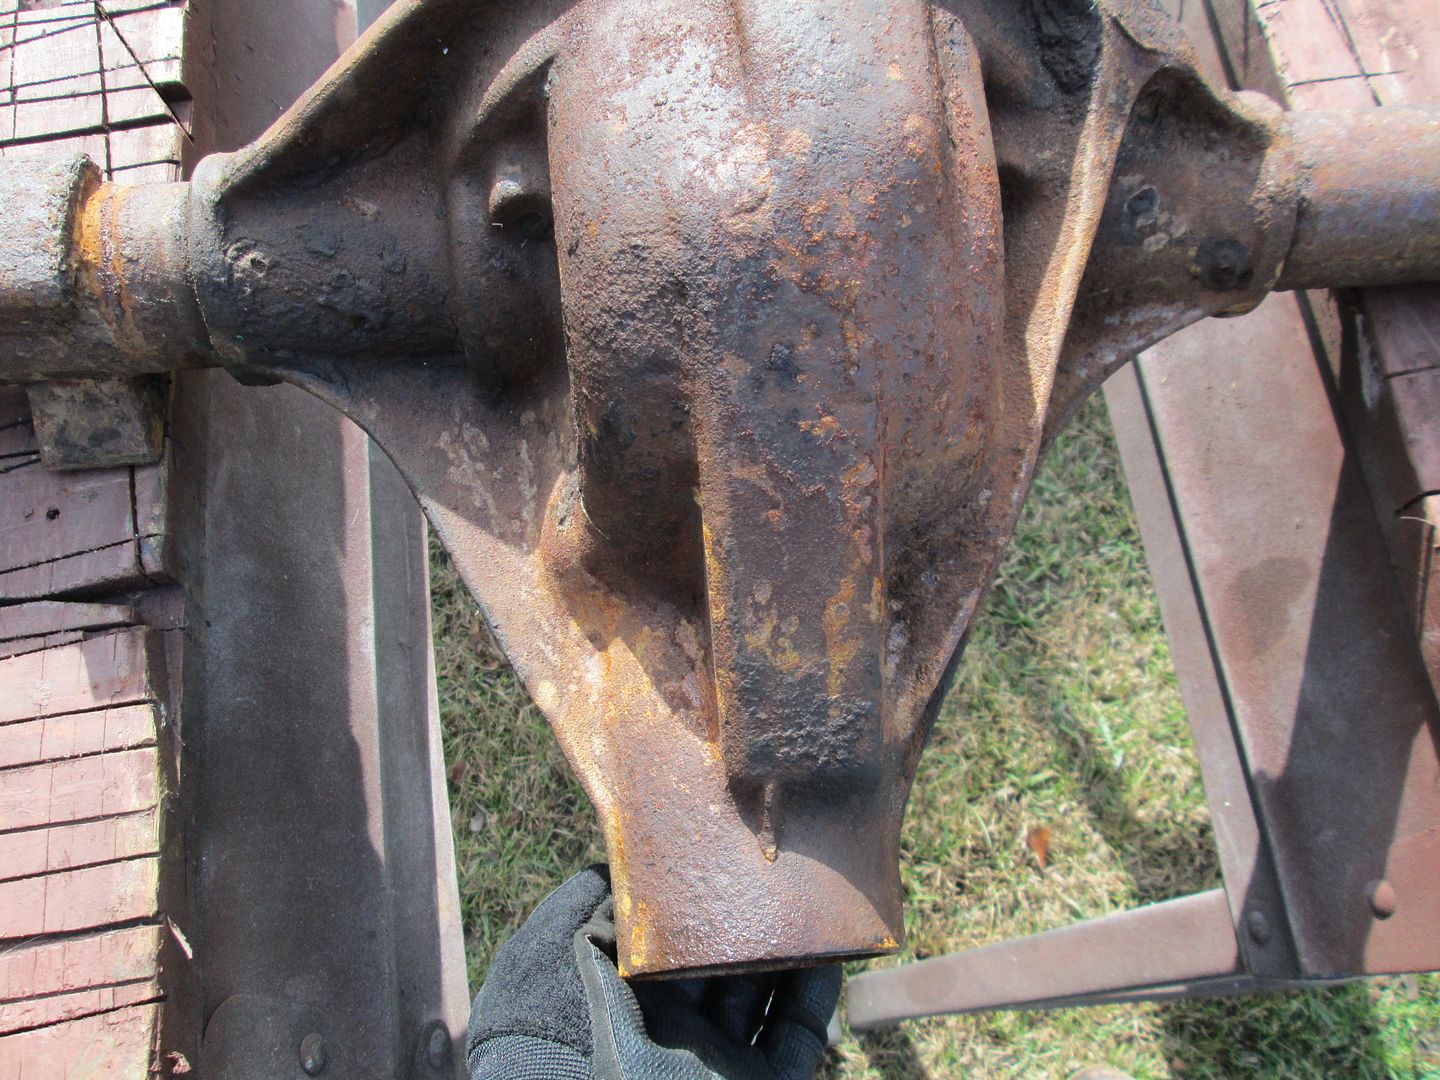 I have no full metal clean shots of this, you will have to trust that I did...Very greasy, sandy and a MESS! But....Prepped and Por 15 later...Two coats 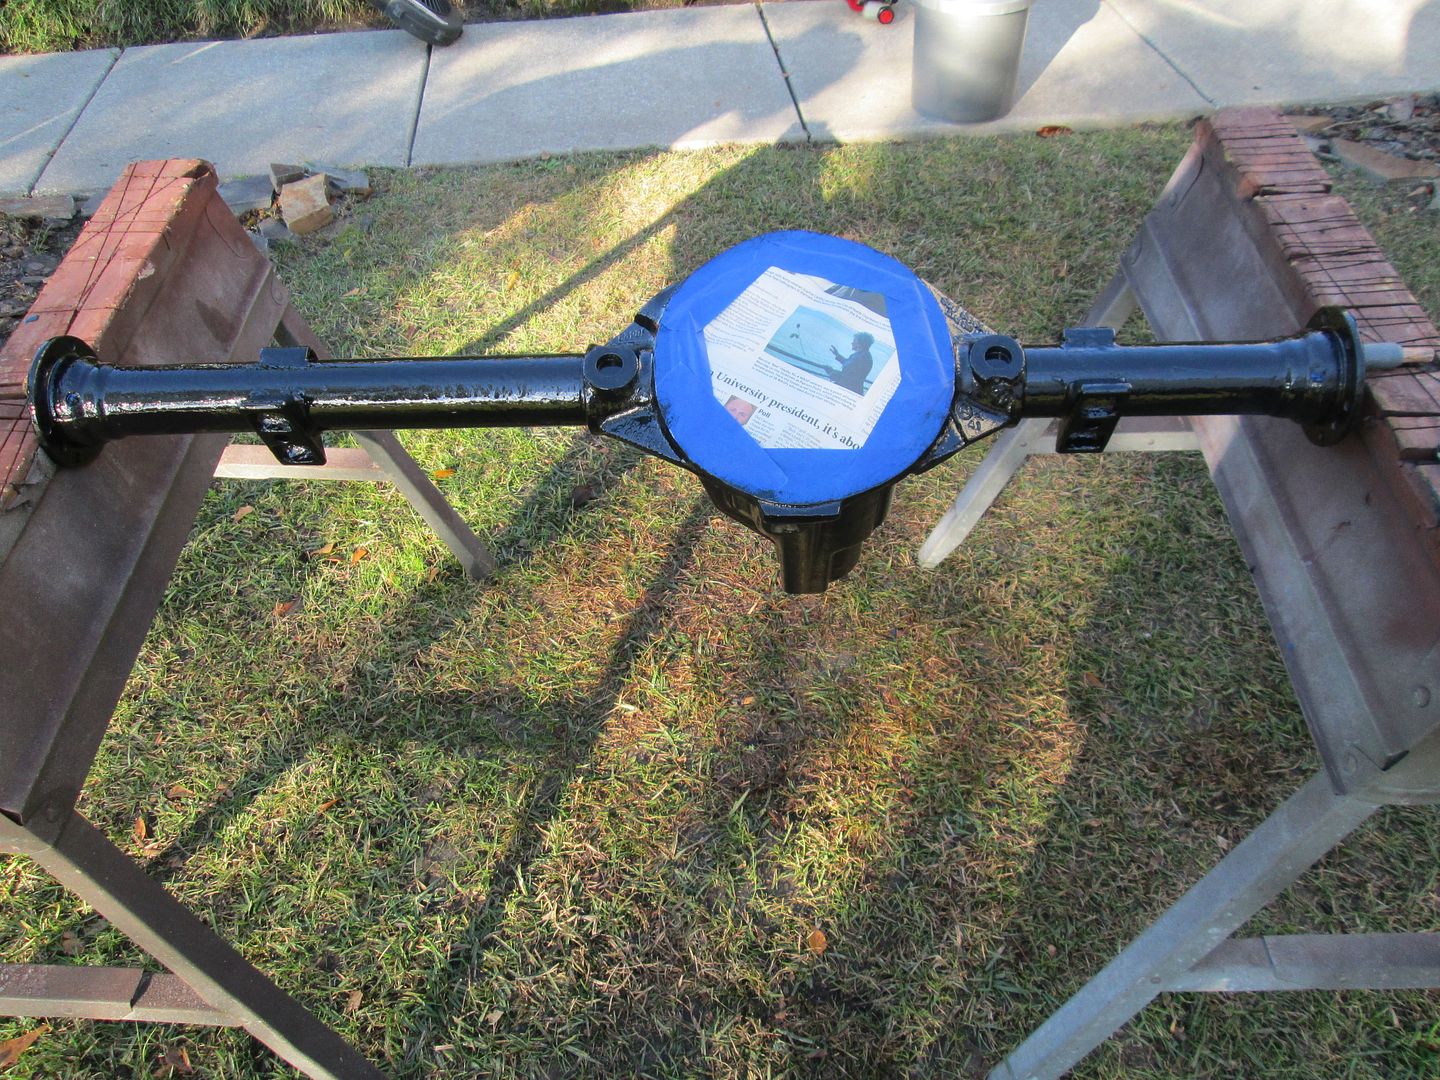 If you look closely, you will see that I have suspended the axle housing on a simple wood paint pole. That way I can spin and paint it    When the Por 15 tacks up to the touch, still a little sticky, I shoot it with Red Oxide Primer. The Primer infuses itself into the second coat of Por 15. When dry I apply two more coats of Red Oxide Primer. 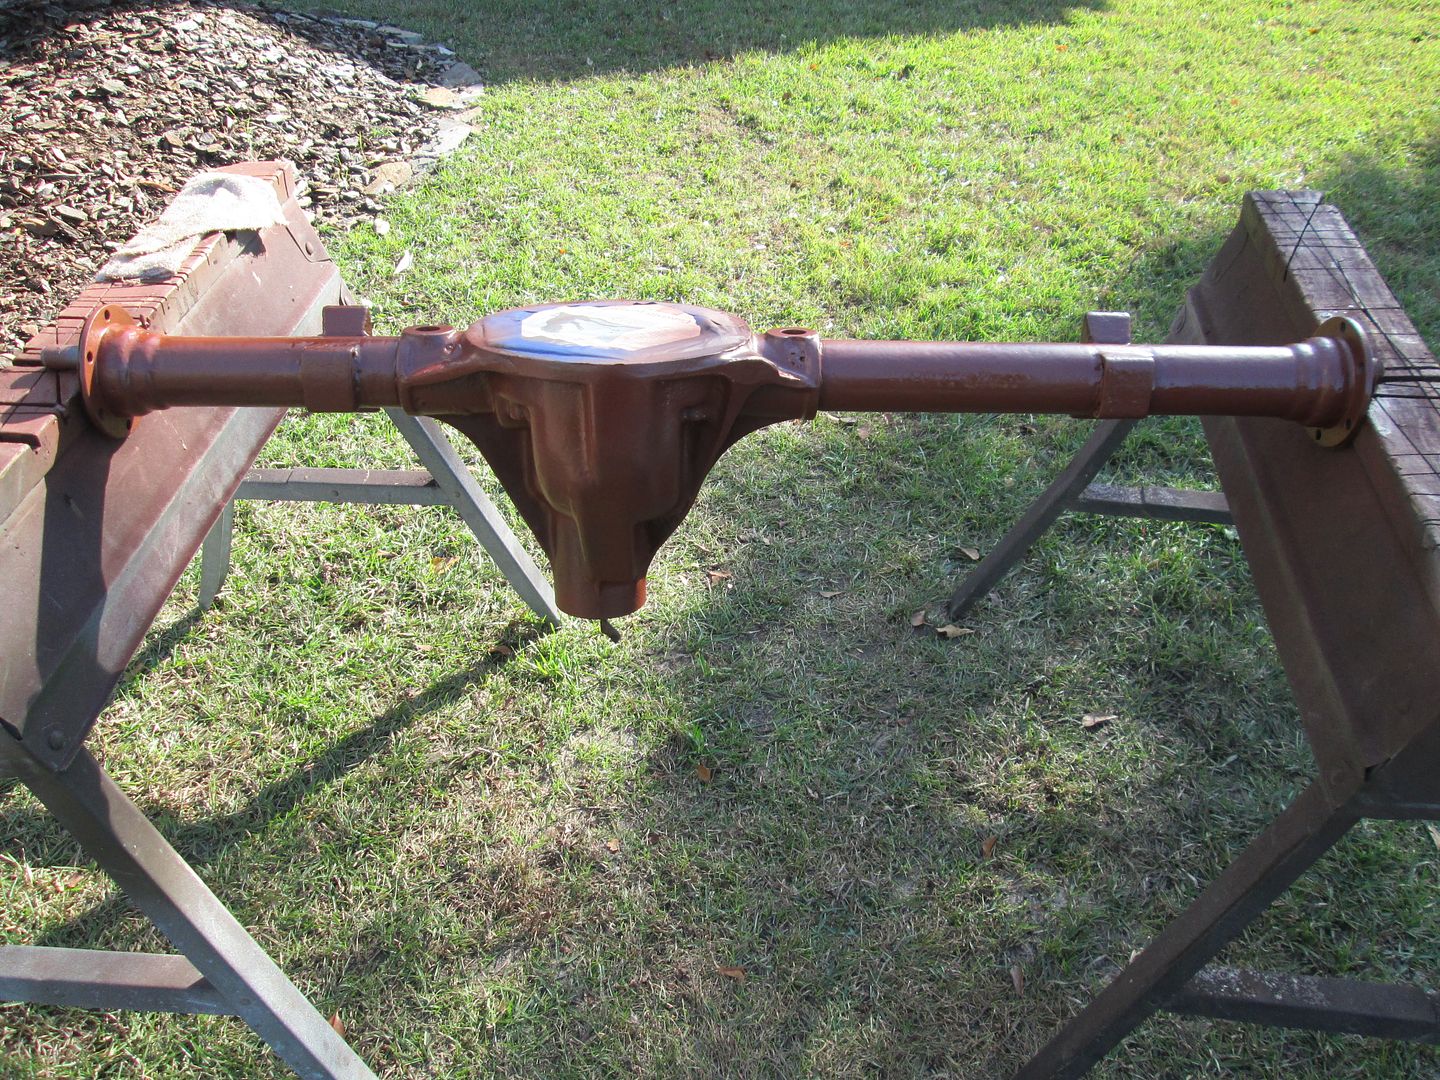 I will cure this Primer for a while before paint. |
|
|
|
Post by Haines Garage on Dec 26, 2013 22:36:06 GMT -5
I soak and clean all the differential parts 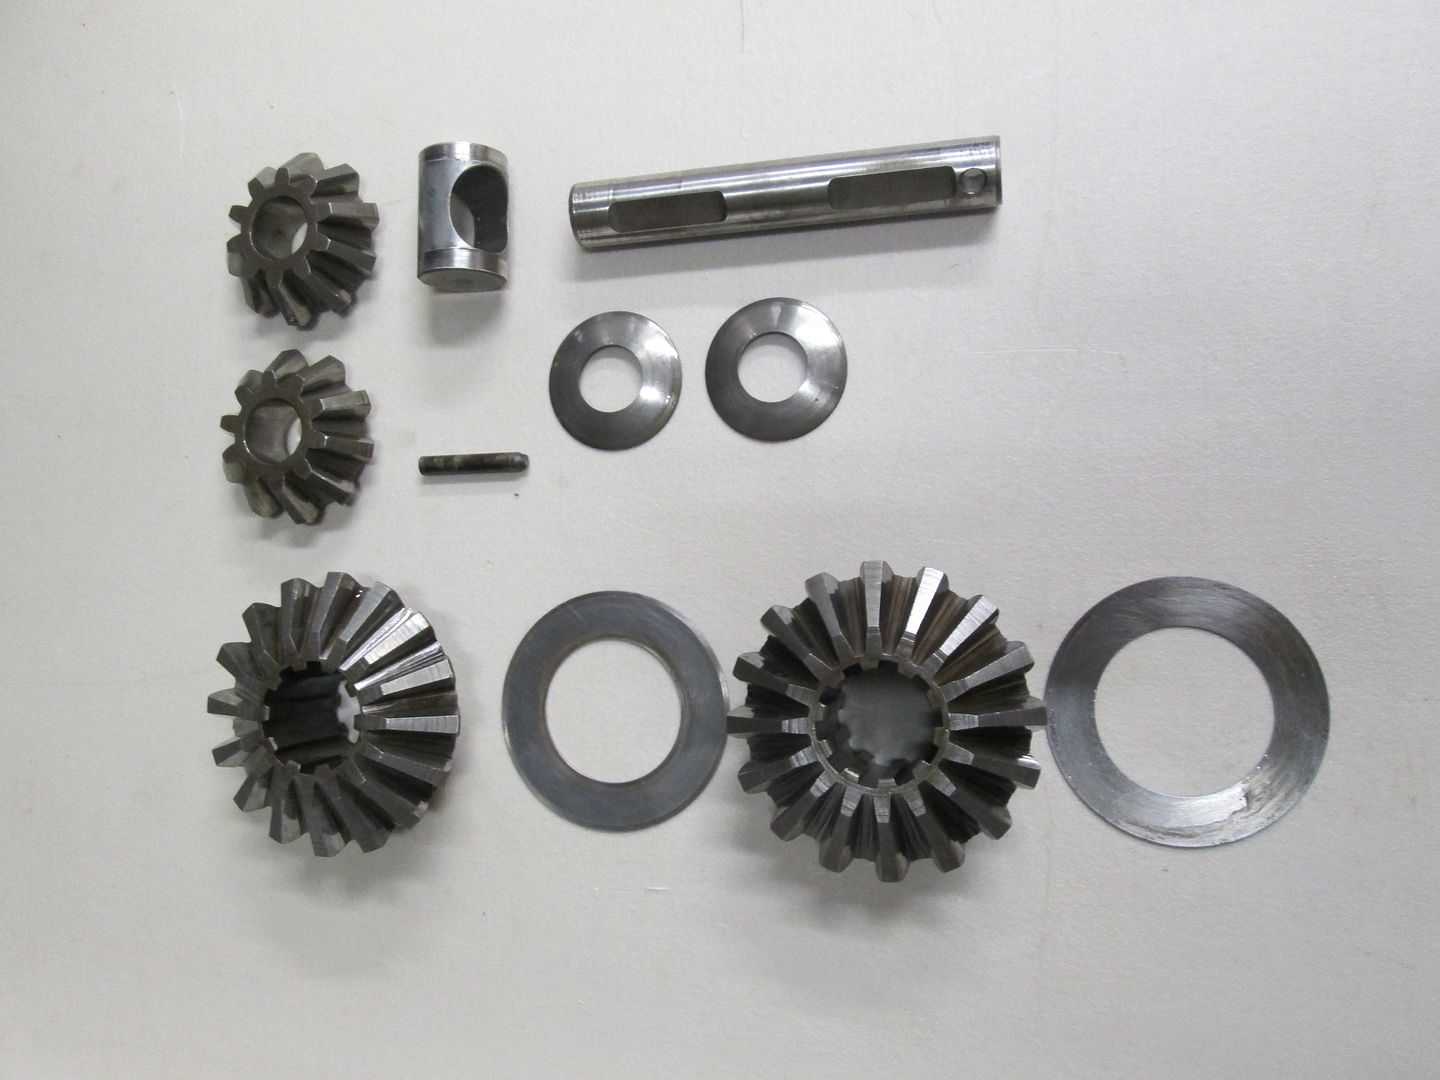 These are the spider gears This is the ring soaking with the carrier bolts 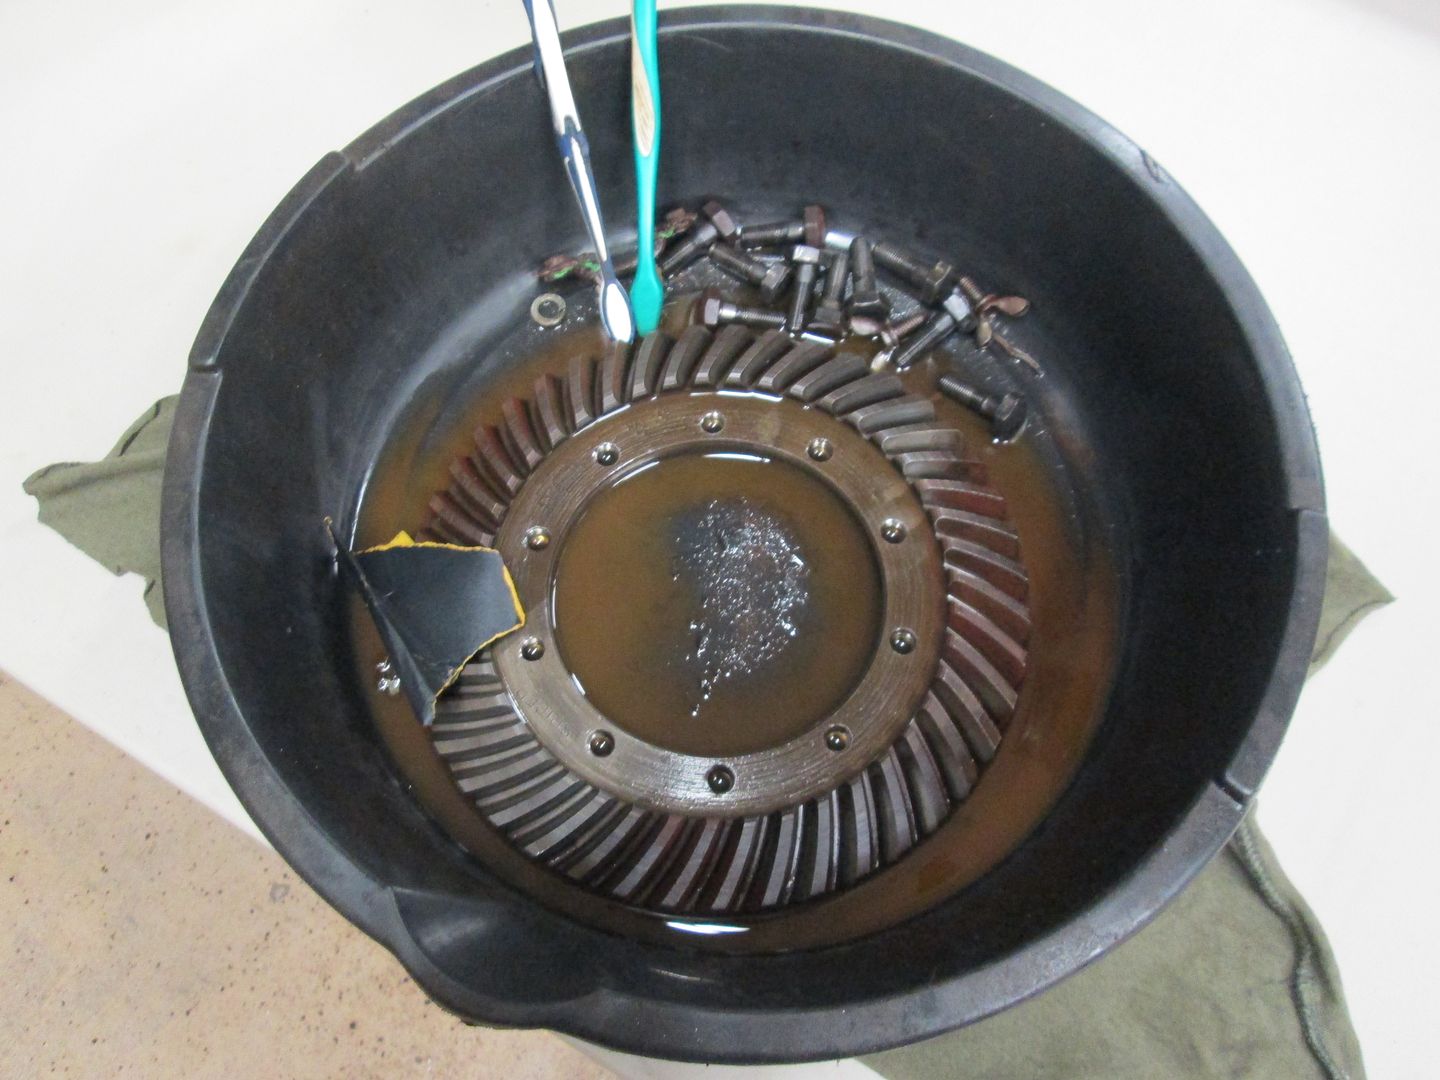 After soaking and brushing 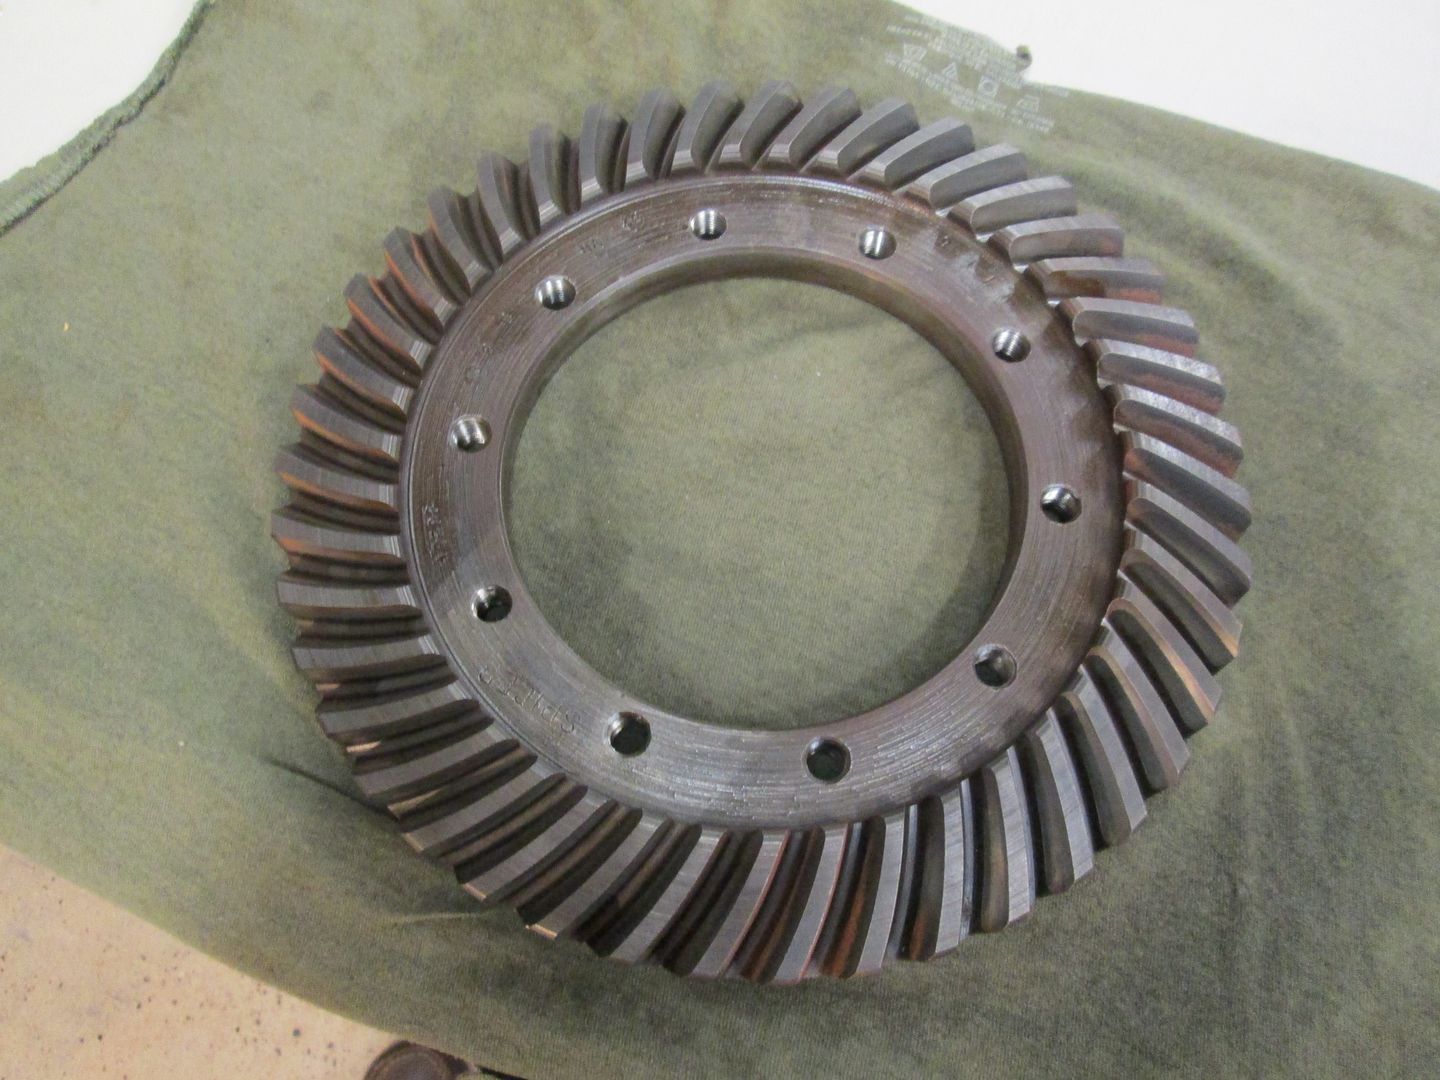 It still needs some fine detail work with a Dremel Tool and a brass brush....CLEAN CLEAN CLEAN  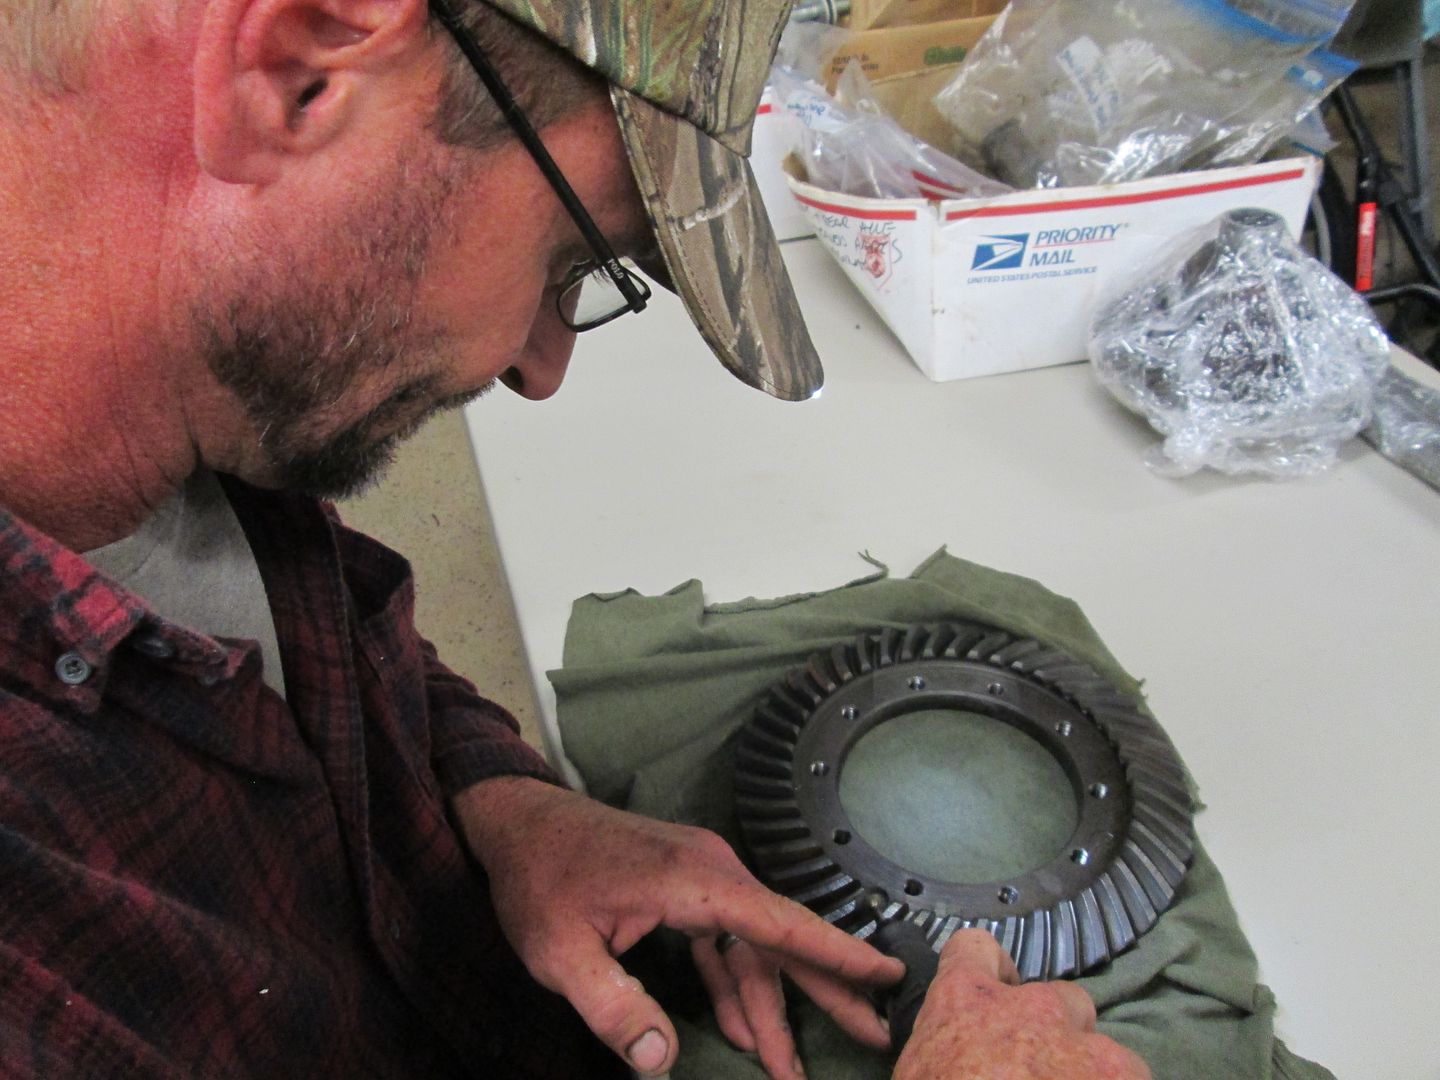 The hat I am wearing was a gift from Sir Hawkridge, a Raynor Door Camo Hat with LED lights...Comes in most handy!  Markings on the ring, I don't know the cypher except for the 46, 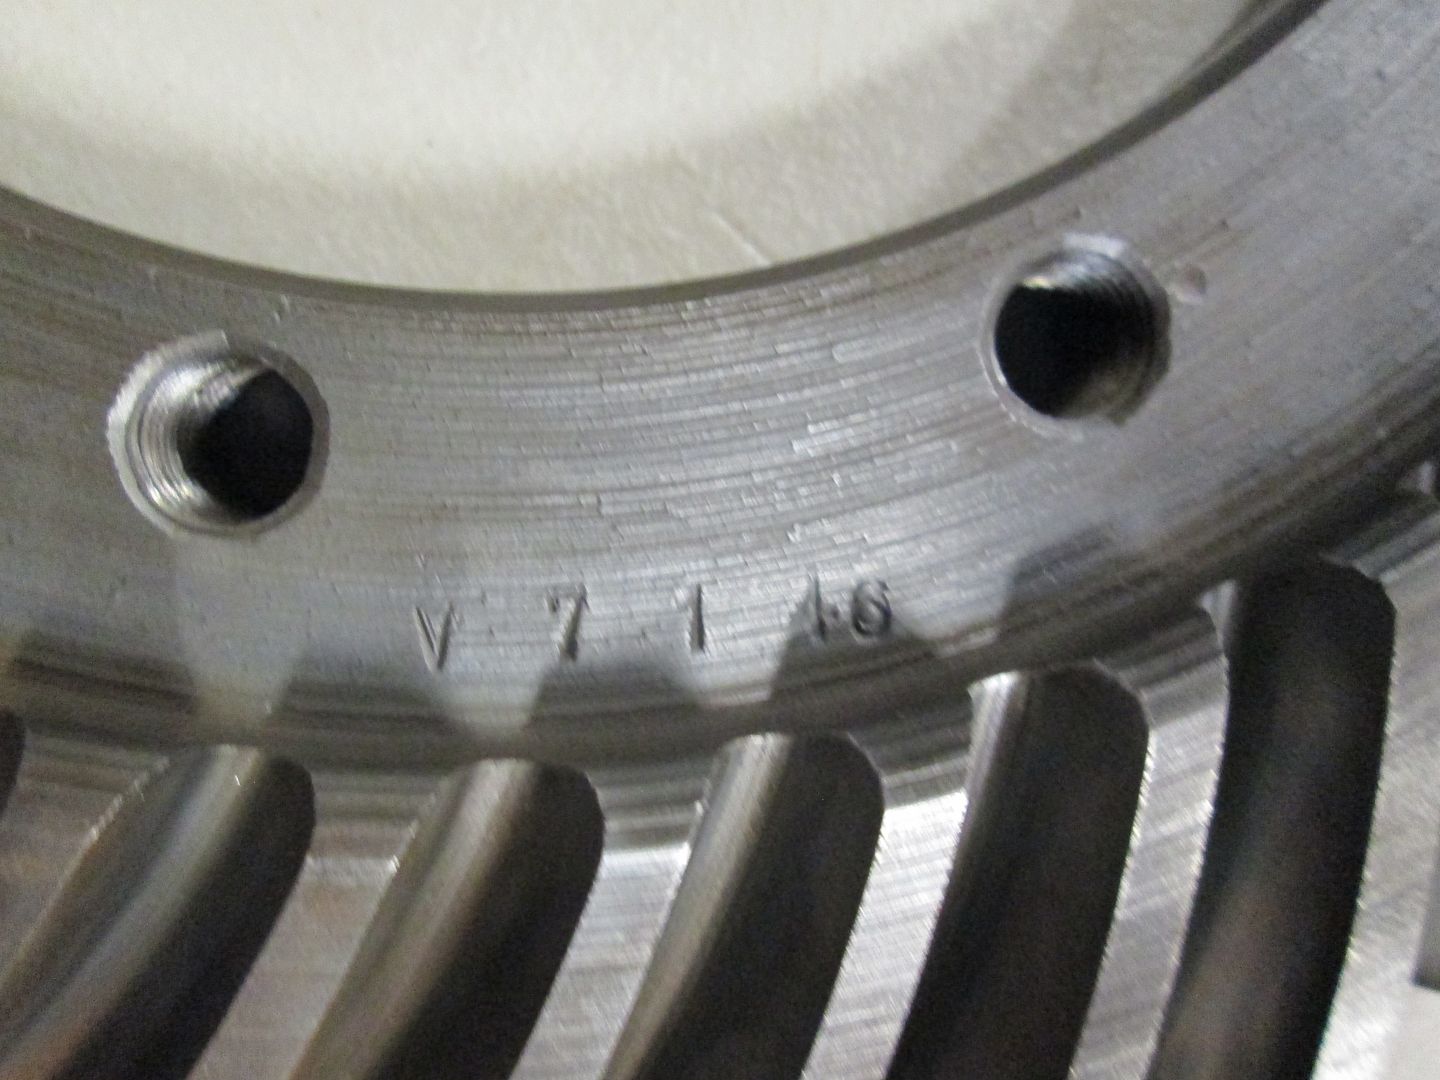 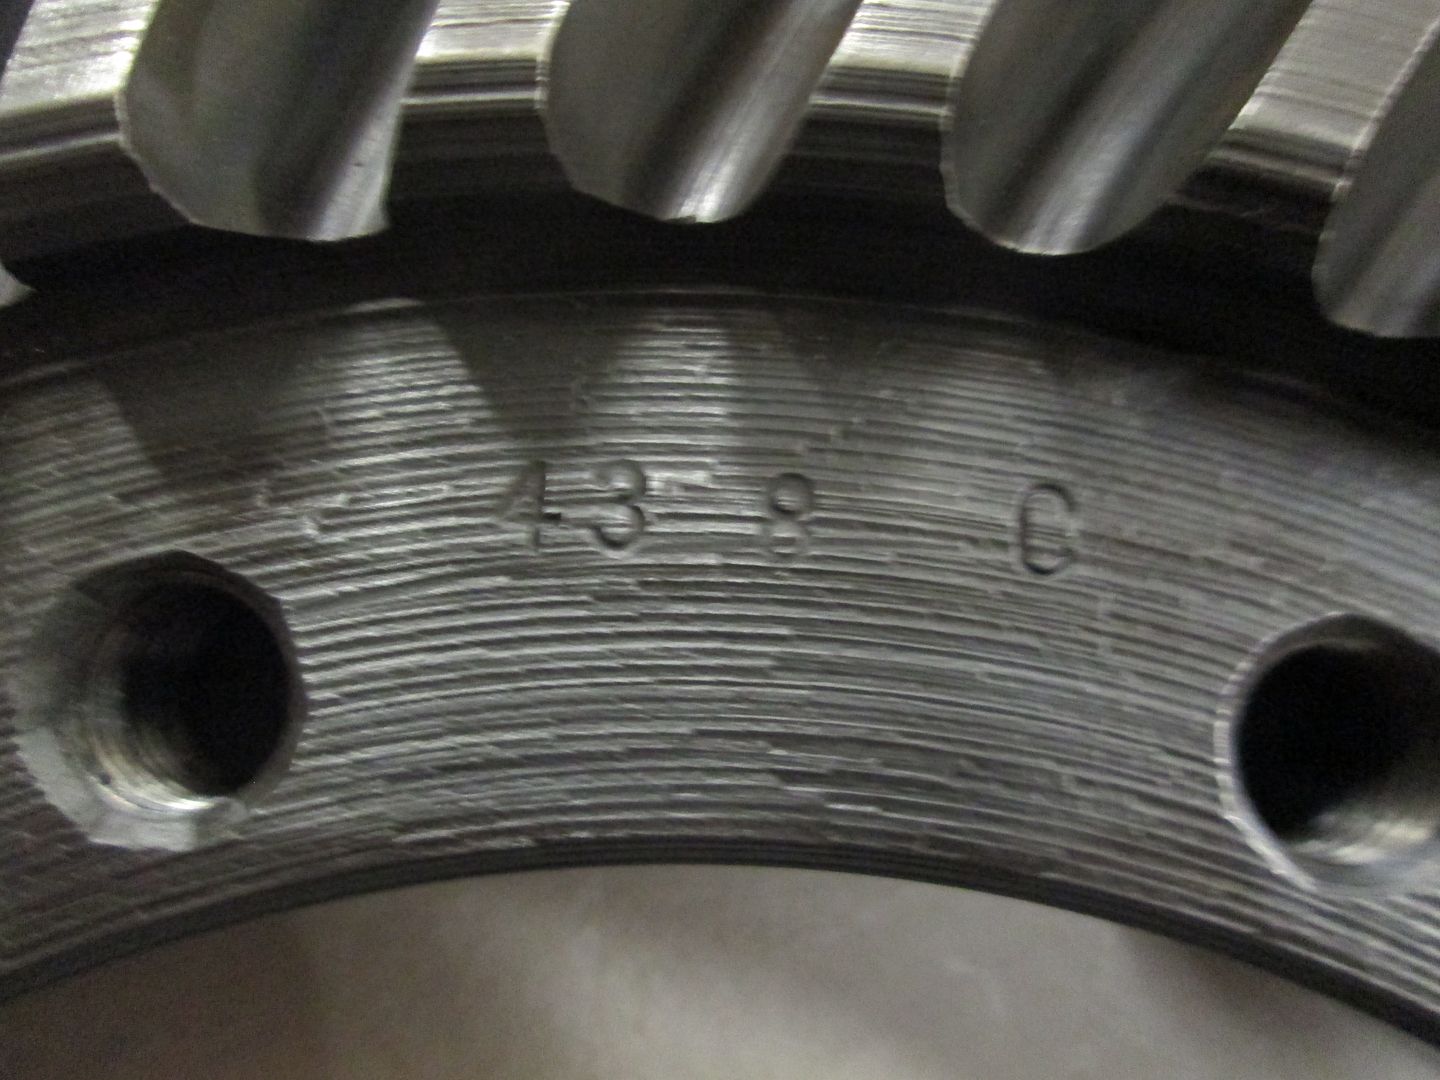 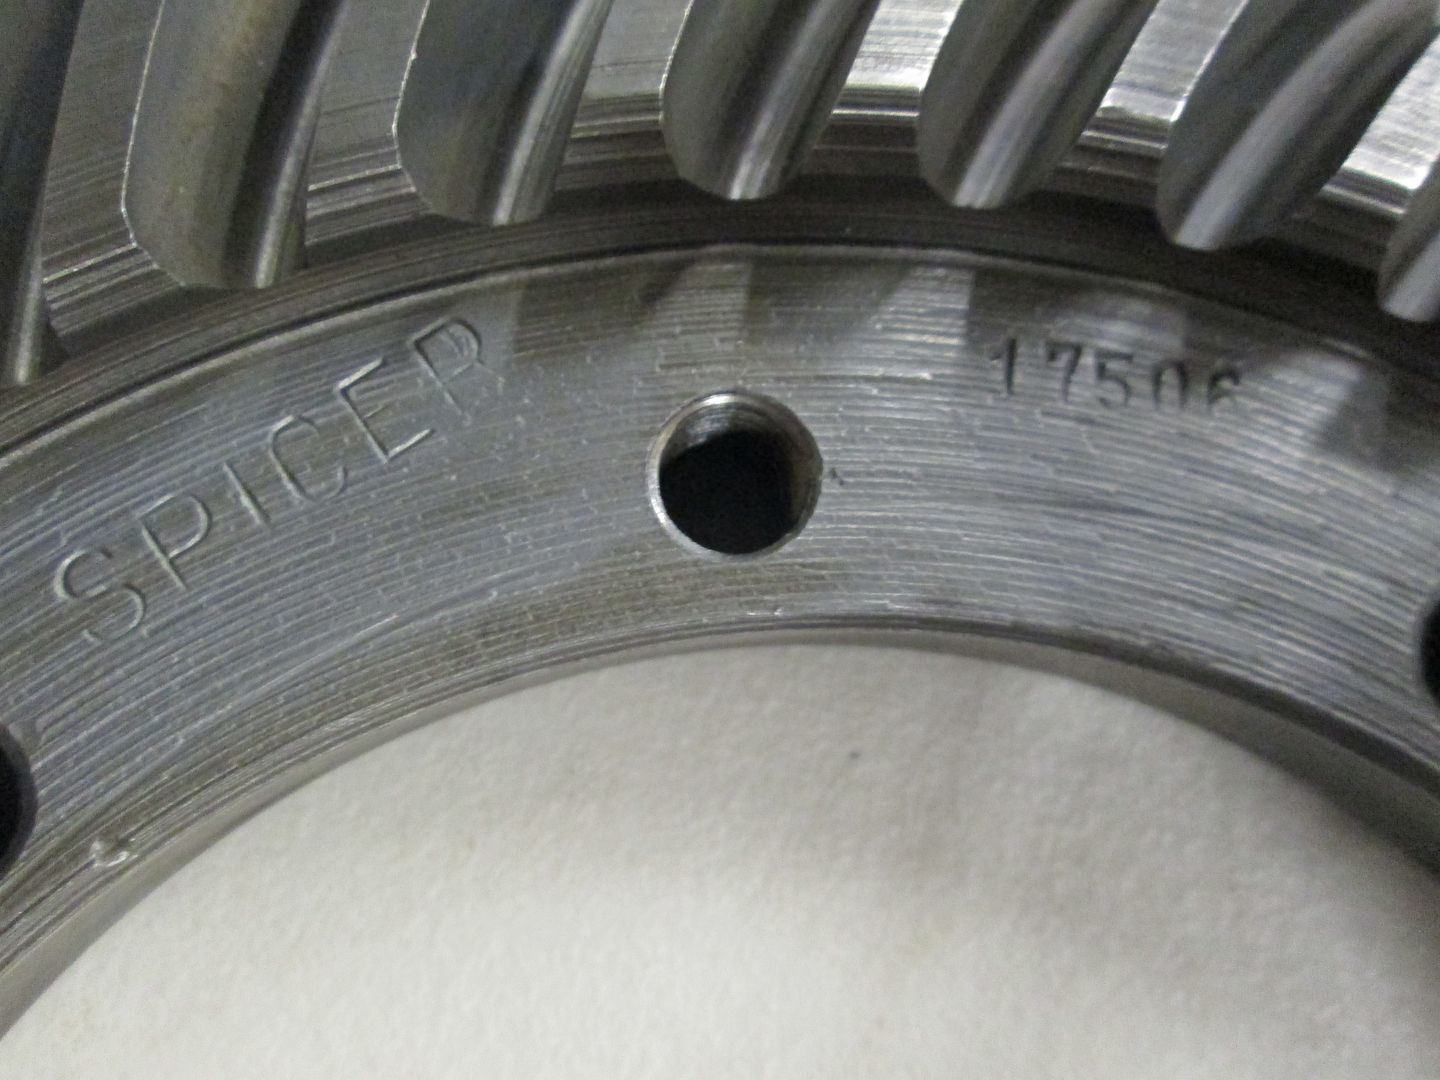 Finished Clean Ring, there are no chips or cracks on the teeth. 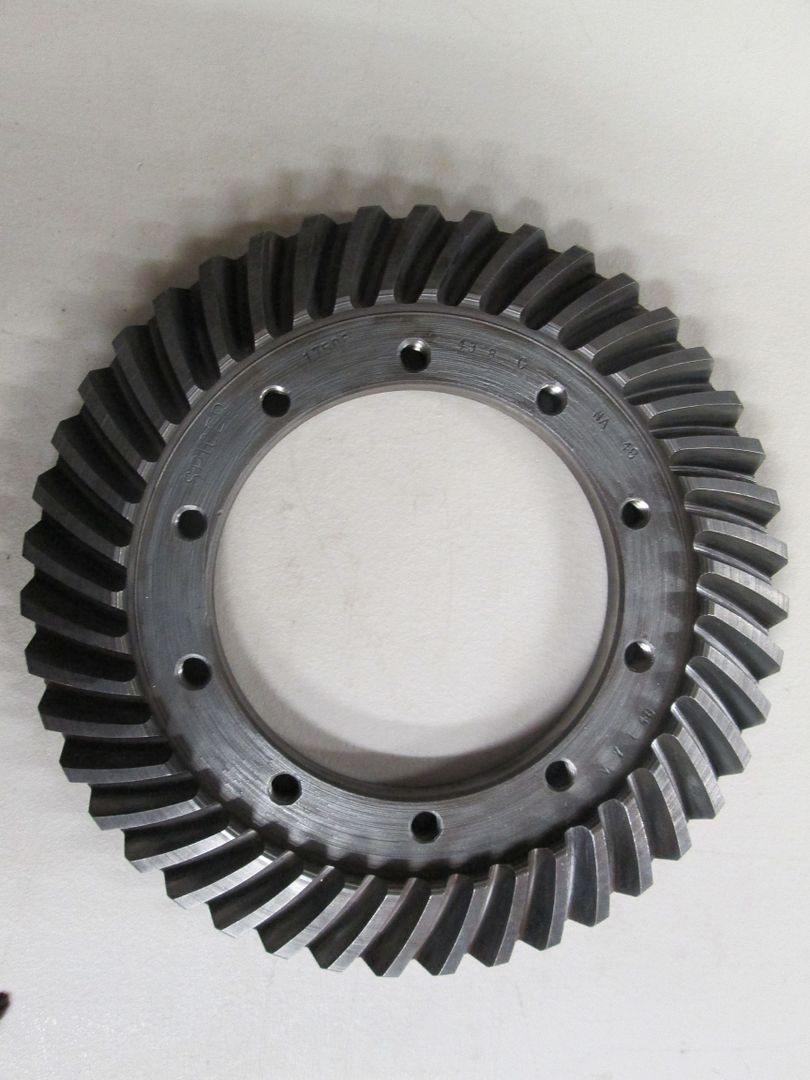 |
|
Deleted
Deleted Member
Posts: 0
|
Post by Deleted on Dec 26, 2013 23:15:36 GMT -5
V-7-1-46,,,,,,,,,the twenty first hour, July-1-1946,,  WAG, Lee  |
|
|
|
Post by Haines Garage on Dec 26, 2013 23:23:41 GMT -5
Seems your #s board is going to be FULL. How Fantastic! I see no ring and pinion numbers listed anywhere on the flat fender sites...Lets do it.
Remember That Board is all yours...kill it!
|
|
|
|
Post by Haines Garage on Dec 28, 2013 23:08:30 GMT -5
I place the larger spider gears back into the differential, I use the same shims that I removed. I lube everything with assembly lube. Place the smaller spider gears at a 90 degree, with washers. Lube holds them in place. I rotate them into place with my fingers...carefully. 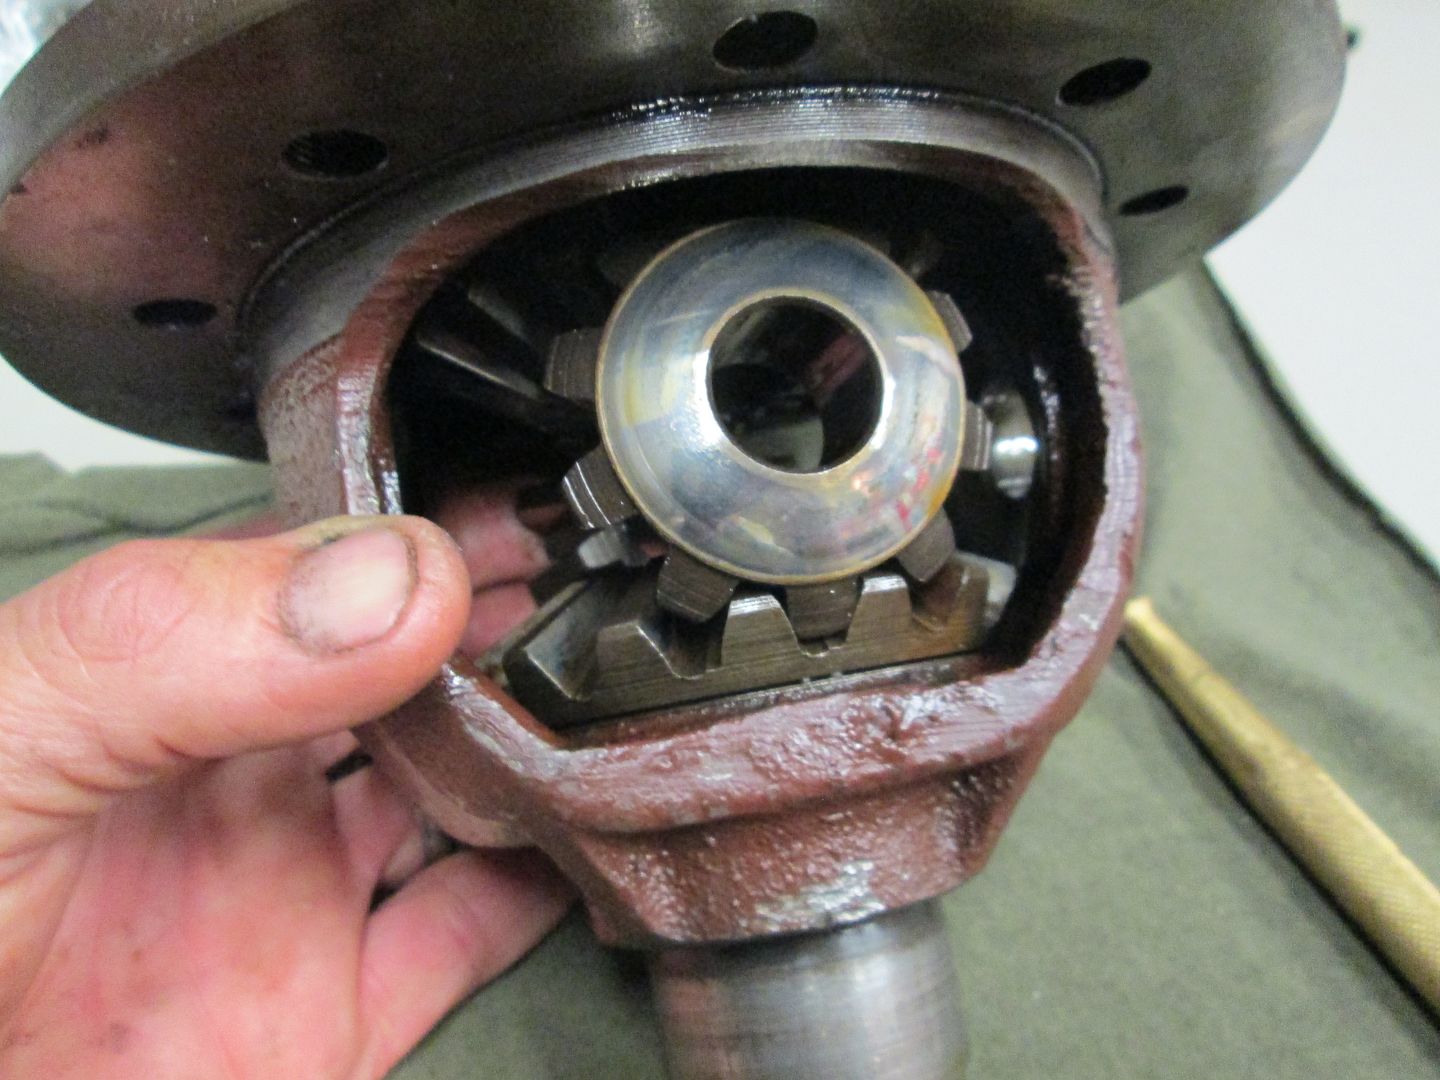 I insert the spacer into the differential, lining it up for correct shaft placement. 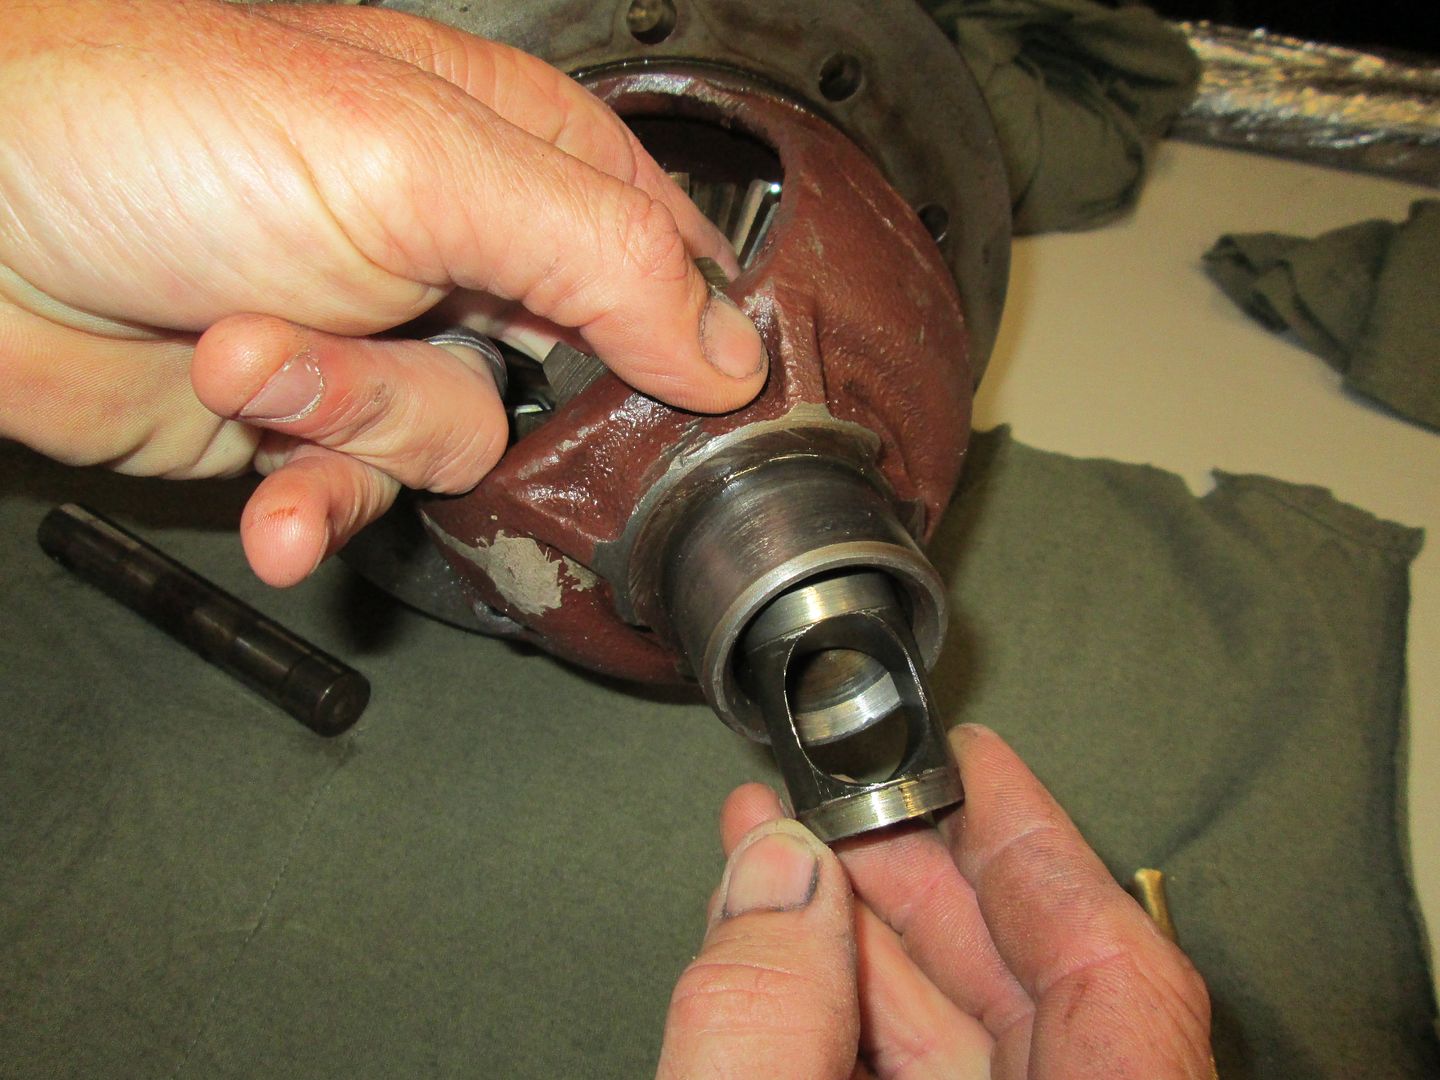 I tap the shaft into place with a brass drift. 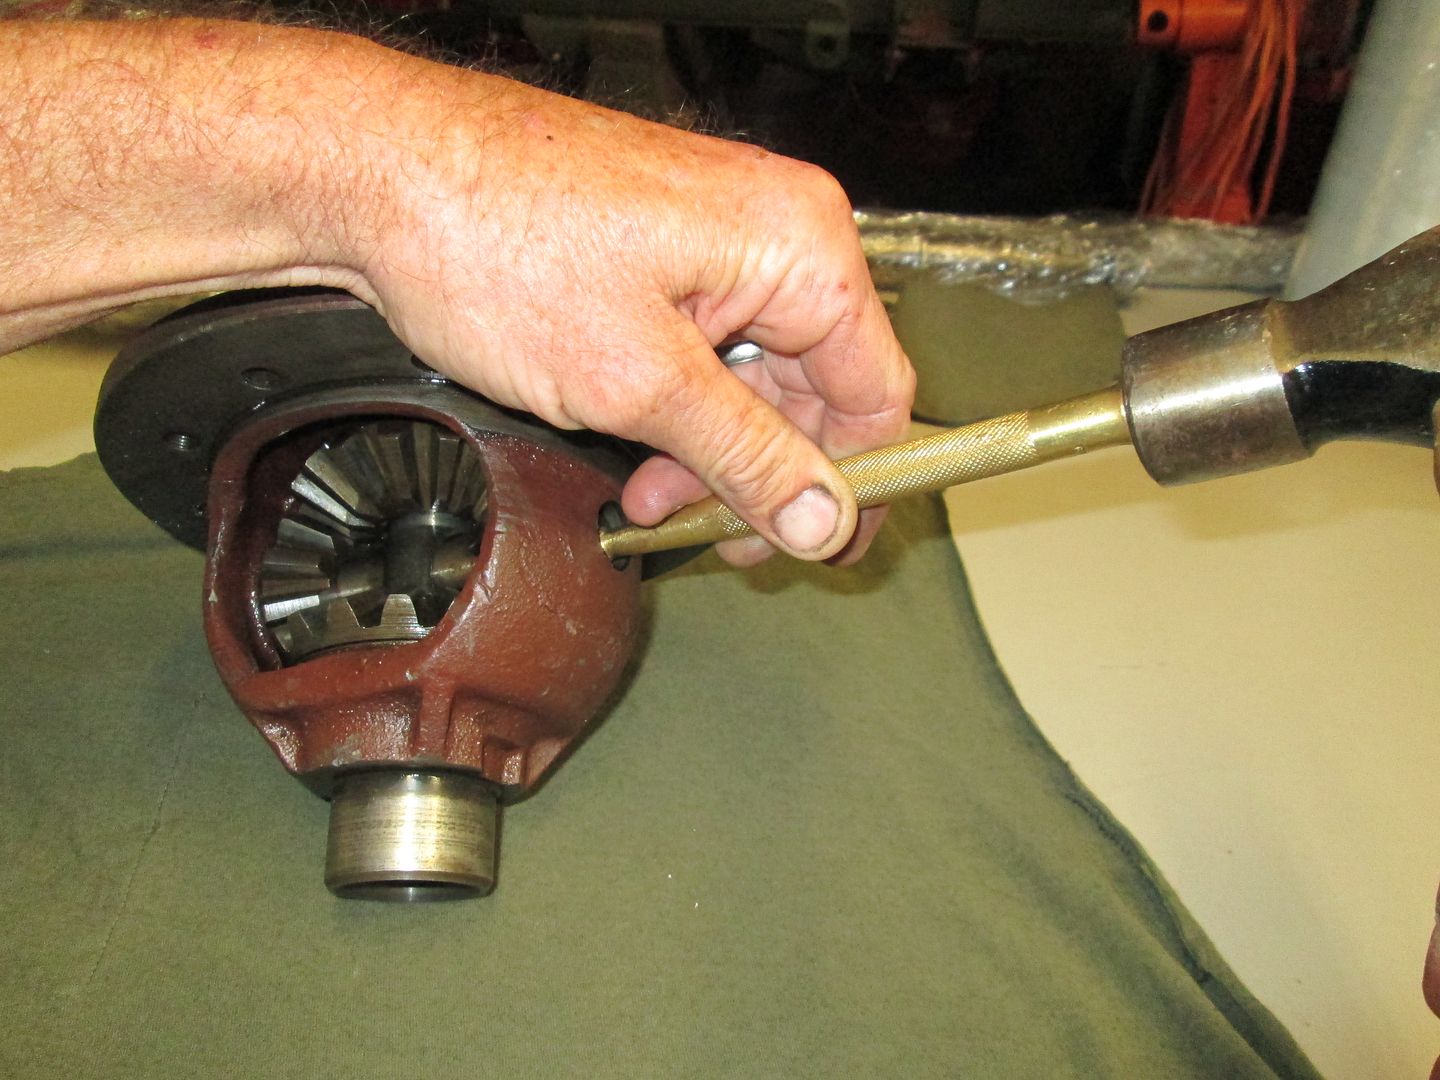 To lock the shaft in place there is a pin that has to be driven in, same as the dana 25 build thread. |
|
|
|
Post by Haines Garage on Dec 28, 2013 23:14:03 GMT -5
After the Spider gears are installed, I Install the Ring bolts, and new keepers, purchased from Walcks. The lock straps had to be bent and manipulated to fit the bolt holes. I did so with a pair od channel locks, and needle nose pliers. 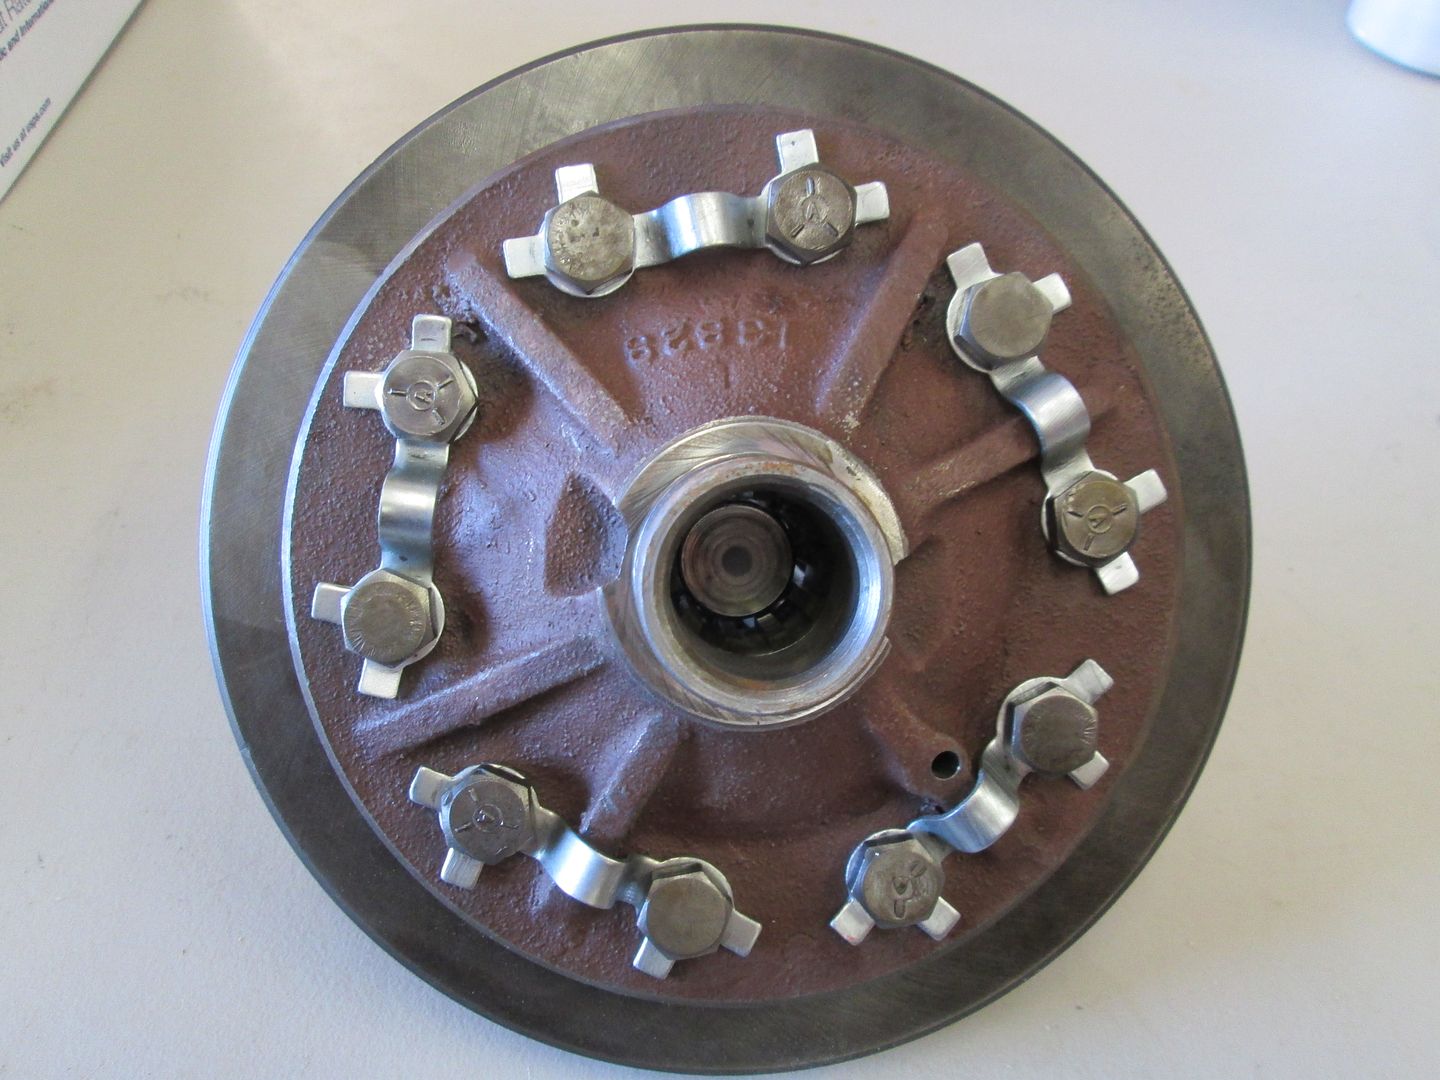 I set the tabs on the locks with a brass drift. Bolts have been torqued to spec. (55 ft pounds) I am happy with the result. 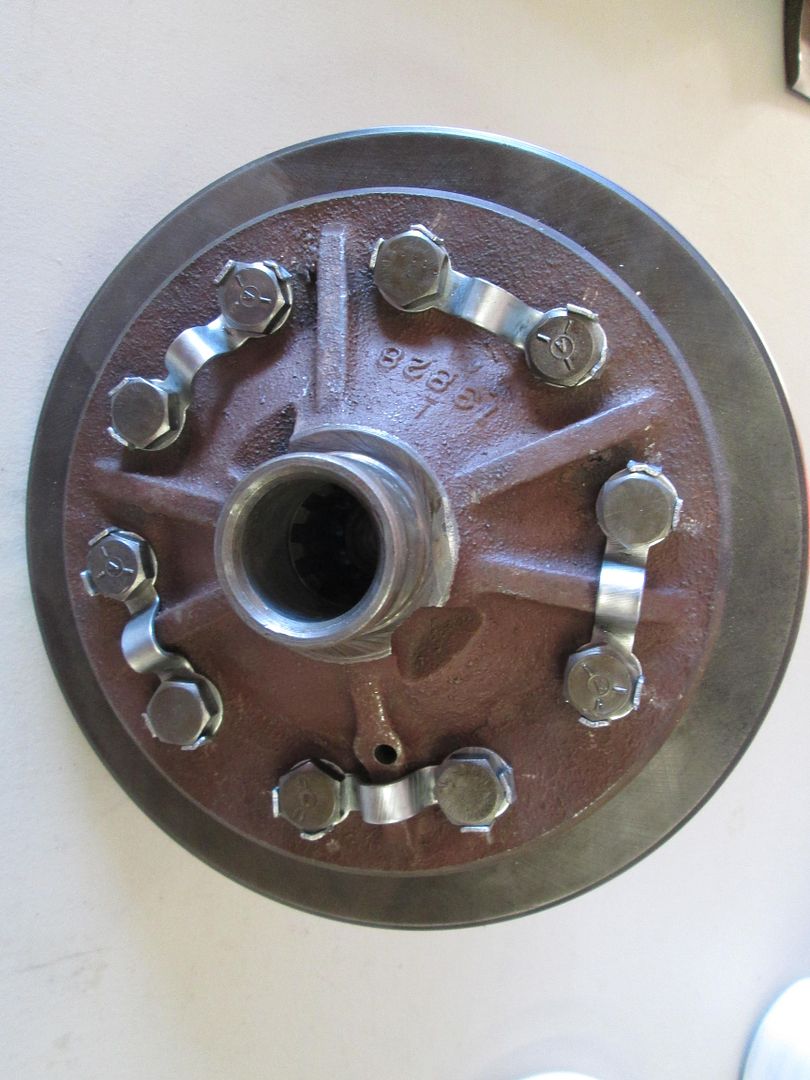 |
|
Deleted
Deleted Member
Posts: 0
|
Post by Deleted on Dec 29, 2013 0:07:33 GMT -5
Haines, looking good, have you checked the axel hsg. for dates yet? Lee  |
|
|
|
Post by Haines Garage on Dec 30, 2013 22:45:17 GMT -5
Busy cleaning hardware for the Dana 41. I wanted to show the old Grease retainers compared to the new. 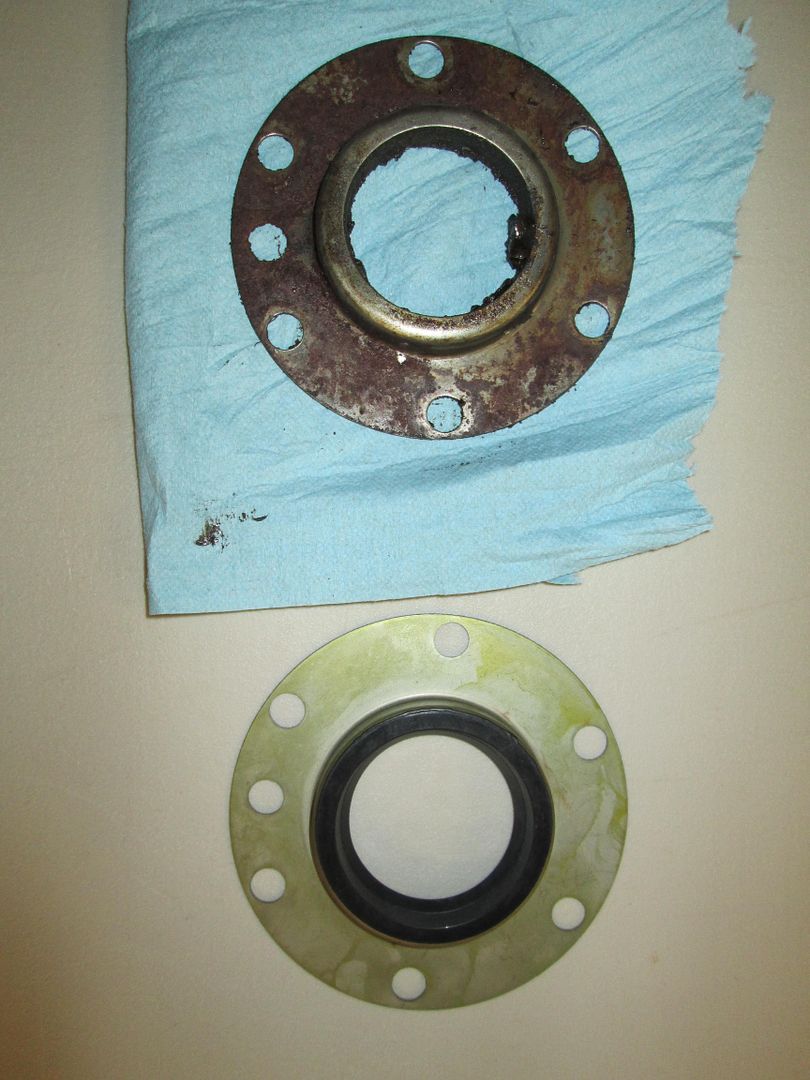 Not much of a seal left in the old one  Also, the Brake grease protector 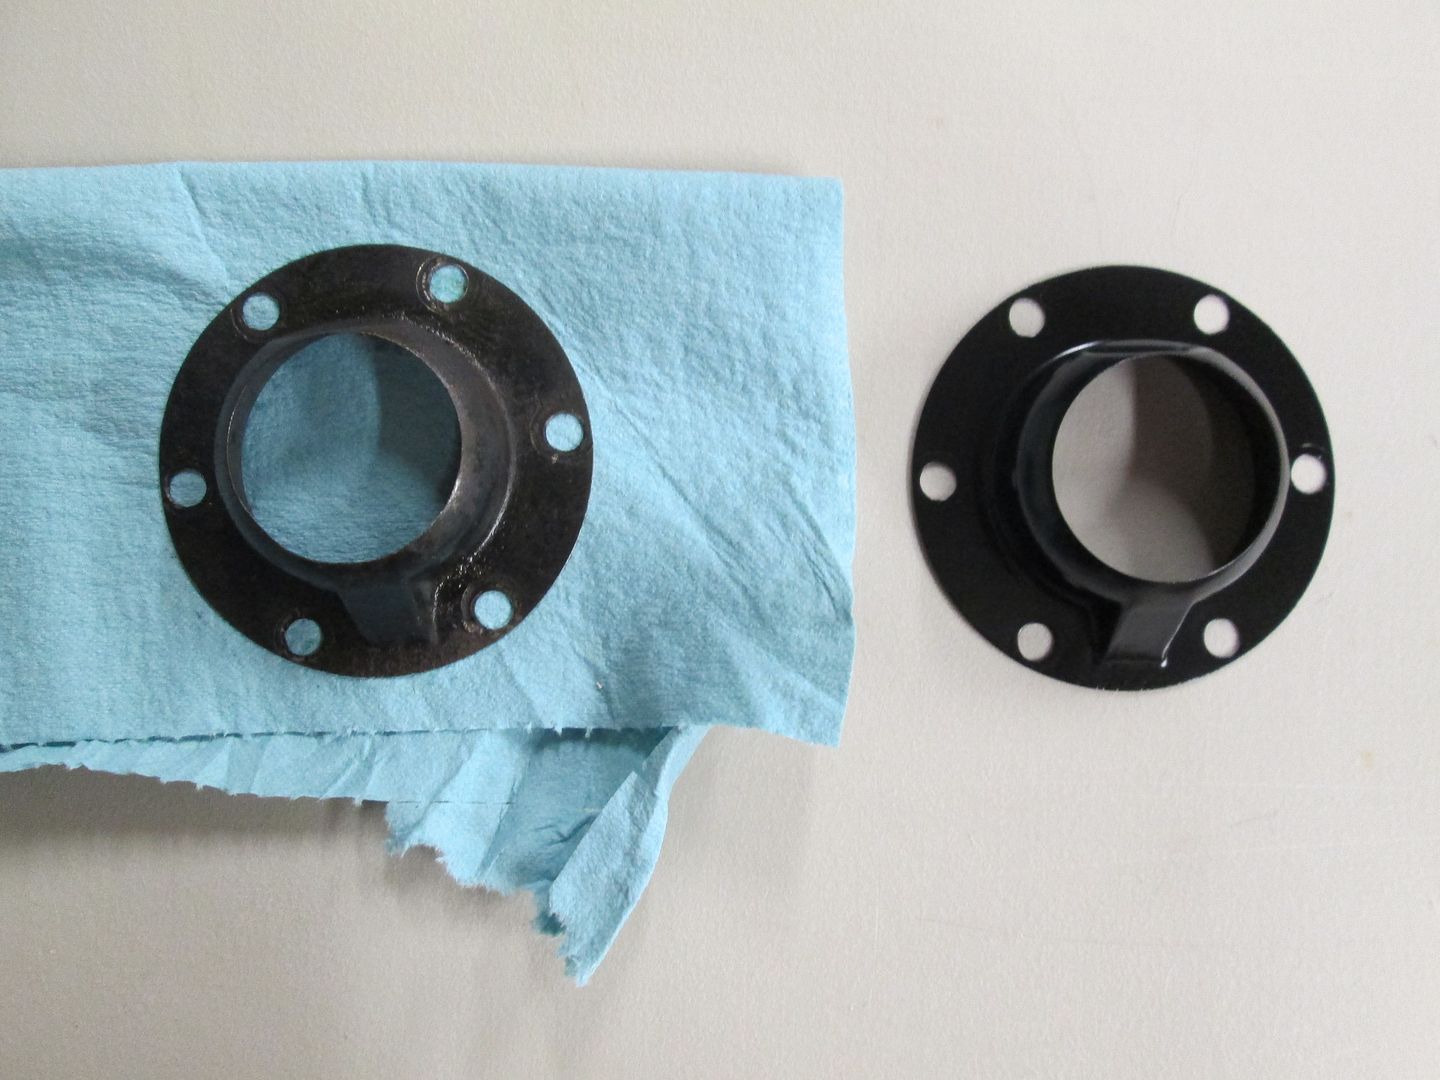 One on the left is soaking, one on right has been cleaned, primed , and painted. (front side only) |
|
|
|
Post by Haines Garage on Jan 2, 2014 17:41:55 GMT -5
I received my Timken Bearing set from Kyle at East Coast Willys. Very Nice, Fair Price, and Fast Shipping. So I am back at the Dana 41. I install new cup bearings. Mic'ed the same as the ones I damaged during disassemble. 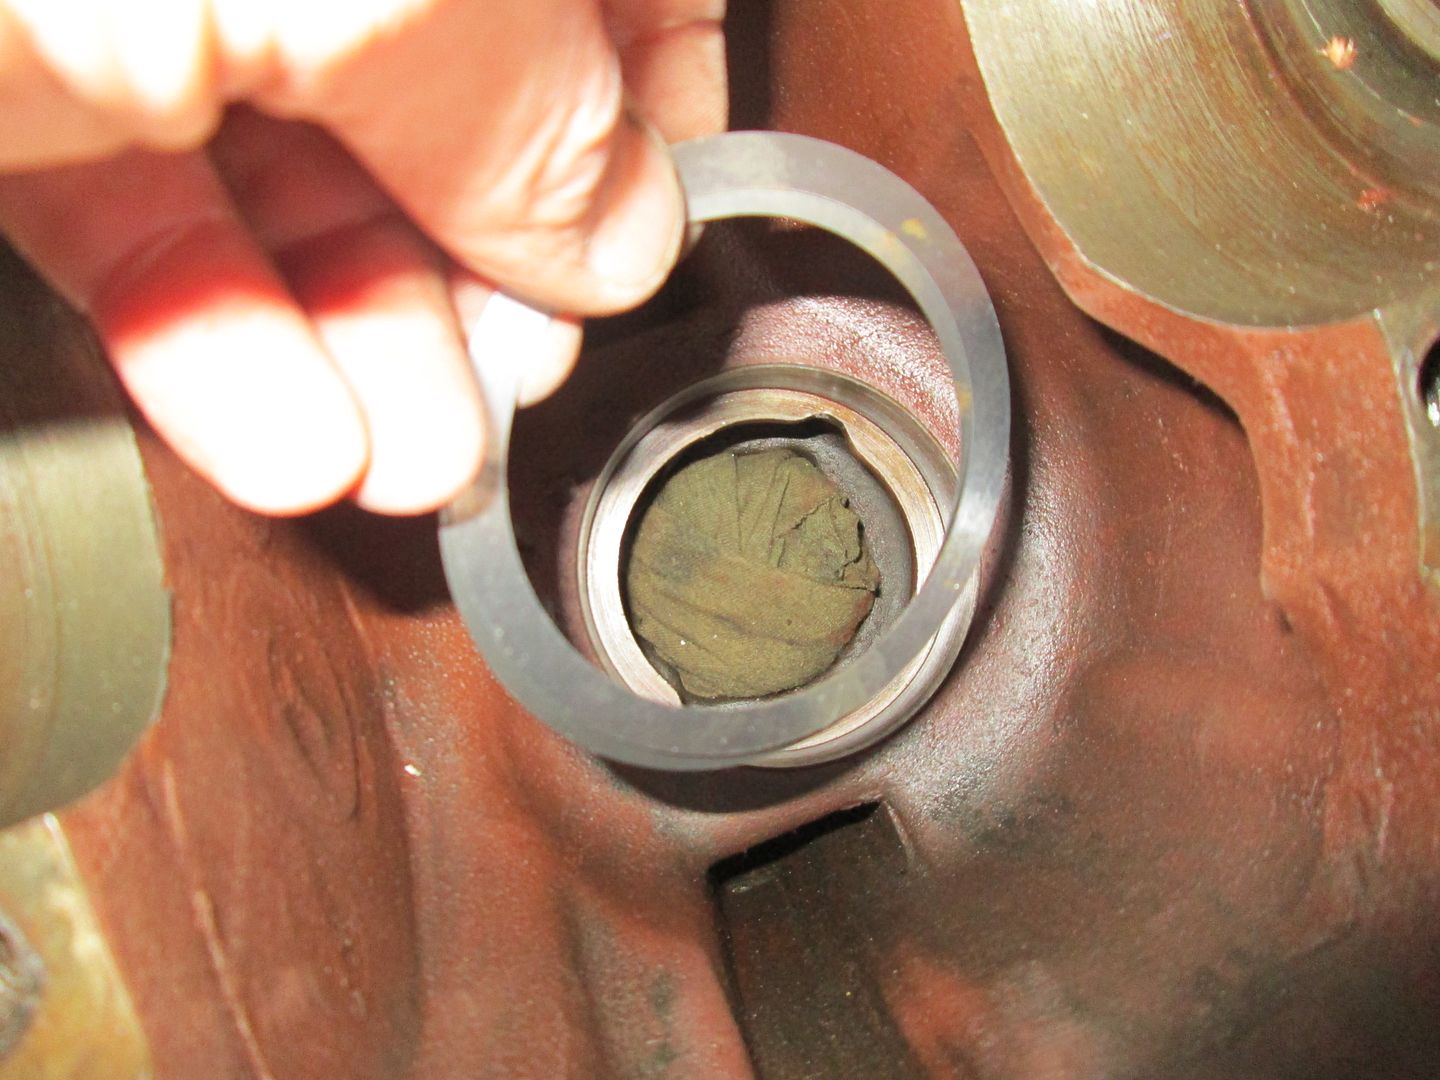 I insert the new inner pinion cup. I lightly oil the outside of the new cup, and the housing to aid in installation. I tap it into place wit a brass drift. Tapping at 12, 6, 9, and 3 on the clock. Tap on the outside rim of the cup. 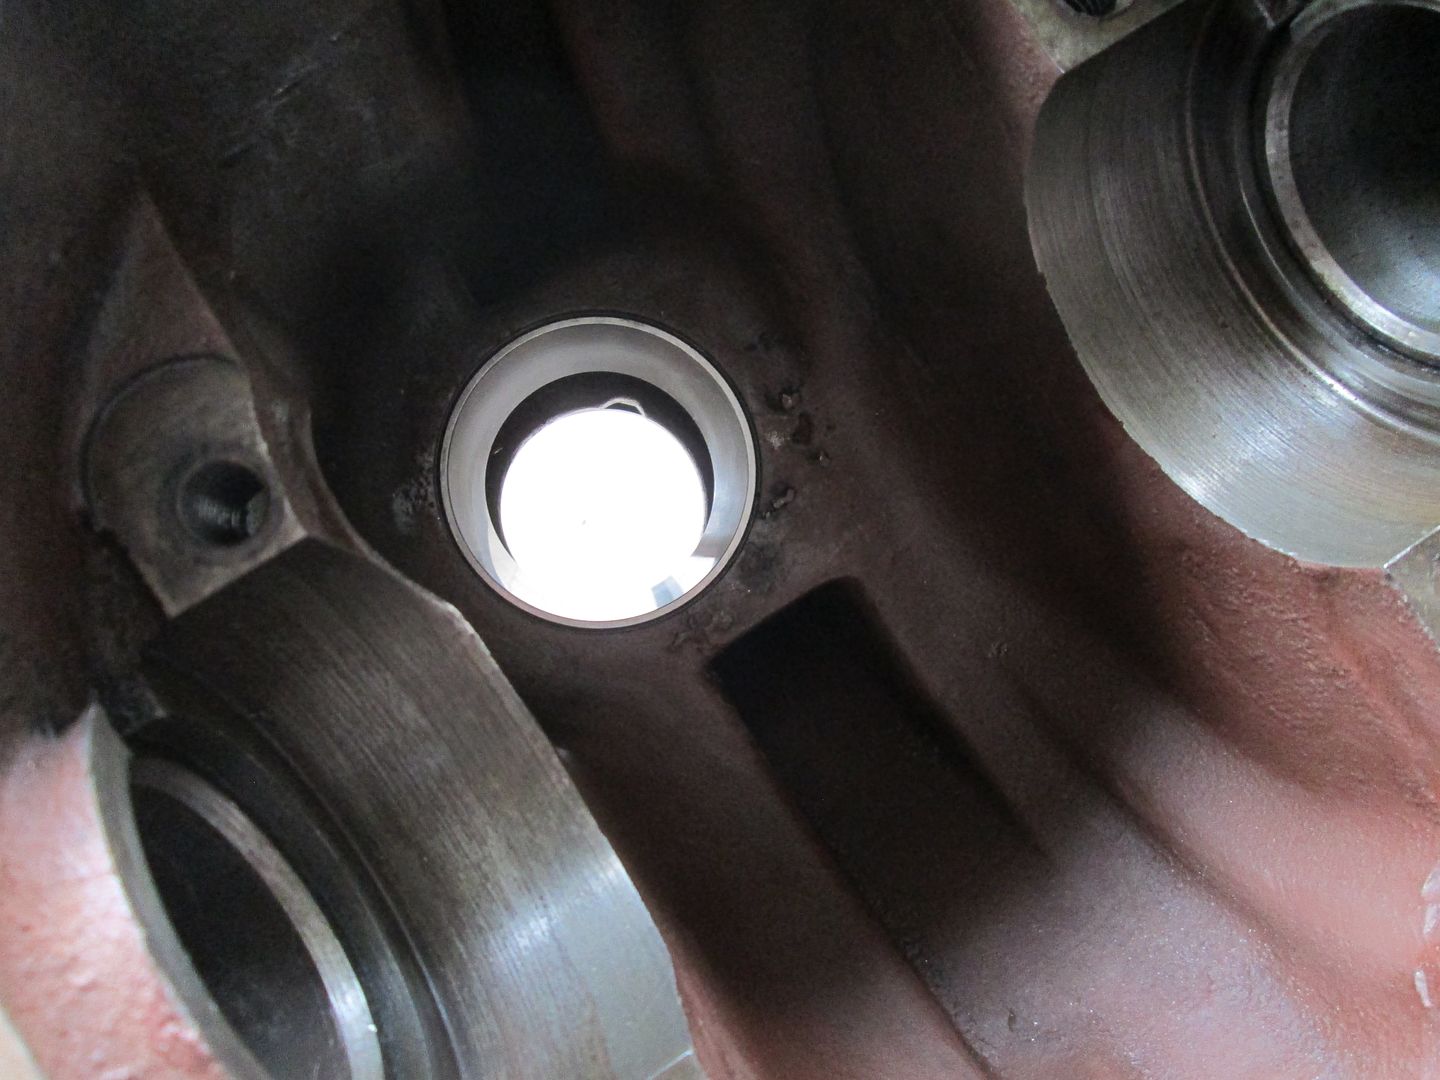 I repeat the same process for the outer pinion cup. 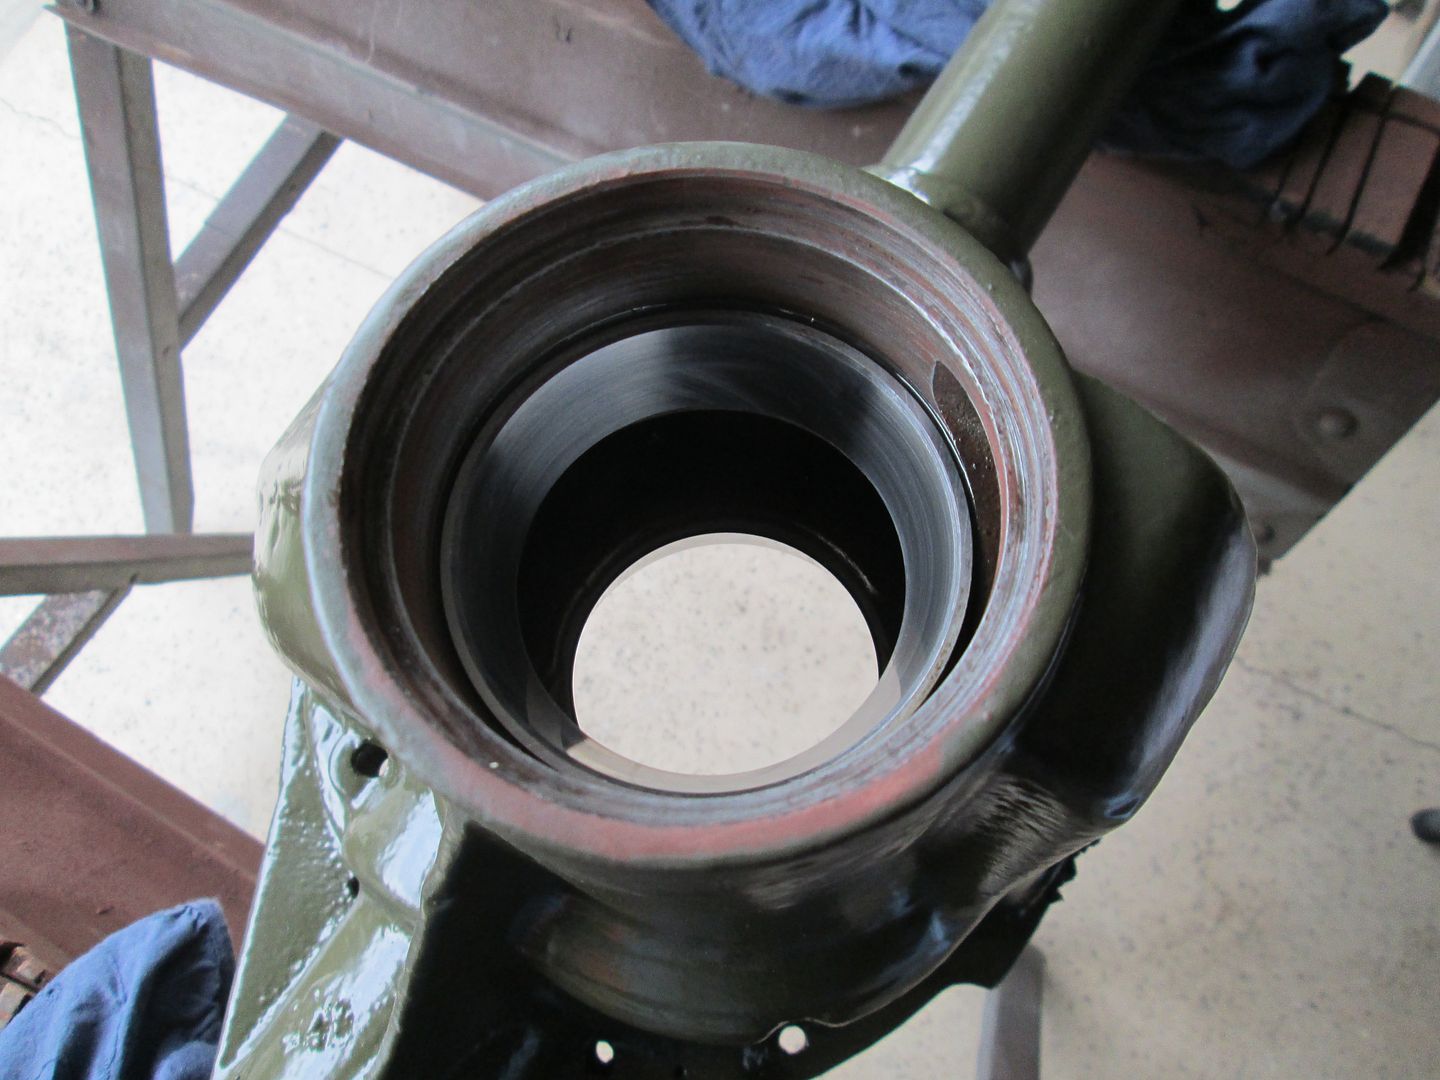 |
|
Deleted
Deleted Member
Posts: 0
|
Post by Deleted on Jan 2, 2014 20:26:38 GMT -5
Familiar country. The real fun is about to begin. When you tighten the pinion to check the drag. Then put the rest in and see how your pattern looks. On my '45 MB, it only took about 13 trys to get it right. The more of those you do, the better you learn how to hold your mouth just right. John
|
|
Deleted
Deleted Member
Posts: 0
|
Post by Deleted on Jan 2, 2014 21:59:40 GMT -5
You may consider the harbor freight race and seal installer set. Not sure how well it works but at work we had the tools just an old old brand. They made life so so much easier.
|
|
|
|
Post by Haines Garage on Jan 2, 2014 22:31:26 GMT -5
Funny you would say that John. My Grandfather always stuck his tongue out when he worked on something. If you look at the Haines Garage Logo you will see what I mean.  |
|
|
|
Post by Haines Garage on Jan 2, 2014 23:49:30 GMT -5
Time for the pinion! I remove the bearing with a bearing puller tool. This one was a little difficult. 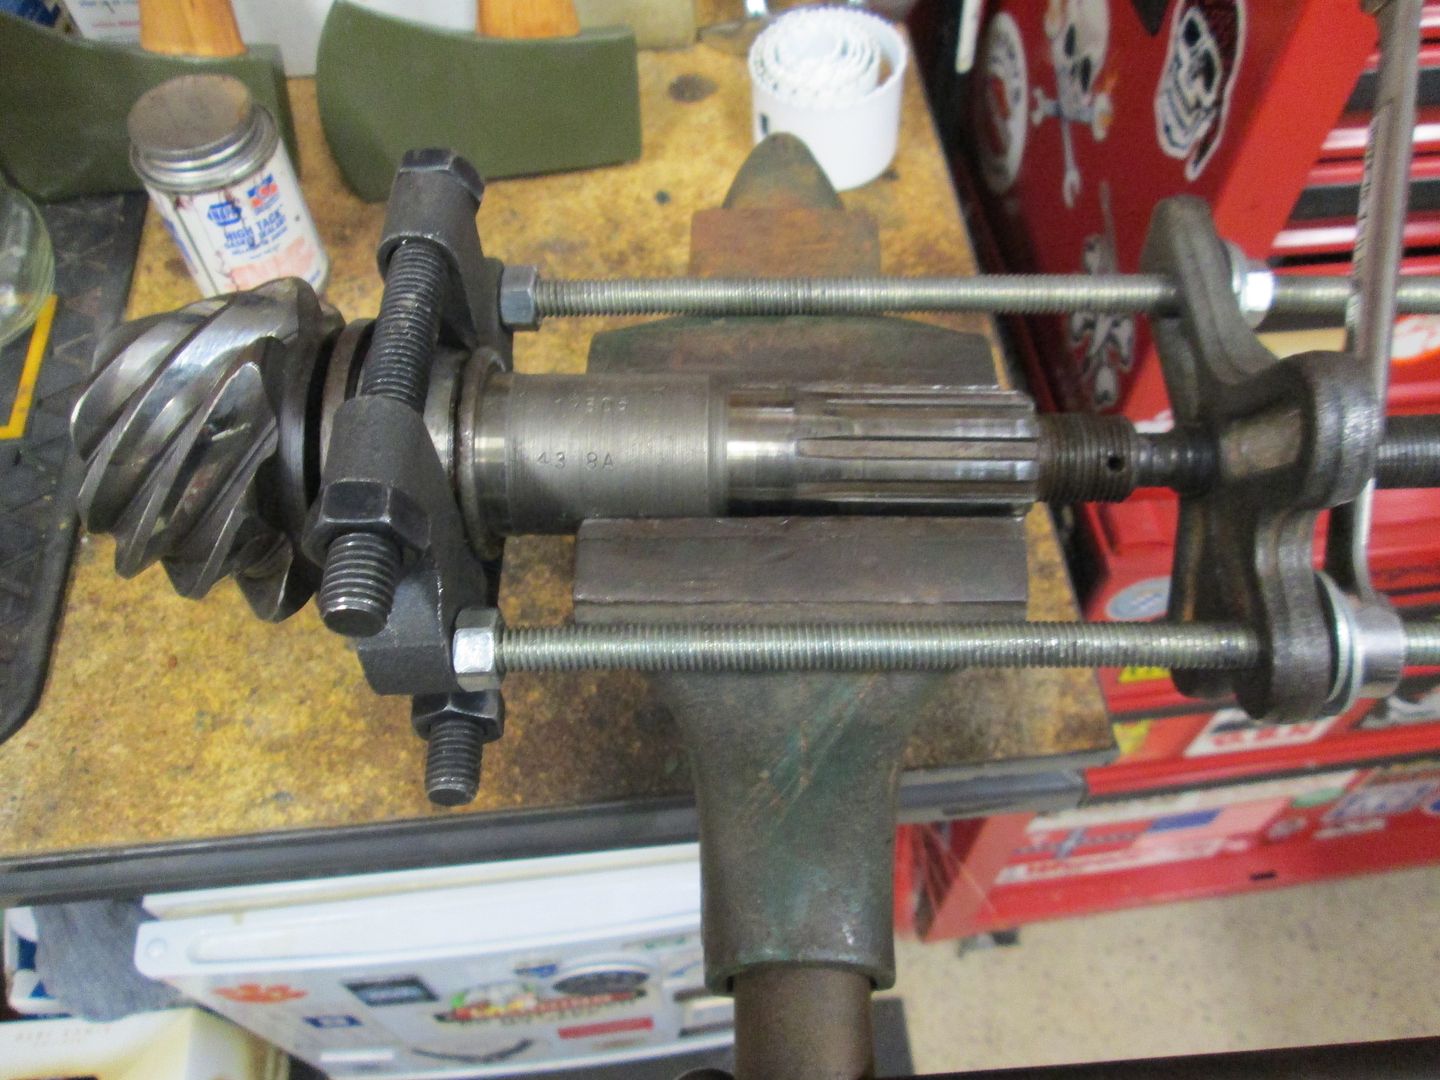 New Timken bearing installed, and lubed with assembly lube. 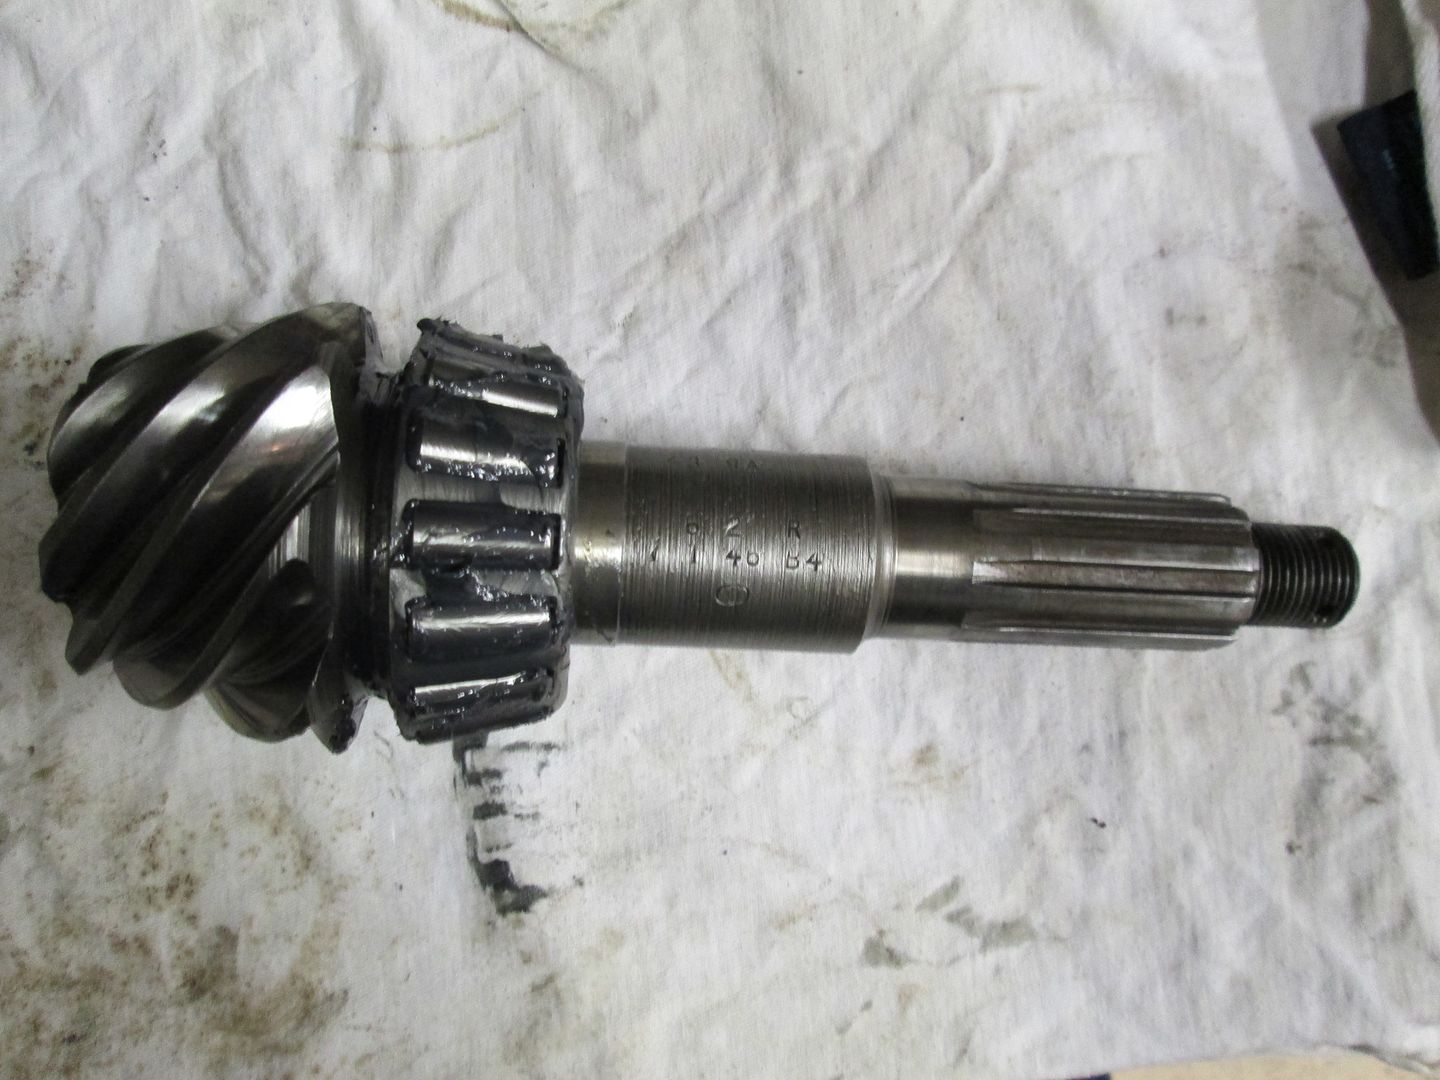 Here are some pinion marking #s for Sir Leemeister  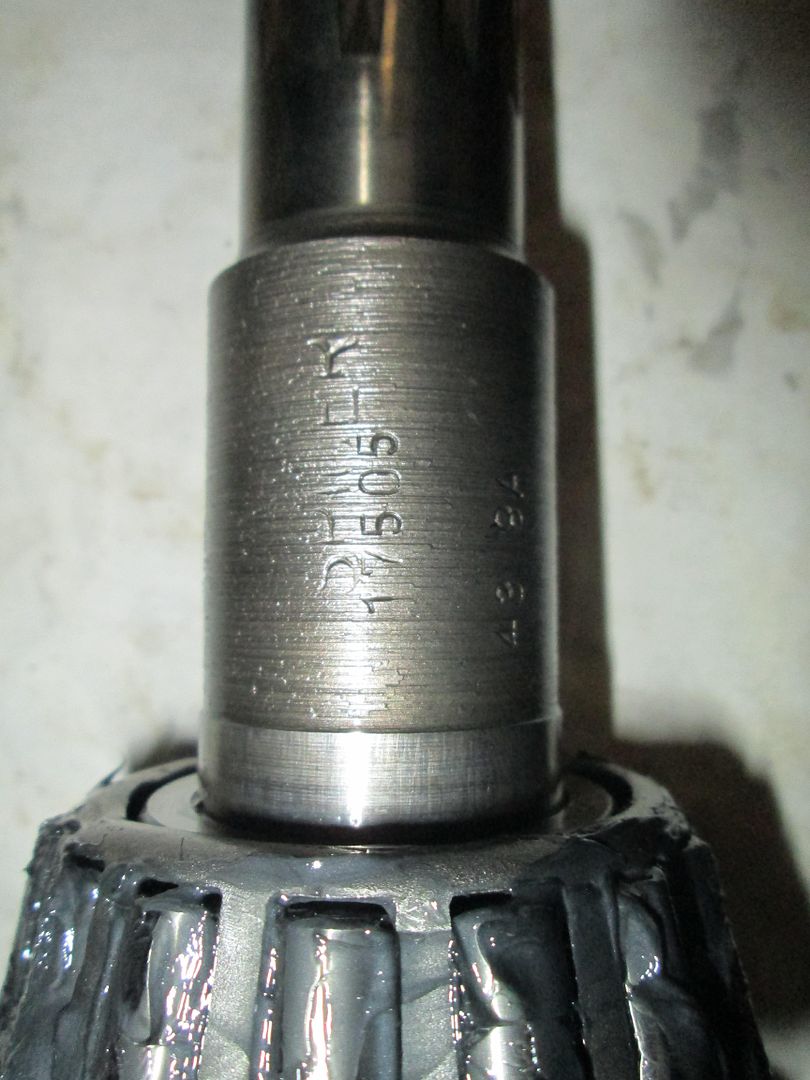 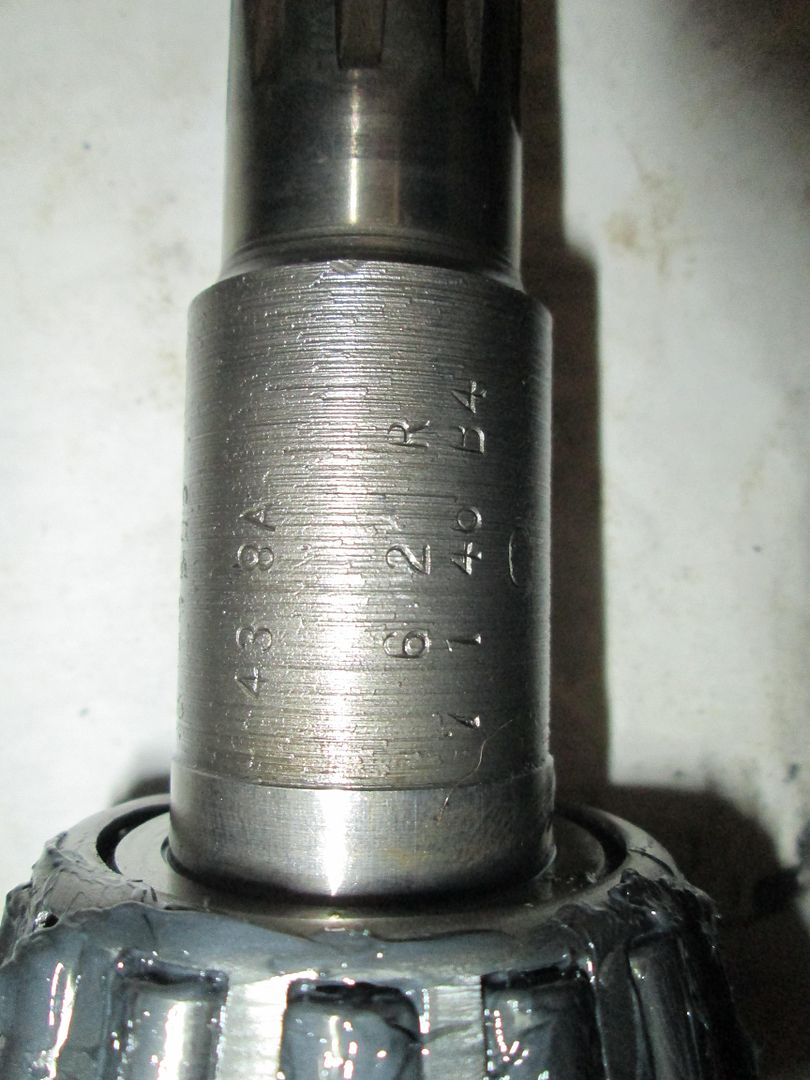 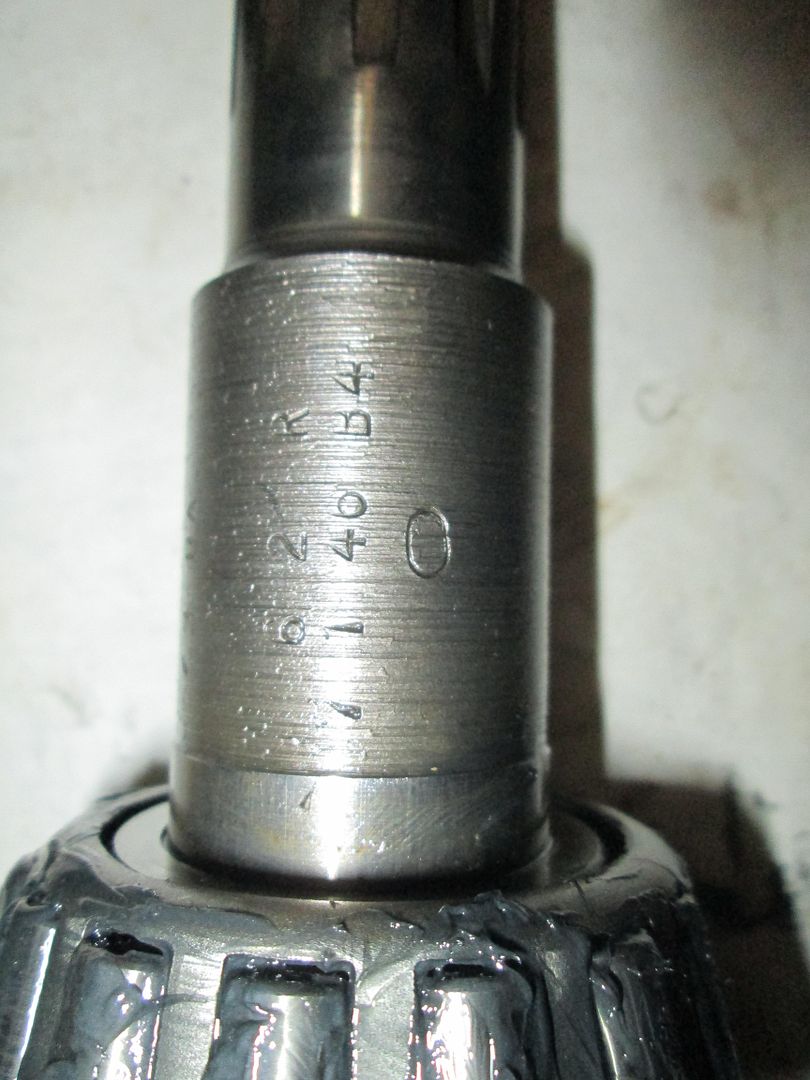 I install the spacer/sleeve 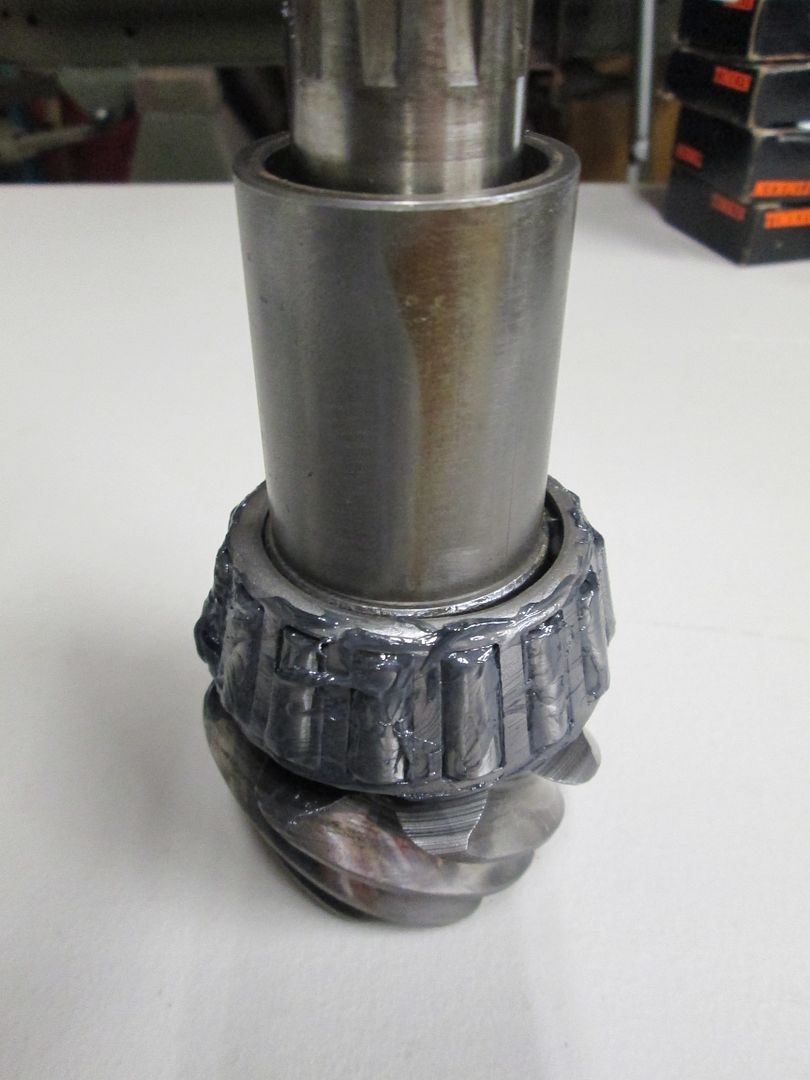 I install the new shims. This stack was mic'ed against the old, with new from Walcks. 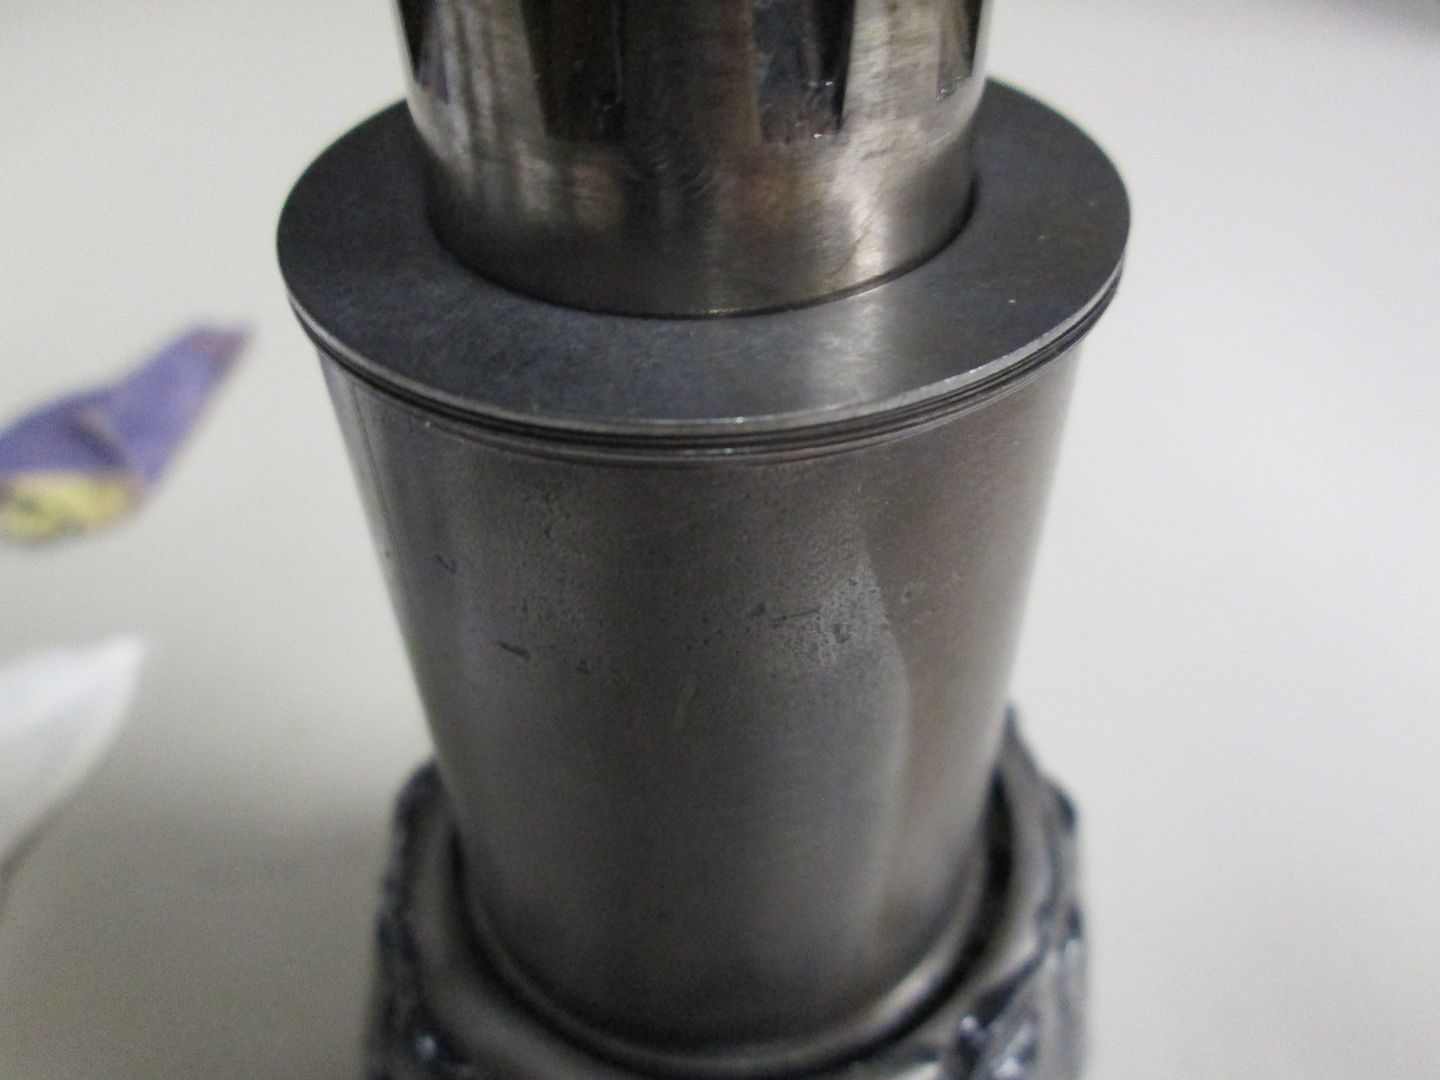 Outer bearing and Oil slinger installed, I use the Yoke, with a Impact Driver to set the bearings. 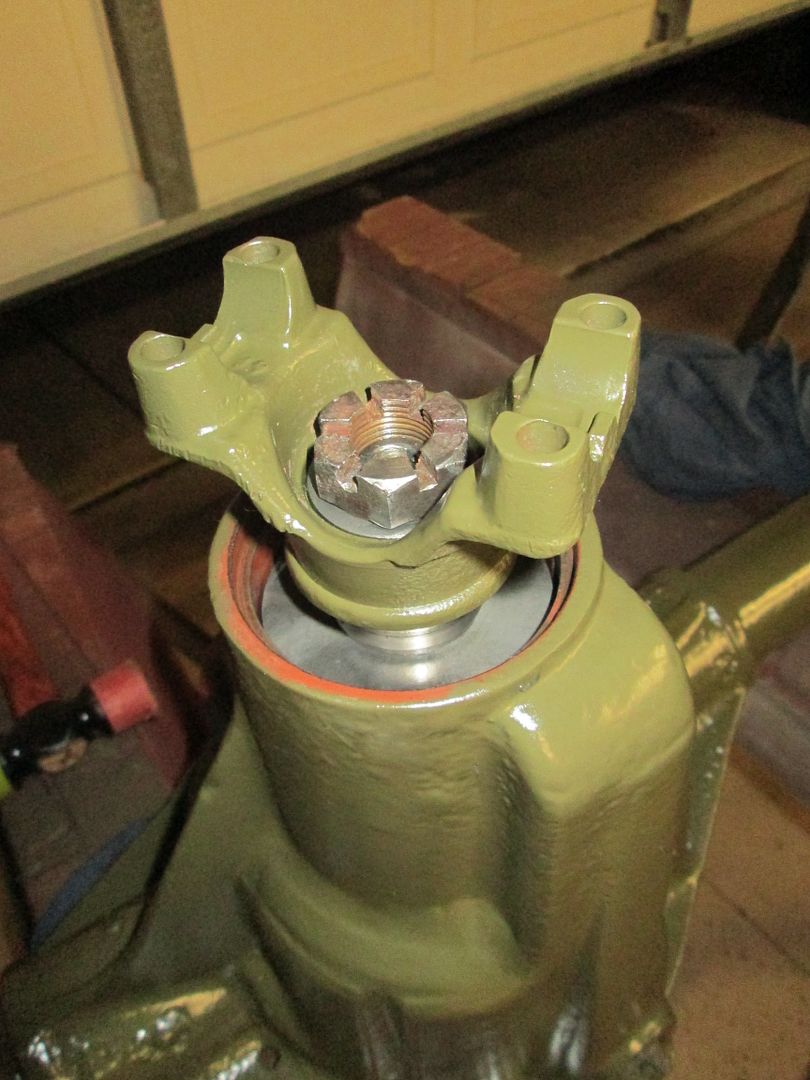 Pinion is set inside the case 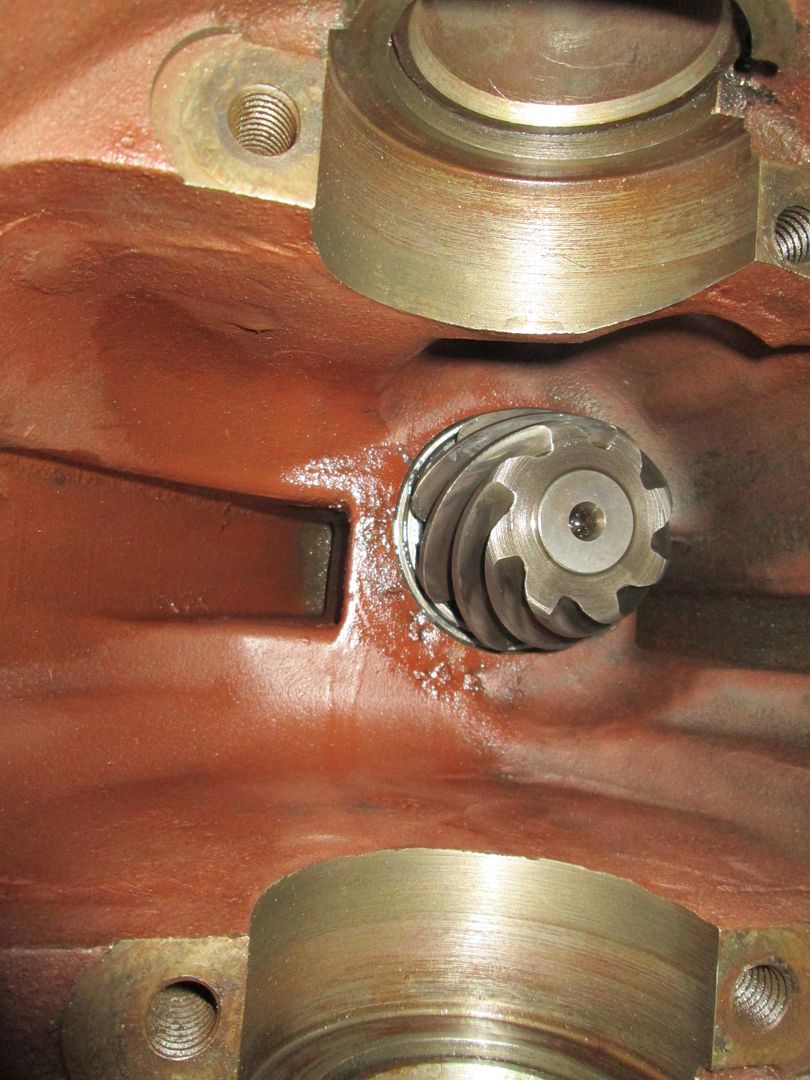 |
|
Deleted
Deleted Member
Posts: 0
|
Post by Deleted on Jan 3, 2014 19:01:54 GMT -5
7-1-46-B4,,,,,,,,july 1st 1946 afternoon shift before 4 pm,  ,,,,,,,I think  Lee  |
|
|
|
Post by Haines Garage on Jan 3, 2014 22:37:05 GMT -5
Put that on your list my good man...Keeper of such things we are..........
|
|
|
|
Post by Haines Garage on Jan 8, 2014 22:45:19 GMT -5
I received my Carrier bearing Cones and Cups today in the mail from Kyle, at East Coast Willys. Thanks Again Kyle for the Timken USA made parts! Here is something interesting... The numbers on the Timken Box dont match the listed Timken #s. They do however match the original Bower #s that were removed from my Dana 41 Axle. 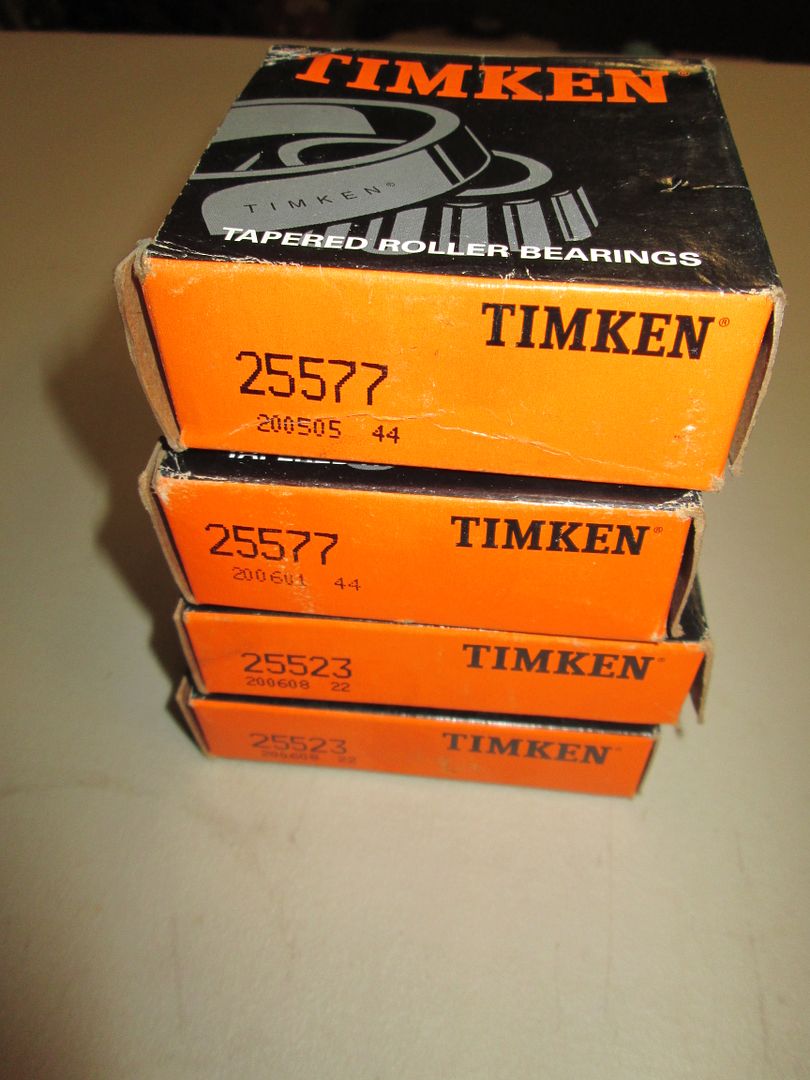 So time to pull the Differential out of storage... I wrapped it in Plastic Wrap to keep the moisture out.....My wife is upset about not having any wrap left  Just kidding I have a Pallet wrap roll. 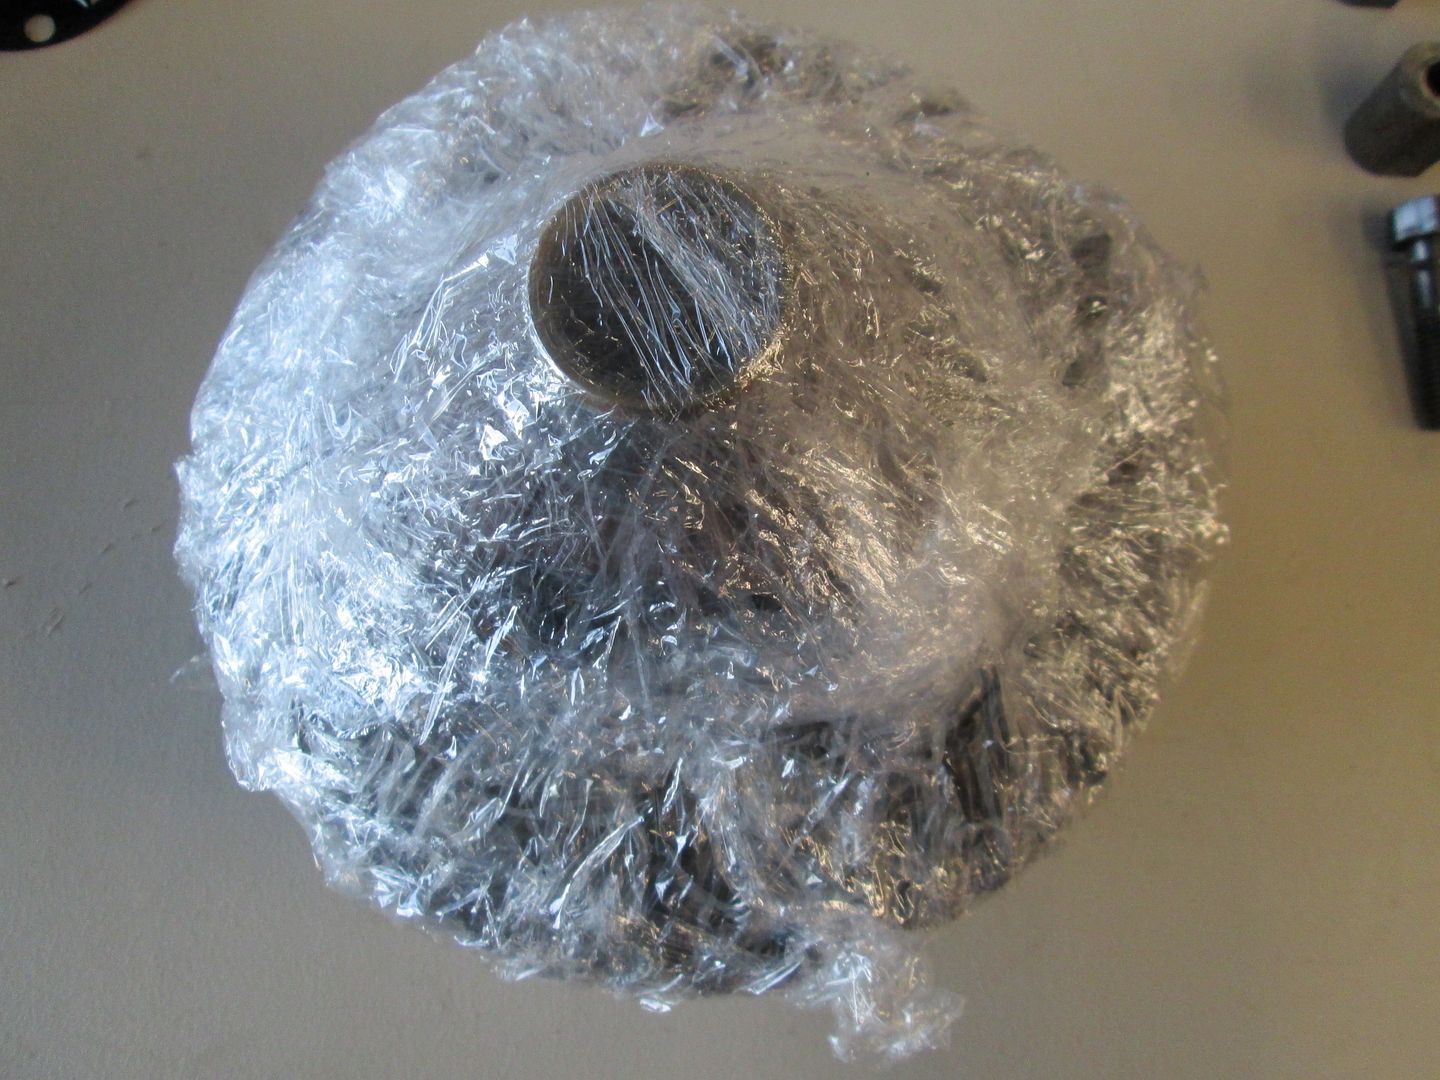 After opened, I install the shims behind the carrier bearings, I tagged and bagged the originals. Some were damaged and replace with new. 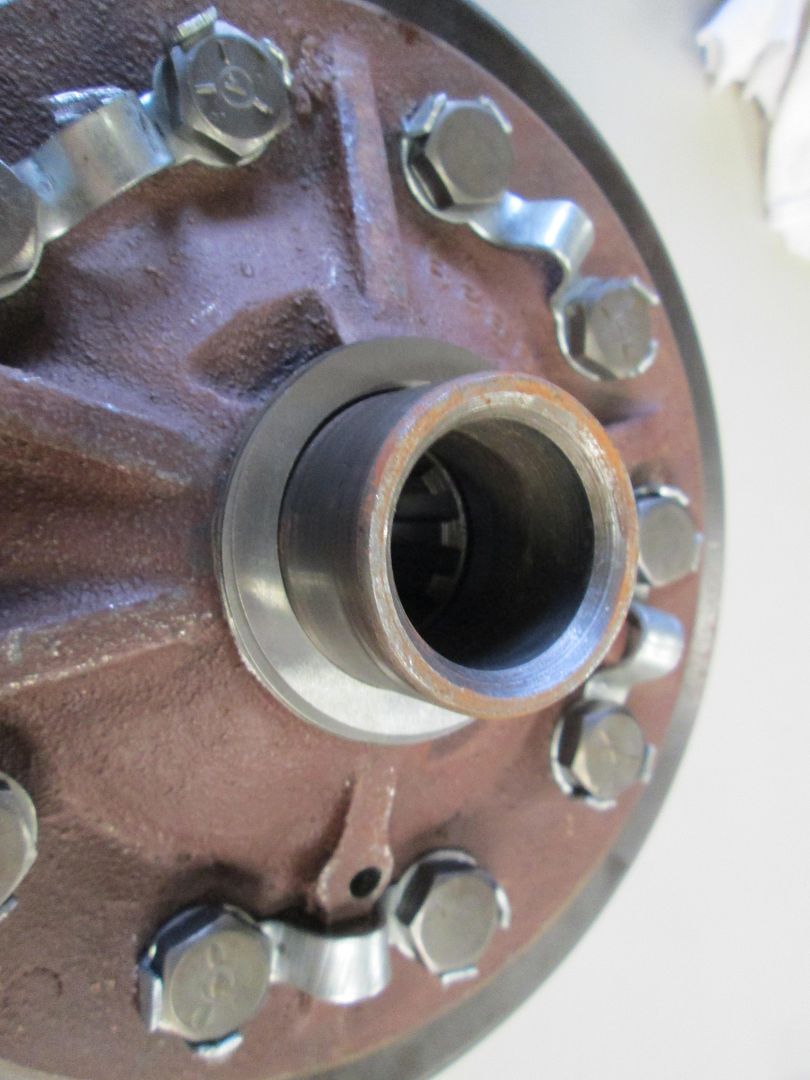 I install the new bearing cone, tapping it on lightly with a brass drift. 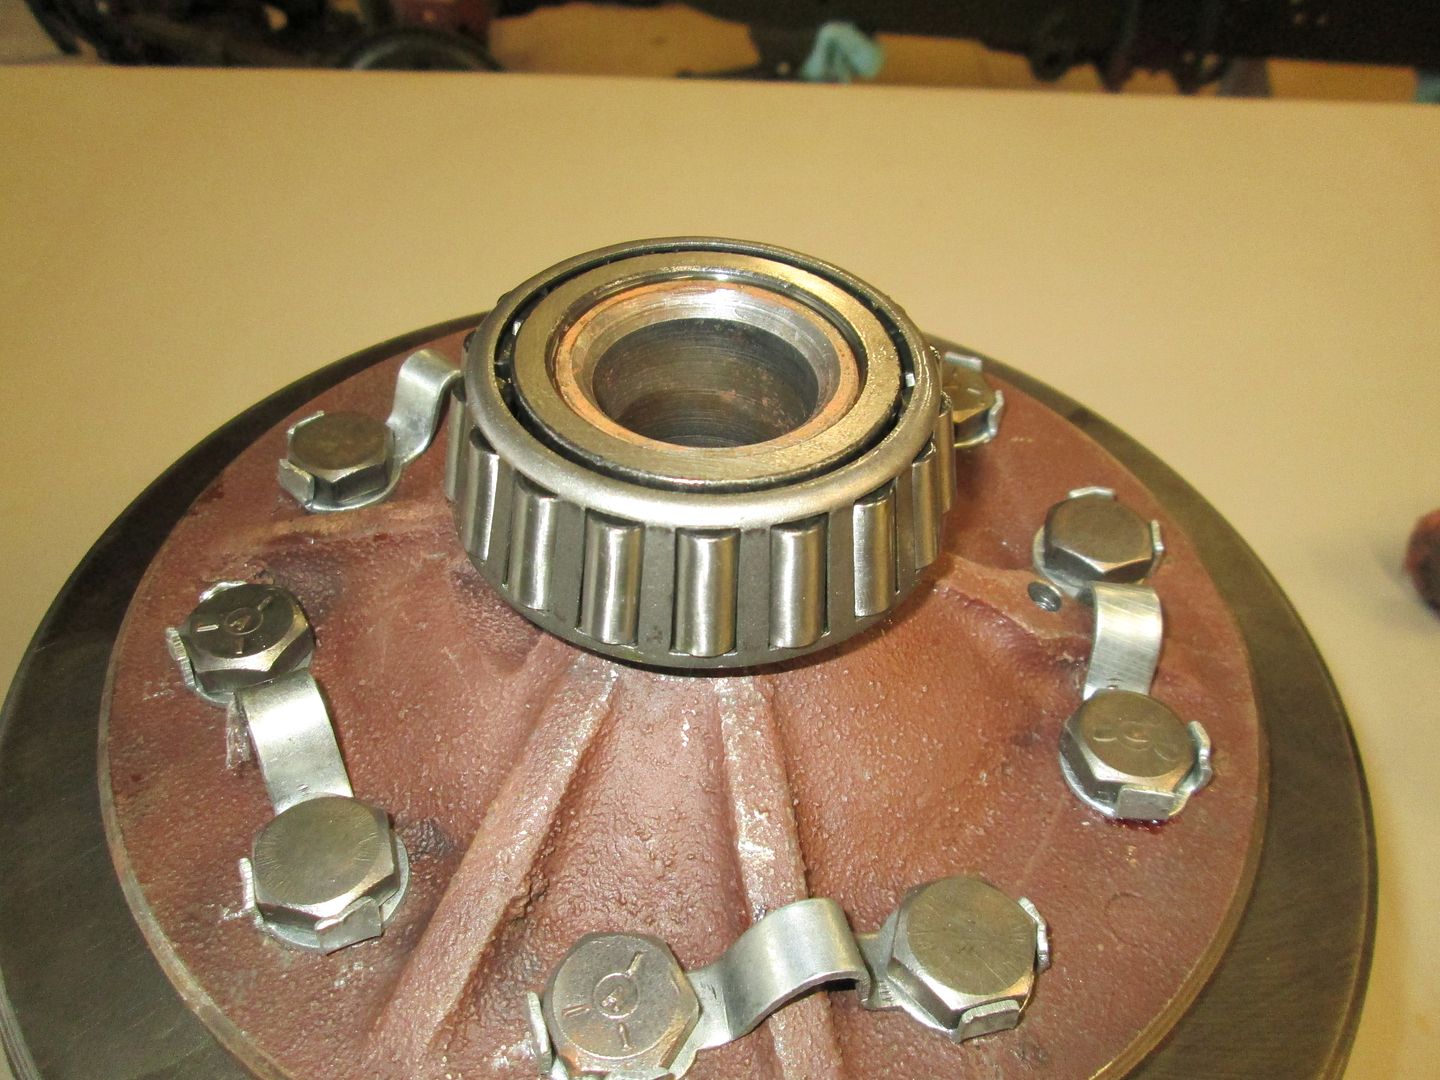 Repeat both sides...Remember, I tagged and bagged each shim set...they were different!! |
|
|
|
Post by Haines Garage on Jan 8, 2014 23:01:59 GMT -5
Repeat both sides of the carrier. I then lubed the bearings fully with assembly lube, forcing it with my finger into the rollers...Be patient here, make sure you pack the bearing cone. 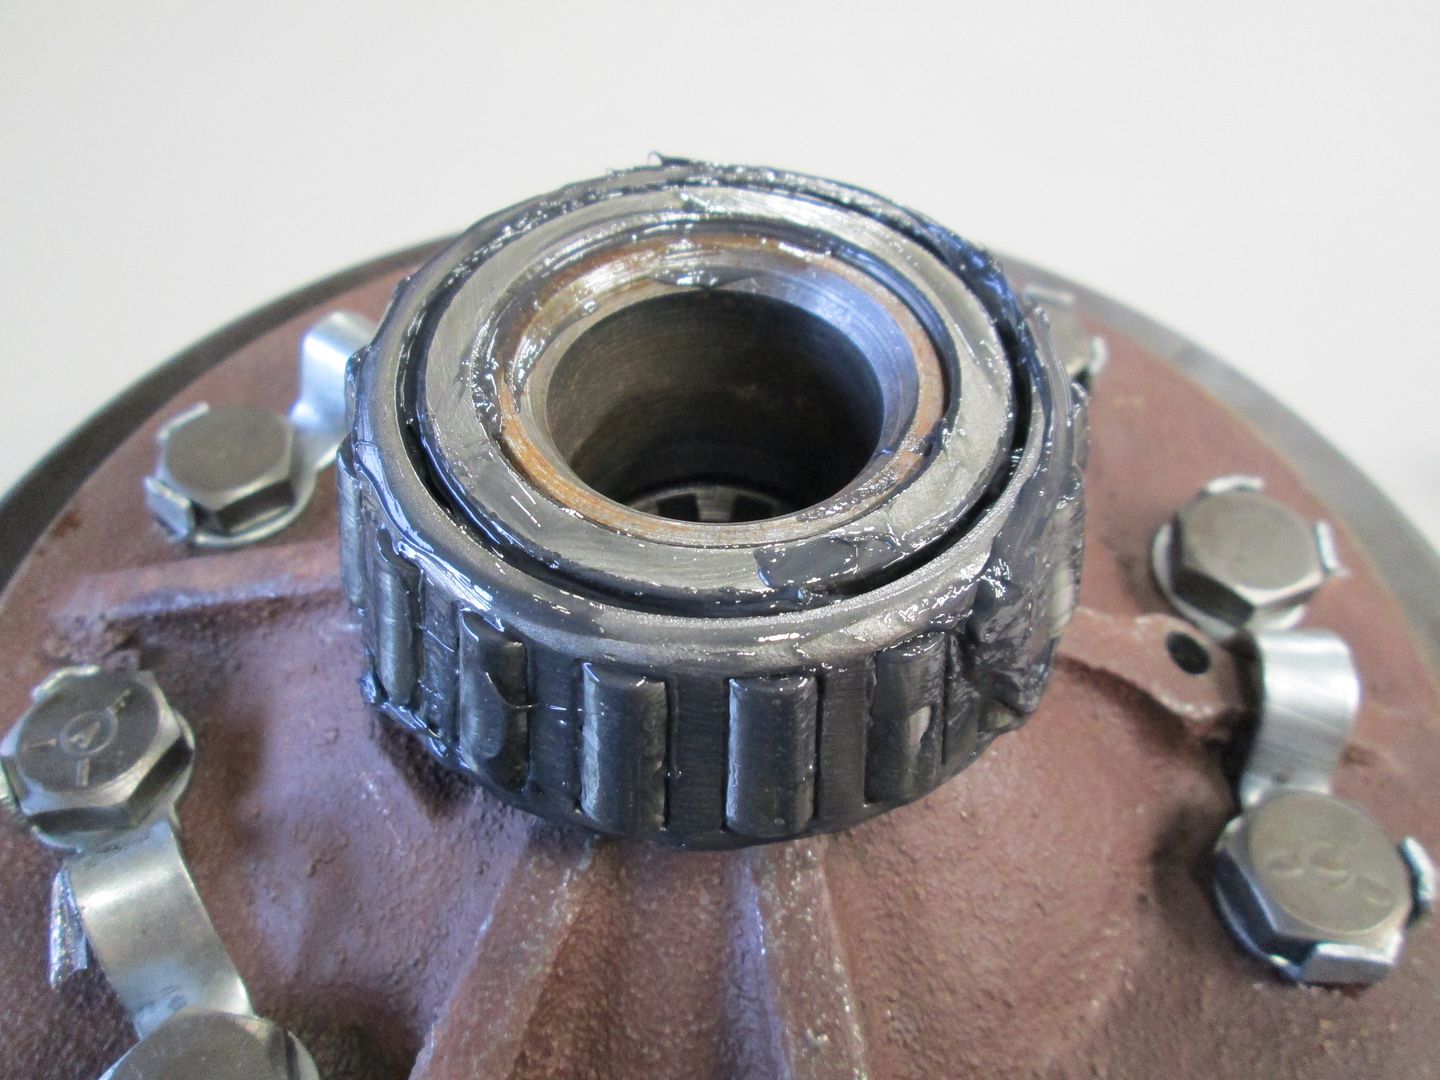 I then lube the cup 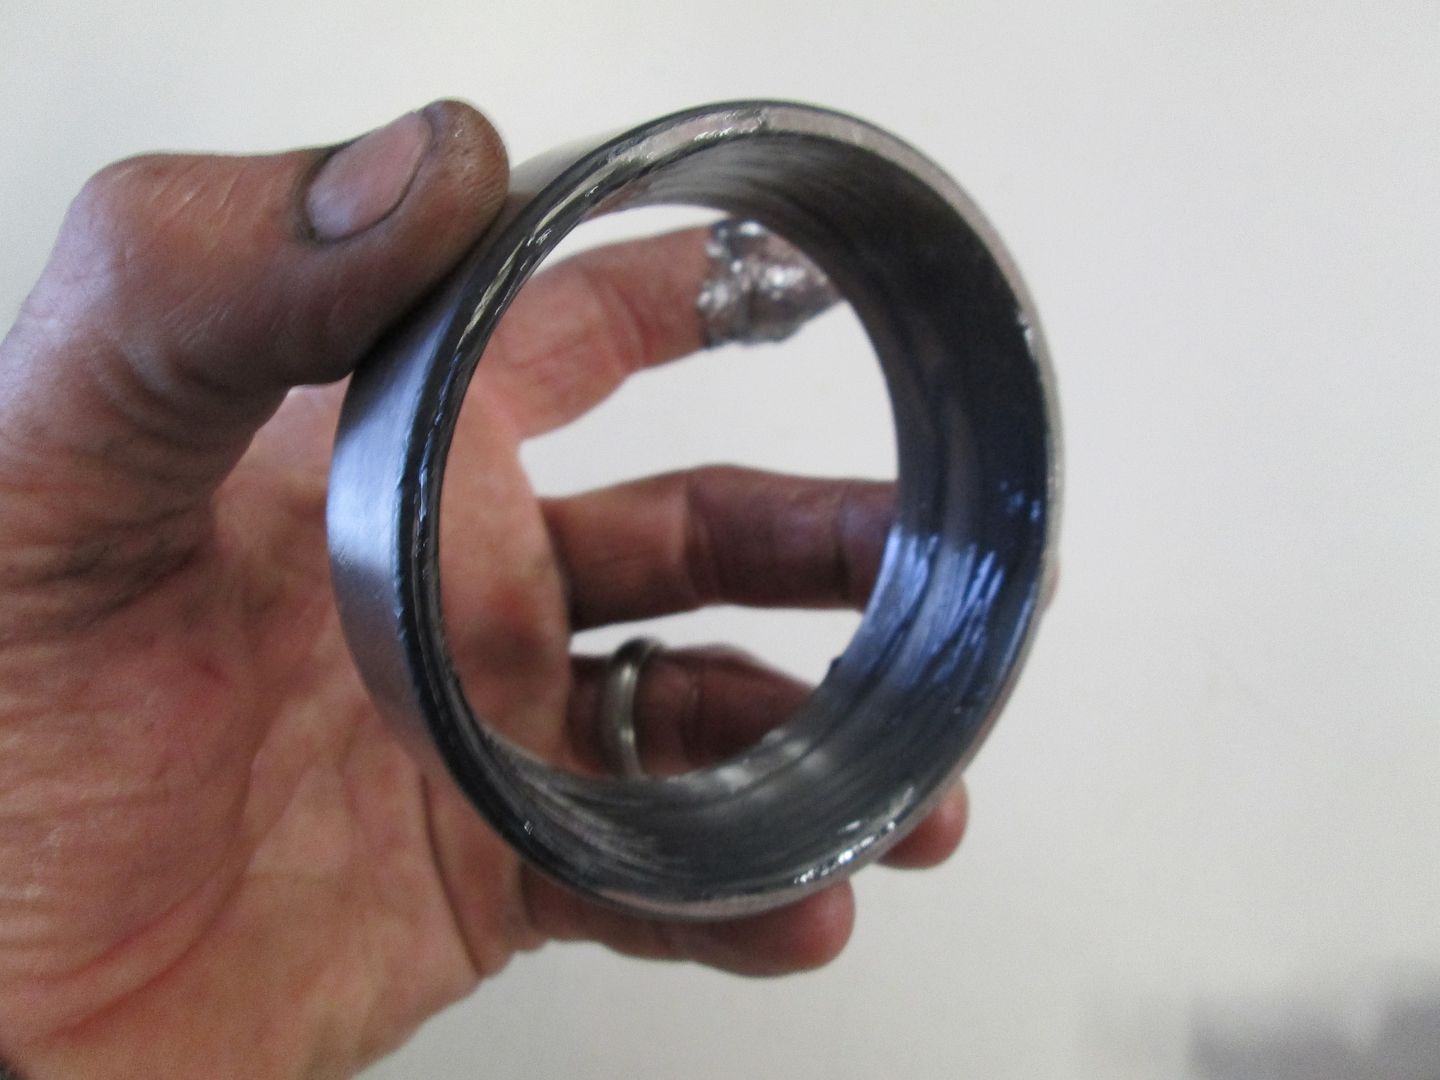 I insert the cups onto the cones, lube the Ring, and pinion with assembly lube. The lube holds the cups in place. I lube the ring , and pinion with assembly lube, and set the carrier in place. You should be able to drive the carrier into place with a plastic dead blow hammer. There is some slight...Slight resistence. That is how I know my shim pack is correct. |
|
|
|
Post by Haines Garage on Jan 8, 2014 23:08:09 GMT -5
Carrier Caps and bolts have been fully cleaned 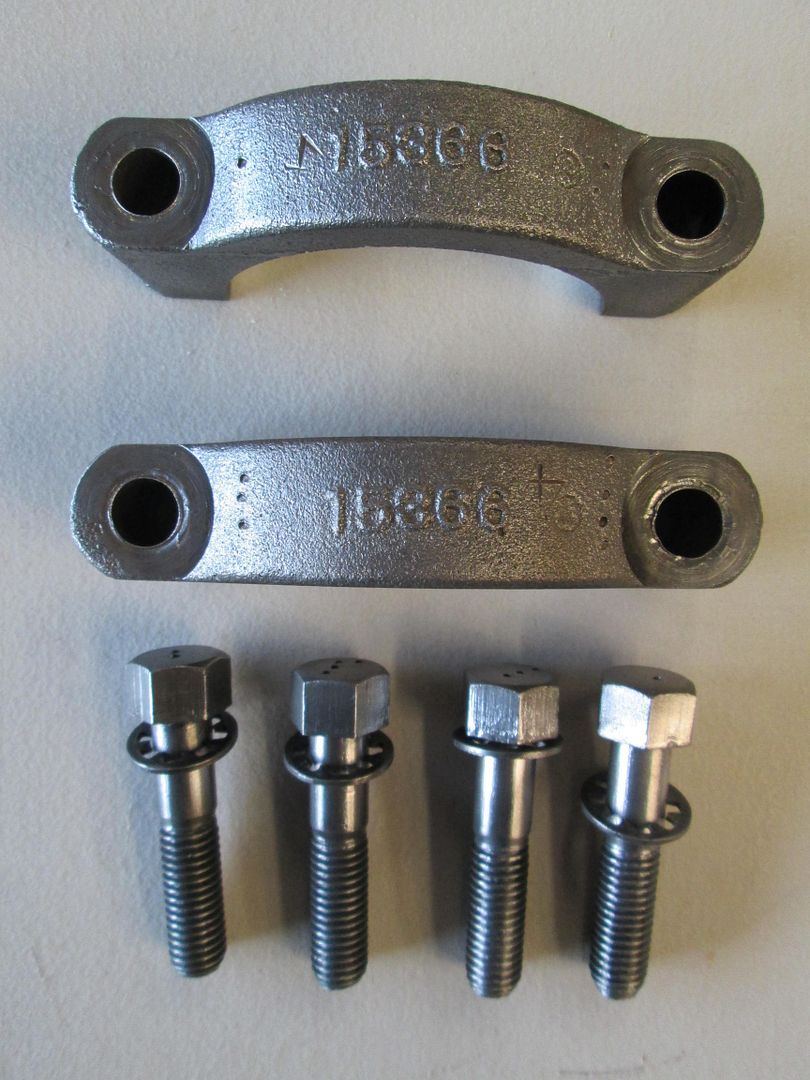 Some more Numbers for You Sir Leemeister  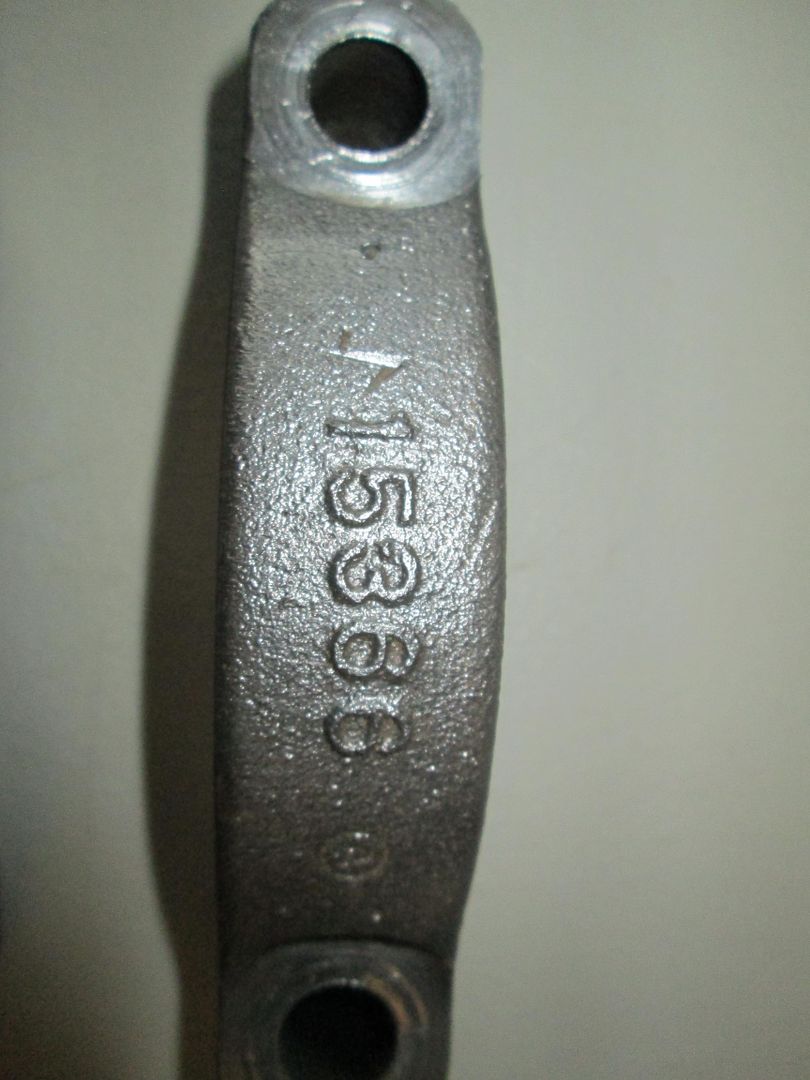 If you look close you will see were I used a punch prick to mark the original location of the carrier caps, and bolts. Carrier is installed, Bolts torqued to 80 ft pounds. I used Loctite Red on them. 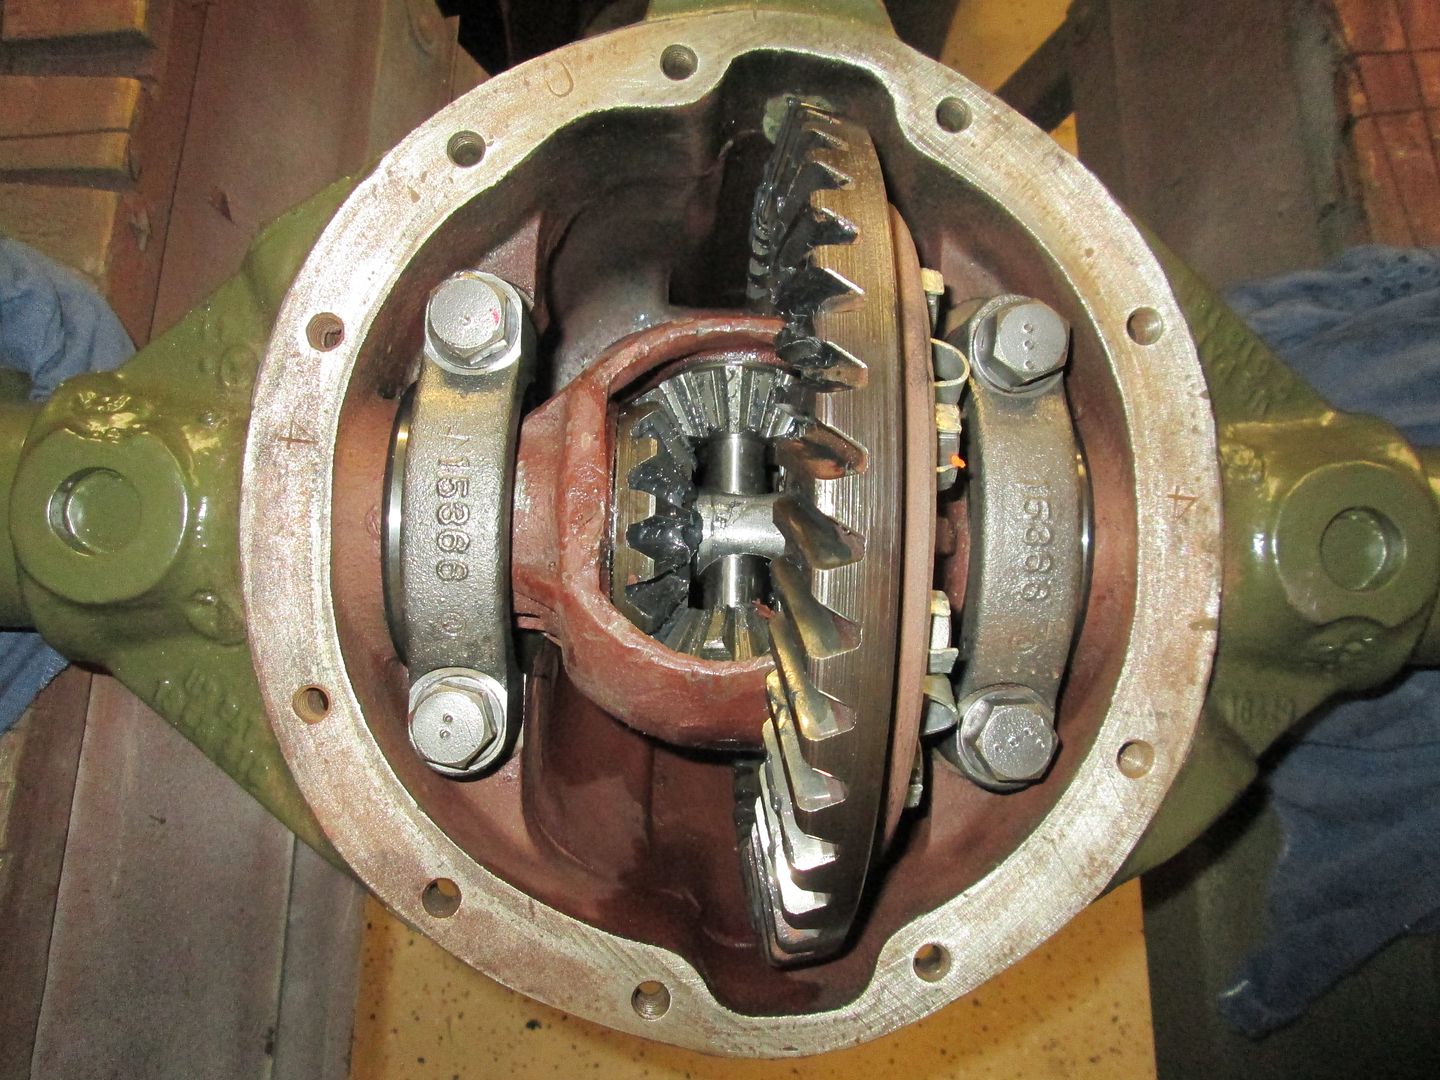 |
|