|
|
Post by Haines Garage on Nov 7, 2013 19:51:40 GMT -5
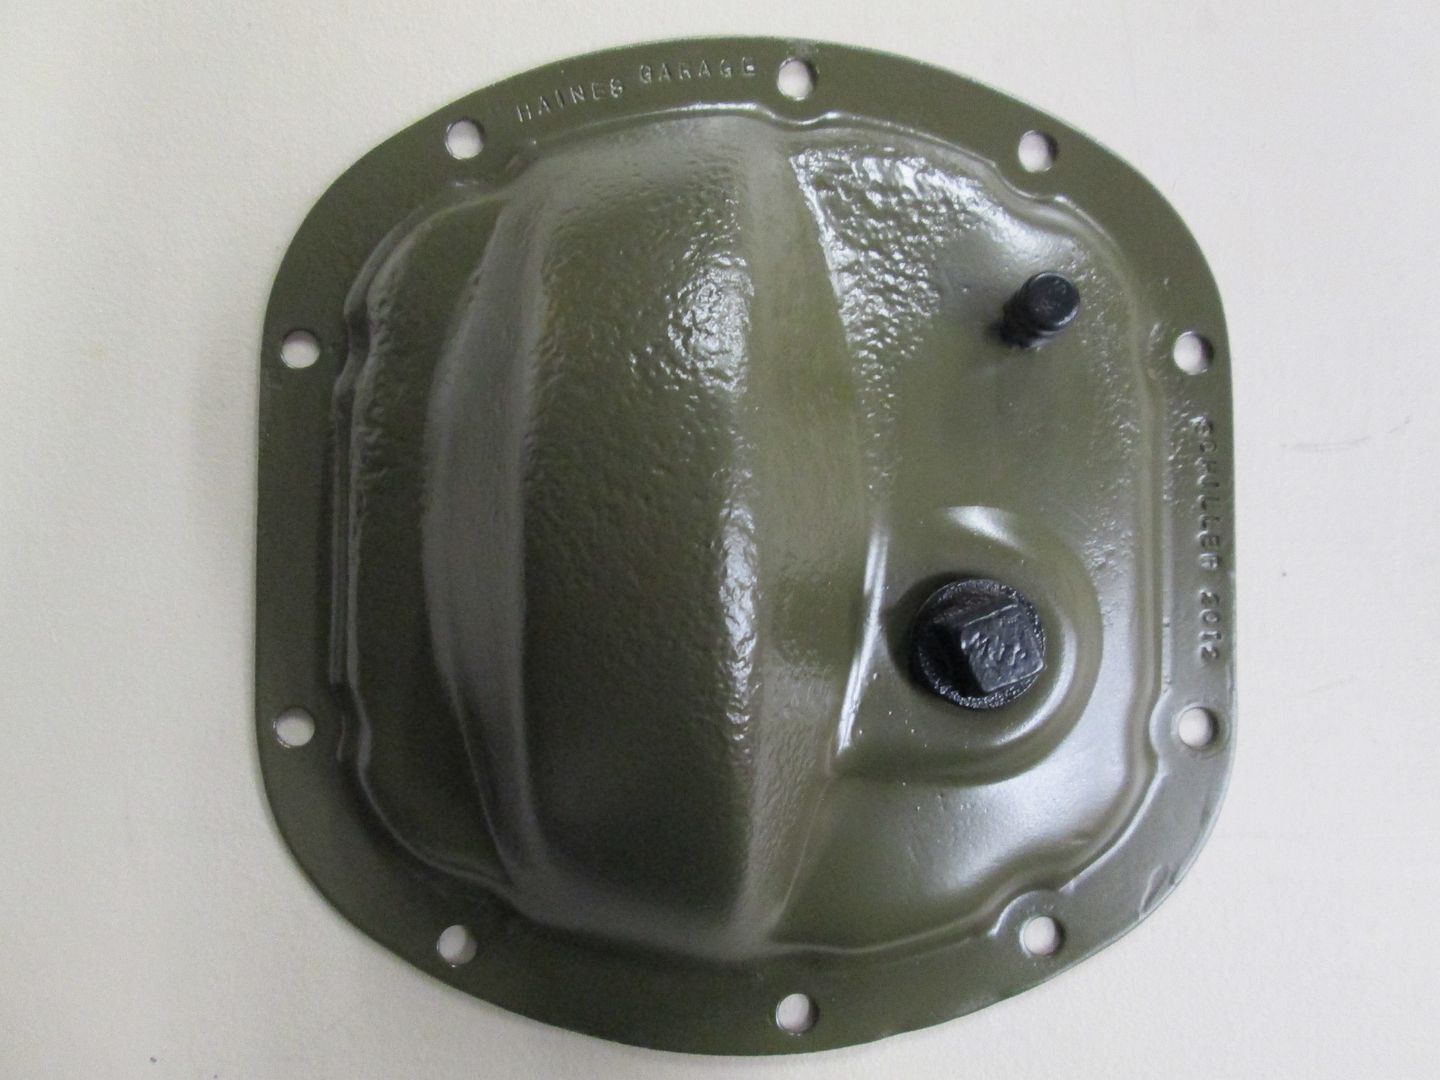
I am undertaking the task of rebuilding my front axle. Dana 25. I have stripped all the components out of it, and tagged and bagged everything from the original. Schimmmmms are most important here, don't loose track of any of them. King Pins, Pinion, Etc. When you disassemble the axle, do not assume that everything intact is correct. Whom knows what has happened in the past 60 years!  Also....do not assume that those manuals you own are 100% correct and accurate either....I can think of a HUGE seller, I am about to throw away!!!! Lets work through this together here, I know that Sir Hawridge is undergoing a similar quest... I am posting this outside the Haines Garage Build... When the axle is finished I will show it installed. There should be a Rear Axle thread as well....coming soon  This is a very overlooked, and often SCARY project.    I am sure with the talent in this Club...We can UN-Scare a whole lot of enthusiast... Once again I am no expert here any input will be most appreciated.. He We GO!!     Here is what I have so Far... 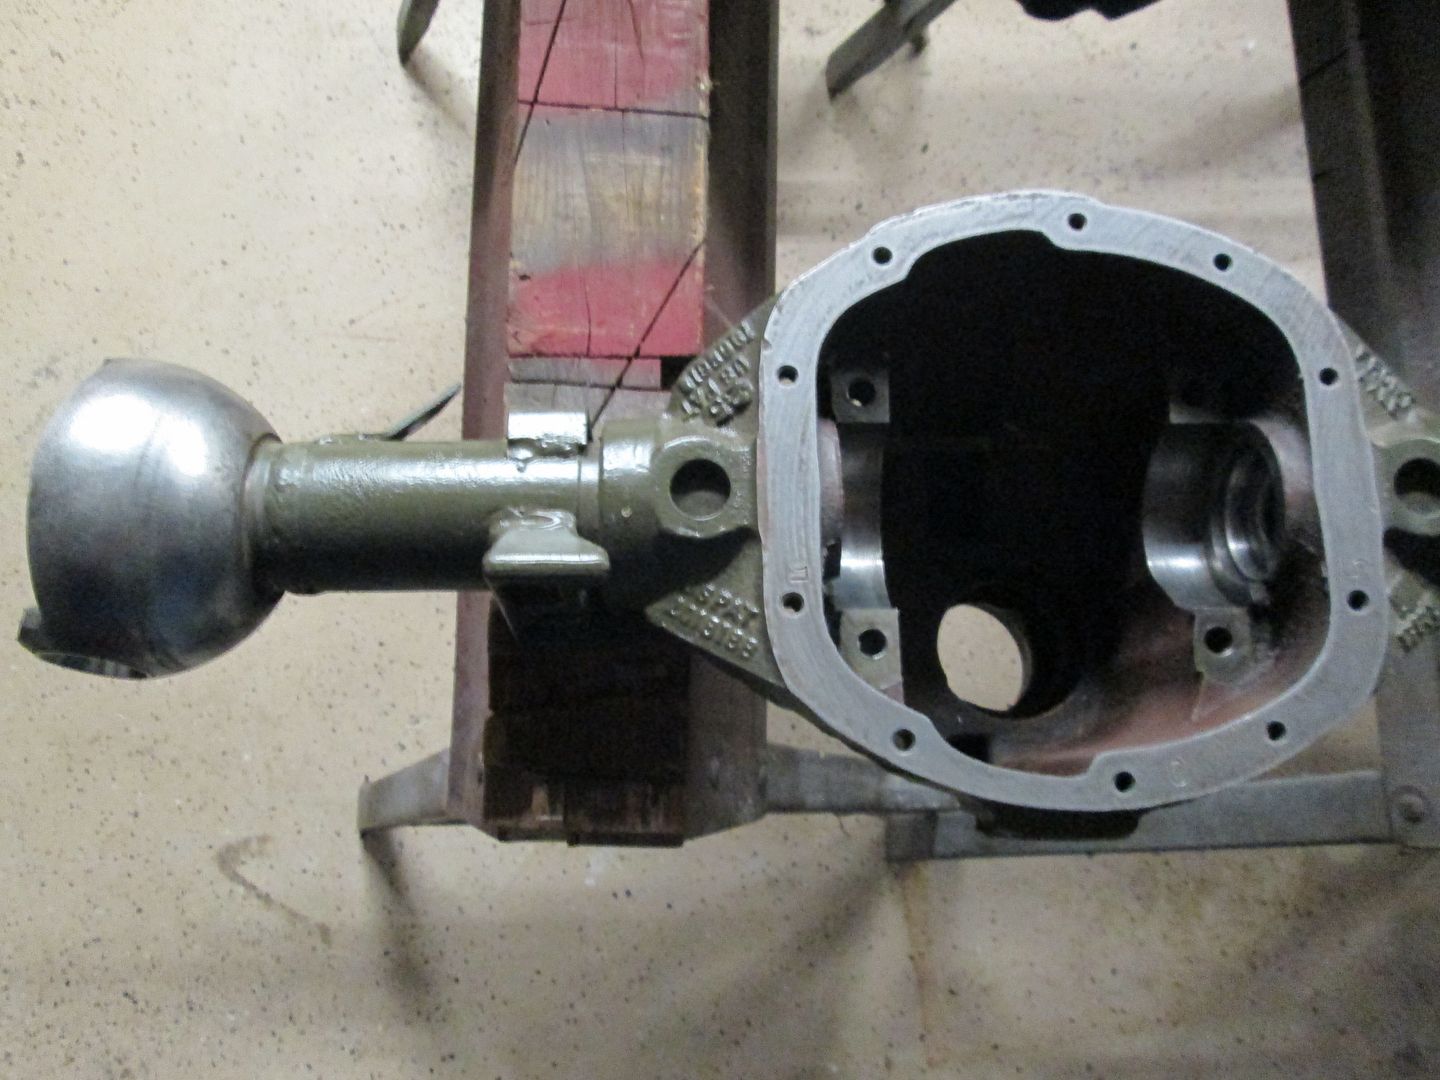 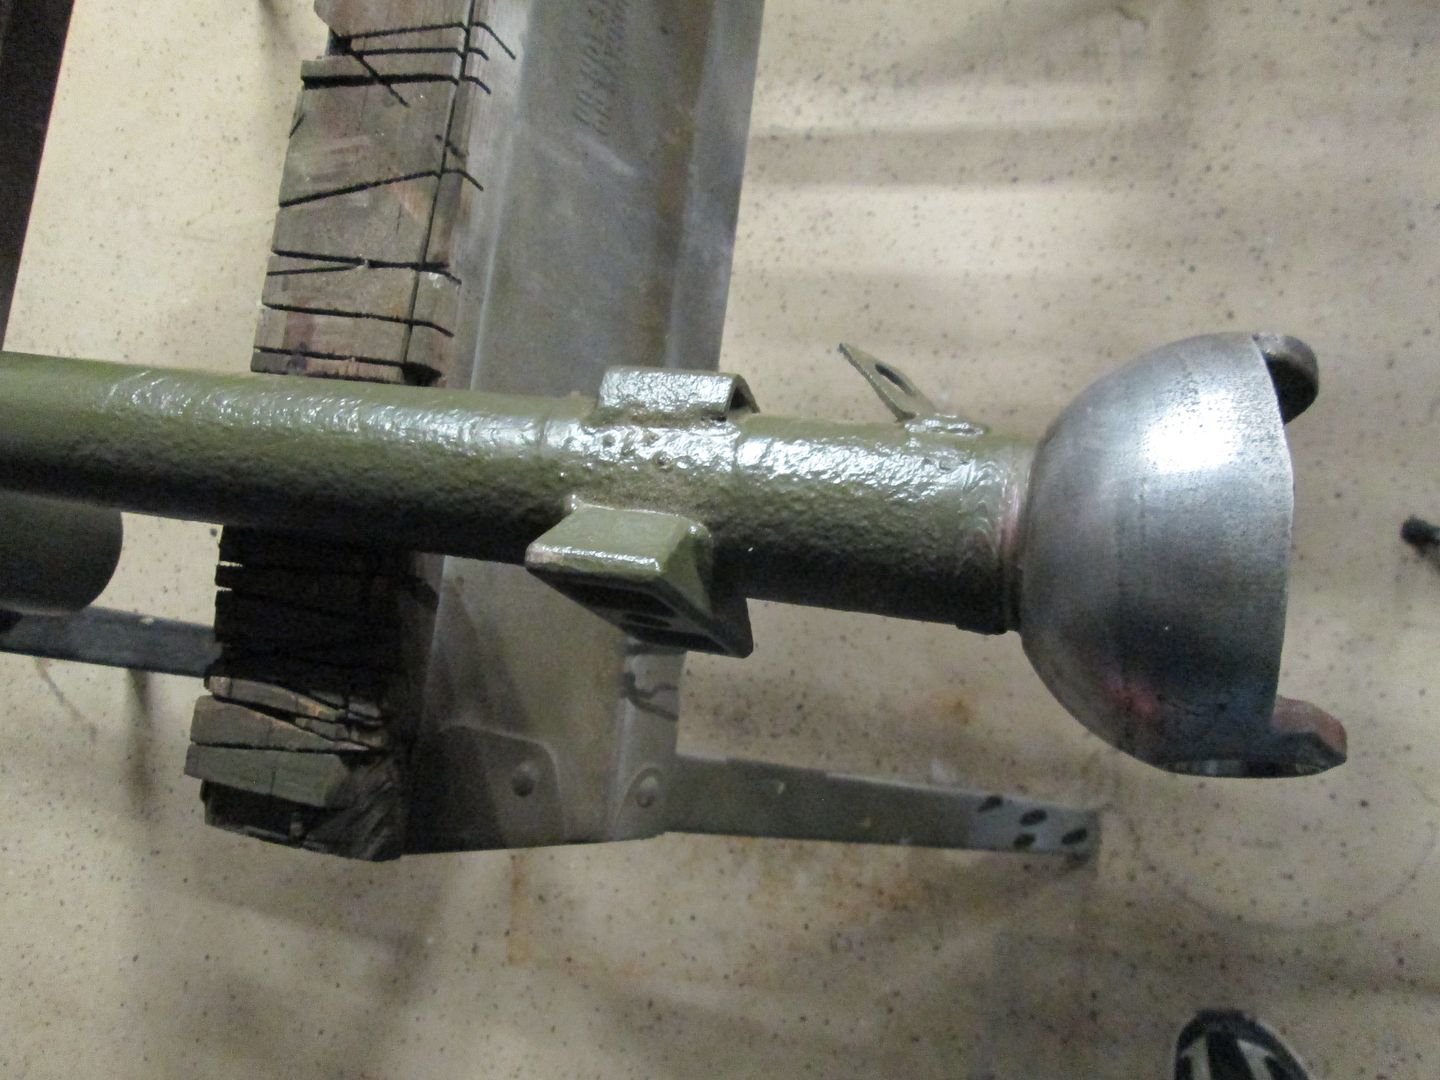 Stripped out , Sandblasted, Primed and Painted housing....It is Grandpa Haines original....Notice the pits from all those years of plowing snow in Scotia, NY! I am leaving them as battle scars  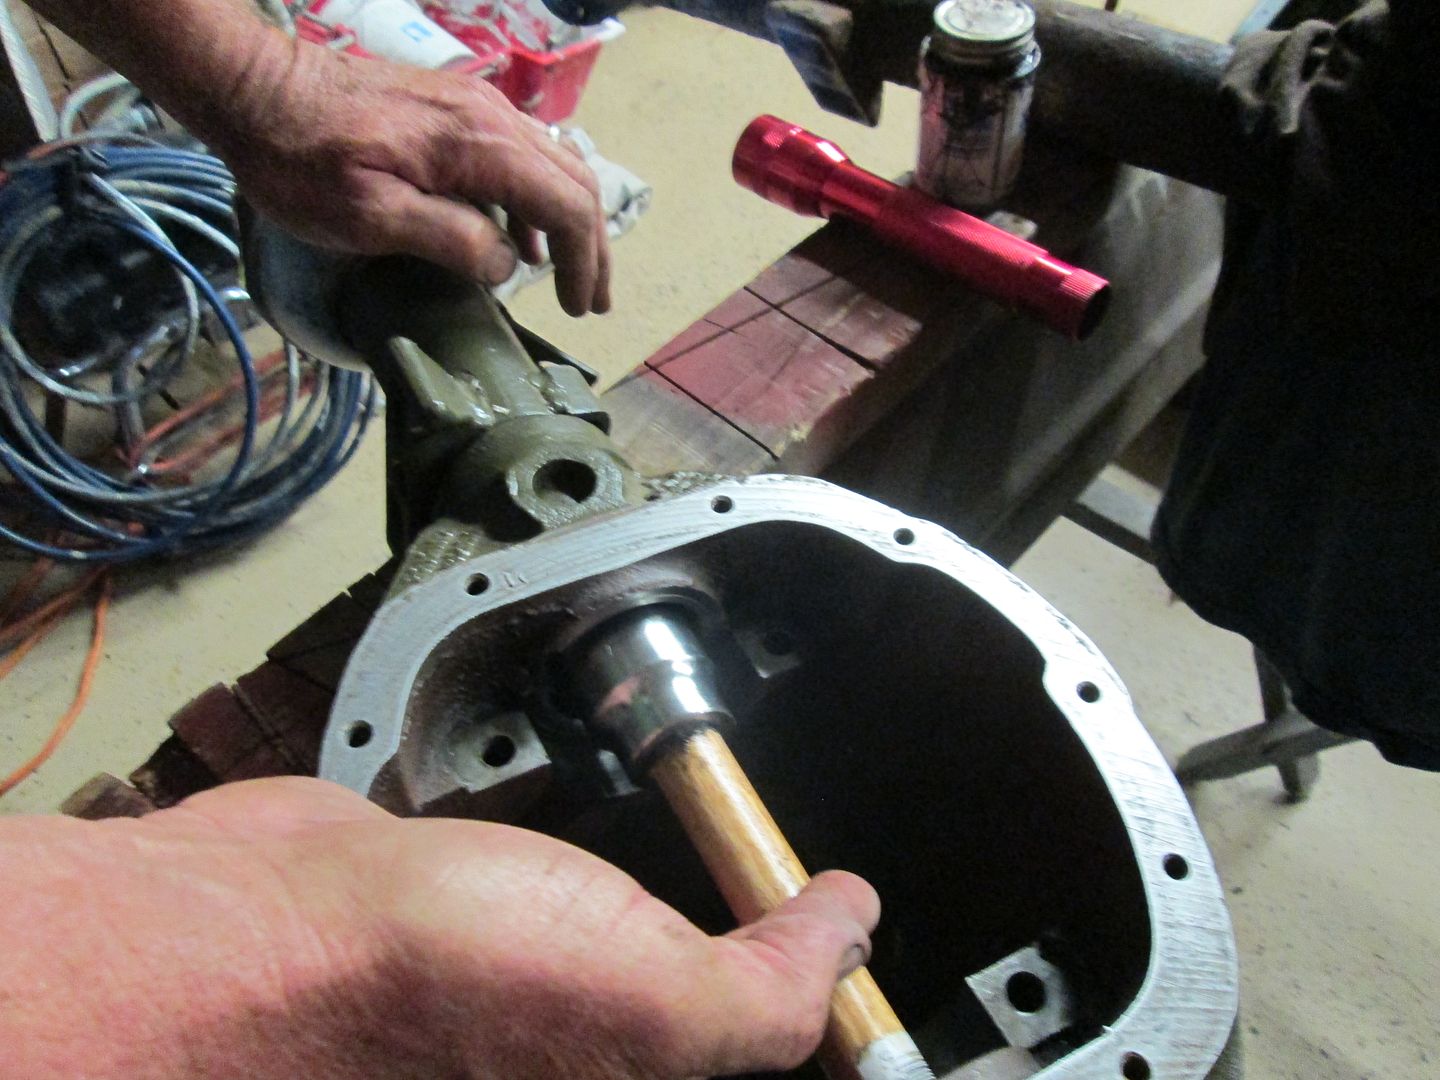 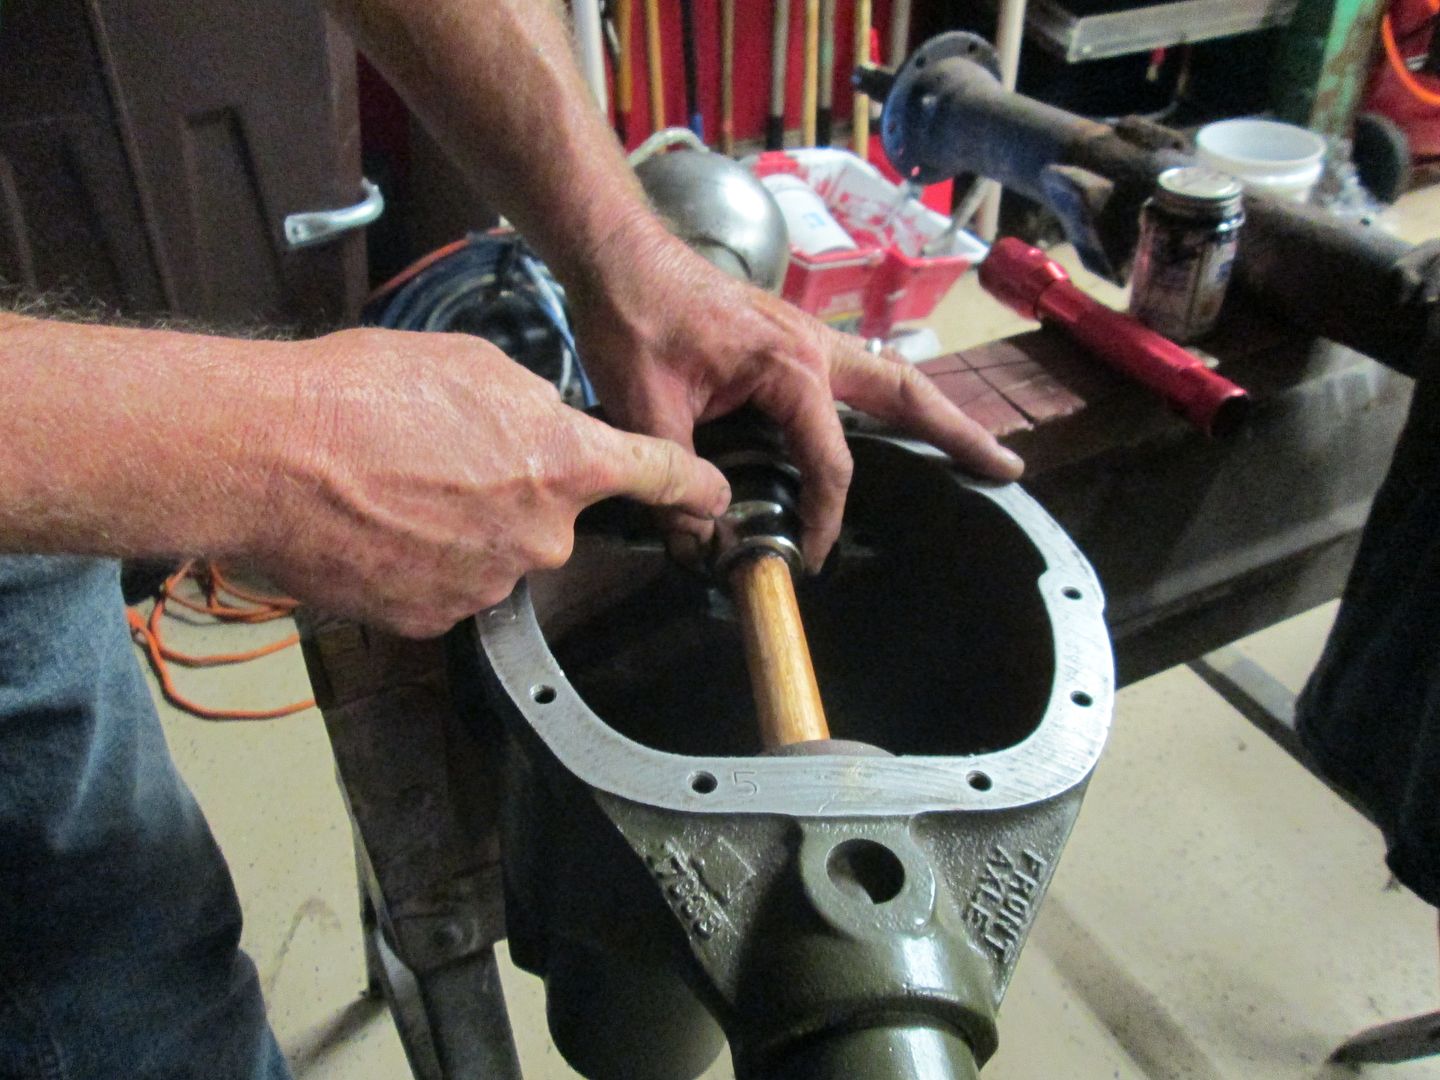 First Step I took was to replace the inner seals.....Watch the positioning of the seal....innner lip facing toward the casing...Axle shaft will slide OVER it! I use a 1 5/16 socket, and a paint pole, to drive them in. Mrs, Haines Garage helped here  Coated the new seals with Permetex #2 on the outer edge before install. 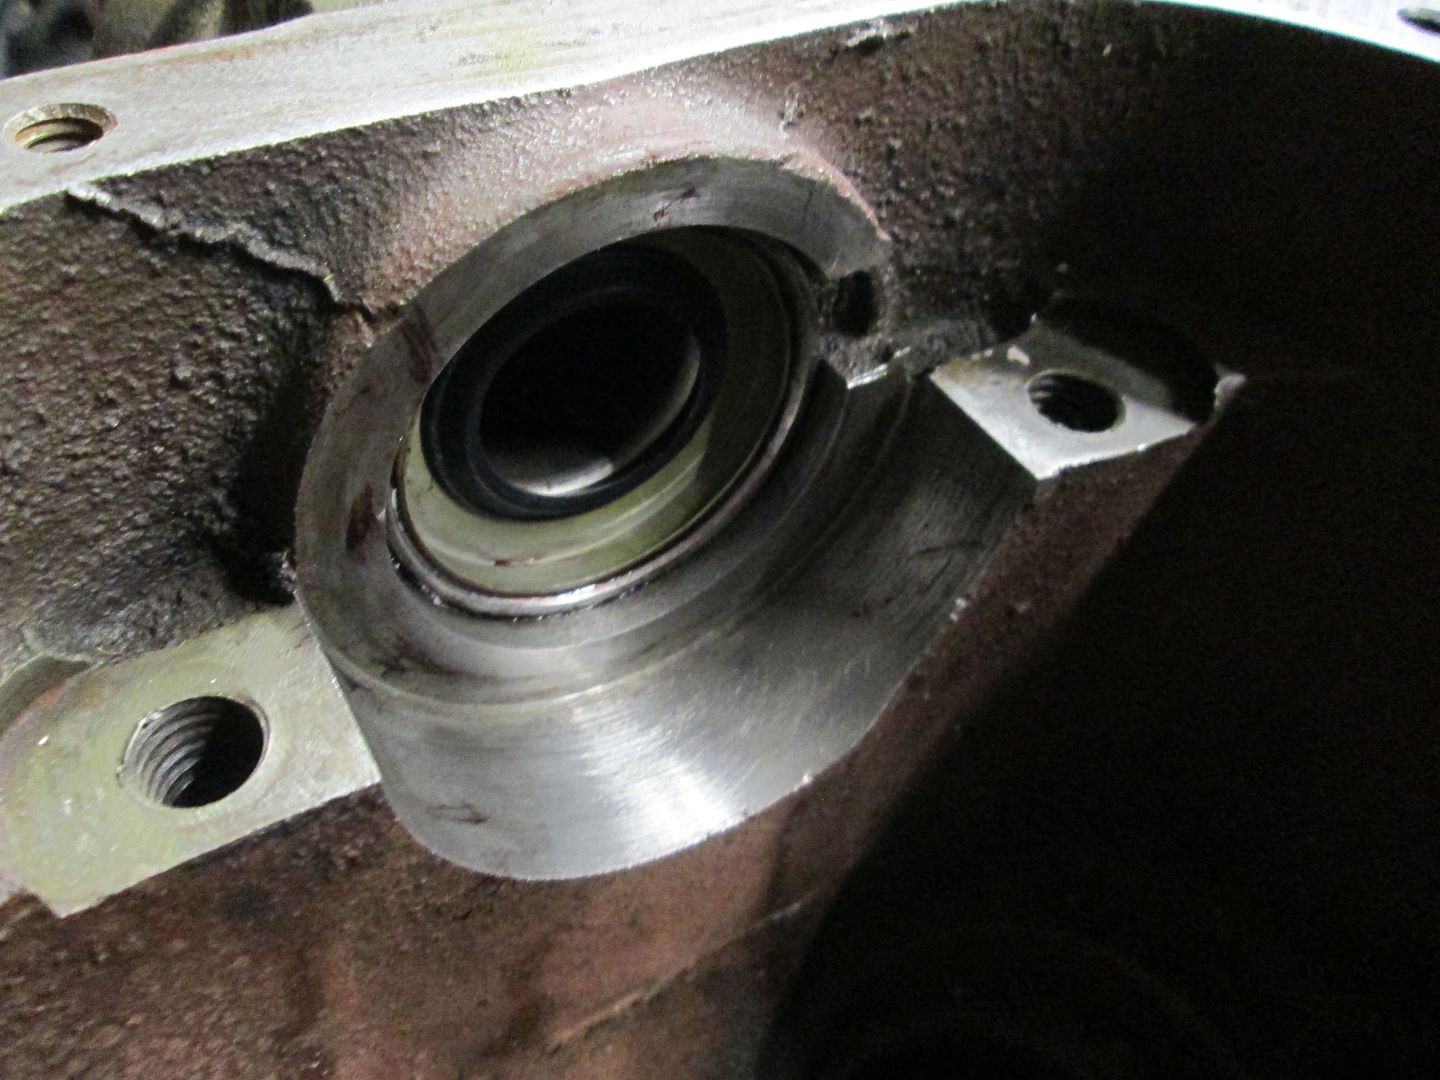 And there you are.....Waited for parts to arrive, and on a quest to find CORRECT USA MADE TIMKEN CARRIER BEARINGS!! |
|
Deleted
Deleted Member
Posts: 0
|
Post by Deleted on Nov 7, 2013 20:38:06 GMT -5
Looks good, I like the creativity installing the seals, sockets are fantastic seal and bearing drivers, I have used them in the same way more times than I can count!. Nice to hear Mrs. HG was helping out, a true family project and I am sure she finds the inner works of a front axel most interesting ;D. Now, the carrier bearings, the cones may be shimmed on the back side, be extremely carefull and return the correct amount of shim if indeed it has them. Keep up the good work  Lee  |
|
|
|
Post by athawk11 on Nov 8, 2013 11:14:48 GMT -5
Yes! I am also having some fun with my front axle. So far, the components that need to be replaced are the spider gears, and the king pin bearings. Everything else has checked out good.
I followed Lee's advice and left the pinion gear alone. No teeth missing, and the bearing spins freely.
Someone has been in this axle before. The shafts and joint bearings look new. The king pins look new, but the bearings disintegrated in my hand while I was cleaning them. Hmmm. No shims on the king pins. Need to head to Pro Bass for a fish scale.
I'm stalled waiting on parts...again.
Tim
|
|
|
|
Post by Haines Garage on Nov 9, 2013 20:27:58 GMT -5
Question for the evening, and it is an important one.... SCHIMMMMMSSSS! My original king pins were tagged and bagged with the schimms  in place... I have them...Manual (WILLYS UNIVERSAL) says no shims on bottom , and gives install instructions. My gut is telling me to put the originals back in there place....Opinions?   |
|
|
|
Post by Haines Garage on Nov 9, 2013 21:58:34 GMT -5
I should have mentioned, manual says. Shims on top king pins only, my axle had them top and bottom.
|
|
|
|
Post by athawk11 on Nov 9, 2013 23:51:06 GMT -5
Your manual is probably a newer version. There was a good discussion on the 3A about this. Bob W made note that some time in 1950 ish, the knuckle housing changed. The lower surface on the knuckle housing where the king pin sits was redesigned. It was built up, I believe, .058" to eliminate the need for shims on the lower surface, allowing the shims to be used on the top only. If your axle is pre 1950, you must shim the top and bottom.
Let me restate this...if your "knuckle housing" is pre 1950, shim the top and bottom.
Hope this helps.
Tim
|
|
|
|
Post by Haines Garage on Nov 11, 2013 22:46:51 GMT -5
SS and SS2 in full effect tonight! (Thats Scott Schiller1 and Son 2)  We installed the steering knuckles on the Dana 25.....Complete success....And #2 did most of the work!!! This makes me most HAPPY!      Steps we took. I pack grease into bearings 'Ole School Style... Dollop in my hand , and smack the bearing until its full of GREASE!  When the bearing is loaded, it will stick in the previously installed cup nicely ..all by itself  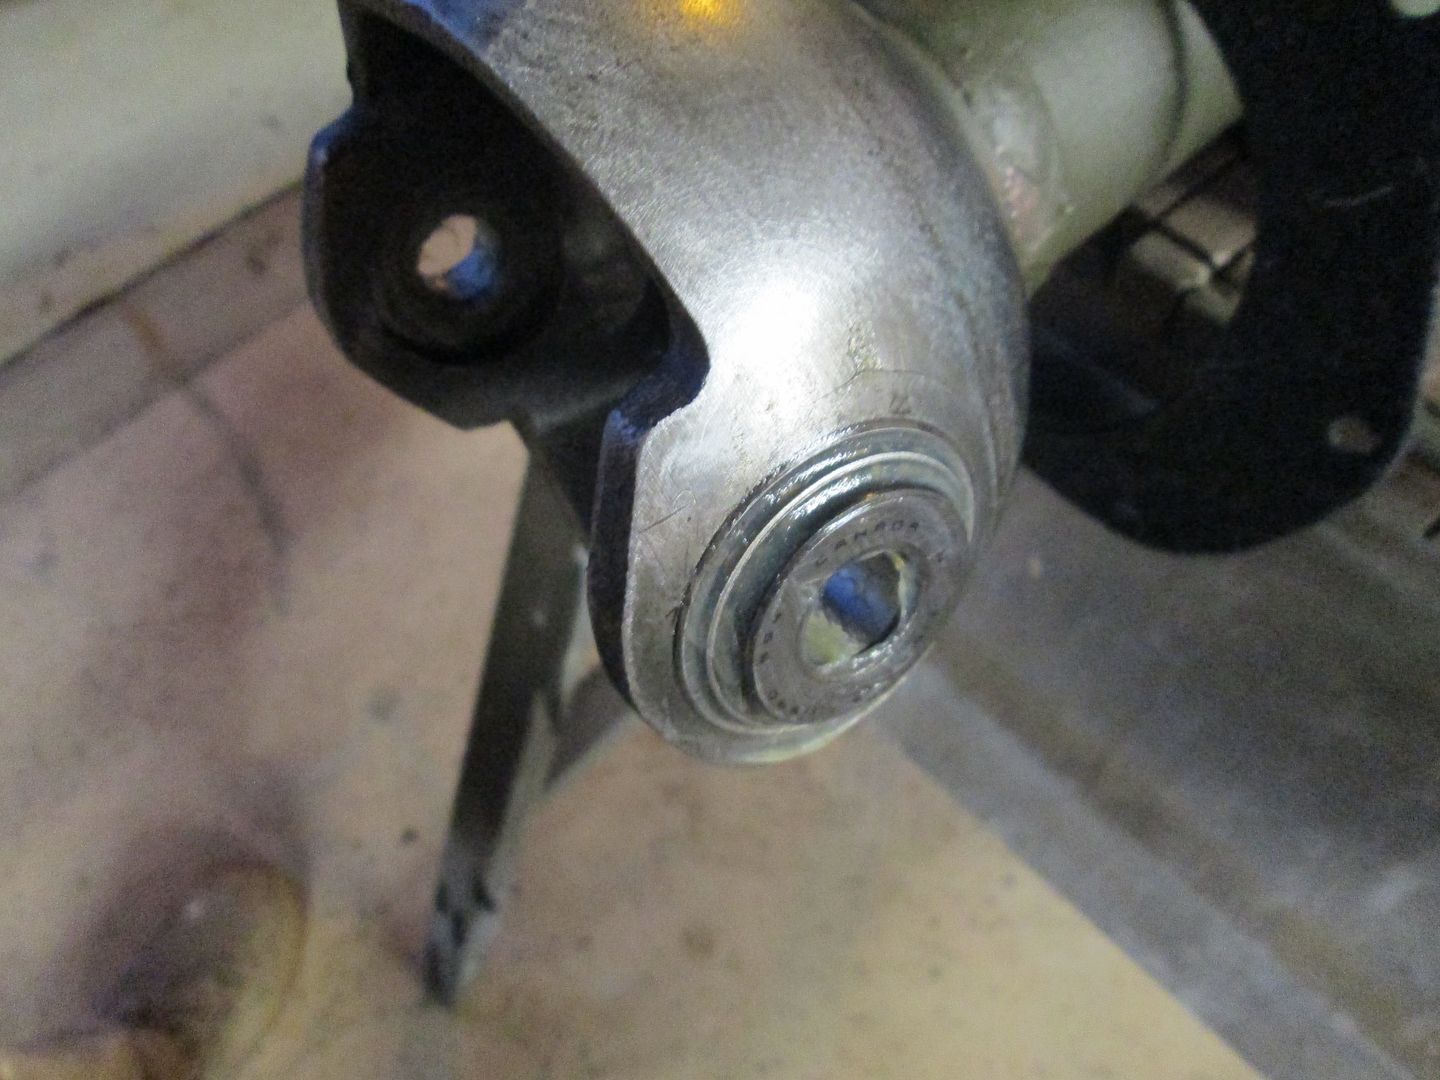 Bearings installed, both sides.... Its time to install my prepared Steering knuckle. 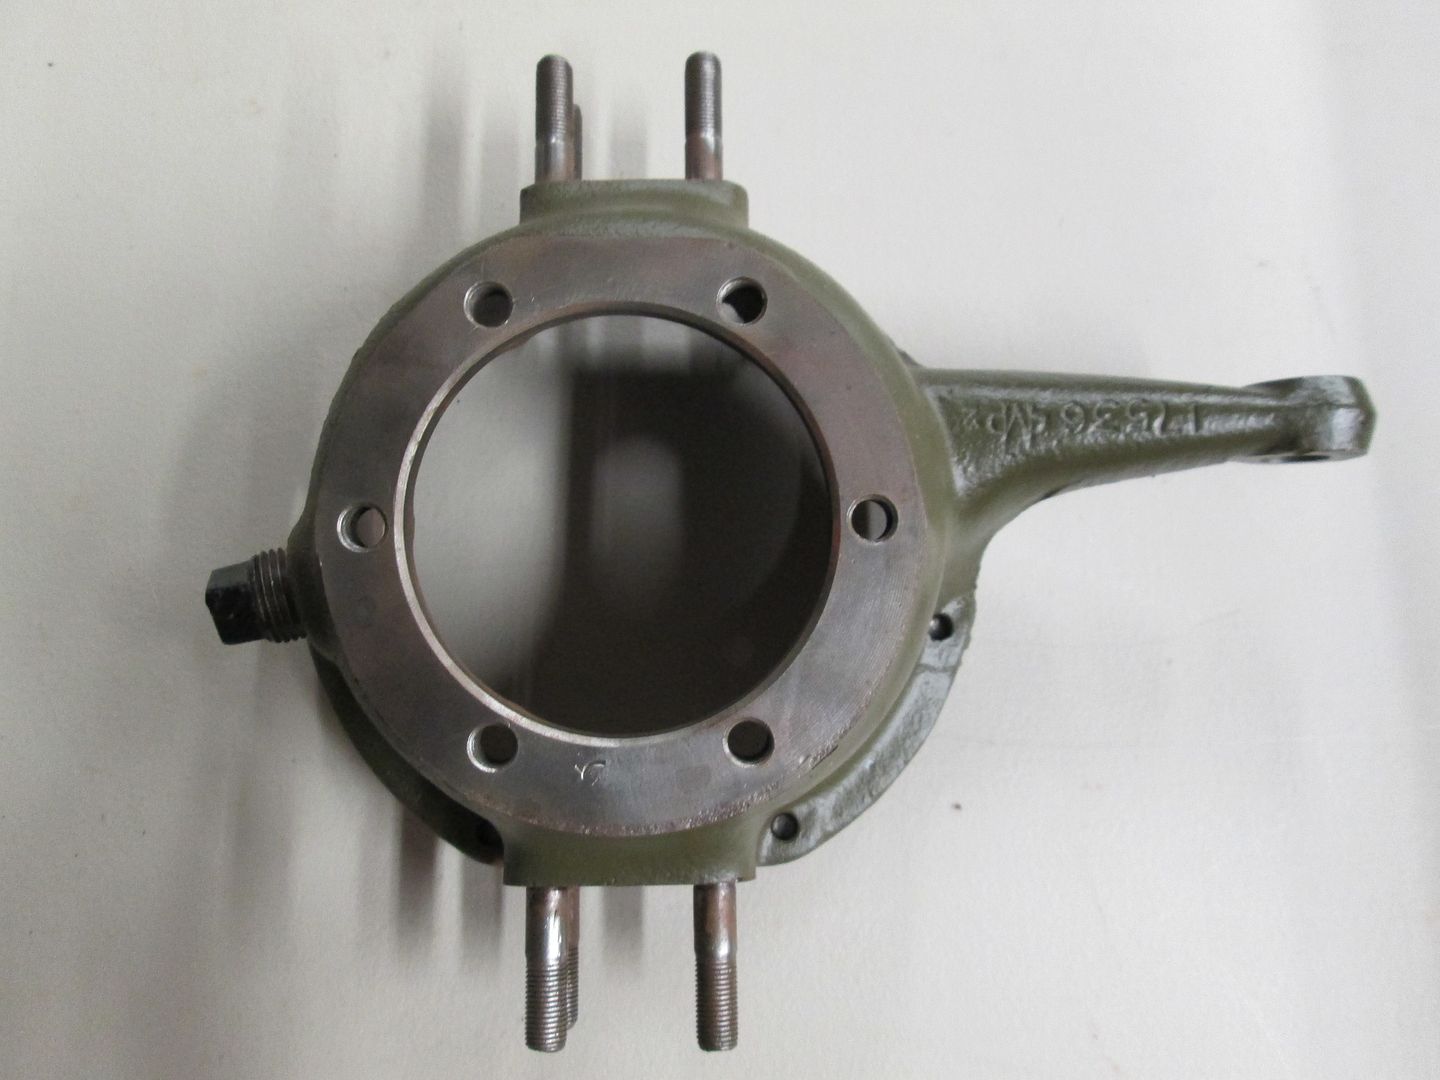 Studs that I got from the MOOSE were perfect. I installed the studs first , using Permetex #2. I set them into the knuckle cavity , no threads showing from the schimmmmms side of the knuckle.  I had tagged and bagged Grandpas original Schimmmms and king pins, as drivers and passengers side tops and bottoms. This WAS A SMART MOVE!  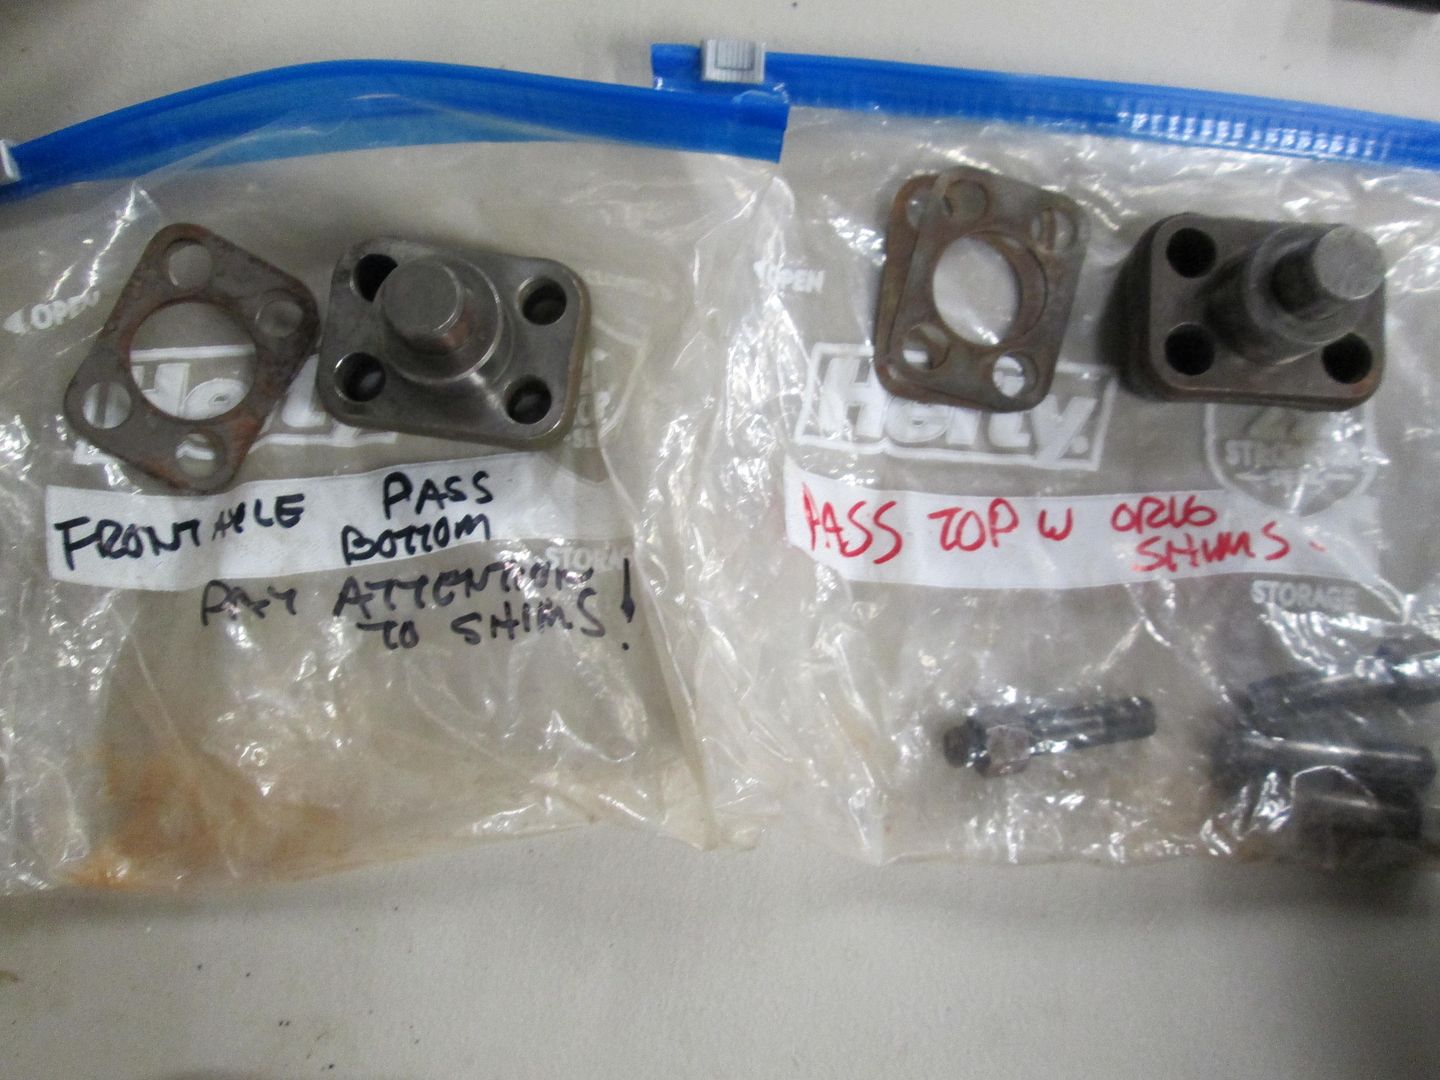 I was most Fortunate!! Installing the original Shims gave me a pull pound of 14lbs...on the fishing scale  Imagine that!!! 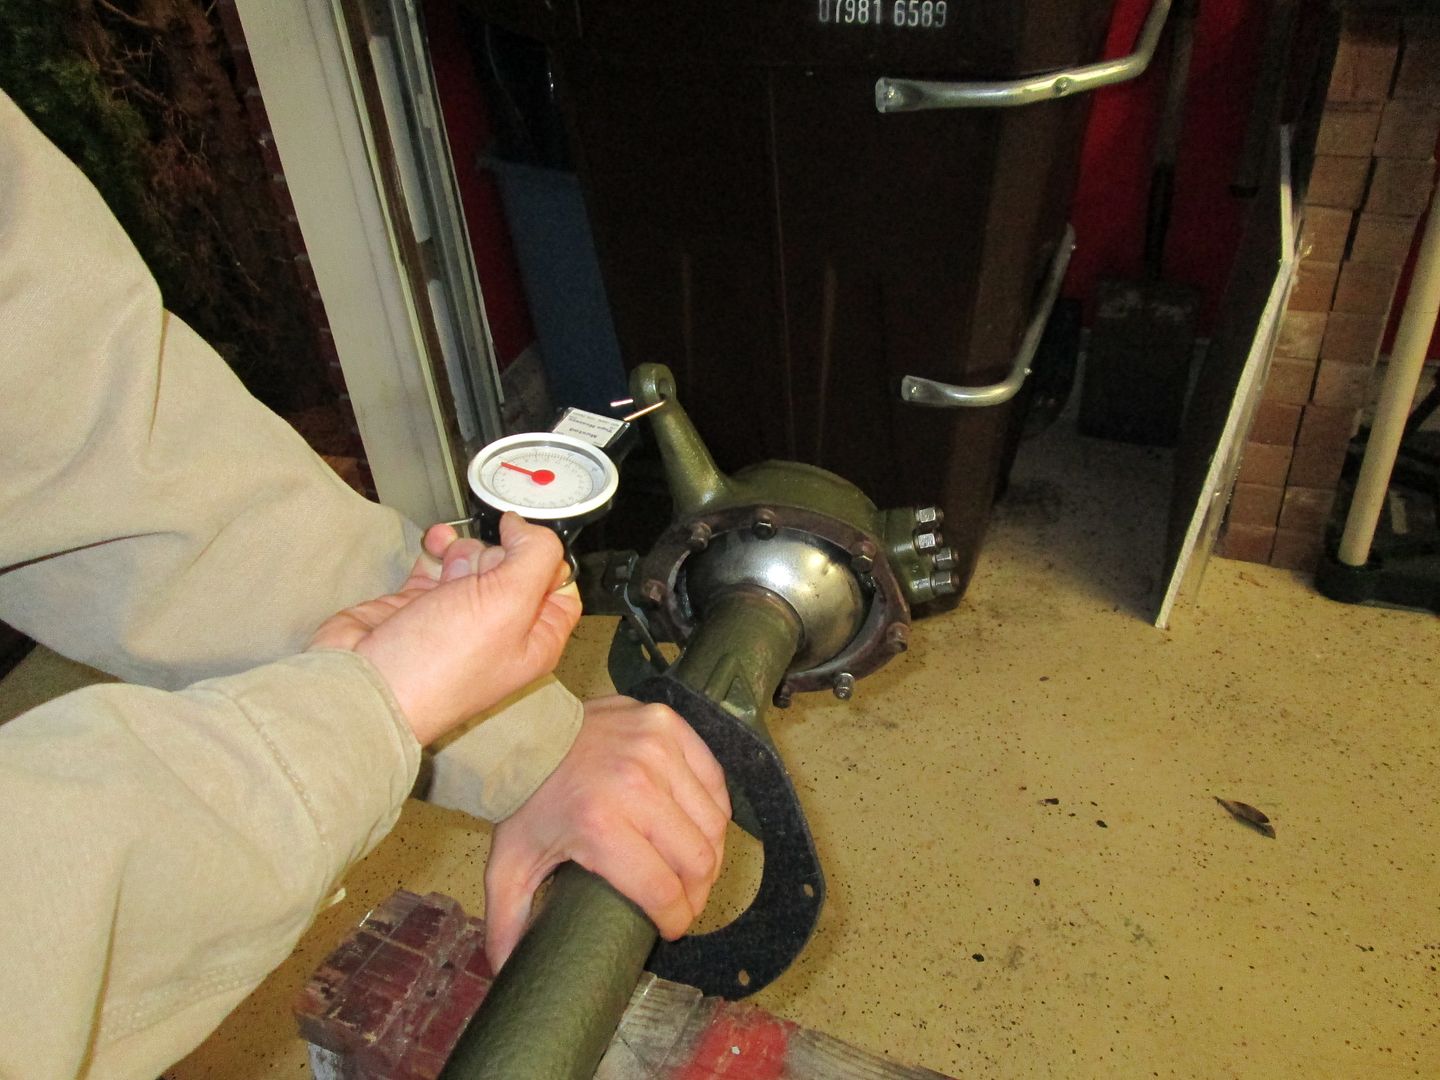 Thats my son pulling the scale    We torqued all the studs to 35 ft pounds...then moved on to the felt and seals. Bolts that hold the axle seals on are H marked...or are they HG marked ;D ;D ;D ;D Ha Ha said the Grinch....since Reindeer are scarce.....I will make one instead!  Notice the HG marked bolt ;D ;D ;D ;D I put one on each side....  |
|
|
|
Post by Haines Garage on Nov 11, 2013 23:01:42 GMT -5
We installed the knuckle seals, and felt. Used Permetex #2 on both sides...No leeky  ;D Son bolted it all up, and torqued it all down to 13 lbs on each stud.  I am most happy...axles underway.... I hope that other members will post here, describing their axle adventures  |
|
Deleted
Deleted Member
Posts: 0
|
Post by Deleted on Nov 12, 2013 18:58:31 GMT -5
Looking good........I am very happy to see someone who actually knows how to pack a timkin bearing ;D,,,,,,,and better yet passed the lost art on to his son  . I am often amazed how young tech school grads have no Idea of this process  . Lee  |
|
|
|
Post by athawk11 on Nov 12, 2013 19:42:42 GMT -5
Ah Crap. Forgot... Posted my axle stuff on my project thread. Should I copy and paste here?? Uh Haines, your axle's up-side-down. You would think someone with your skill set would know that.  ;D ;D Tim |
|
|
|
Post by Haines Garage on Nov 12, 2013 20:29:05 GMT -5
Sir Hawkridge...yes..use your Jedi mod skills. Keep it in your build thread as well. Nice work...don't make me get all Sam CJ2A on your a@@!  ;D |
|
|
|
Post by Haines Garage on Nov 12, 2013 20:32:43 GMT -5
Sir Leemeister...Grandpa showed me how to pack bearings, so did my Dad, So did my Father in Law. Must be something special. I just like the grease in my hand, the smell it creates,..
That is Old School mechanic 101...
|
|
|
|
Post by Haines Garage on Nov 12, 2013 20:34:29 GMT -5
Nobody with a comment about my arrogant HG bolts......HAHaha...where is Sir Schimmster when I need him!
|
|
Deleted
Deleted Member
Posts: 0
|
Post by Deleted on Nov 12, 2013 21:51:19 GMT -5
I learned the lost art from my dad, as well as my dear old friend Bob. Few rigs today have tapered roller bearings, kinda like points and condensers, even more rare are adjustable ball wheel bearings, those you need to leave slightly loose on assembly, as the bearing warms up on the road the balls swell up and will wreck the bearing if preloaded, timkens on the otherhand can run a slight preload on a wheelbearing...................HG bolts ;D, many meanings,,,,,,Huge Gonads, Herman Goehring, Hefty Girl, or get this ;D a unit of mass equal 100 grams  . Only, only here do you find this kind of knowledge,,,,,,,, on the IFFC forum  ,,,,,,,,,,AND it does not get relocated  Lee  |
|
|
|
Post by Haines Garage on Nov 18, 2013 17:18:22 GMT -5
So here is my differential delemina ;D ;D ;D 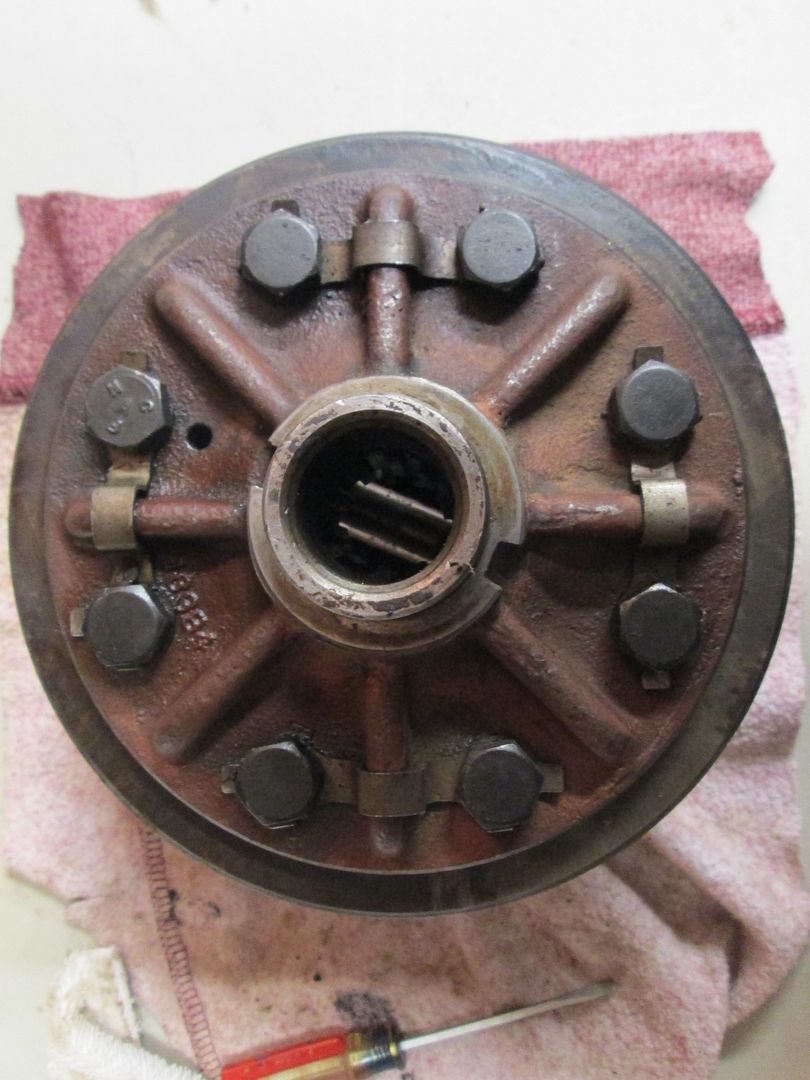 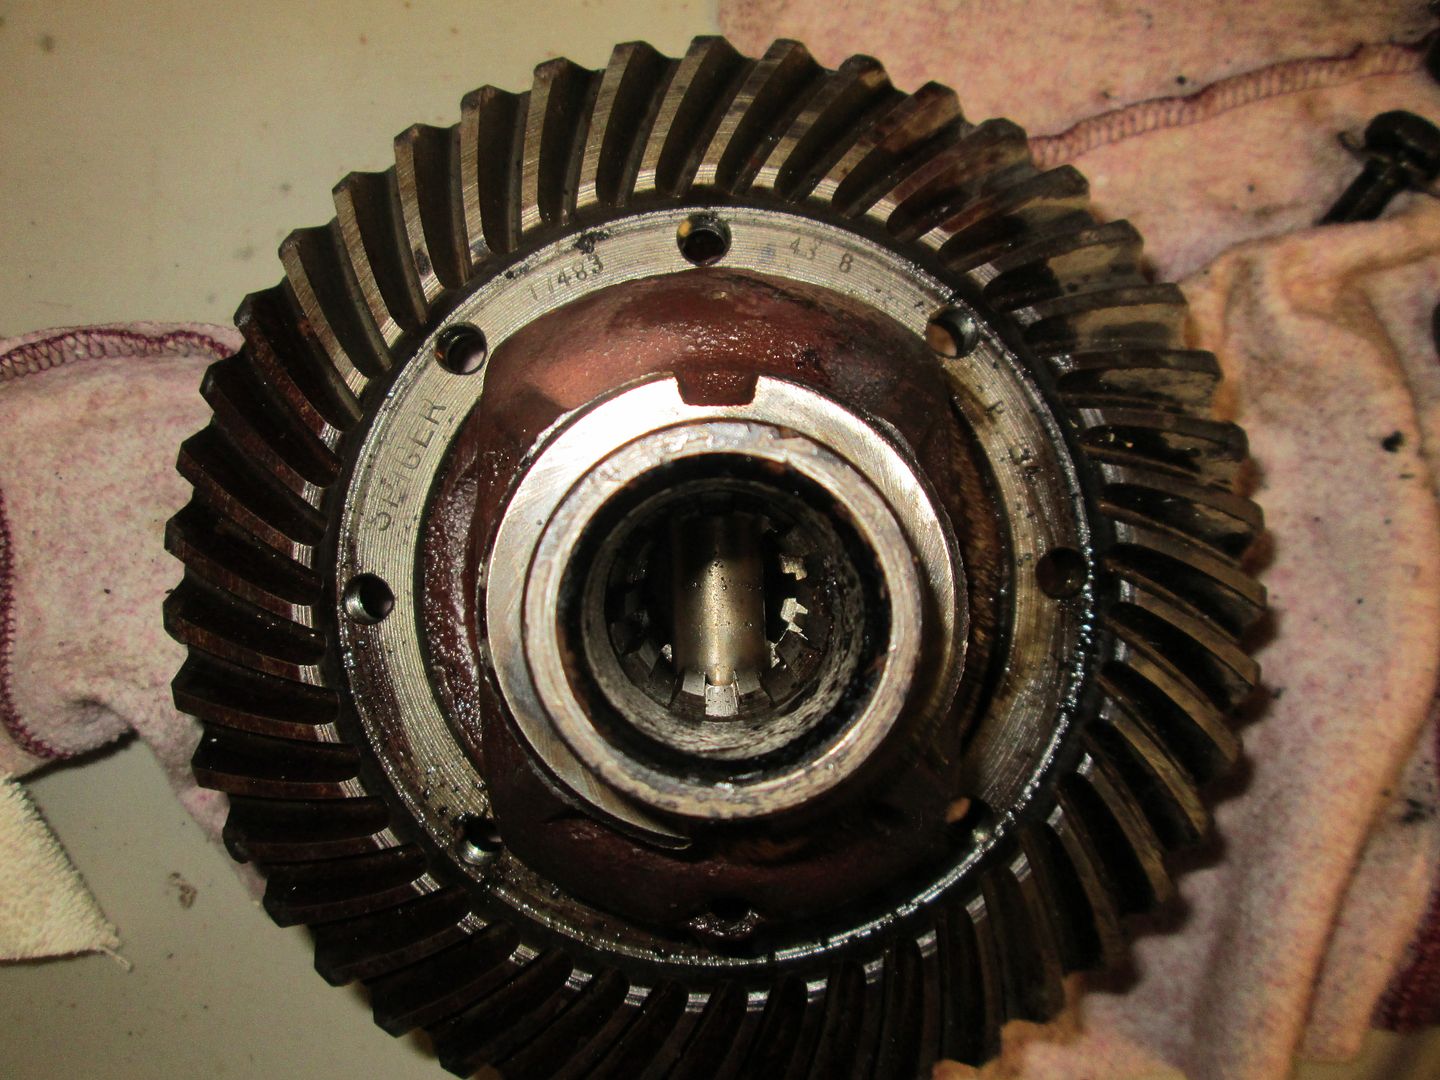 All the teeth are good on the ring, but it is FILTHY!  I disassembled the whole thing, And glad I did...Found crushed shimmmmms behind the carrier bearings. 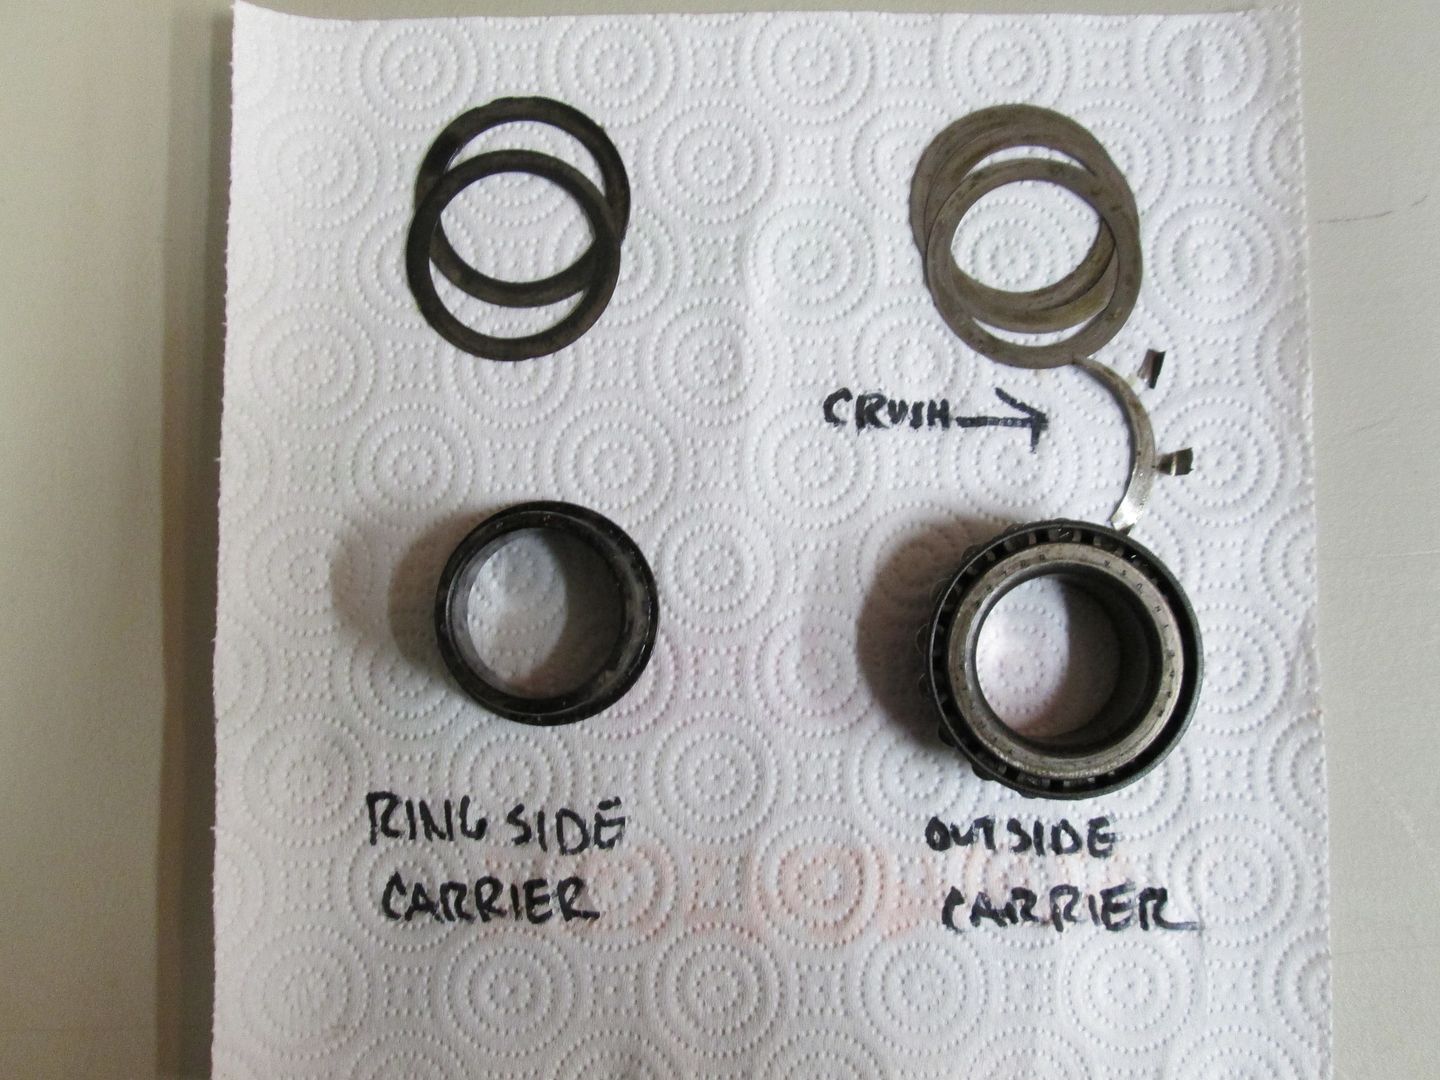 The spyder gears are in great shape though, and CLEAN now. 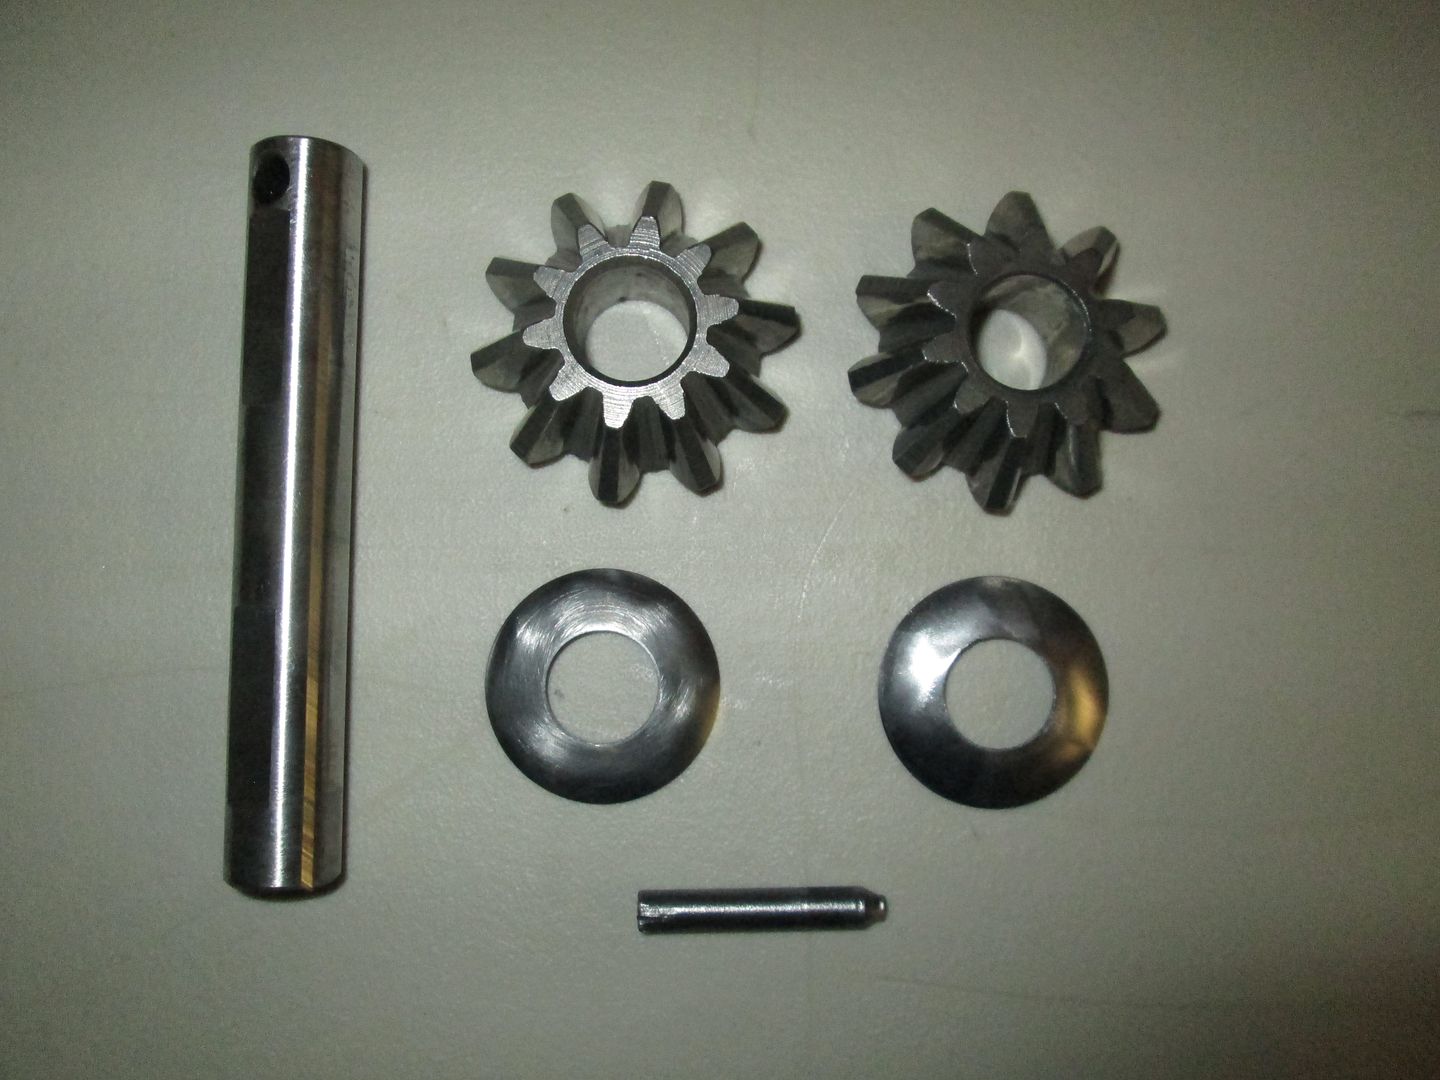 |
|
|
|
Post by Haines Garage on Nov 19, 2013 23:00:40 GMT -5
|
|
|
|
Post by Haines Garage on Nov 19, 2013 23:13:55 GMT -5
I removed the main pinion bearing with a bearing removal tool....It came off easy  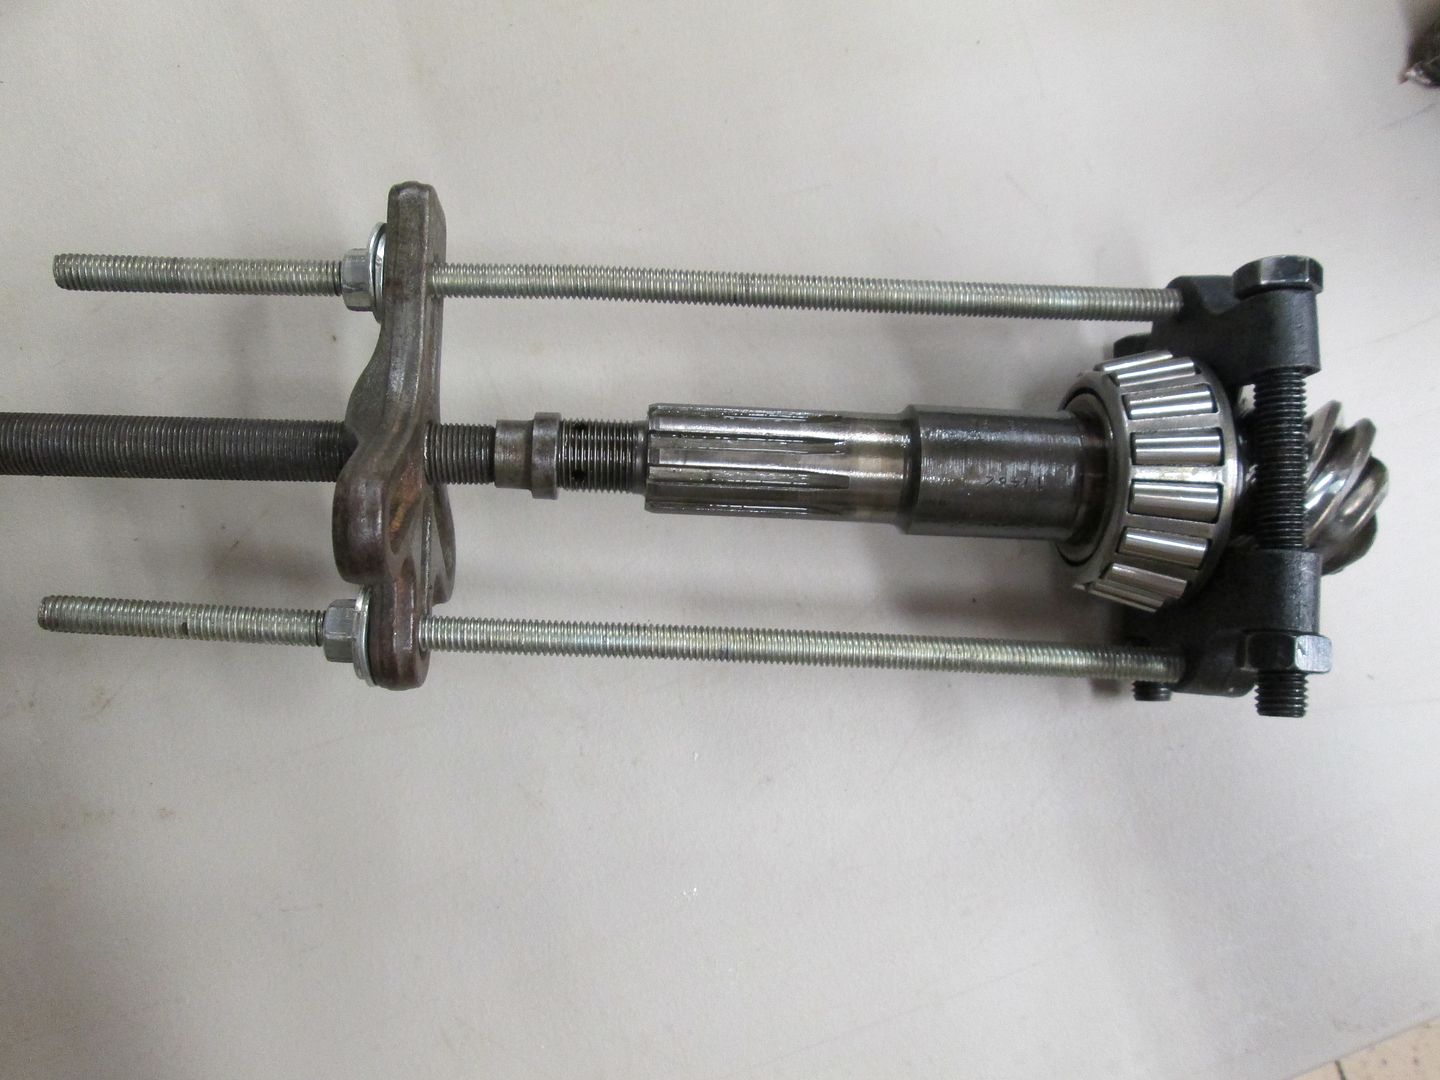 All shimmmmms and sleeve were kept in EXACT ORDER!! Very IMPORTANT! 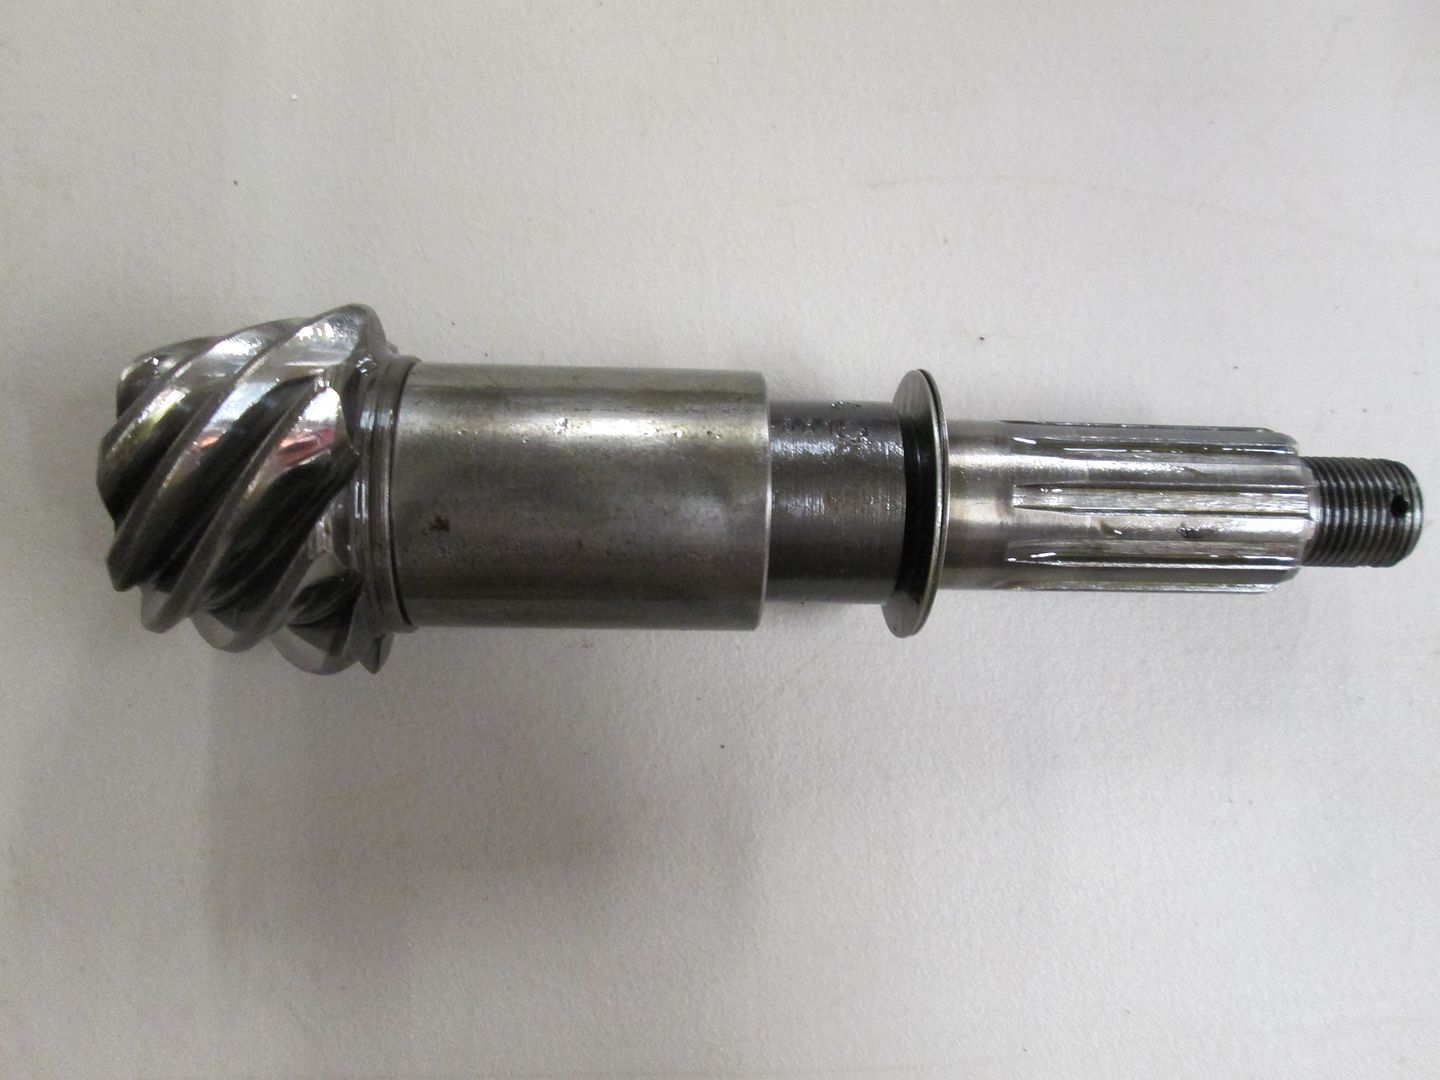 I Cleaned the housing with a rotary tool, with a brass brush, then cleaned with mineral sprits, then cleaned again....clean surfaces is always the key! 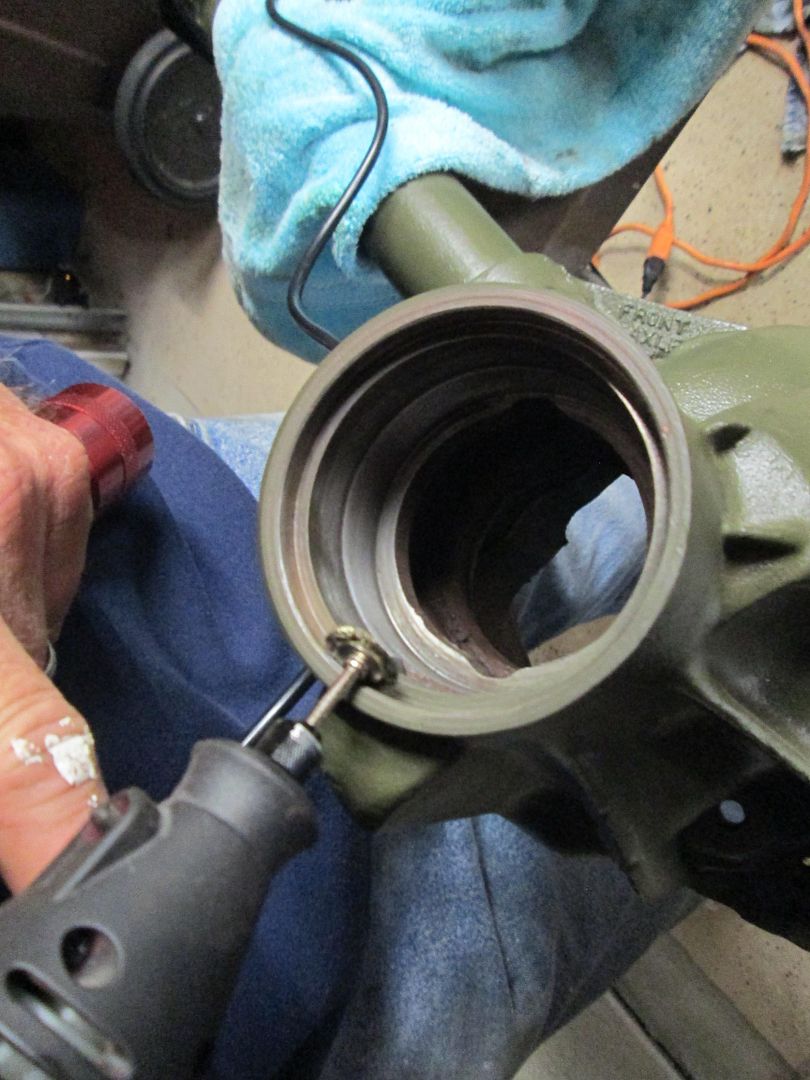 There is some pitting here...it will be OK. The new bearing is checked agaist the old. they are exact in length width and height, as well as what I will call inside diameter. 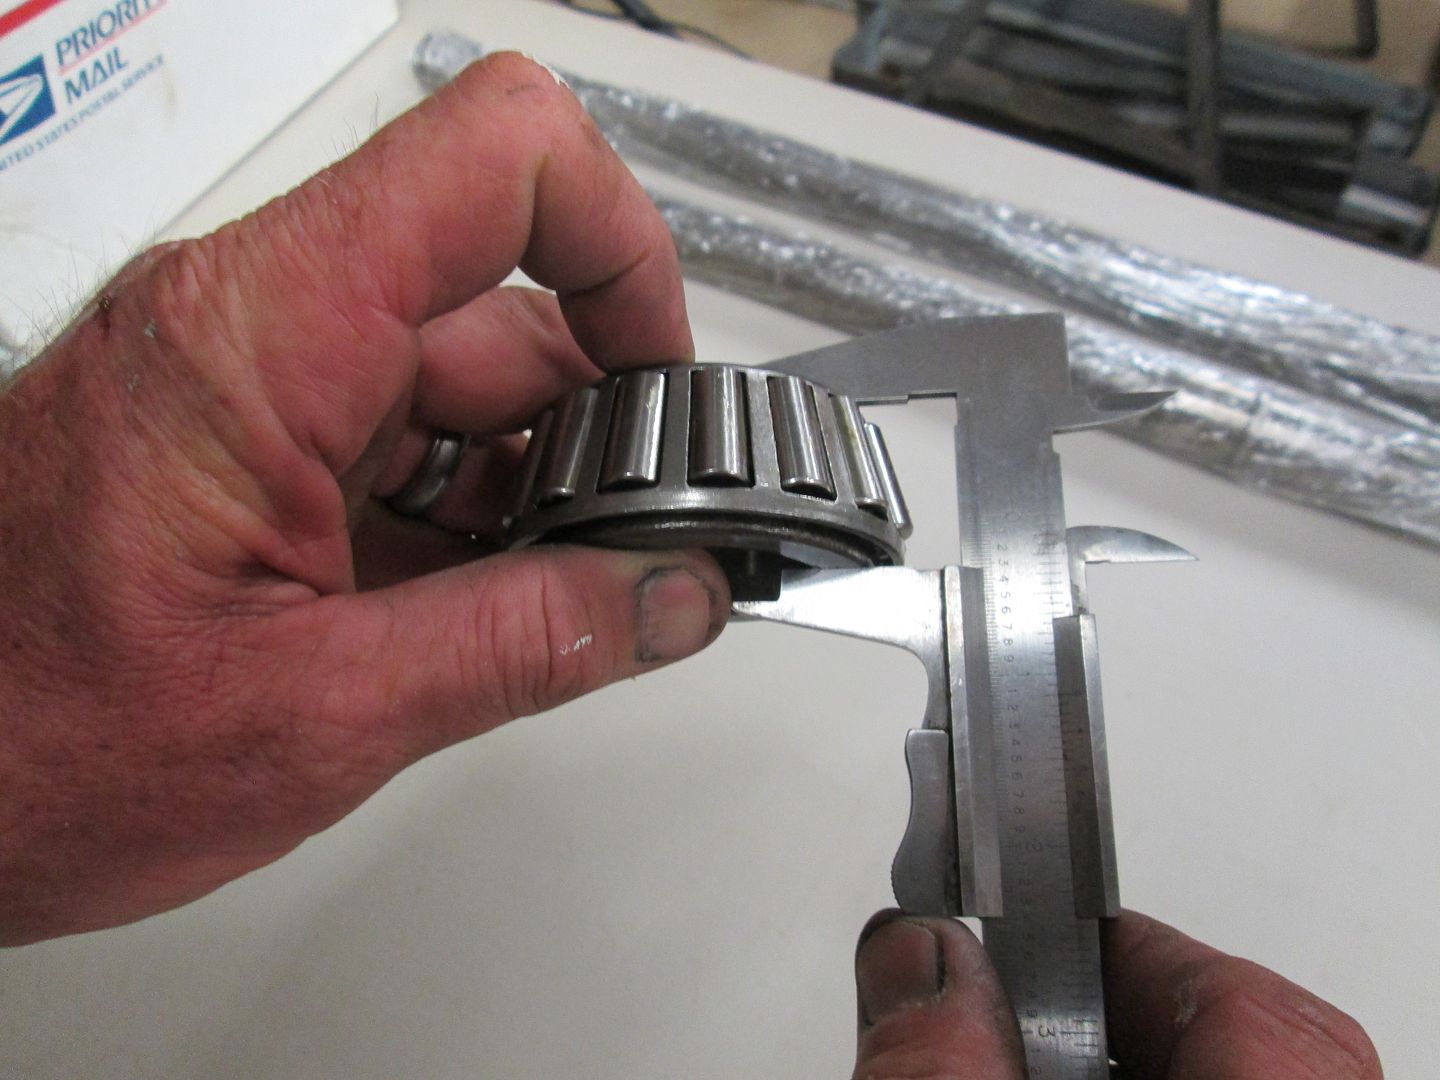 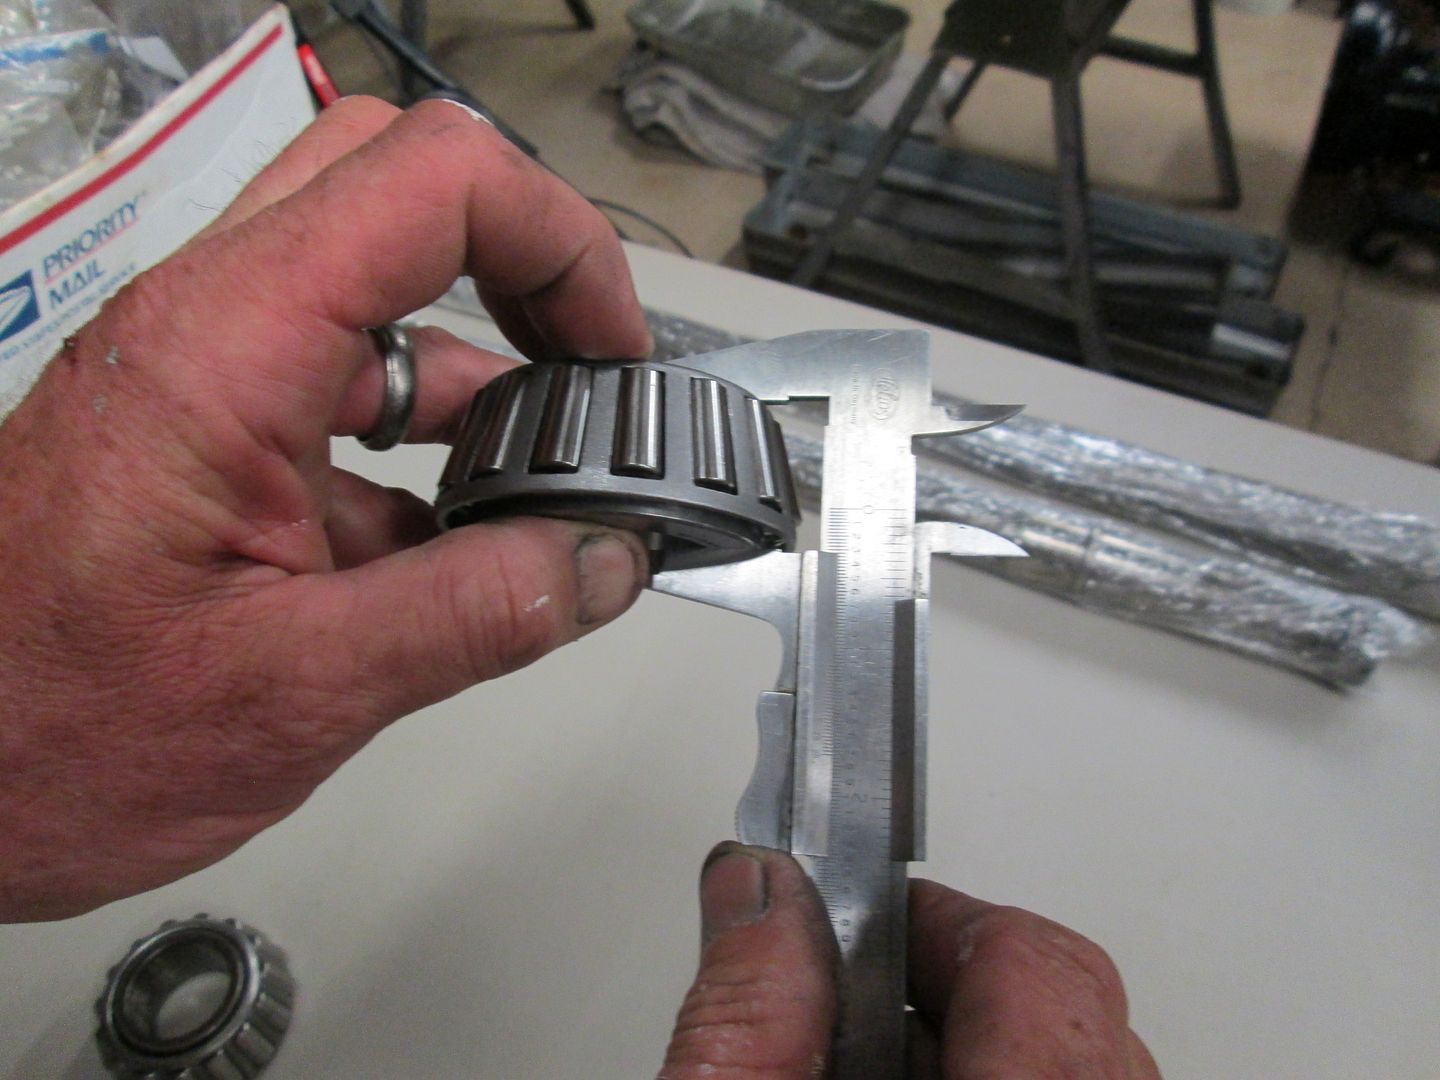 More Maybe tomorrow....This is one time consuming task, no doubt   |
|
|
|
Post by Haines Garage on Nov 20, 2013 22:33:07 GMT -5
I set the new races...I guess they are called cups these days, with a tool I created from some threaded stock, washers , nuts, and a piece of 3/4 maple I had laying around. Idea is to pull new races in smoothly. 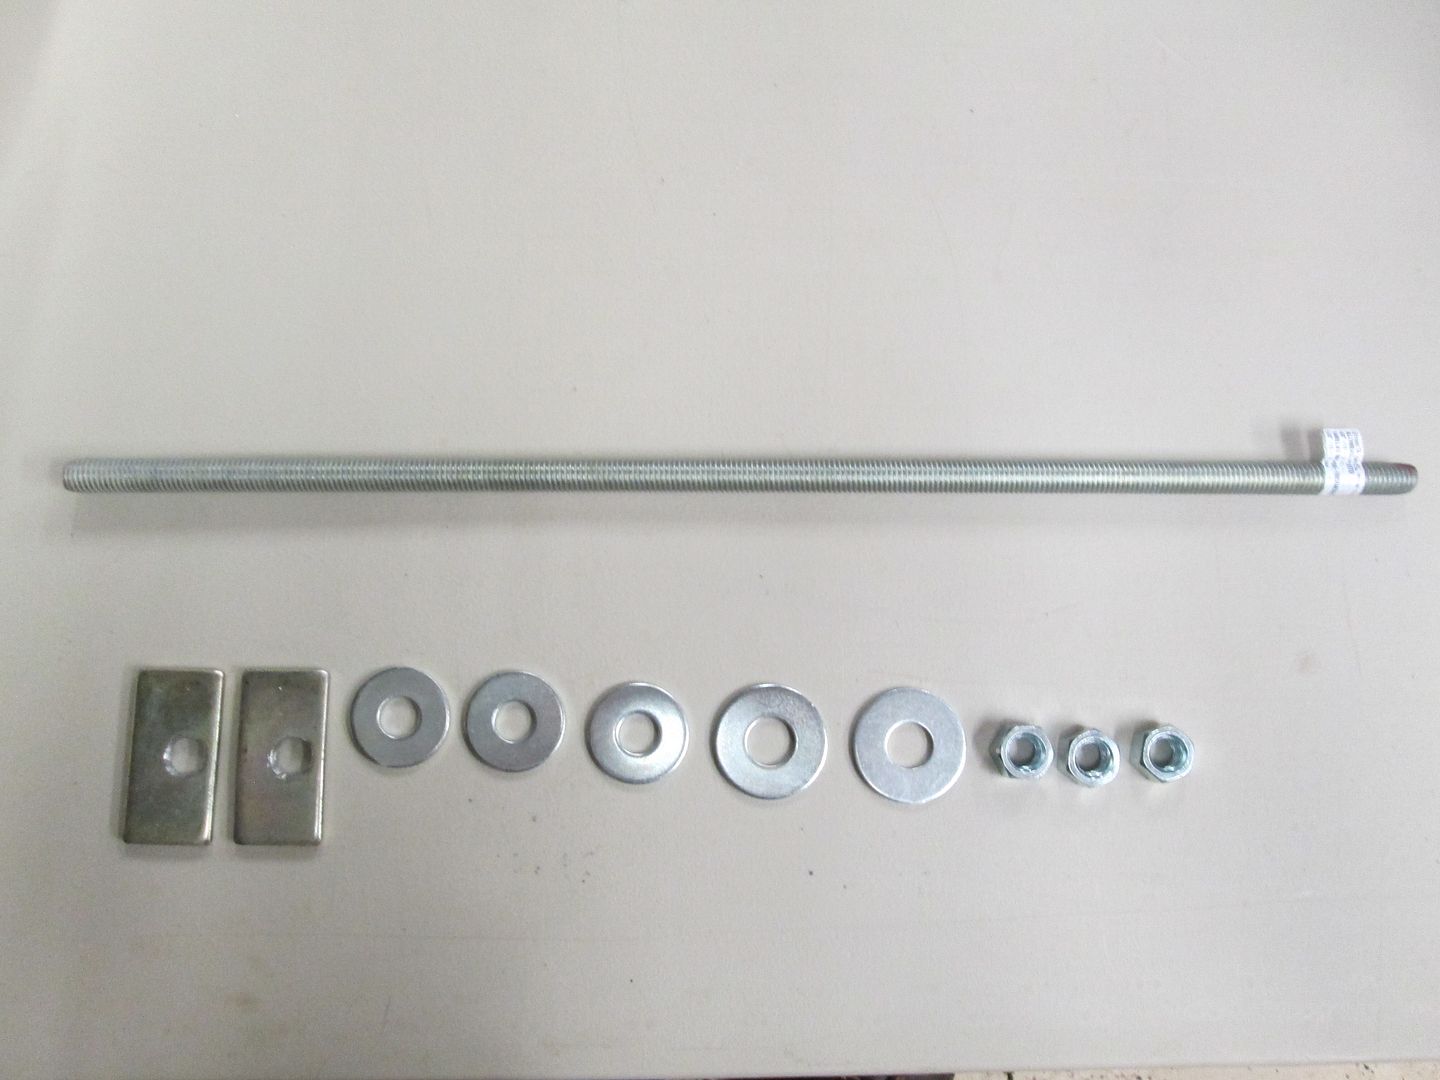 I installed the new Pinion bearing, with the same tool I removed it with....Look close..you will see an old bearing inner that was ground out to PRESS against the inner bearing..DO NOT PRESS ON THE CAGE! 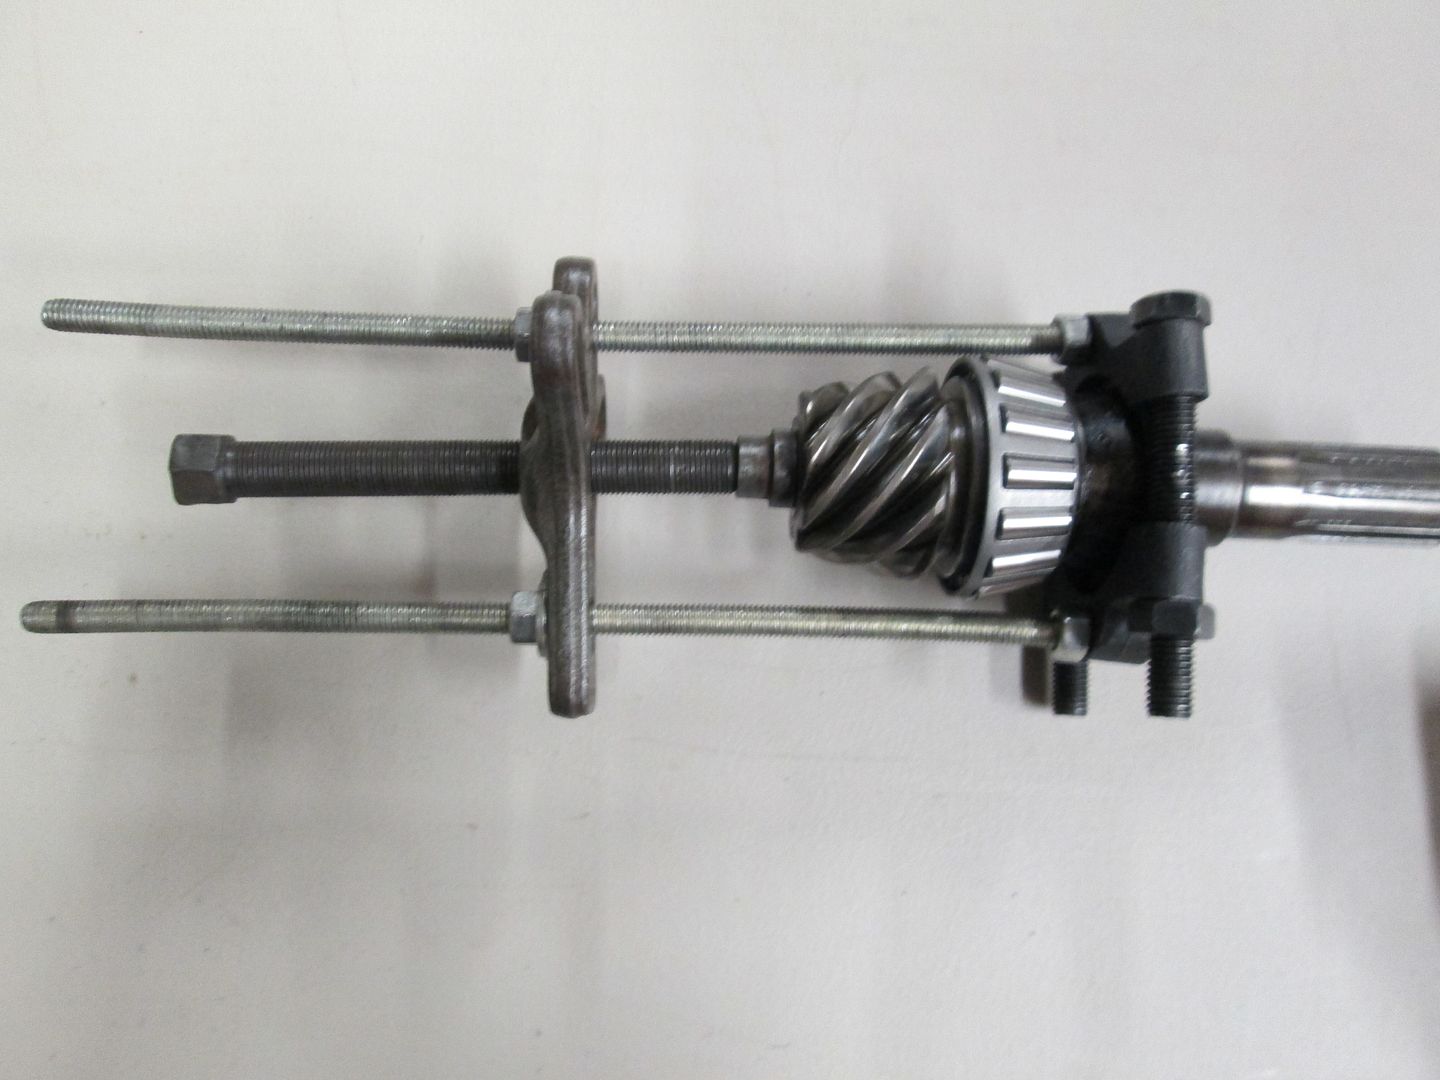 Original shim pack, cleaned with mineral spirits....NOTICE THE NEW GASKET...PAY ATTENTION ;D ;D ;D   Inside of housing completely clean....CLEAN IS MOST IMPORTANT, Famous Haines Garage Saying..."when you think its CLEAN, Clean it AGAIN"  I tap the inner Race into place with a Brass drift. Squareness here is important. I lube the outside of the race with engine oil, and the inner race with high temp axle grease. I lube the original bearing with high temp grease as well..It will move inside the race using the install tool I made. I place the original CLEANED shim pack into the housing first. 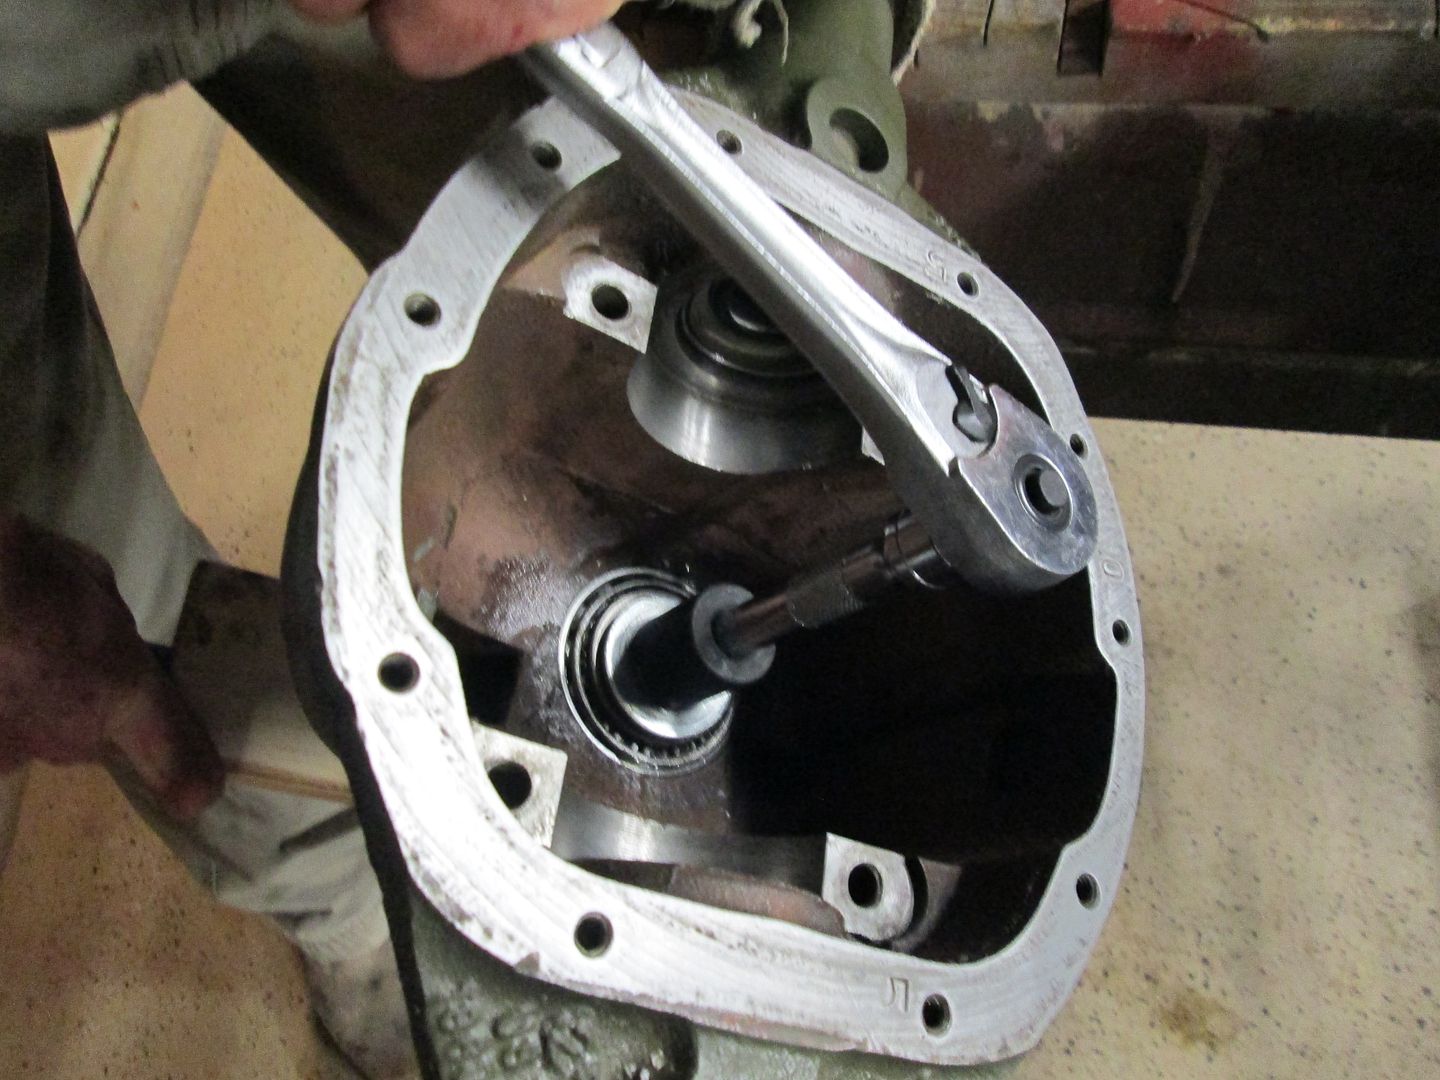 Washers pulling the old bearing , through the backside of the housing ...Note the Maple  I used a large adjustable wrench, and a socket to pull the new inner race into the axle housing. Invision pulling squarely and straight. The "feel" of the race bottoming out against the shim pack is what you are looking for, you will feel it as the wrenching gets tight. |
|
|
|
Post by Haines Garage on Nov 21, 2013 22:39:44 GMT -5
 Another angle of the install tool. When installing the new race (Cup) I lubricate the inside with high temp grease I lube the outside of the race with a light coating of 30W oil, as well as the housing. LIGHTLY, just enough to allow a smooth install 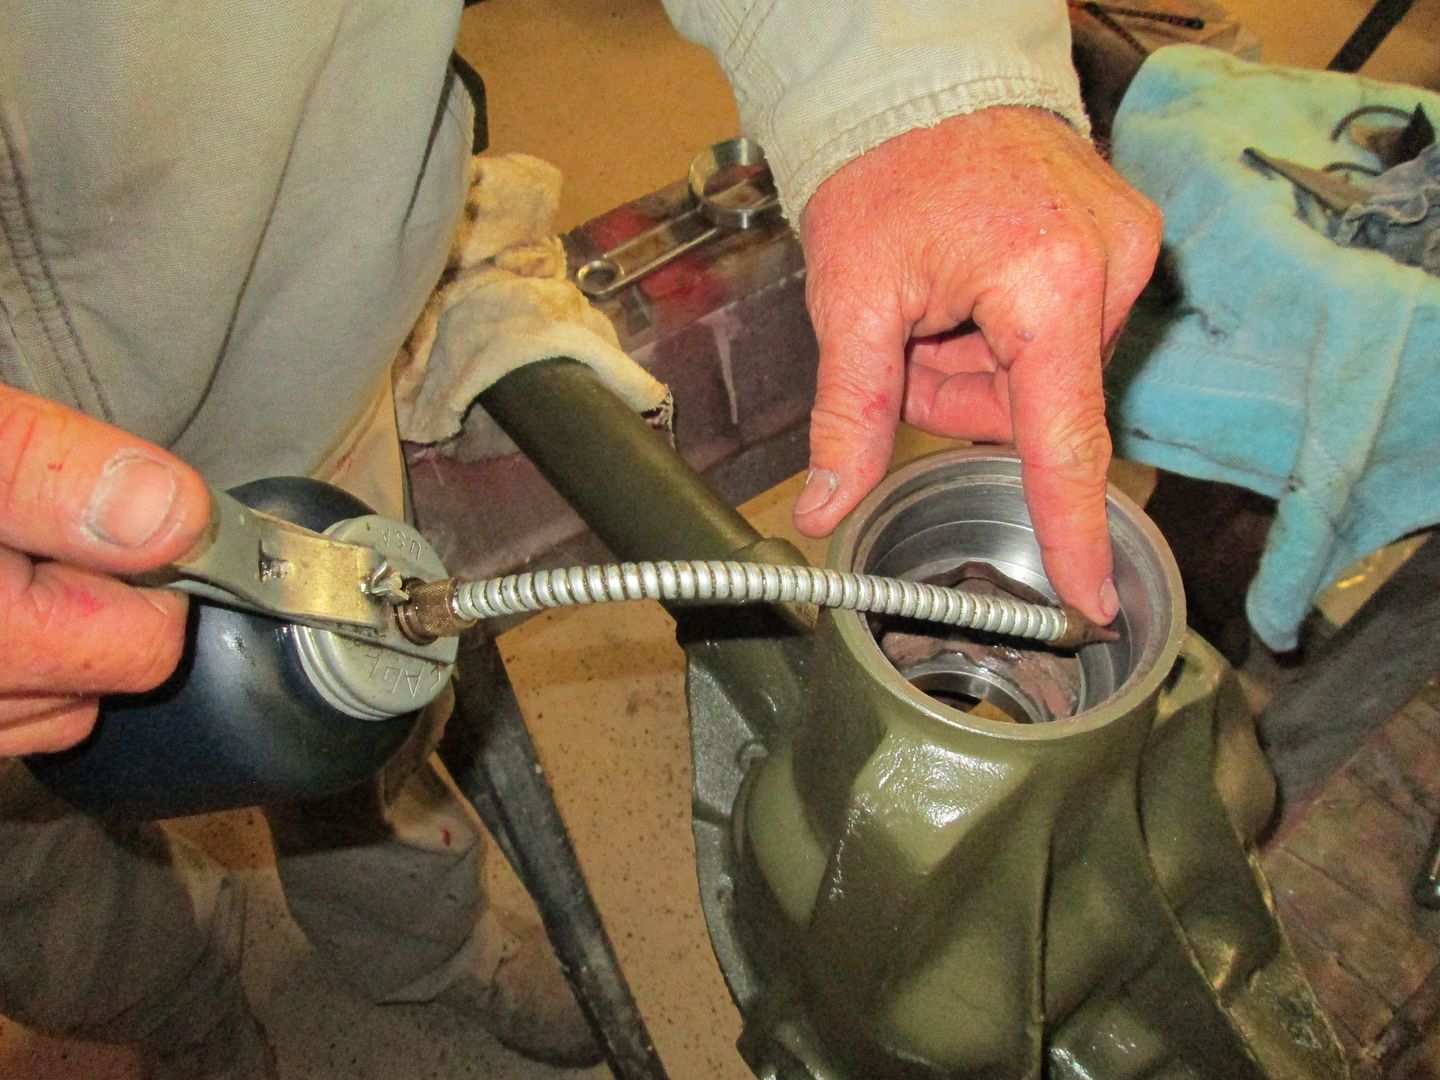 Yes that is an Eagle Oil Can...From the original Haines Garage   Same install tool used for the outer pinion bearing, just reversed 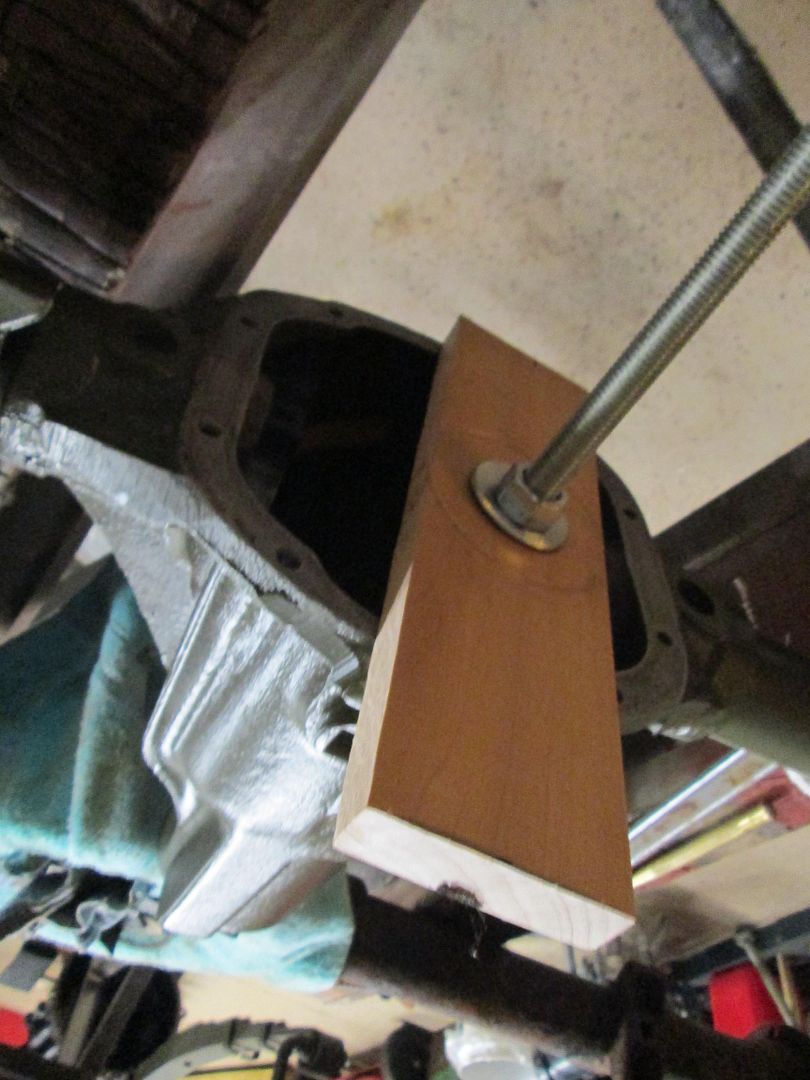 After Race is seated, I install the new bearing. I tap it into place with a brass drift to get it started...Tap...Like a clock 12, 6. 9, 3  Install new oil slinger.  Its about to get FUN  |
|
|
|
Post by Haines Garage on Nov 21, 2013 22:52:01 GMT -5
How about some comments??? Am I doing this correctly?? Any help, or stories , tips to tell....   |
|
Deleted
Deleted Member
Posts: 0
|
Post by Deleted on Nov 21, 2013 23:34:45 GMT -5
If you get it together and it works you did it correctly ;D, Your means are very well thought out, certainly not the tools used in the manual, but Very effective, goes to show a little creativity using what one has will get the job done just as well as having the factory tools, and I very much approve of your means  , I admire your enthusiasm for cleaning, I am spoiled as we have a steam cleaner at work that I can use all I want. I also like the fact you oiled the areas that press fit, very important. Keep up the great work. Lee  |
|
|
|
Post by Haines Garage on Nov 22, 2013 18:53:49 GMT -5
Thanks Sir Leemeister
I appreciate your feedback
|
|
|
|
Post by athawk11 on Nov 23, 2013 10:34:22 GMT -5
Nice work HG. This is the part of the axle where I took Lee's advise and left it alone. On mine, I saw no area of concern. Bearing and pinon gear looked to be in decent condition.
I'm glad you broke yours down though. Now I know what to do if I have a failure.
Tim
|
|
Deleted
Deleted Member
Posts: 0
|
Post by Deleted on Nov 23, 2013 11:27:58 GMT -5
Someone has been in this axle before. The shafts and joint bearings look new. The king pins look new, but the bearings disintegrated in my hand while I was cleaning them. I'm stalled waiting on parts...again. Tim Reading through this, I thought Tims remarks are important, IMHO kingpin bearings are the most overlooked maintenance Item on a Jeep, I share his experience with failed bearings on just about every one I have taken apart, this is the biggest reason for front end shimmy or "Death Wobble", lots of people have spent many hours rebuilding a classic WILL-IS and overlook this area, only to be plagued with steering and handling issues later, Do Not take king pin bearings for granted. Lee  |
|
Deleted
Deleted Member
Posts: 0
|
Post by Deleted on Nov 23, 2013 11:31:24 GMT -5
I have a question for HG, are you planning to run lock out hubs or drive flanges?  Lee  |
|


 .
. . Only, only here do you find this kind of knowledge,,,,,,,, on the IFFC forum


