|
|
Post by Haines Garage on Nov 23, 2013 12:58:03 GMT -5
I have a question for HG, are you planning to run lock out hubs or drive flanges?  Lee  I will give you hint.. 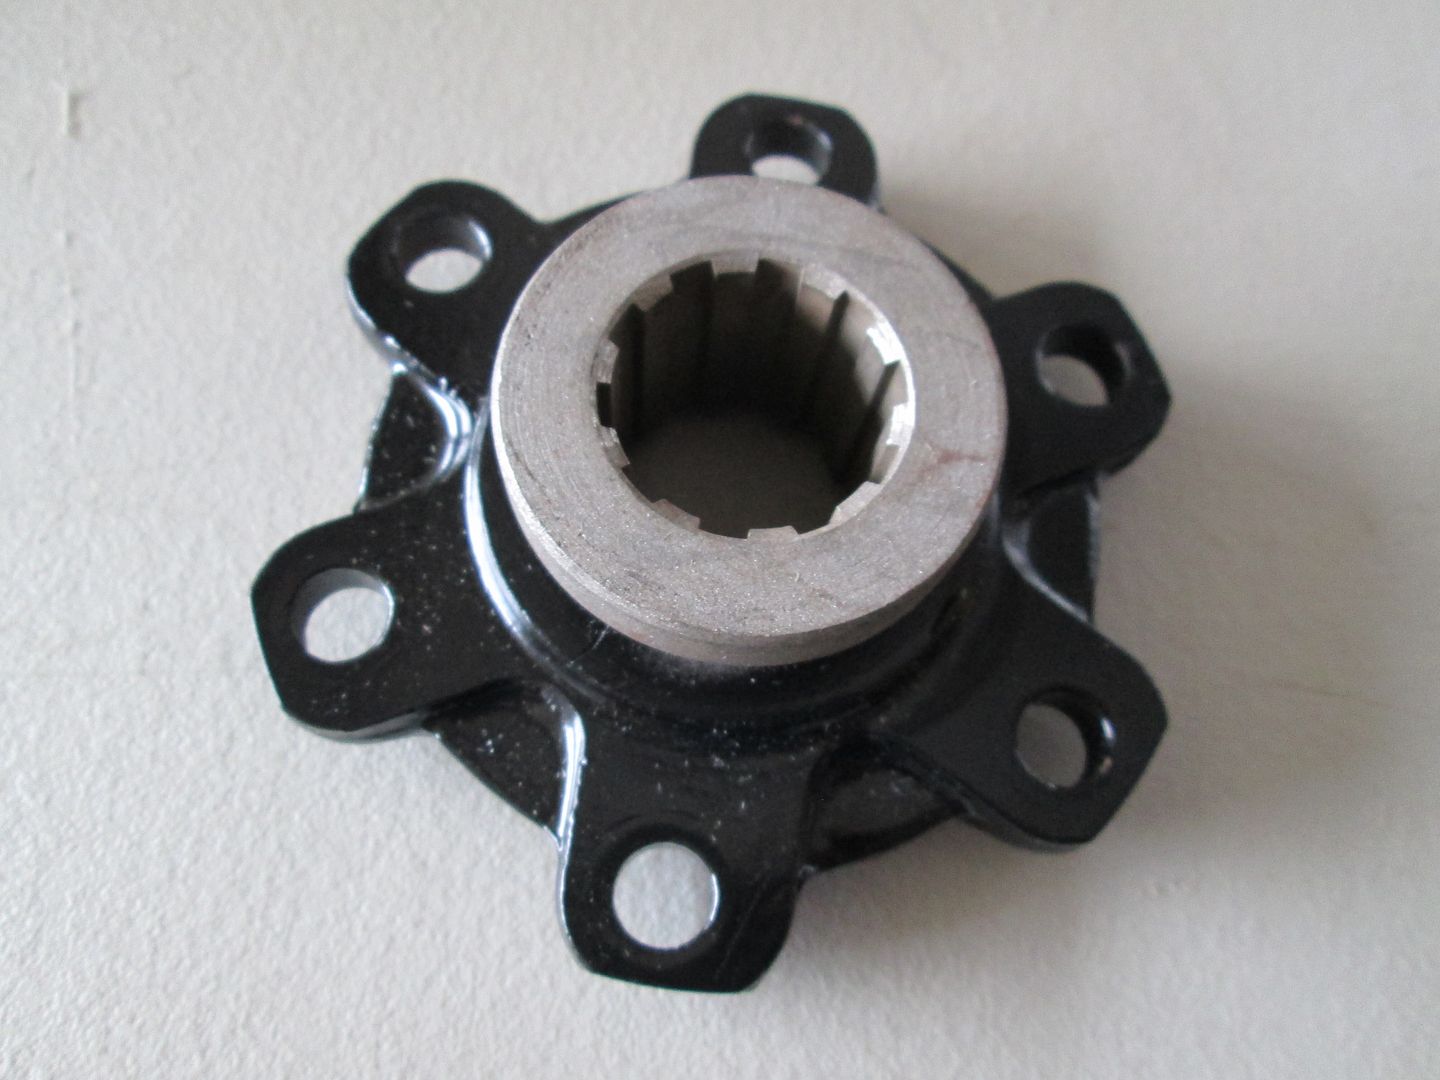 Hope dis ansa qwestion........ ;D ;D ;D ;D ;D |
|
Deleted
Deleted Member
Posts: 0
|
Post by Deleted on Nov 23, 2013 15:36:26 GMT -5
Yes it does,,,,,,,,I'm a lockout WILL-IS kinda guy ;D, nothing wrong with old school drive flanges. Lee  |
|
|
|
Post by Haines Garage on Nov 23, 2013 16:01:05 GMT -5
Sir Leemeister, Glad you brought that up. I as well as others I am sure would love to see a discussion about hubs and flanges. Please start one if you would... I have no photos or material to start one.... Hopefully you or someone else does...      |
|
|
|
Post by Haines Garage on Nov 23, 2013 19:18:22 GMT -5
Come closer...I want to show you something! ;D ;D Notice the port that I am pointing to that feeds the gear oil to the outer bearing.  After I place the new outer bearing onto the pinion, I use an impact gun to drive it into place, using the actual yoke as my driver. 220 ft pounds of torque is what all my manuals say. However at 220, I am past the point were a cotter key should be inserted. I backed off about 1/16 of a turn on the pinion bolt. Lines up nice.  I use a puller and some bolts and nuts to easily remove the yoke. 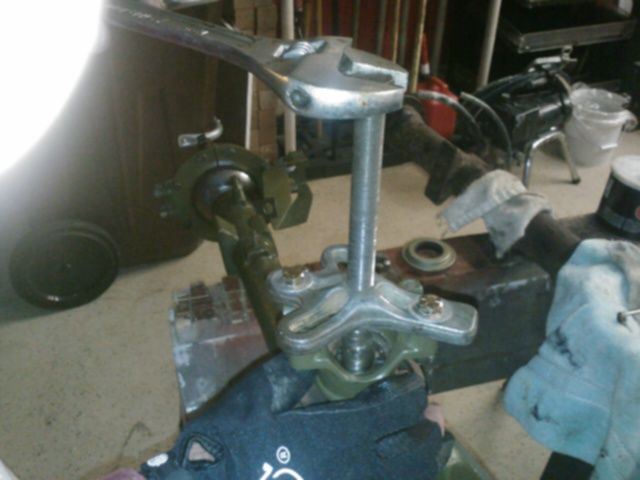 With yoke removed, I am ready to install the new seal. There is a paper gasket that goes inside the housing 1st!!! I found it at Walcks. VERY IMPORTANT. As Always Permetex on everything, as per manufacturers specs...  I tap the new seal in place with a soft faced hammer... 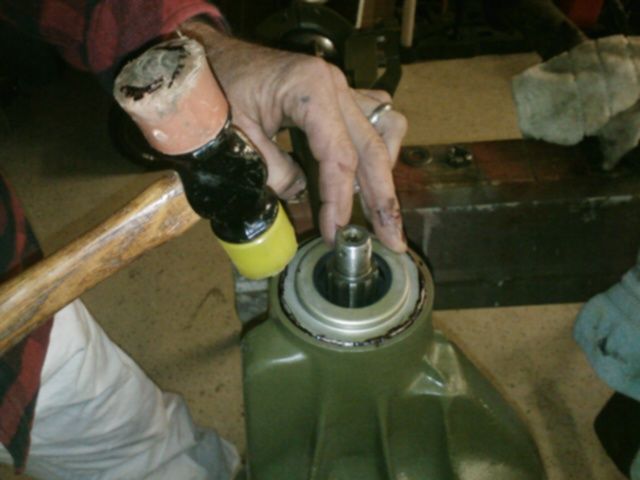 |
|
Deleted
Deleted Member
Posts: 0
|
Post by Deleted on Nov 23, 2013 20:11:32 GMT -5
Sir Leemeister, Glad you brought that up. I as well as others I am sure would love to see a discussion about hubs and flanges. Please start one if you would... I have no photos or material to start one.... Hopefully you or someone else does...      Will do, on a new thread, I will take a few photo's tomorrow of what I have. Lee  |
|
|
|
Post by Haines Garage on Nov 23, 2013 22:11:49 GMT -5
I disassembled the carrier spider gears by driving out the pin , and simply spinning out the spider gears, and washers I drove the holding pin out from the Ring side of the carrier. I removed all the ring bolts, and strap locks. These are parts that you are not supposed to re-use. However in my experience as of Lately, the new stuff is no better than beat up old stuff. I removed all carefully, as no to damage the ears on the lock straps. I wire wheeled all Clean. 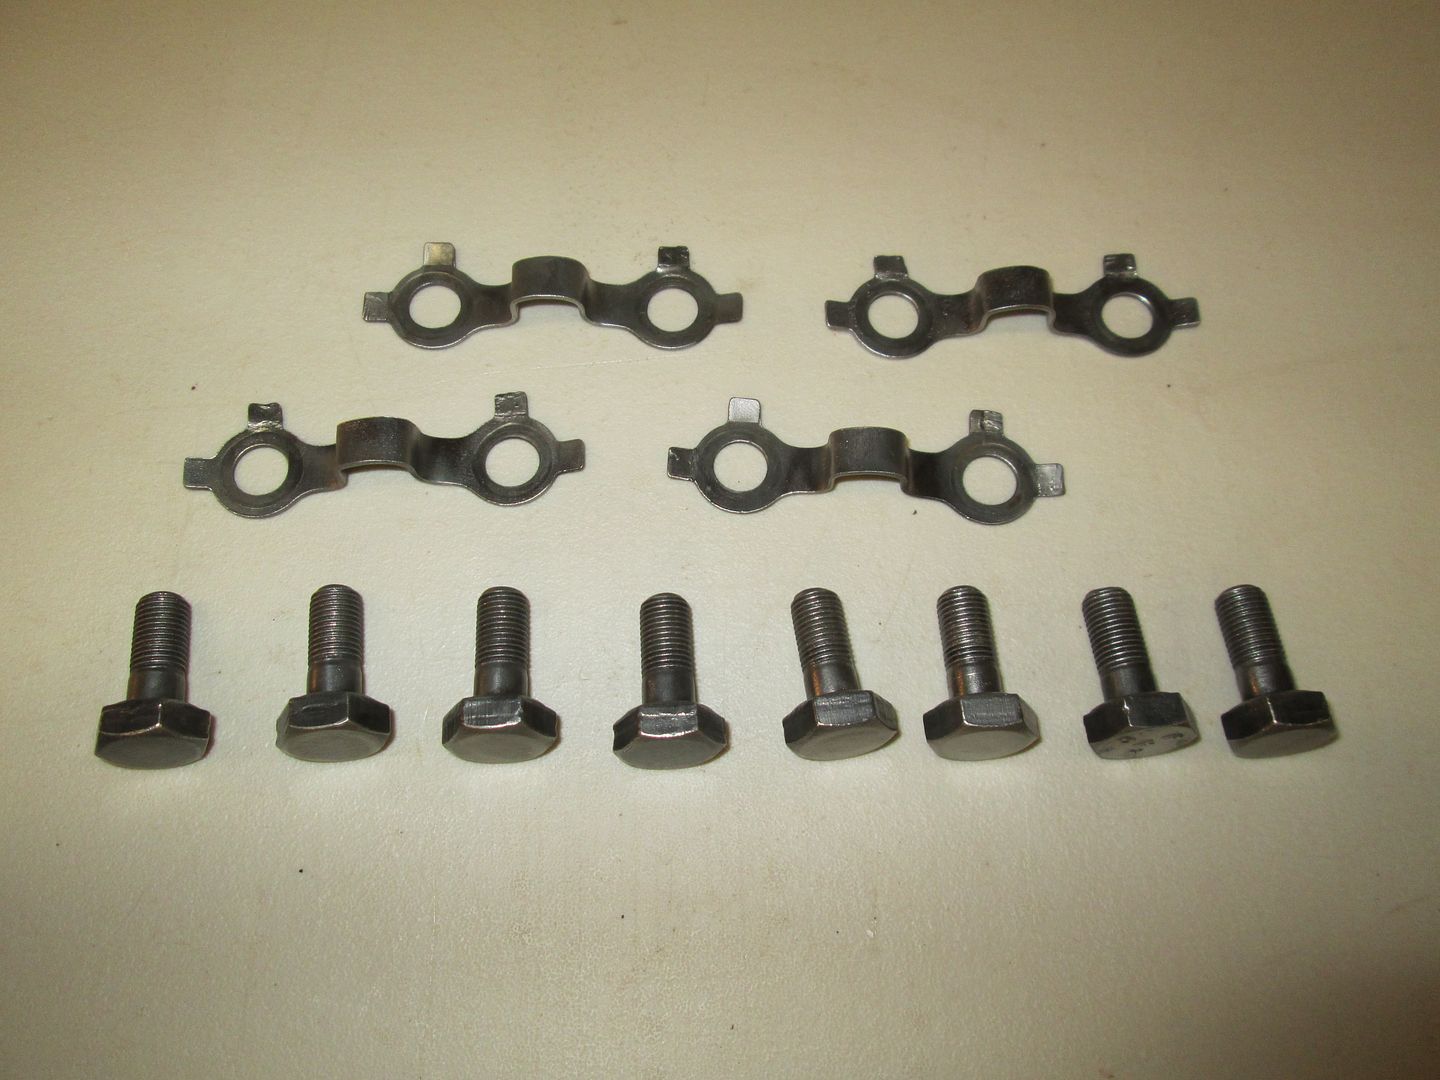 With ring removed, it is time to clean it. I find no chipped or broken teeth. I soak the ring in mineral spirits, and clean each tooth with a Brass wheel on a rotary tool. 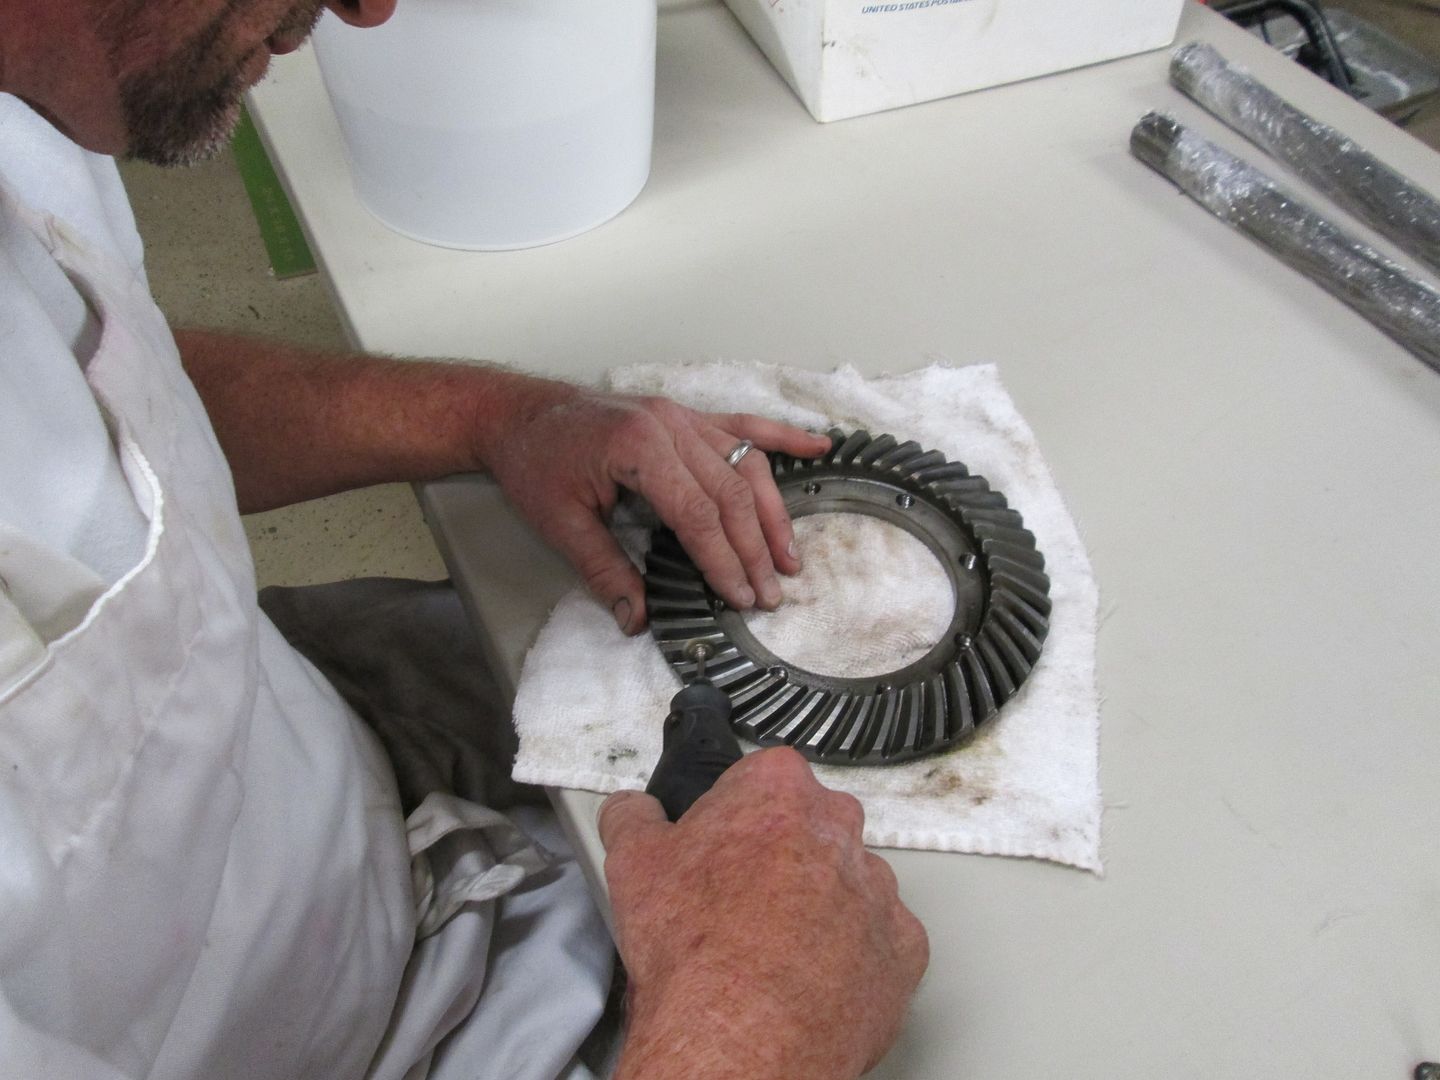 Differential is soaked, and clean. I polished the ends with 300 grit wet dry sandpaper.  When any parts are removed, I tag and bag them. Parts are completely cleaned and ready to be installed  |
|
|
|
Post by Haines Garage on Nov 23, 2013 22:29:59 GMT -5
I insert the original washers, and main spider gears into the differential. I set the smaller gears at 90 degrees into the teeth with their washers, and line them up with the mate shaft. 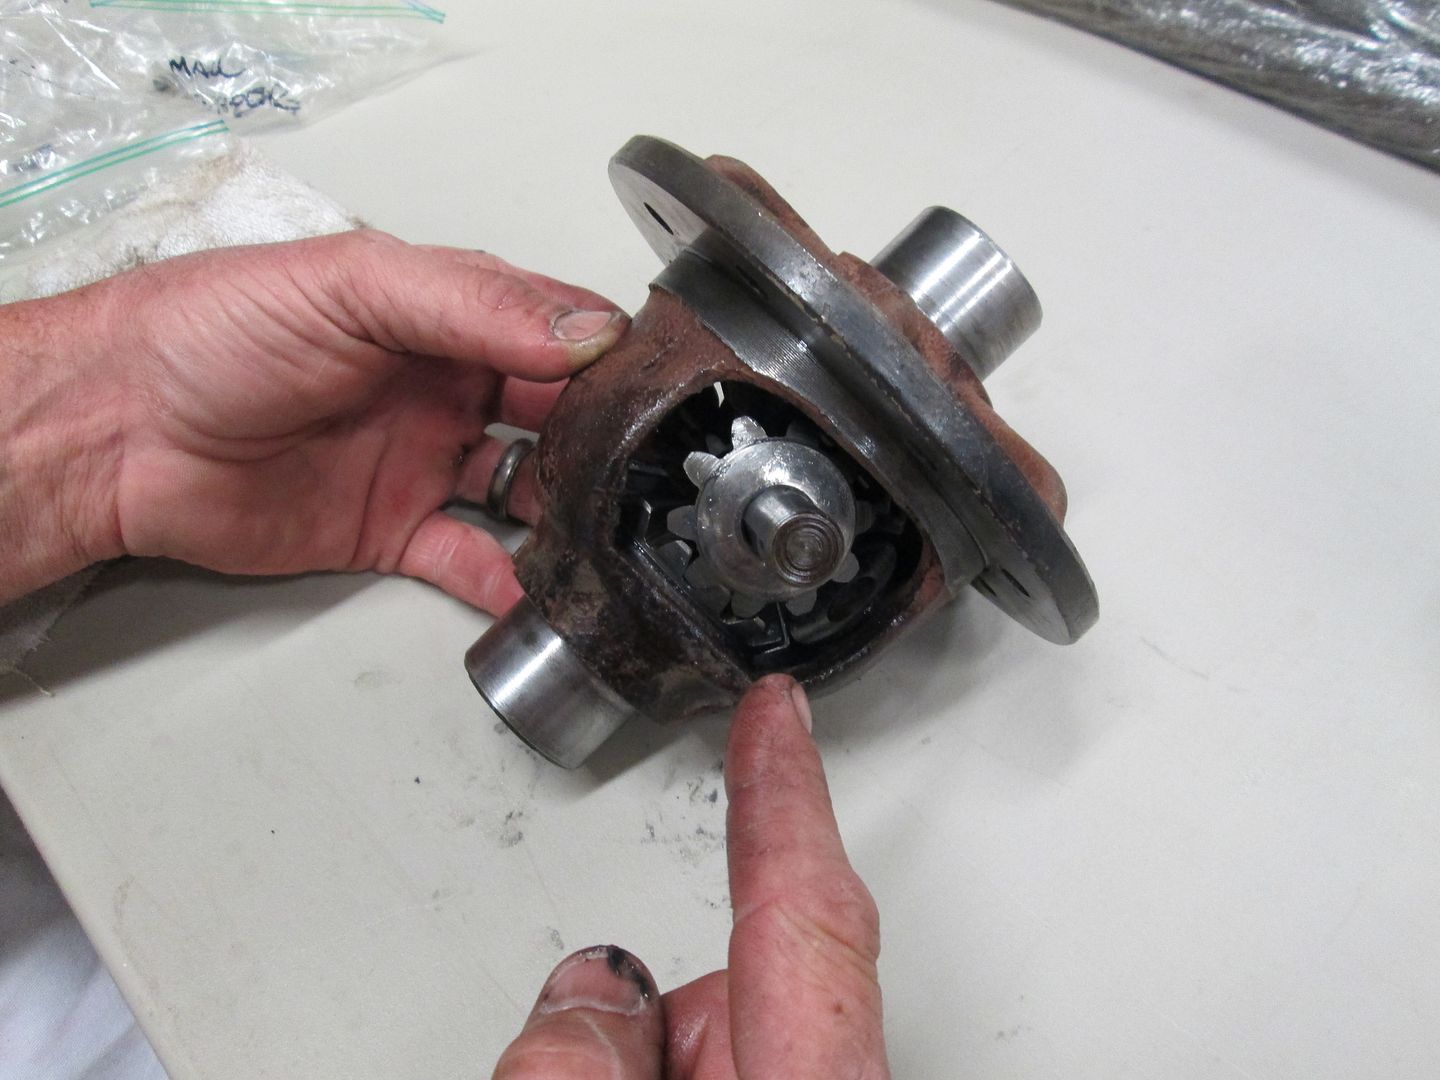 I lube all with a moly assembly lube, and spin the smaller spider gears into place, lined up with the mate shaft holes. 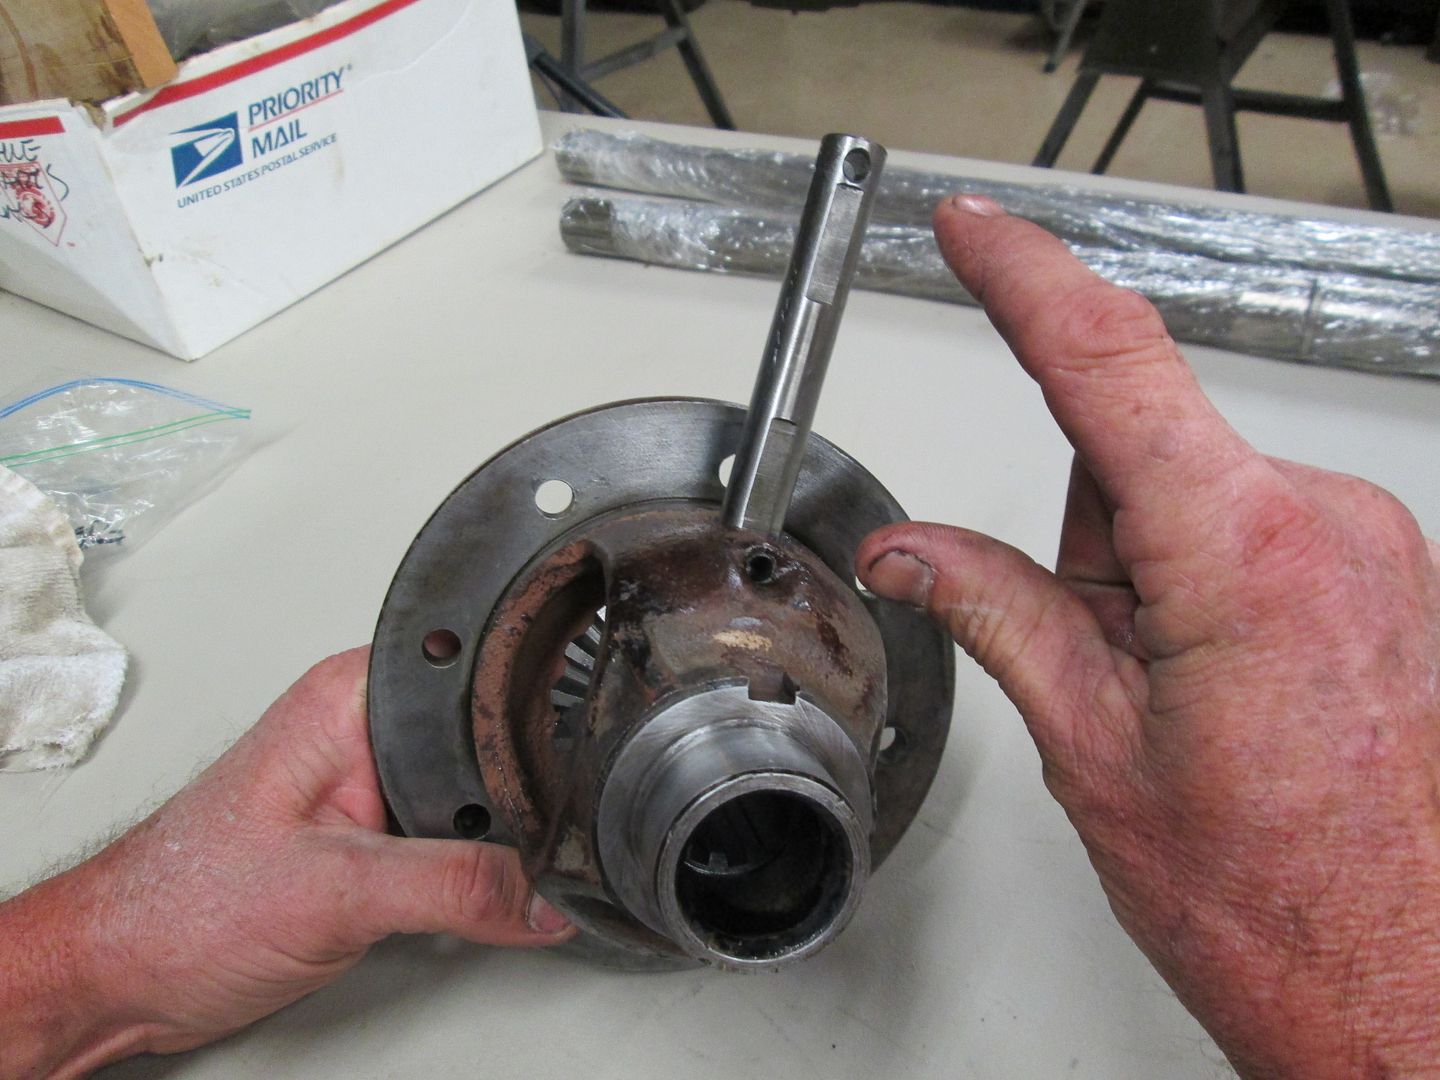 Once all the spider gears and washers are correctly in place, the pinion mate shaft slide right in. Then I insert the holding pin, Note the tapered end, and the direction it is inserted.  Drive the pin in with a punch 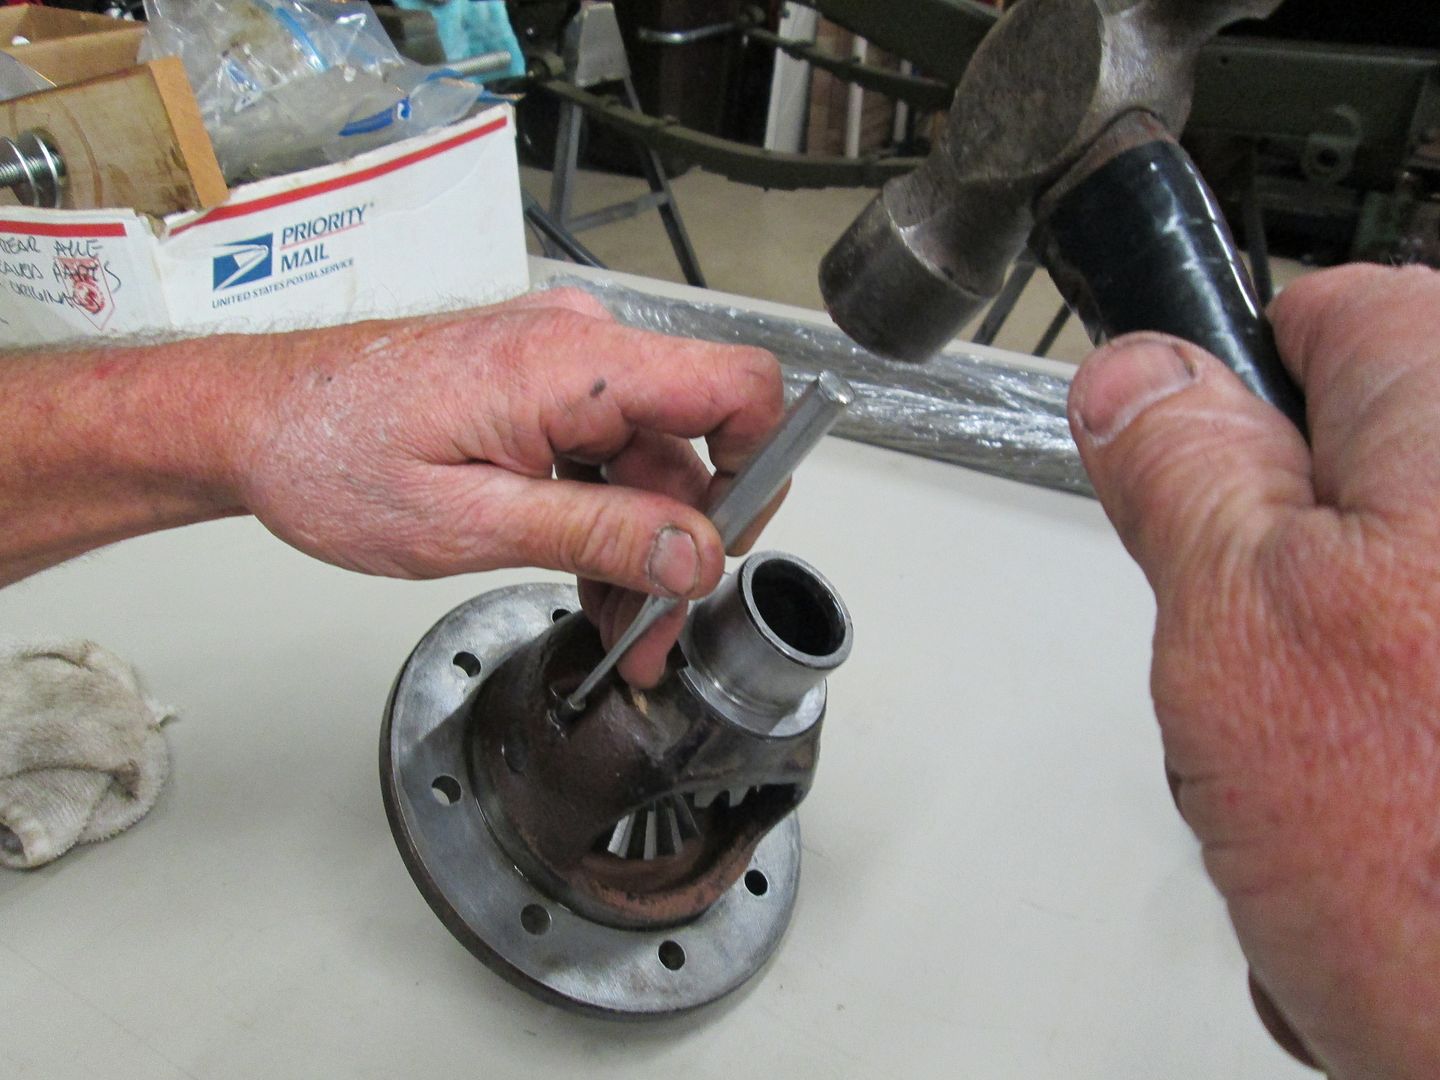 Once the spider gears are in place they spin perfectly with very little effort. All has been lubed with assembly lube. 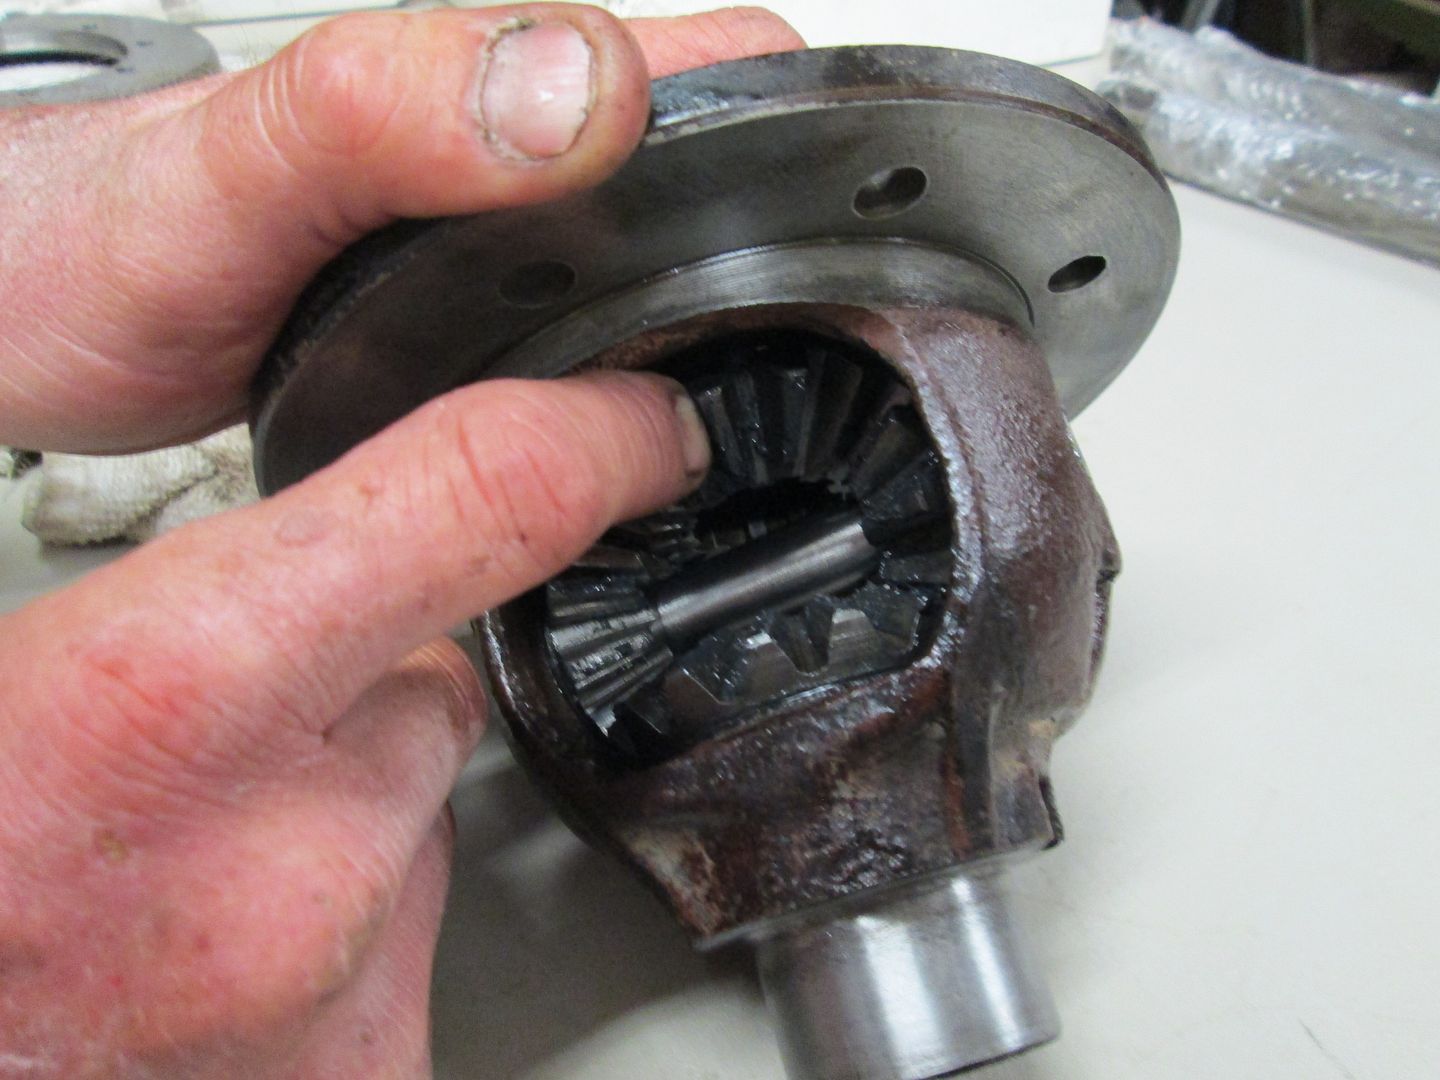 |
|
|
|
Post by Haines Garage on Nov 24, 2013 22:34:25 GMT -5
Before I go any further with this thread. I was Pm'ed by a very good friend and most respected colleague of mine  He noticed a discrepancy in this thread. The pinion seal on this axle was installed backwards.   ...There is another one...look harder. From the beginning, this thread was not supposed to be a tutorial, but a "lets help each other out" kind of thing. Point is...Nobody knows all there is to know. That is a precept of this club.....Helping each other out with Jeep Stuff. I even pointed out a "bad" on purpose. Look for it...Pay attention. I hope I didn't cause any problems with those reading my thread  Ineractive, and hands on....Thats how we all learn... This axle will get done right, with the help of others...I AM NO JEEP EXPERT! I have much to learn, and miles to go ...Glad I have members here to converse with  |
|
|
|
Post by athawk11 on Nov 25, 2013 20:30:20 GMT -5
I just figured you were being a smart a$$.  I know what you're thinking...."Hey, I'll install the seal backwards just to see if the folks are paying attention." Just like the Haines Garage Shop Time videos you're working on. By the way, when is the next installment of those? Tim |
|
|
|
Post by Haines Garage on Nov 25, 2013 20:59:53 GMT -5
I am ass-uming you already saw the one on the 41 build?.
I used to have a karate instructor whom would purposely do things wrong, just to see if people were paying attention, or just following routine. Or trying to simply mimic, without thinking about what they were being shown.
I will be most upfront here in asking for input from others.
And I will say it one more time for the record.
I am no Flat Fender Expert.
I am trying to share my experiences in rebuilding my most prized possession.
It has more sentimental value to me than I could ever explain.
We all need help understanding and learning what we don't really know fully.
As Manley men that we are, I feel it is in our nature to think we can do it all.
I coined the phase a while back, about being a Jeep Band of Brothers.
Mostly because of my love for the HBO Series.
But that is really how I see this club...
Please contribute, don't feel that just because you are told or shown something that it is completely
correct.
And please any of you think that your opinion or thoughts don't count...
THEY DO!!!!
Off the Haines Garage Soapbox
Dana 25 is in hold for a few days. I am awating Shimmmmmms
If anyone has something to add here please do so.
|
|
|
|
Post by Haines Garage on Nov 26, 2013 16:44:59 GMT -5
No more Funny Biness  ;D ;D From here on out I will be most...well almost...how about this...As serious as I can be... ;D ;D ;D Again, comments and questions are most welcome!! 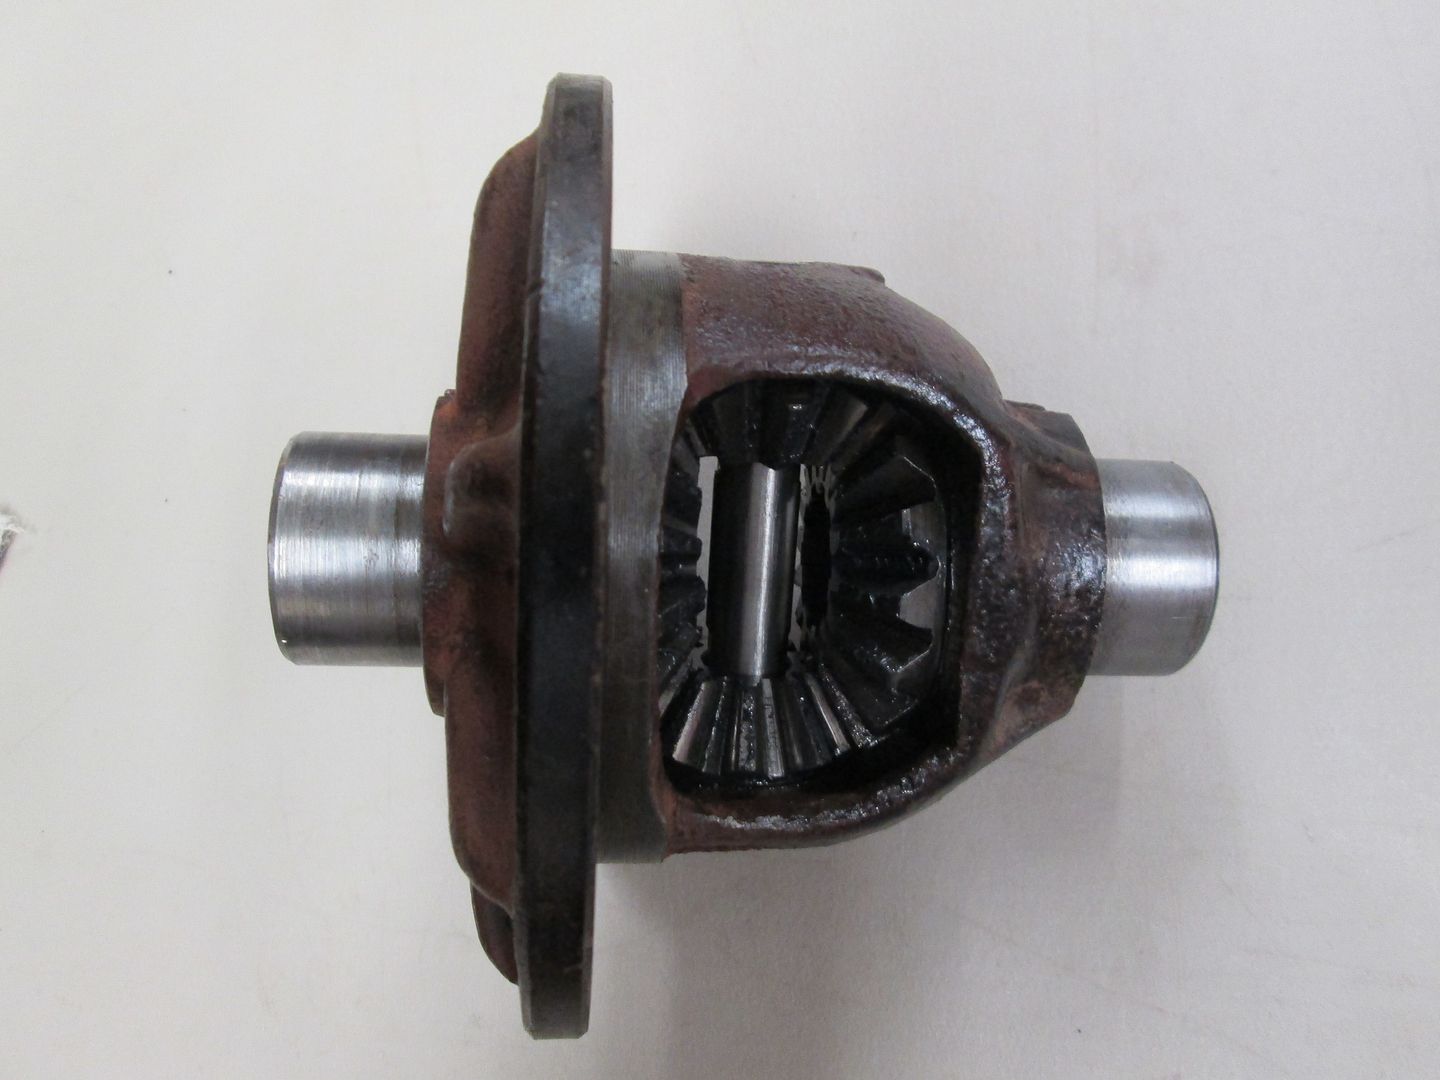 Differential with spider gears replaced. 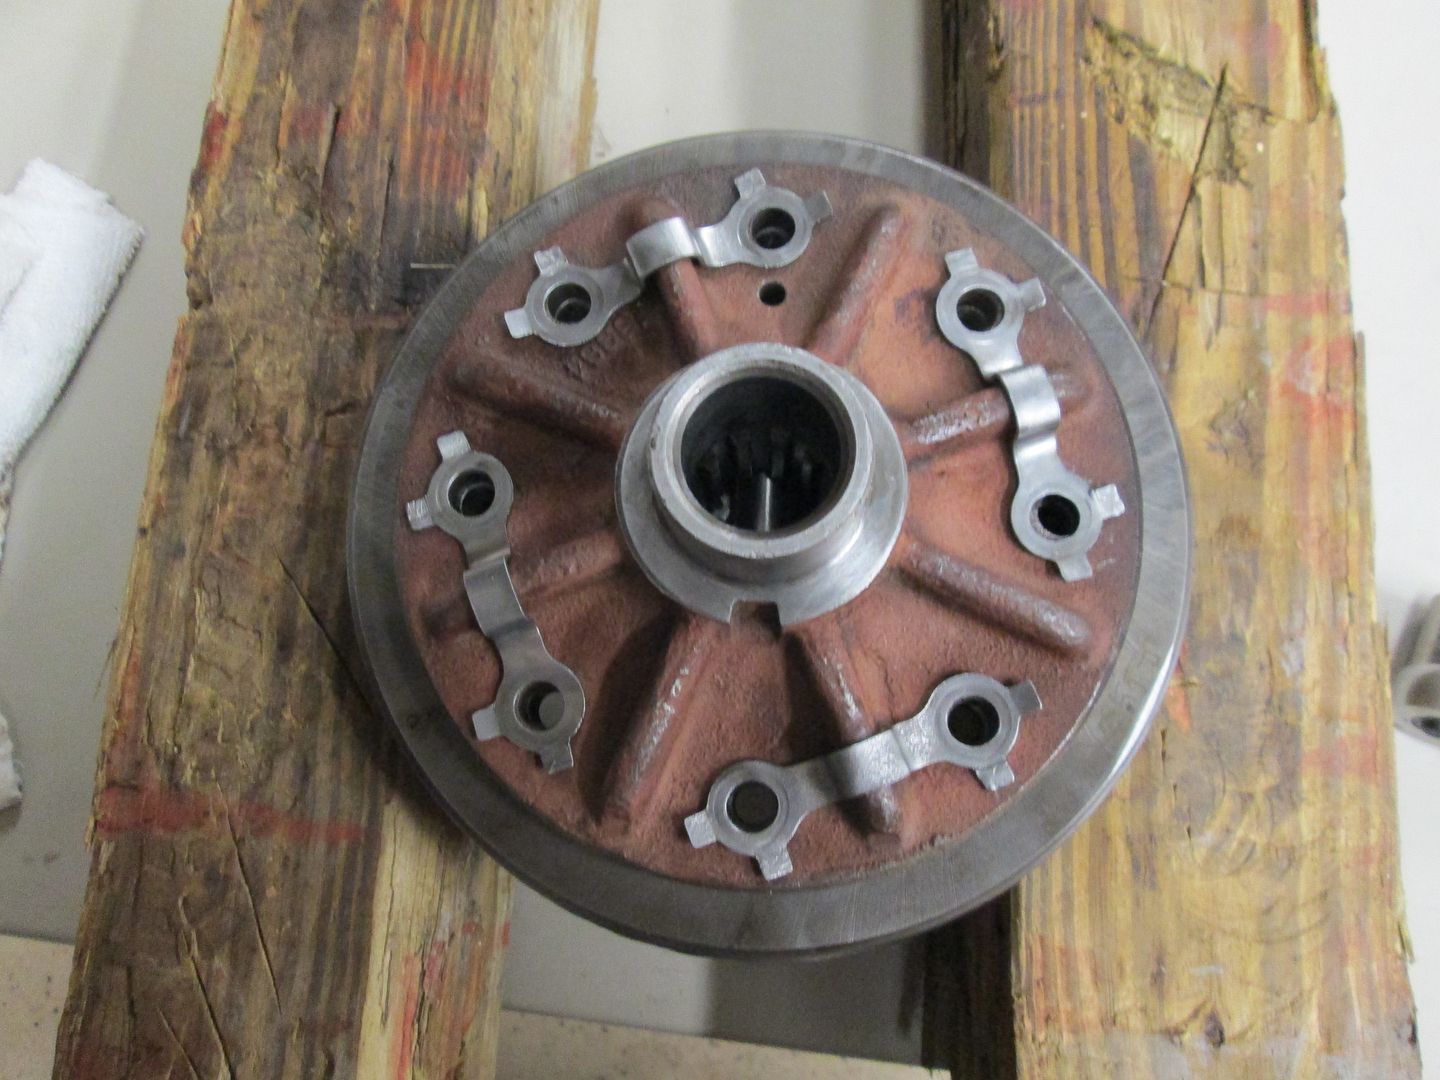 I carefully placed the cleaned ring back onto the differential. I used my 4x4 pounding blocks  as a means to raise the differential off the bench, and protect the teeth from being damaged. I placed the bolt straps into place. 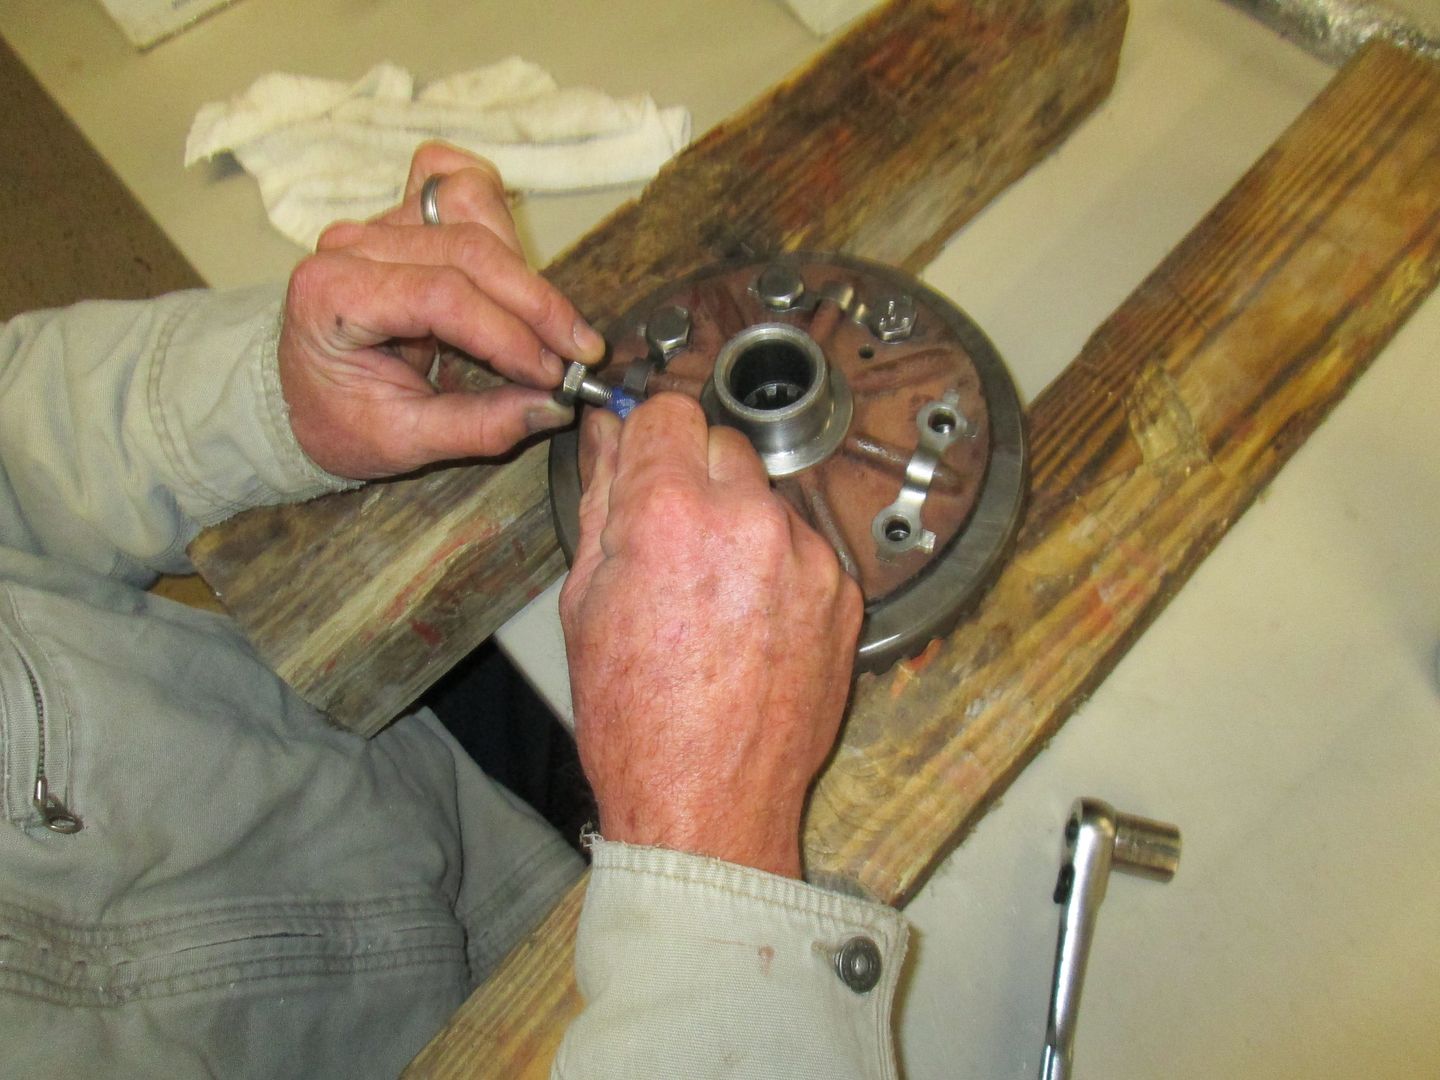 I apply Loctite to my cleaned original bolts. Even though I have my straps, as a precautionary measure. Installed finger tight for now.  I move the differential onto my bench vice. You can't see it in the photo, but I have a piece of rubber cupping the flat spot of the differential to protect it in the vice. I torque the bolts to 35 ft pounds, using a pattern like a clock 12 6 9 3....one at a time, across from each other. 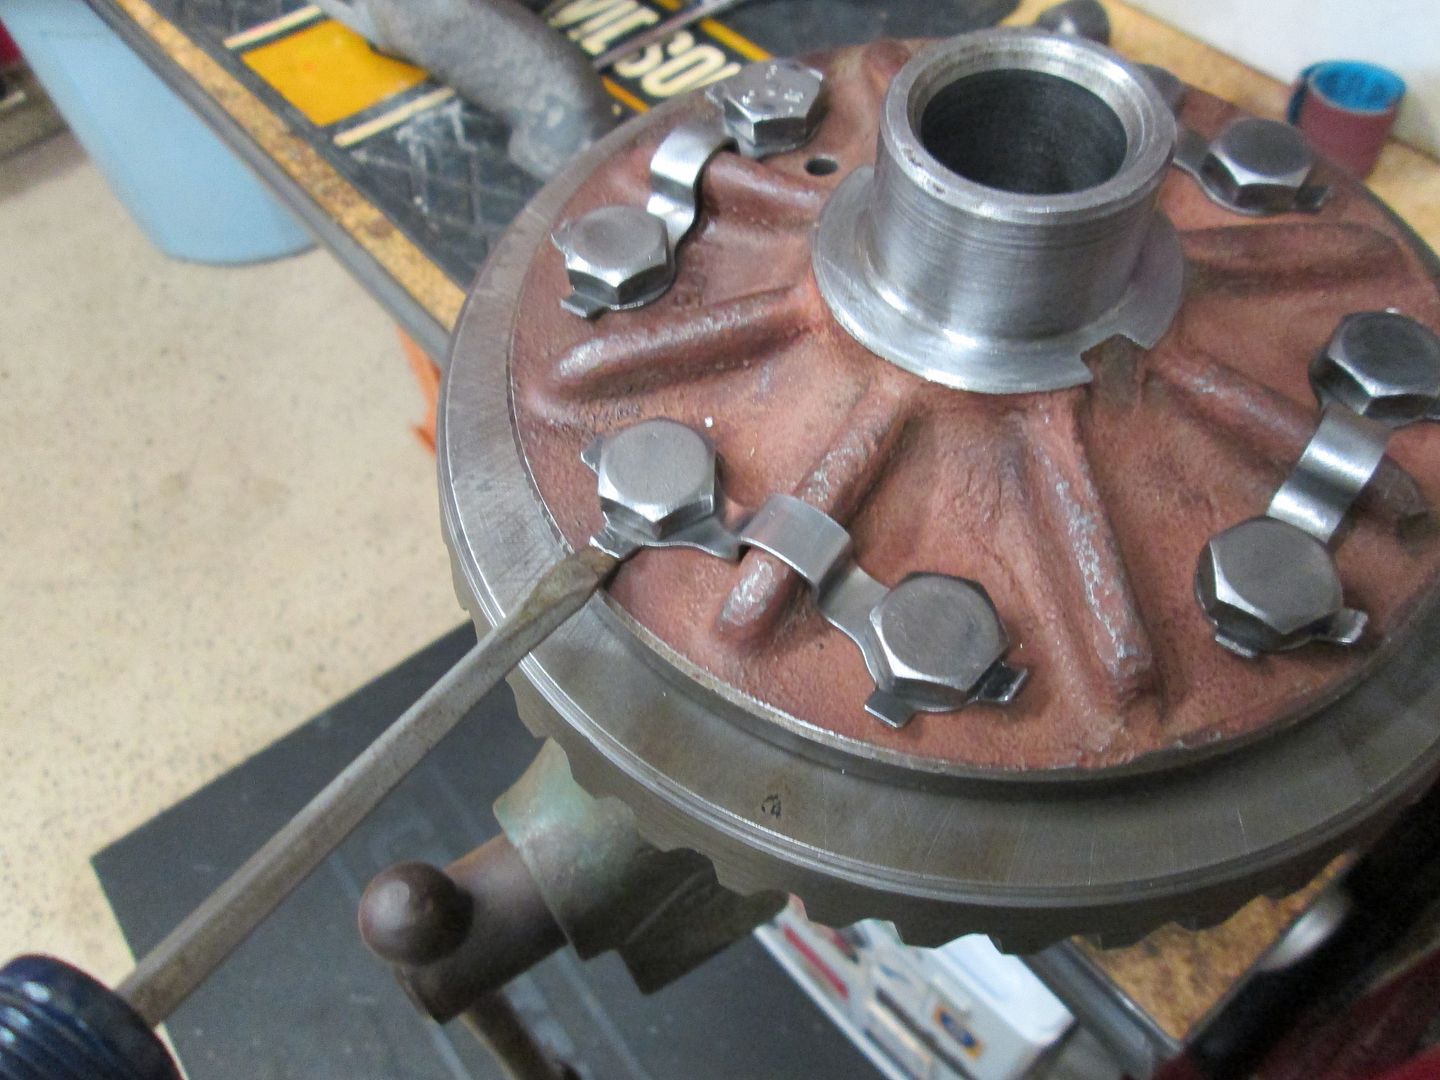 I RAISE, ONLY RAISE gently each ear on the locking straps..  Then tap them gently into place. I do the ones that don't quite line up on the bolt head as well. 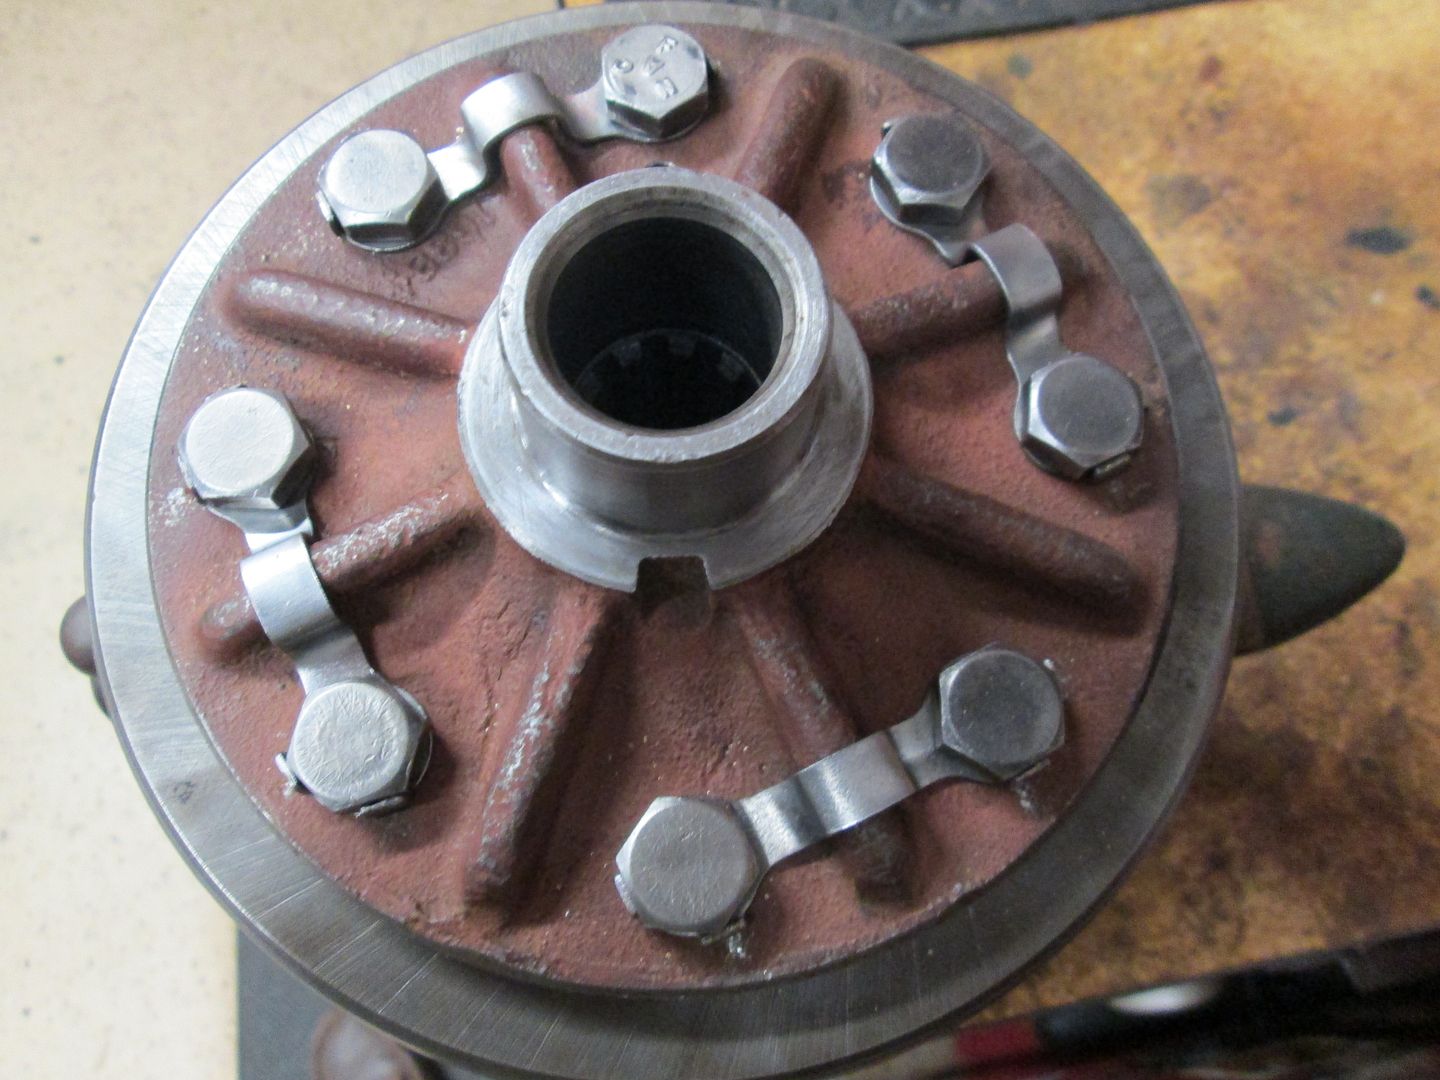 Straps installed...And ready to be put back into its home.. Now I need my new Shimmmmmsss   They are not here  |
|
|
|
Post by Haines Garage on Nov 29, 2013 23:48:33 GMT -5
New Pinion Seal installed....You have to go back to understand  Thanks Sir Hawkridge... 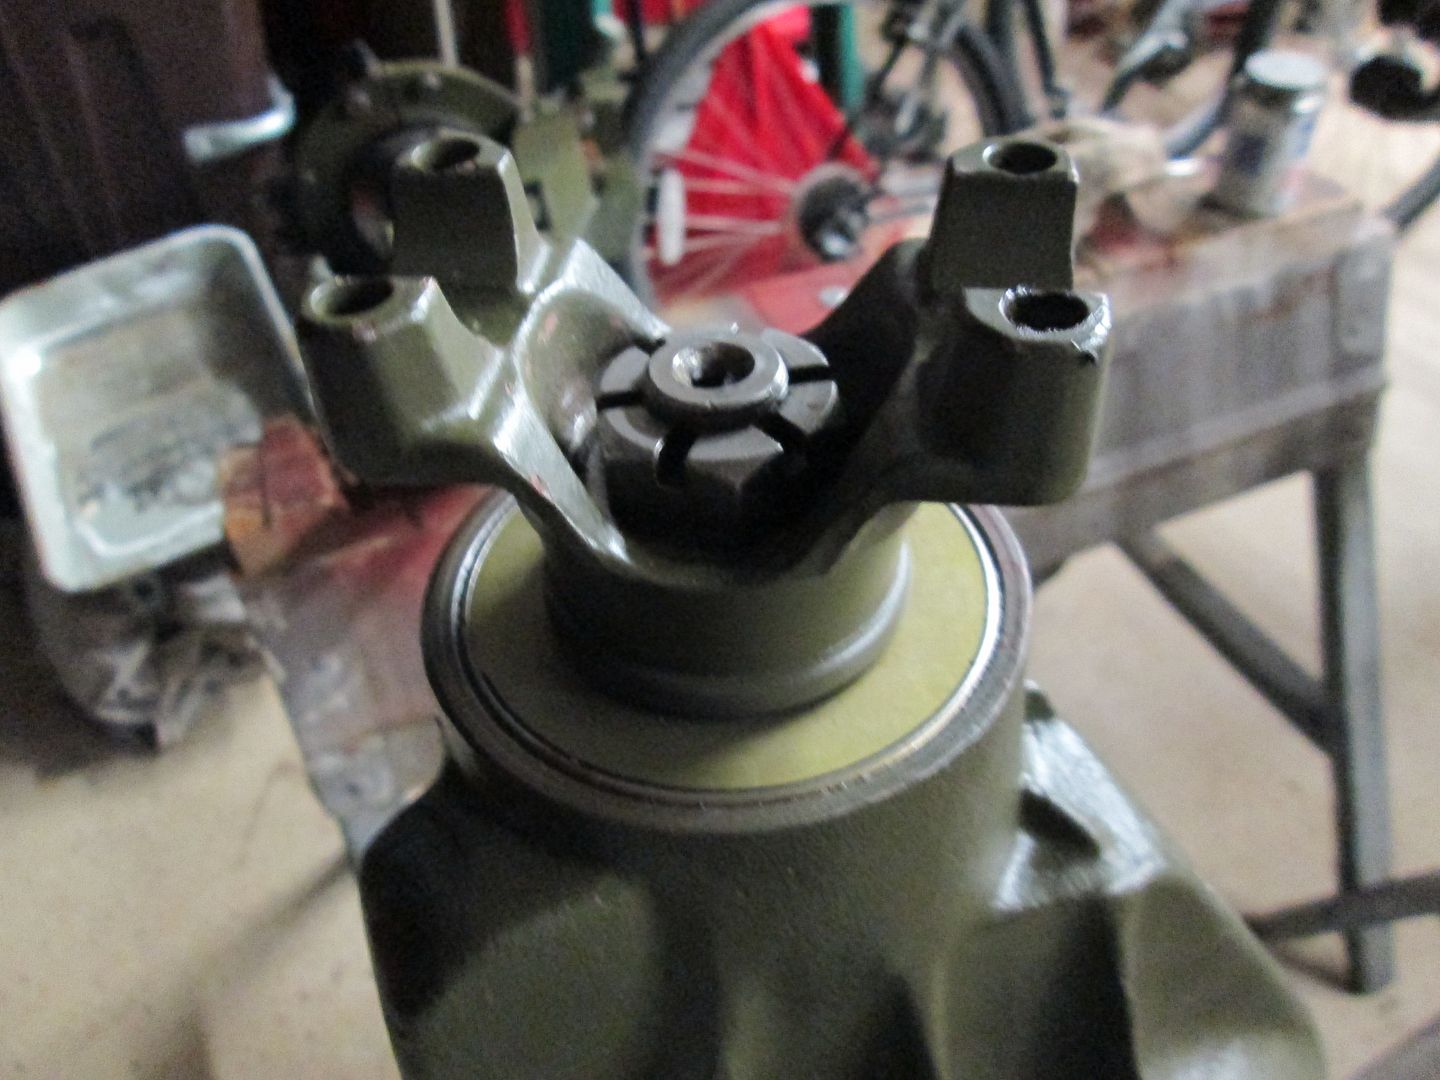 Flat side is facing out. Seals were purchased from Walcks, were it even states online how they face flat out. Must be a common mistake  Installed the Yoke.  Before I did, coated all the splines with an even coat of Permetex #2 Now comes the FUN....My Shiims came from Walcks Today. We measure (My Son and I  ) the broken shim found during break down, and replace with a new one of same thickness.. 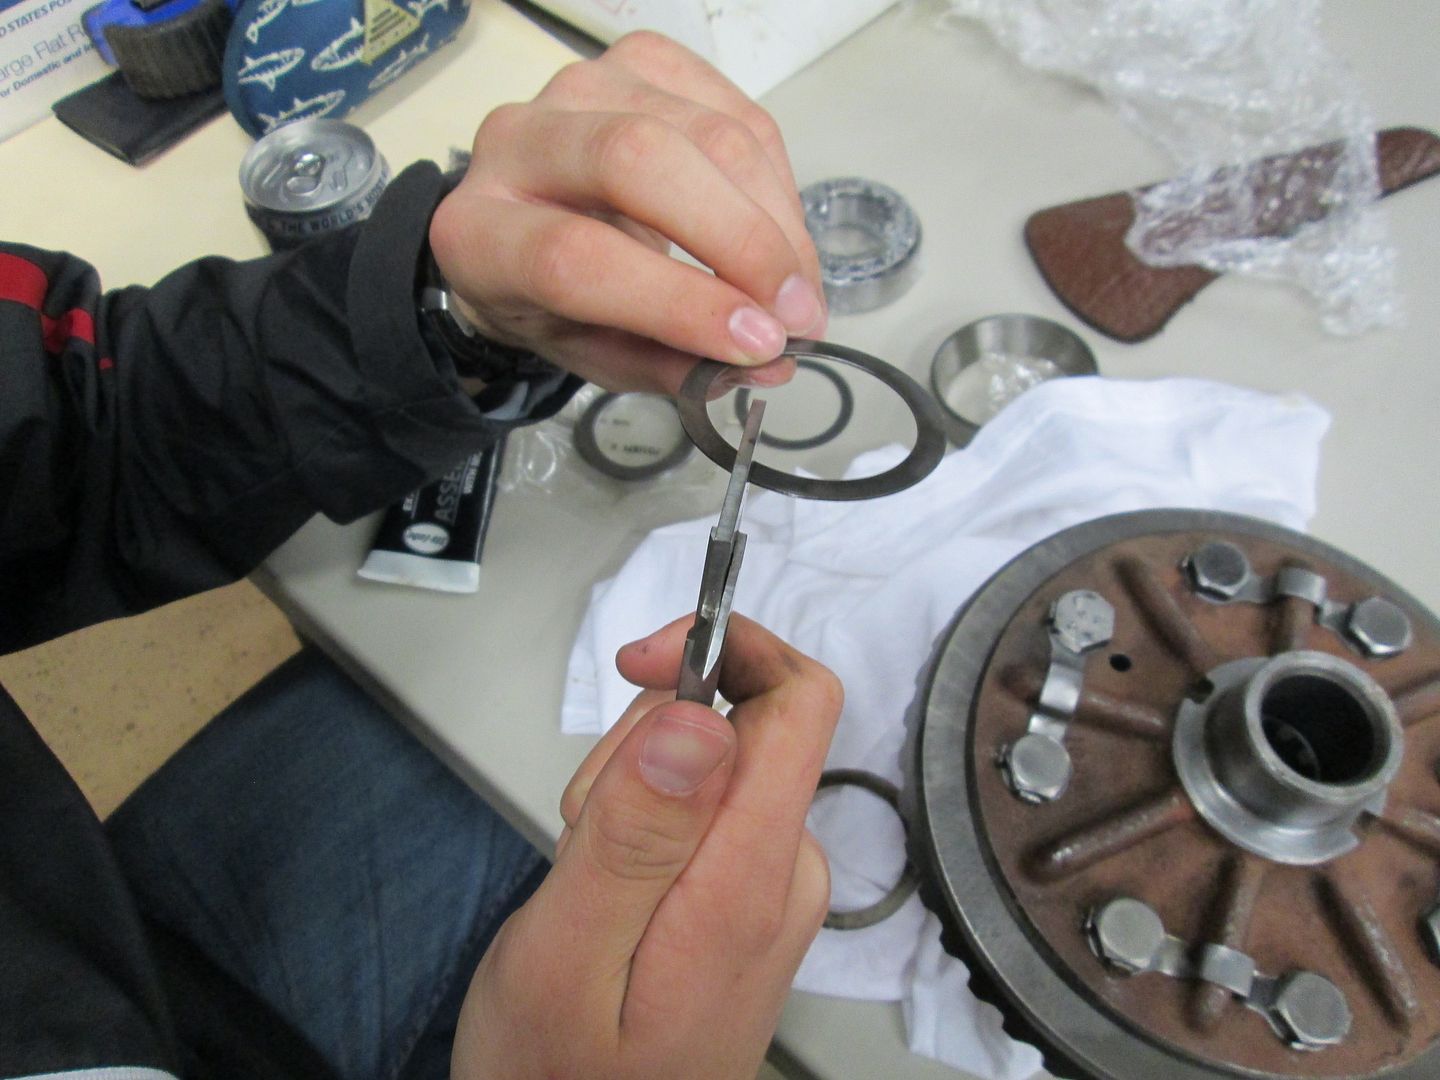 After new shim pack is installed, I LUBRICATE the new bearing, with a light oil, and tap it into place with a socket just as large as the inner bearing...DO NOT STRIKE THE CAGE PART OF THE BEARING! 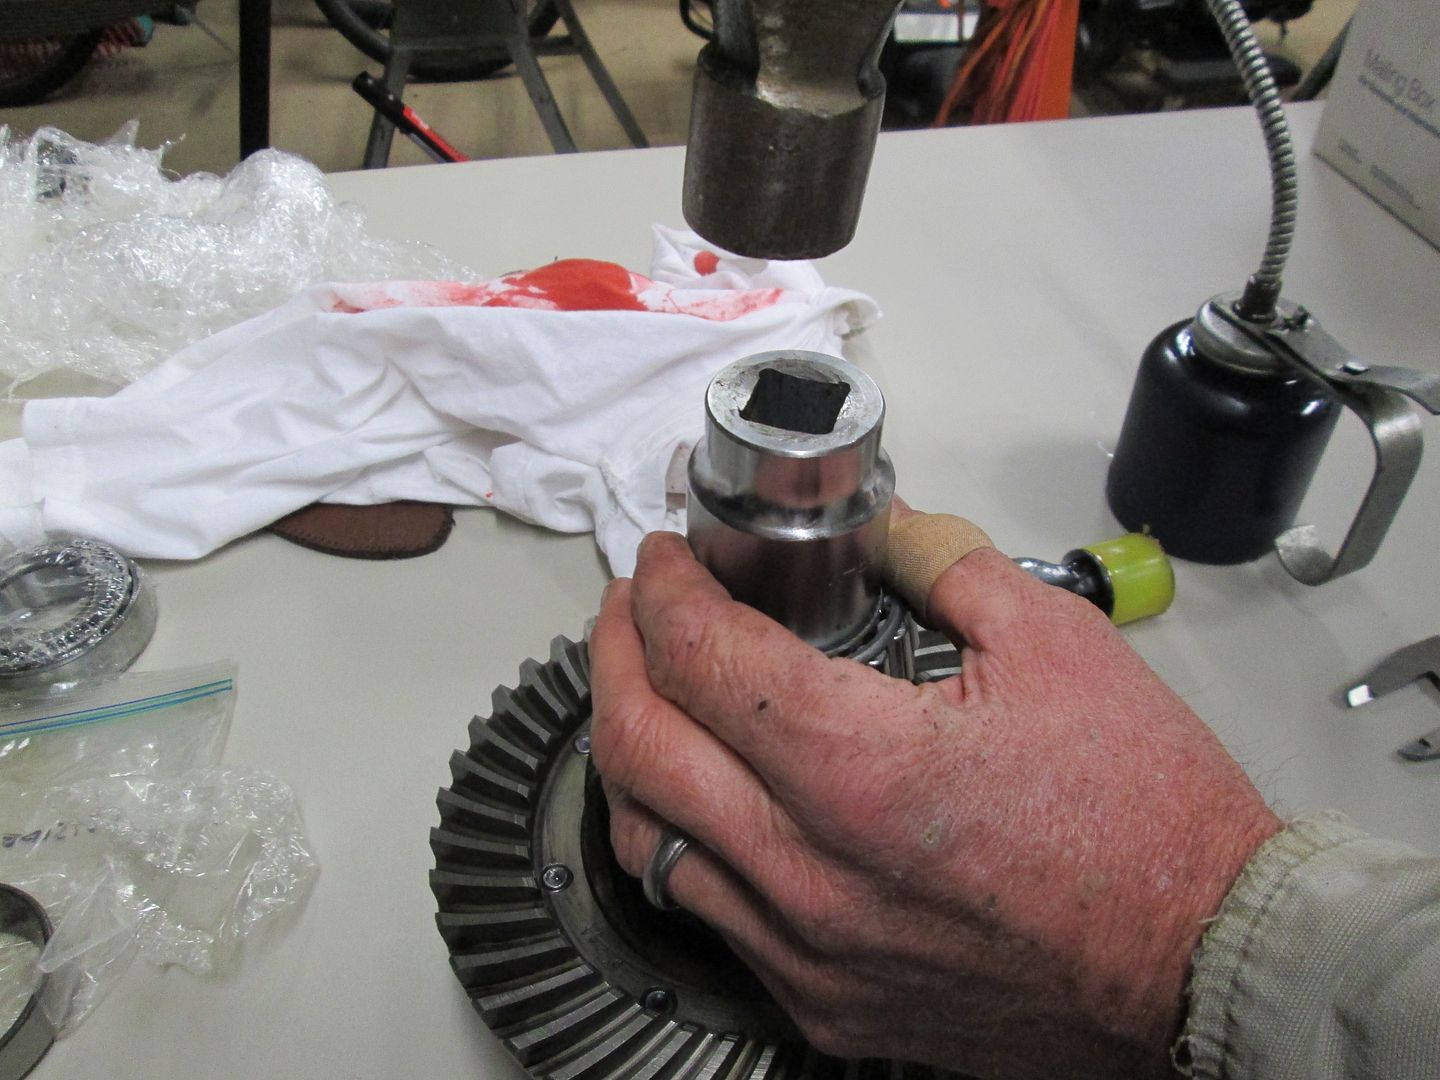 You will "Feel" it bottom out. A press is what should be used in this installation. [imghttp://i1362.photobucket.com/albums/r683/HainesGarage1946CJ2A/11292013040_zps32baa46d.jpg][/img] Scott II doing the opposite side   We lube the bearings and Races with Engine Assembly Lube, working it into the bearing, and Race. 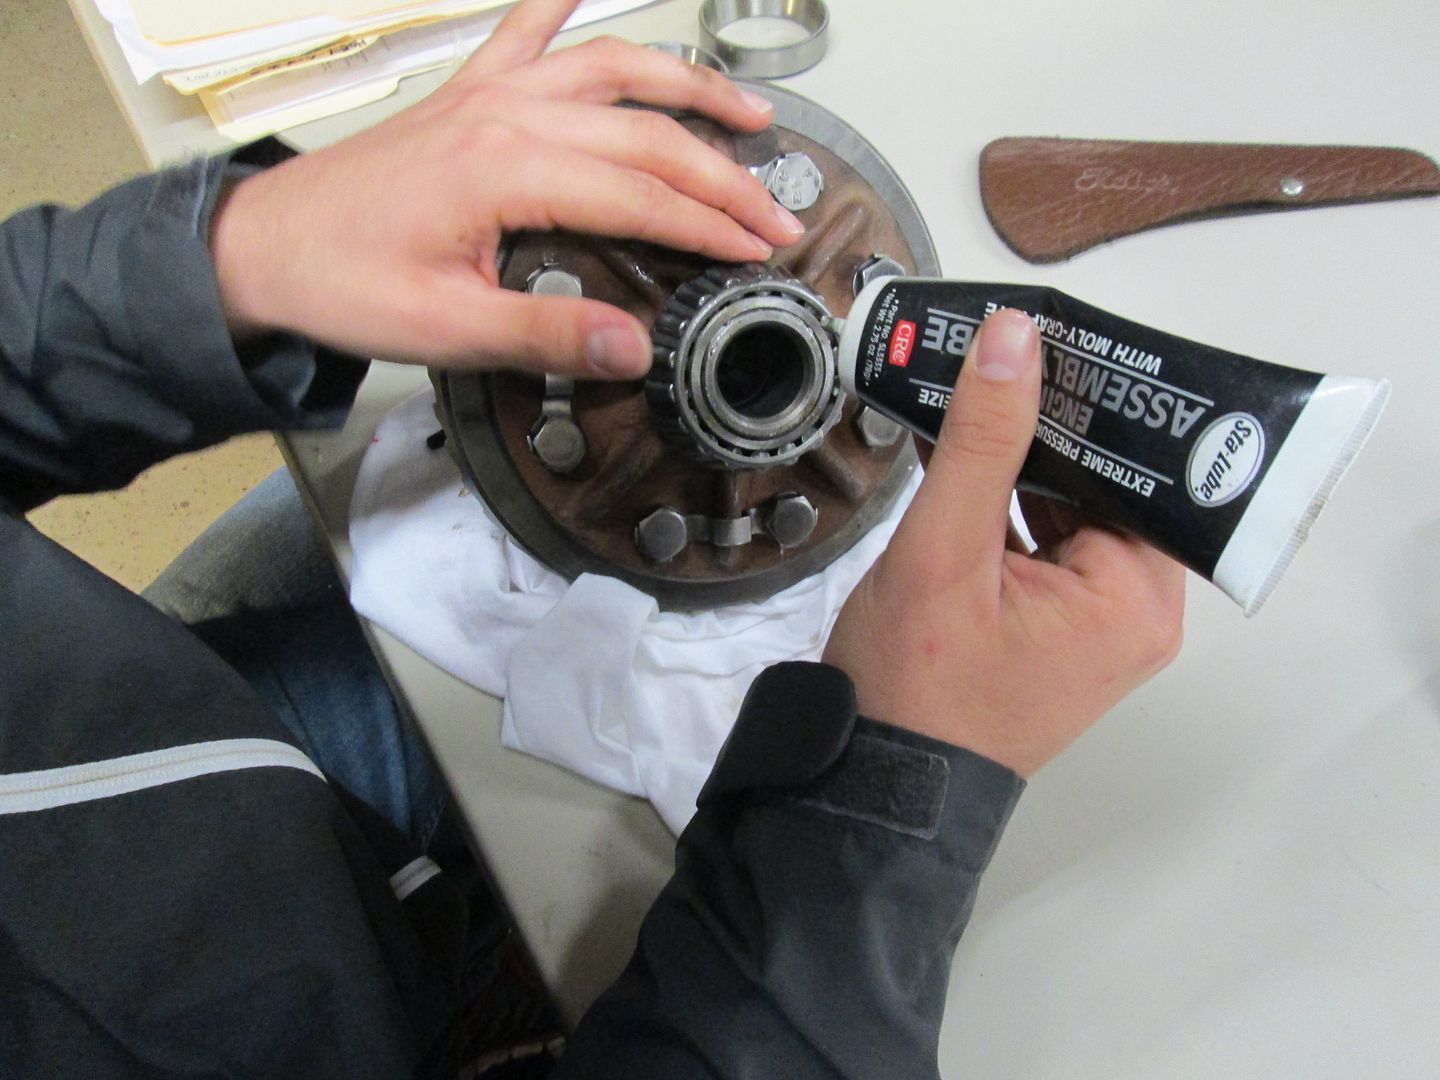 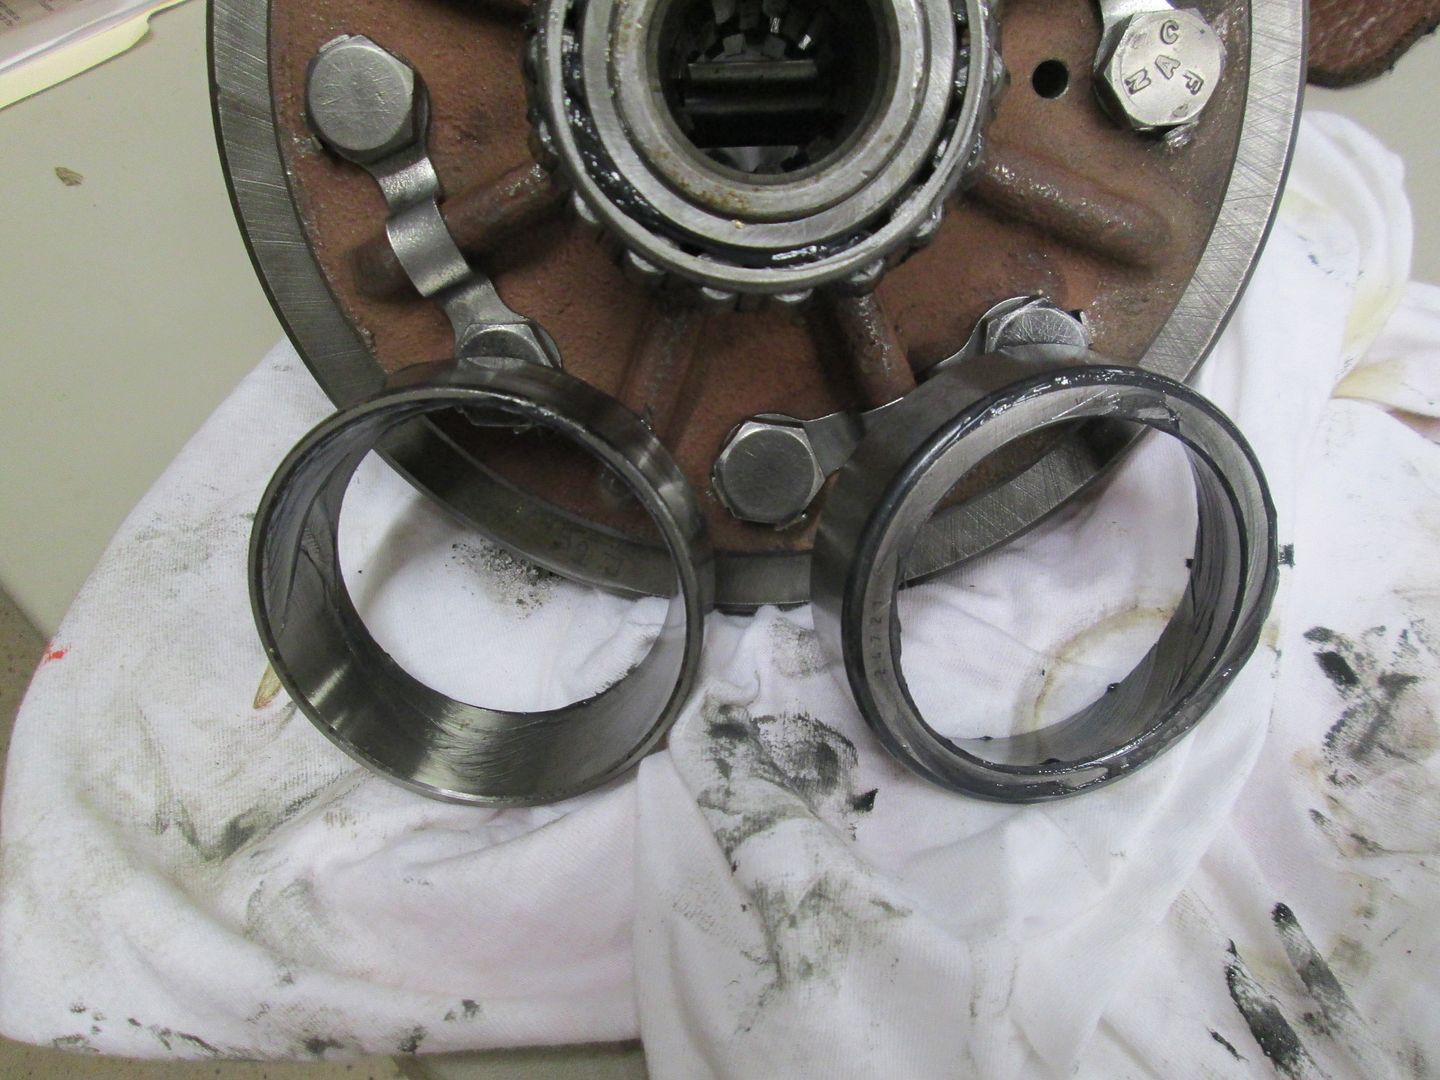 |
|
Deleted
Deleted Member
Posts: 0
|
Post by Deleted on Nov 30, 2013 10:47:26 GMT -5
For future reference, the spring side of the seal, typically goes on the oil side, on a Jeep anyway  Lee  |
|
|
|
Post by Haines Garage on Nov 30, 2013 15:25:37 GMT -5
We lubre up the inside of the housing. as well as the teeth on the pinion with engine assembly lube. Set the races (cups) on the carrier bearings. and set the differential into its place.  If Preload on the carriers is correct you should be able to tap the differential into place with a sand filled (dead blow) mallet. 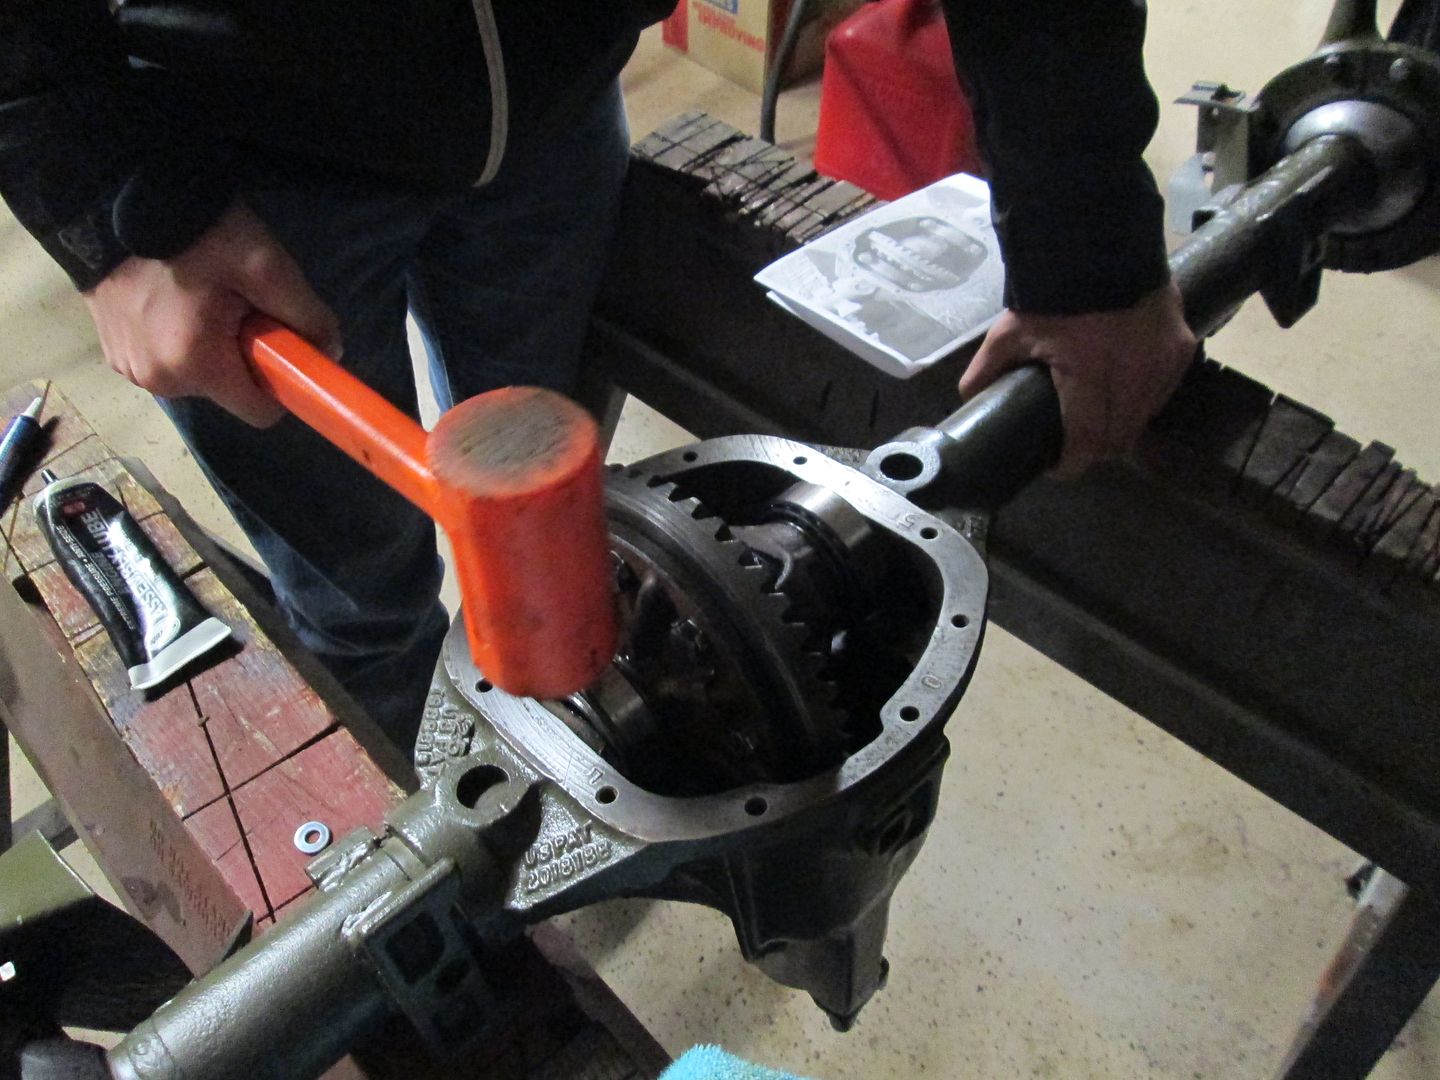 It went in snug.. ;D  and lined right up with the pinion. Next was to install the caps...everything is CLEAN! I took a photo of the orientation of the caps, and put them back in there EXACT loocation.  Set the lock washers into place and coat the bolts with Loctite, high strength. 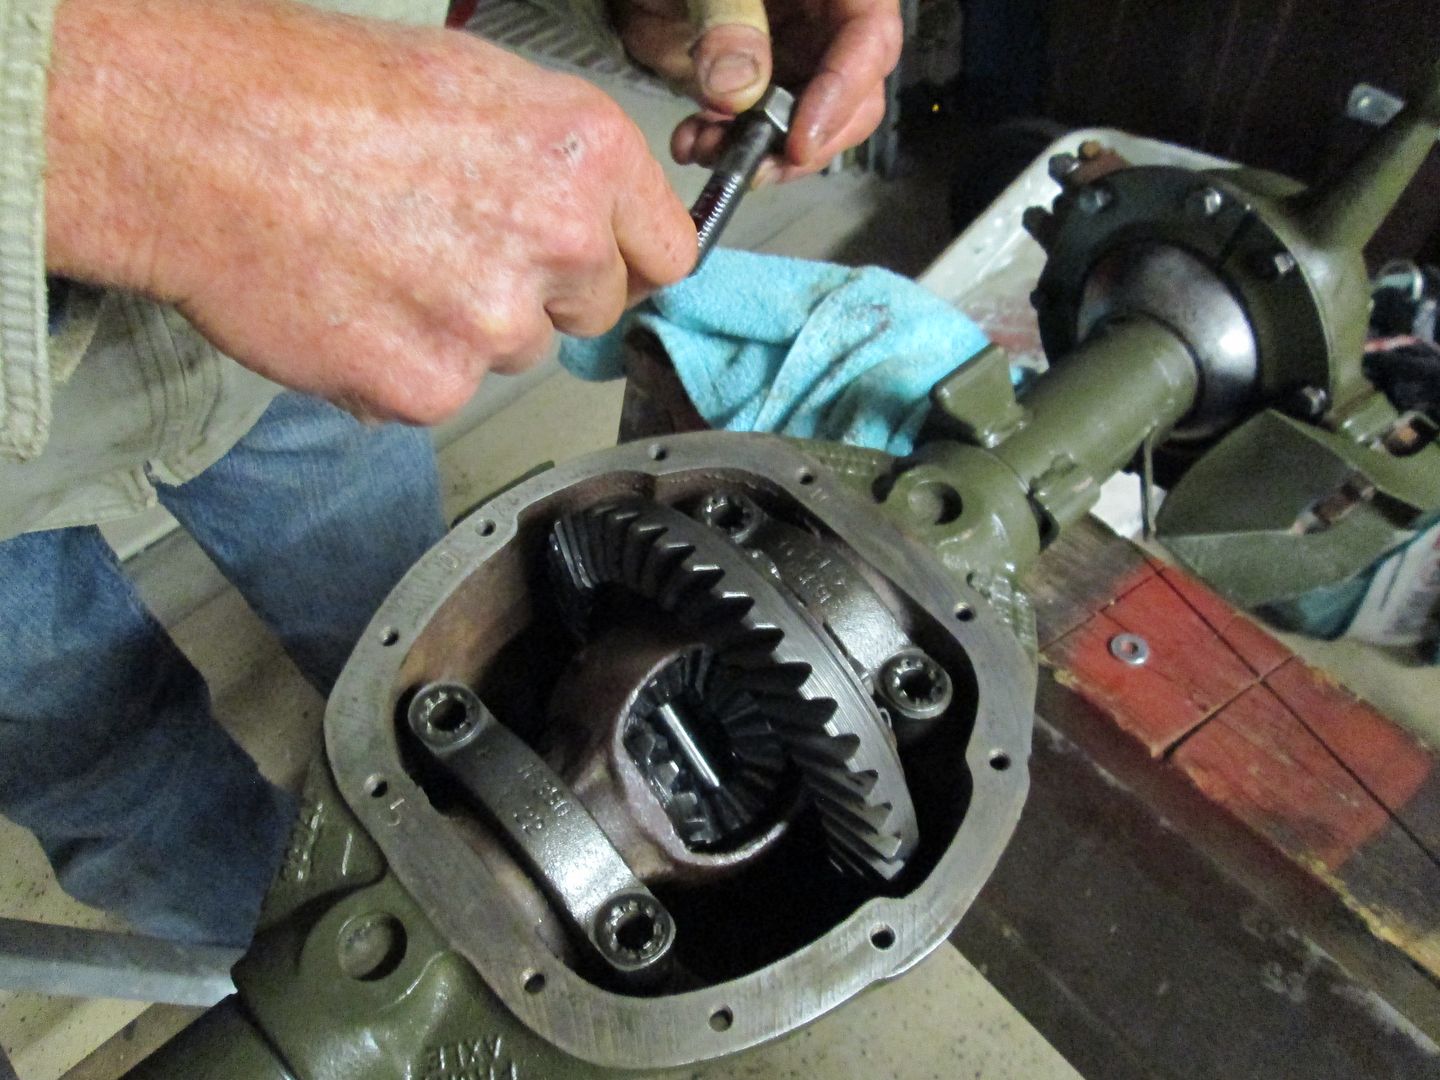 My Son operates the Torque Wrench, Bolts get set to 80 ft pounds.  Differential is installed....A shot of my photo for cap placement.  |
|
|
|
Post by athawk11 on Dec 1, 2013 10:19:58 GMT -5
Very nice work. It must be nice to have a helper!! By the way, what's with the hats and coats? Did it drop down to 70-75 degrees??   Does that feel cold to you guys??   ;D ;D ;D Try working on cold steel at below freezing. And until you do, take off the damn jackets and hats!! Man Up!!!!!!! Tell 'em Lee!! Tim |
|
|
|
Post by Haines Garage on Dec 1, 2013 22:44:11 GMT -5
Yes it is nice to have a helper. It was in the 30s that evening  I love my OCC Hat anyways ;D |
|
Deleted
Deleted Member
Posts: 0
|
Post by Deleted on Dec 2, 2013 21:20:47 GMT -5
TIM, LOL was thinking the same thing ;D, I wonder what they wear when it gets cold,,,,,down to 30 deg.  , look way overdressed for 10 deg., And I hope the gloves were cheap  , with the fingers cut off, must be some regional basket weaving gloves  . Okay time to move on ;D, why the locktite?. Lee  |
|
|
|
Post by Haines Garage on Dec 6, 2013 11:40:35 GMT -5
Sir Leemeister, Those are my Skull o ton gloves. Fingers missing for tiggers, bolts, nuts, whatever.. They have leaded knuckles as well ;D ;D ;D I used loctite on the ring bolts as a precaution. The rear (Dana 41) when I took it actually had a bolt that had worked its way out. There was a broken ear on the lock strap    . Back to Bi Ness Bubba!  Here is the spindle, the axle, brake back plate and the A marked original bolts. All are clean!!!  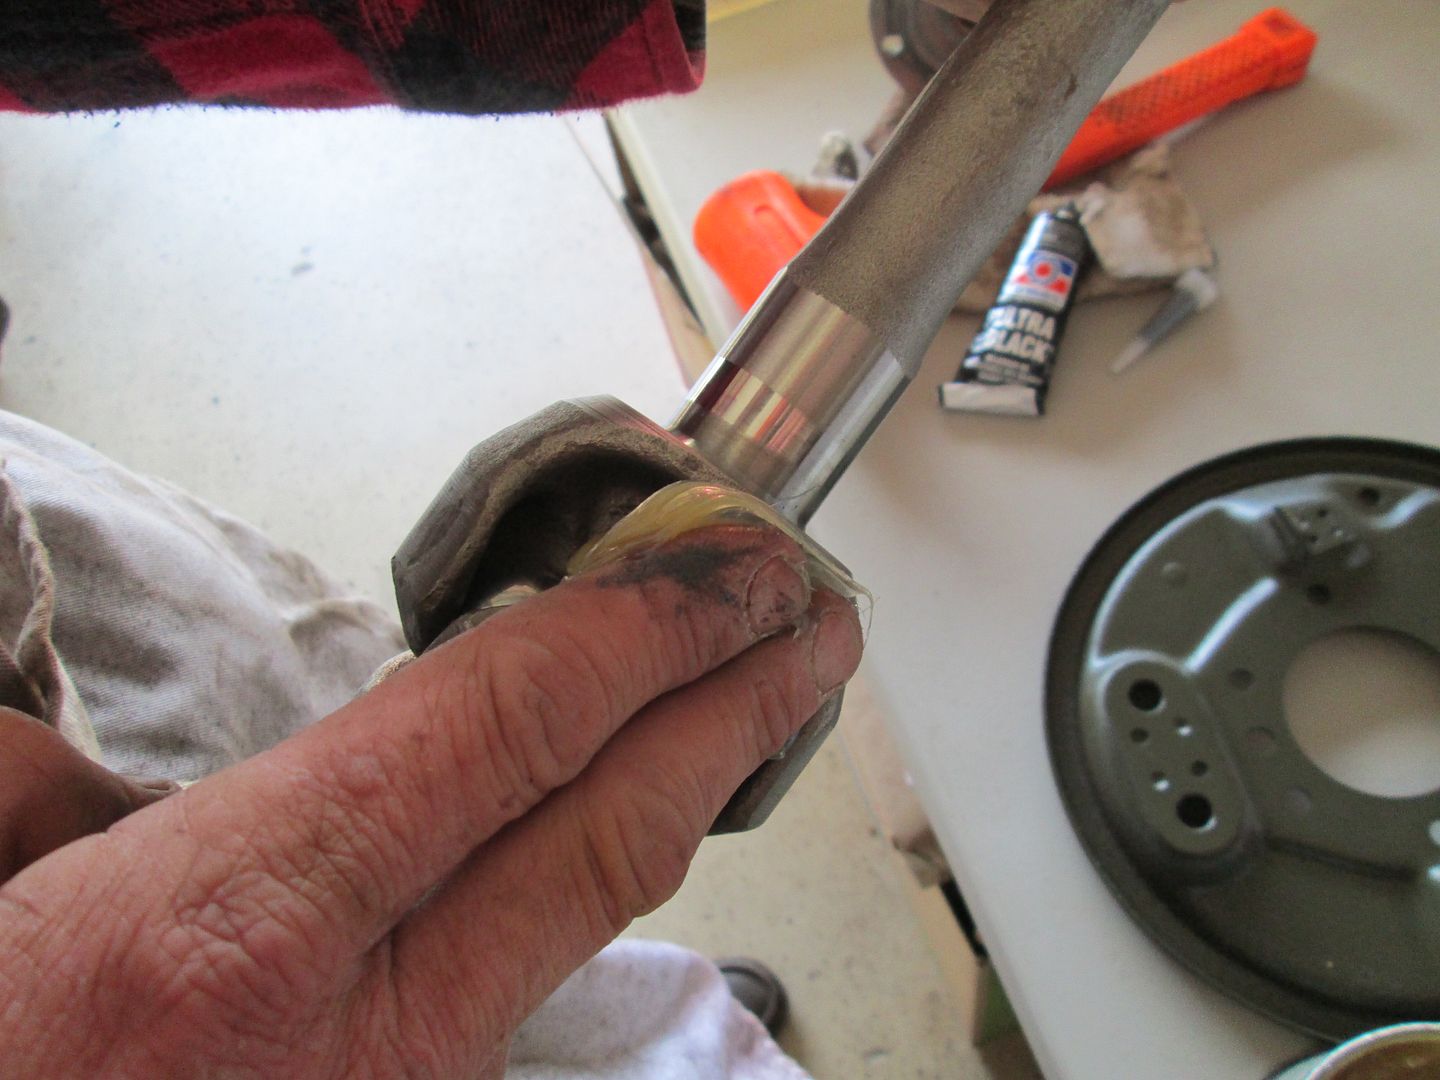 I lube up the knuckle on the axle with a glob of high temp grease I also lubed the inner seal lip, and a small amount smeared on the smooth parts of the axle, so no friction against the inner seal would happen when installing the axle. 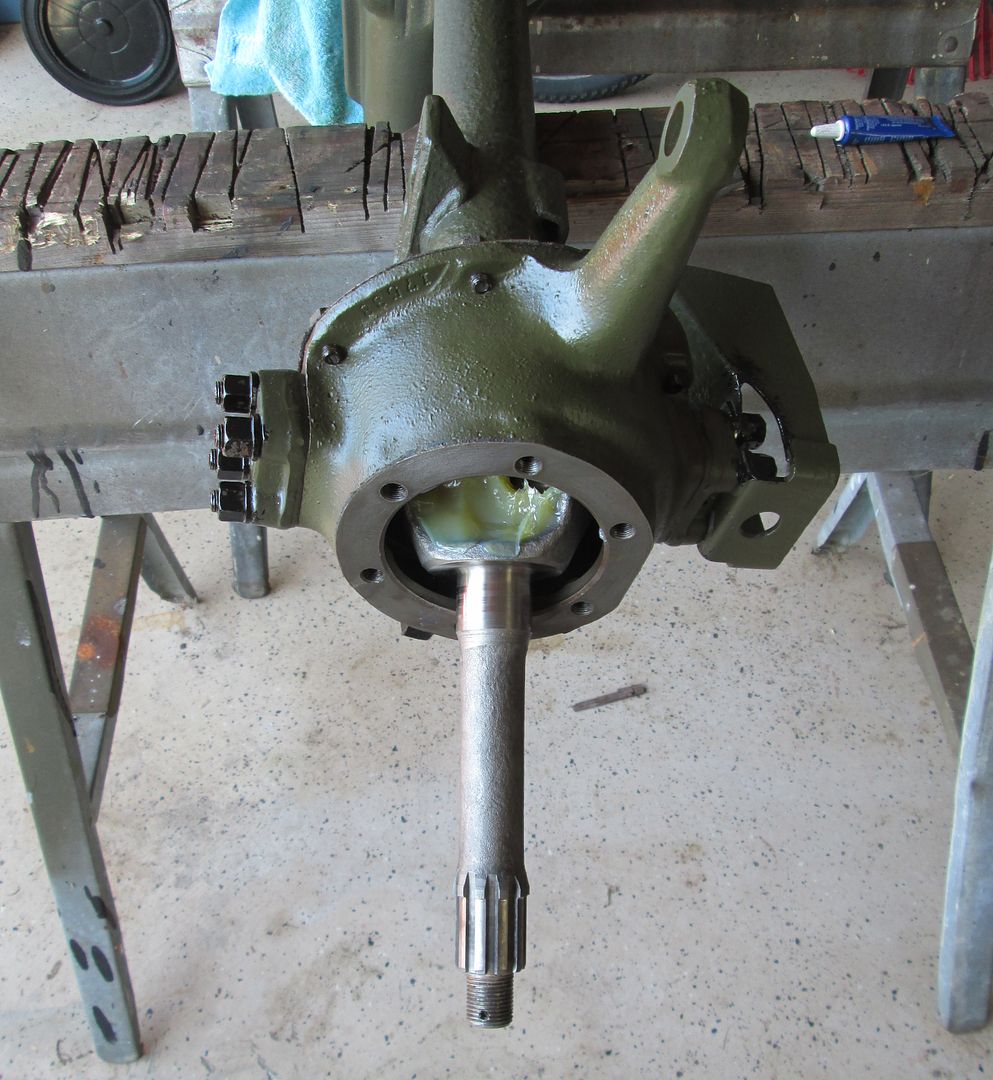 Axle installed carefully, it went in smooth.... 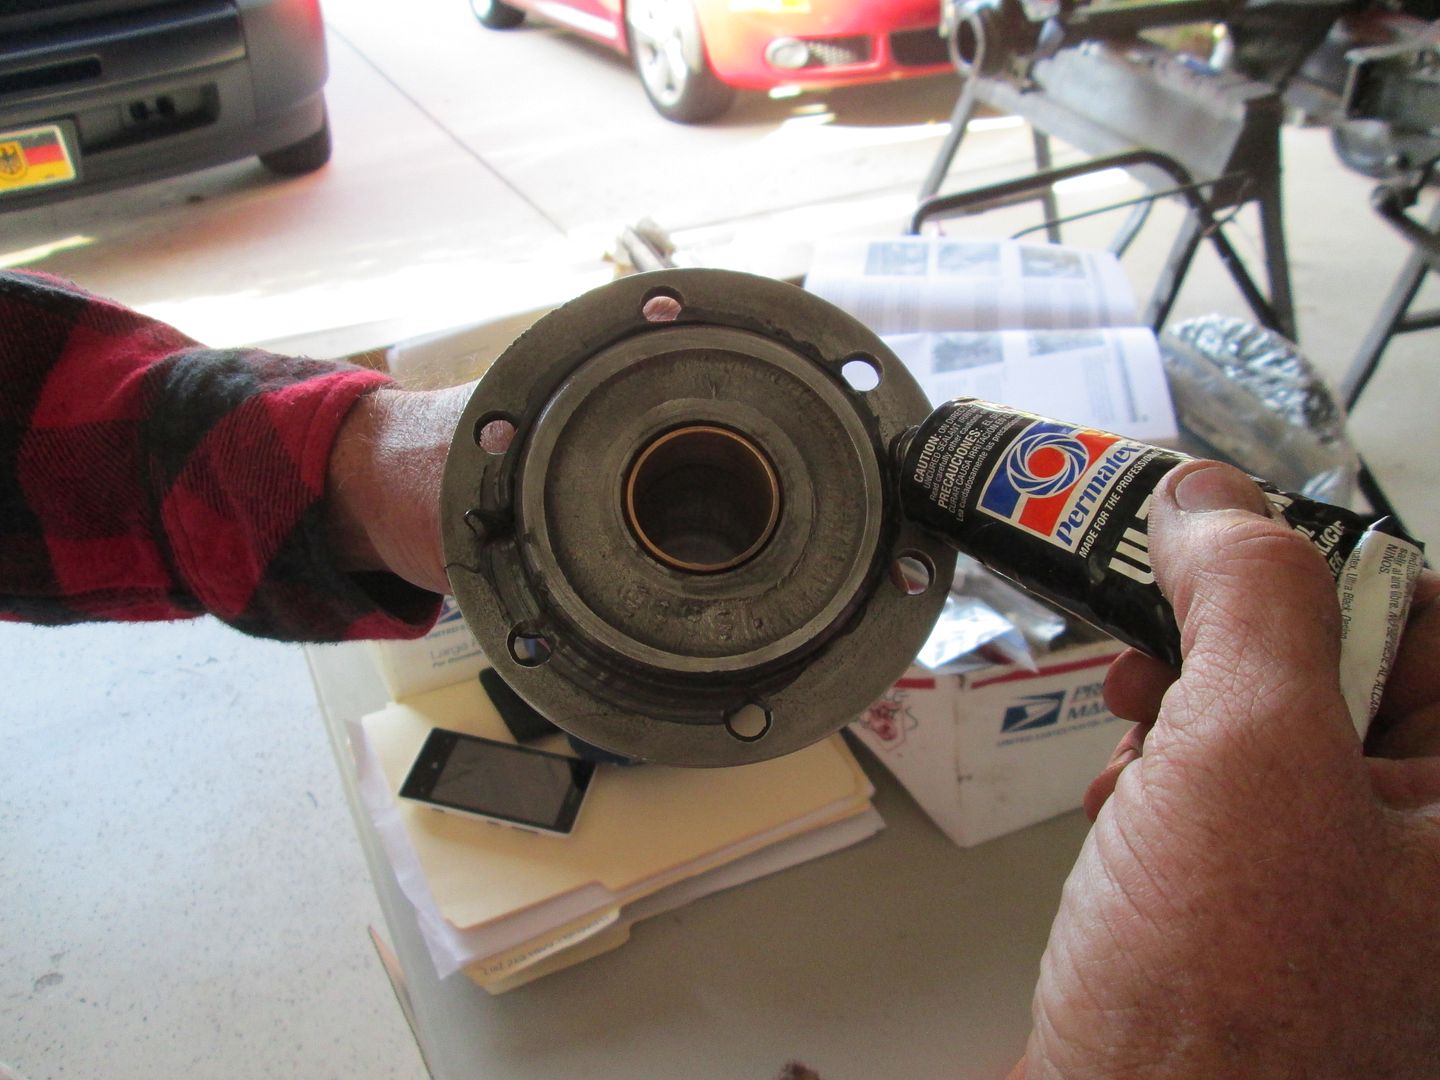 I used a small amout of Permetex RTV on the lip of the spindle. I tapped the spindle onto the Knuckle using a soft face mallet. Installed the Brake backer plate, and installed the bolts. I also used loctite on the bolts here.  Torque all bolts to 35 Ft pounds.  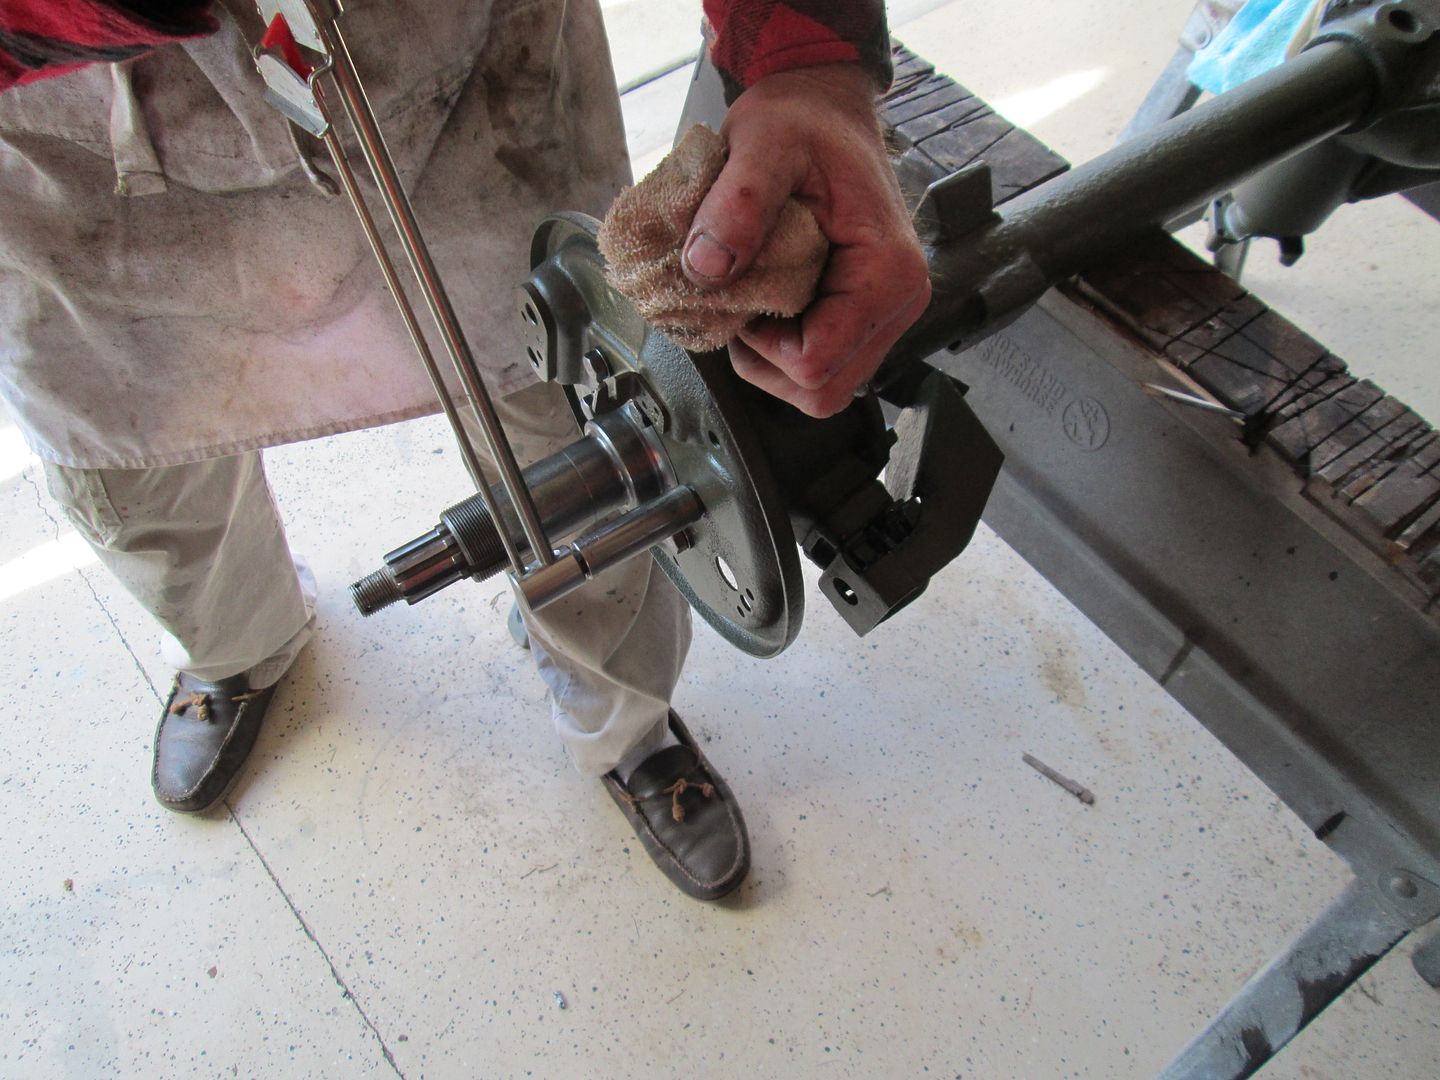 I repeat the same process on the opposite side. |
|
|
|
Post by athawk11 on Dec 6, 2013 12:52:01 GMT -5
Lookin very nice. When the backing plates are on, you're nearly at the end!
Will the axle be mounted next? Will the brakes be next? You got a teaser coming?
Tim
|
|
Deleted
Deleted Member
Posts: 0
|
Post by Deleted on Dec 8, 2013 17:07:18 GMT -5
gotta say it, your work suit is clean clean clean. mine looks like i murdered several vehicles with all the fluids all over it.
|
|
Deleted
Deleted Member
Posts: 0
|
Post by Deleted on Dec 8, 2013 19:15:08 GMT -5
Skull-o-ton gloves,,,,,,,,,,,,,,,,,,,,,,,what the He!!  , I had to do a Bing search, never heard of it!,,,,,,,,,,,,Target sells them,,,,,,thats why ;D, Hmmmmm, if you wear gloves to keep your fingers warm whats the point of cutting the fingers off  . I guess you have a pair of texting gloves as well, that's right, texting gloves  , unbelievable, one cannot wait until they are in a warm place to text!  ...........JPF ;D......Anyway, axel assembly looks great, by the way did you record all the numbers off the housings?, I think I read somewhere where they are date coded ;D. Lee ;D |
|
|
|
Post by Haines Garage on Dec 9, 2013 15:31:08 GMT -5
Sir Leemeister, They are "Dead On" work gloves....Bing that!!  ;D ;D ;D I call them Skull-o-ton Gloves because I am just Cool like that   .. Target??? Never heard of the joint.    I have numbers, and pics. Now lets take a look at the A marked bolts  I actually took some primer and brushed these, so they don' trust. Sir Hawkridge...I am going to do the rear axle next, and then a thread on mounting them, then brakes... Looking forward to all of your input. |
|
Deleted
Deleted Member
Posts: 0
|
Post by Deleted on Dec 9, 2013 21:18:12 GMT -5
Question for you on your primer, what are you using?, being a novice at best painter, from my understanding, to prevent rust one needs a primer sealer or epoxy primer as regular primer is for making the paint adhere to the bare metal    ?? Lee  |
|
|
|
Post by Haines Garage on Dec 10, 2013 15:51:56 GMT -5
I am using a Red Oxide Primer, and you are correct on what you said...I am going to paint the bolts.
|
|
|
|
Post by athawk11 on Dec 10, 2013 18:17:18 GMT -5
...I am going to paint the bolts. What? Paint? Say it ain't so! I guess original bolts will rust if untreated. You could talk Lew into teaching us all how he Zinc plates his stuff. Wha-da-ya say Lew? Tim |
|