|
|
Post by Haines Garage on Feb 7, 2014 12:47:13 GMT -5
This is part of what I would call the brake system, but I will make a separate thread for discussion. Clean out the inner and outer of the hub. 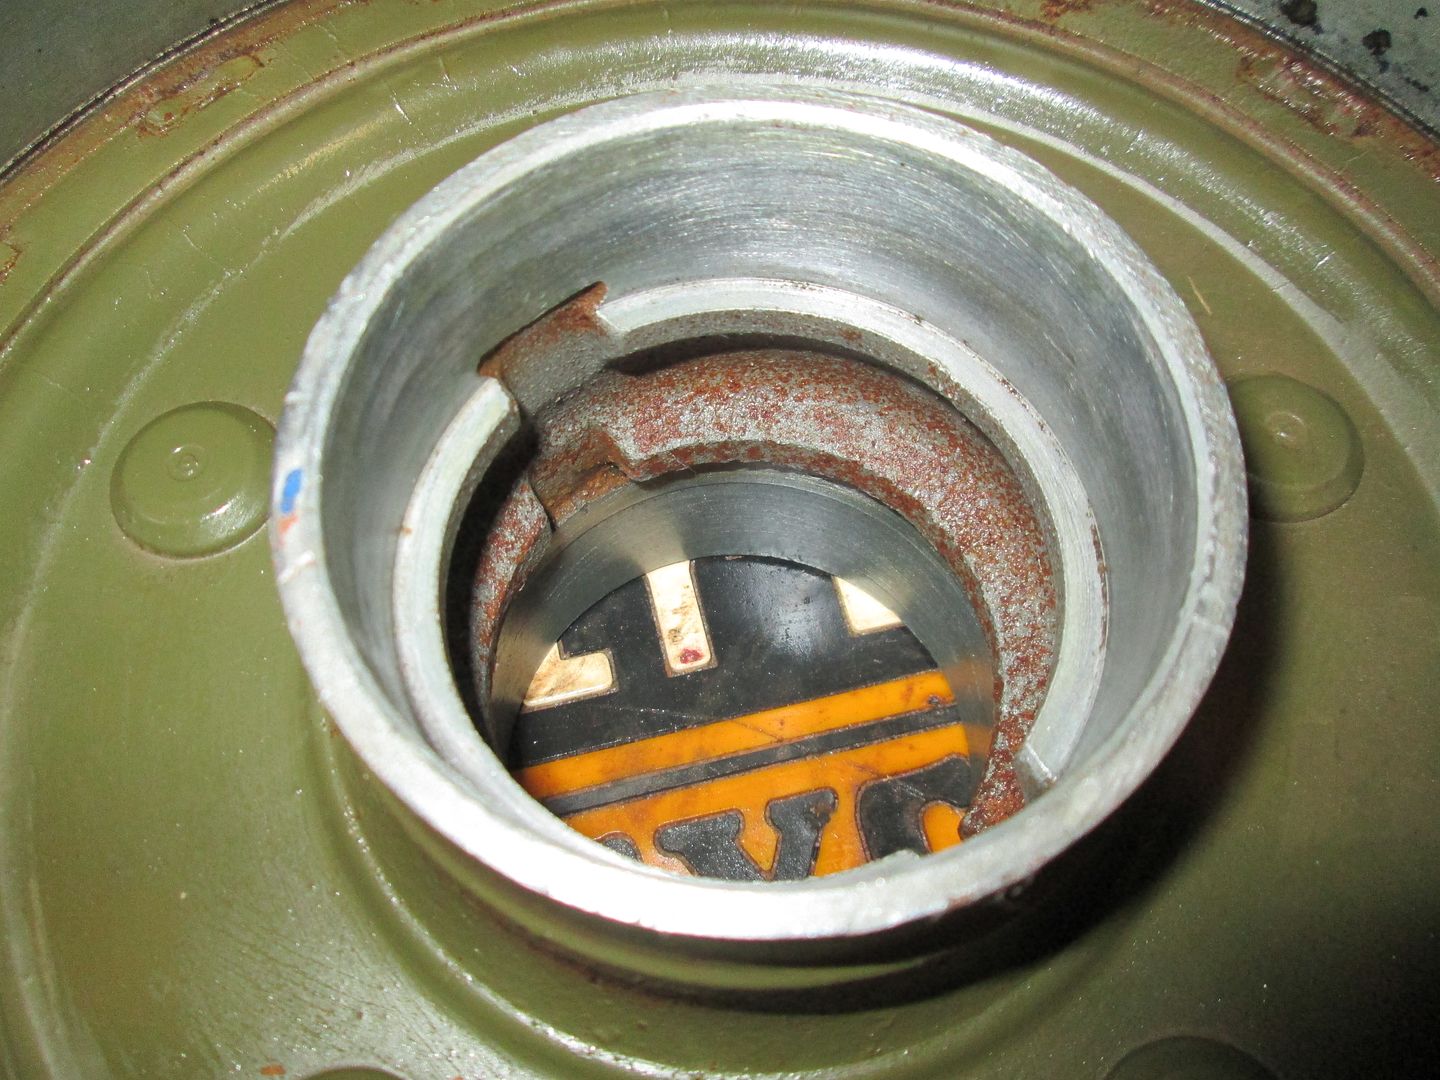 Install inner and outer Races (Cups) Timken USA... I used a brass drift, and tapped them into place. 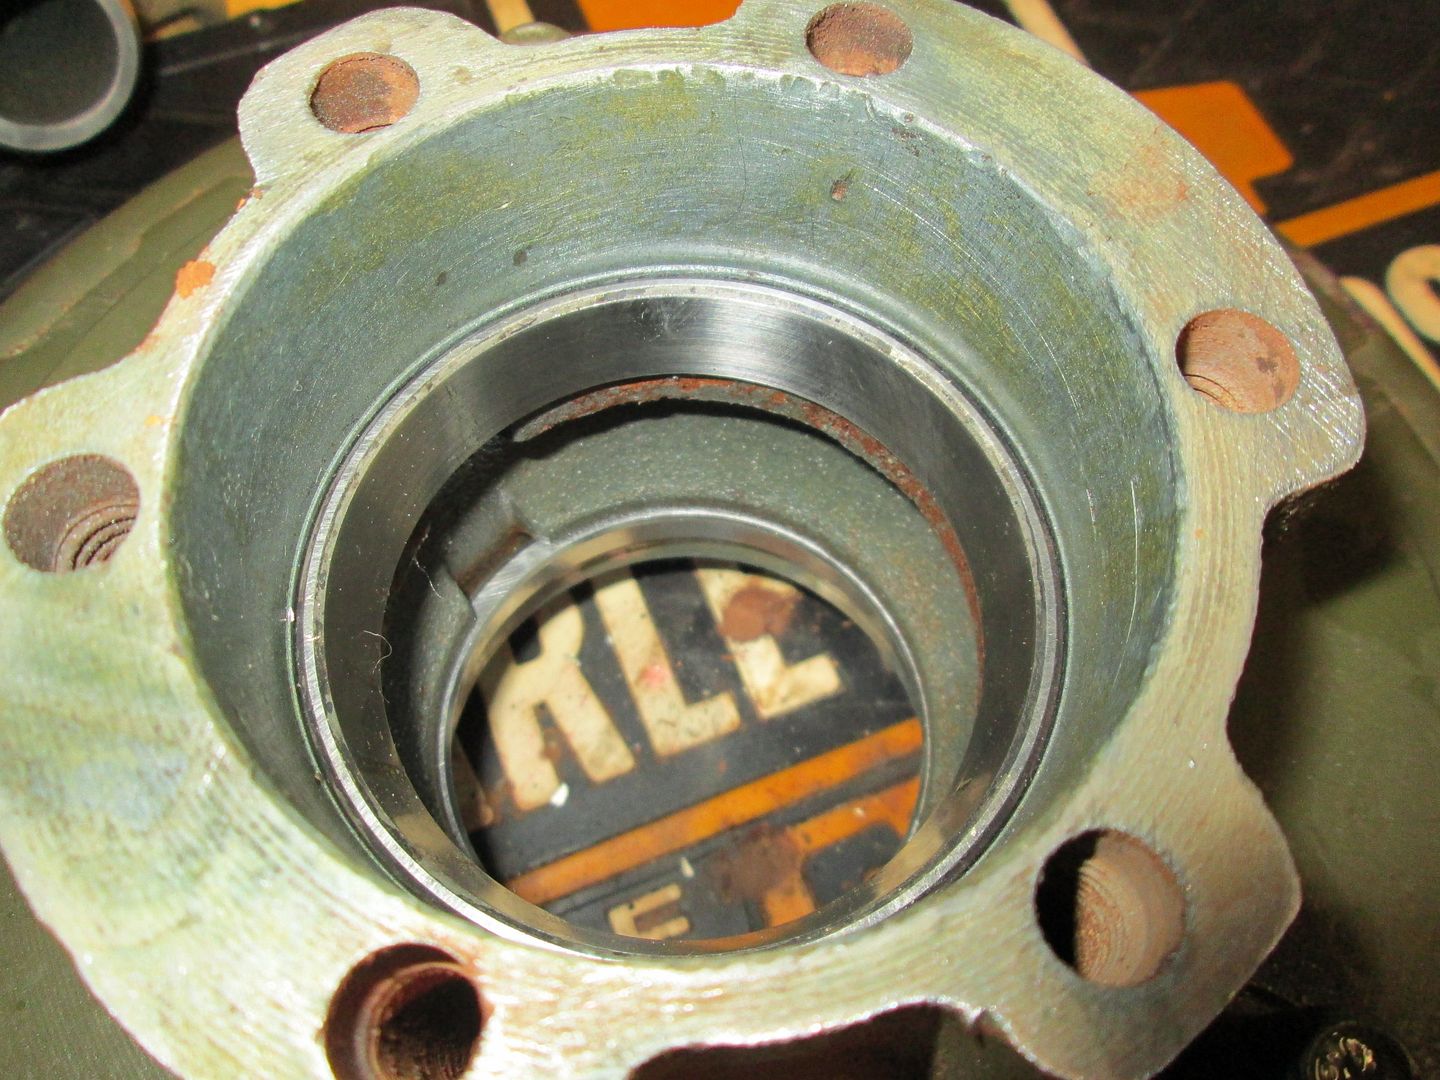 Spindle hardware from left to right , from Crown 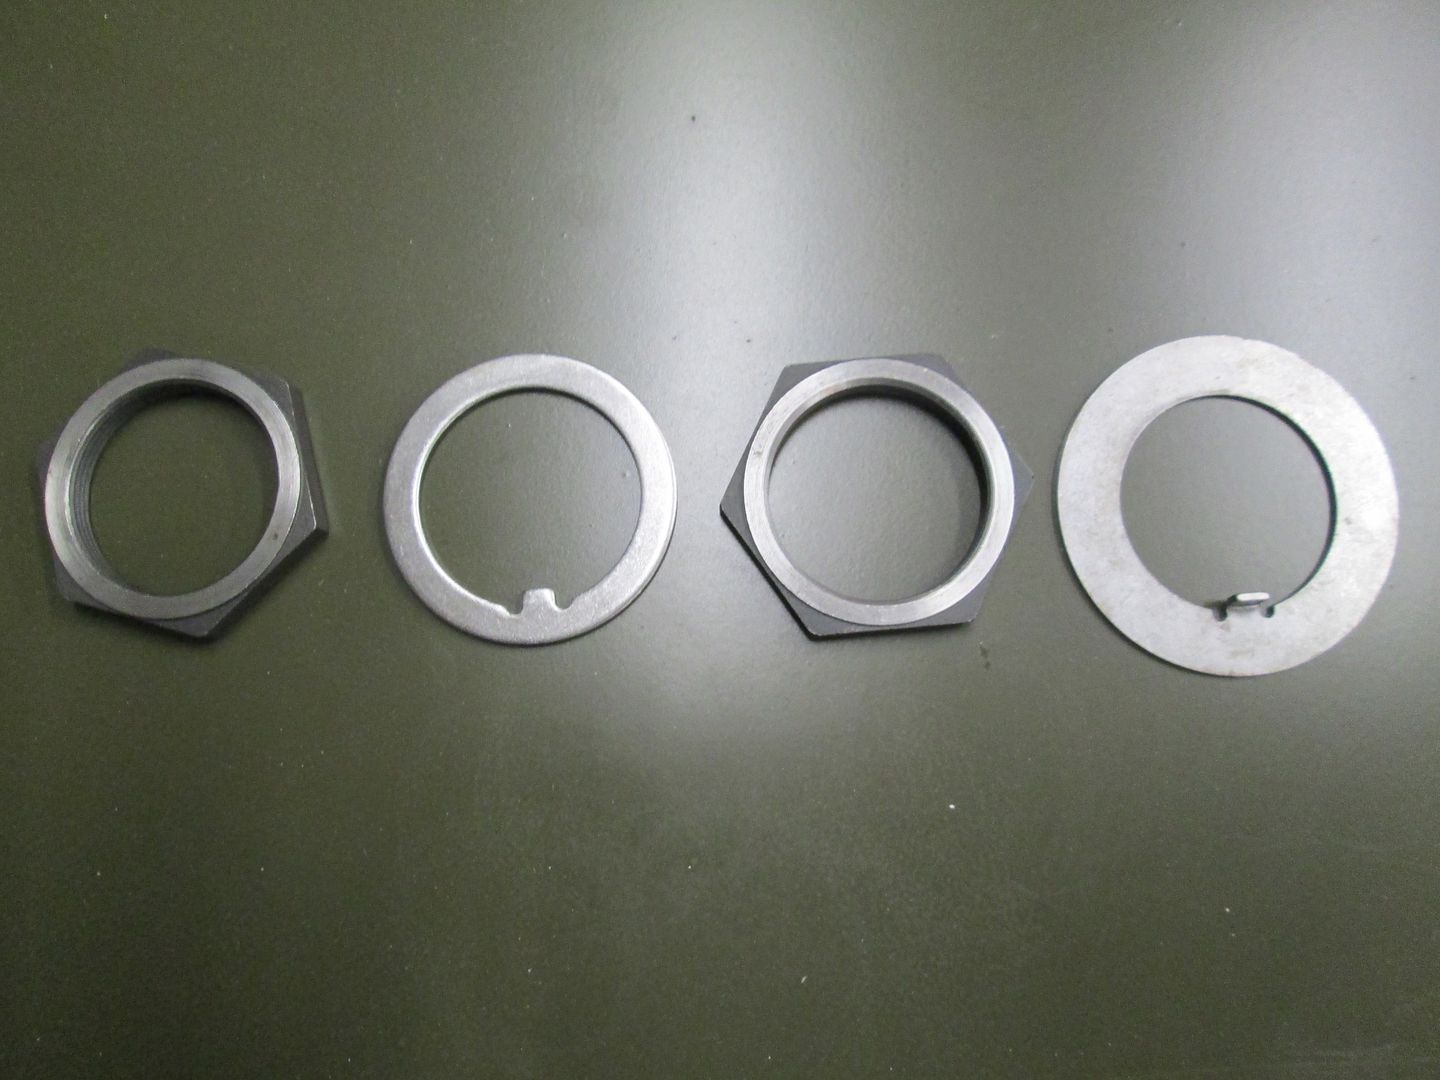 2 spindle nuts, and smaller (inner) lock washer, and larger (outer) lock washer notice the tabs on the lock washers . I pack the bearing (cone) with high temp grease. Insert it into the race. I like to apply a thin film I grease to the race as well. I use Permatex #2 sealant on the outside edge of my Timken seals.. 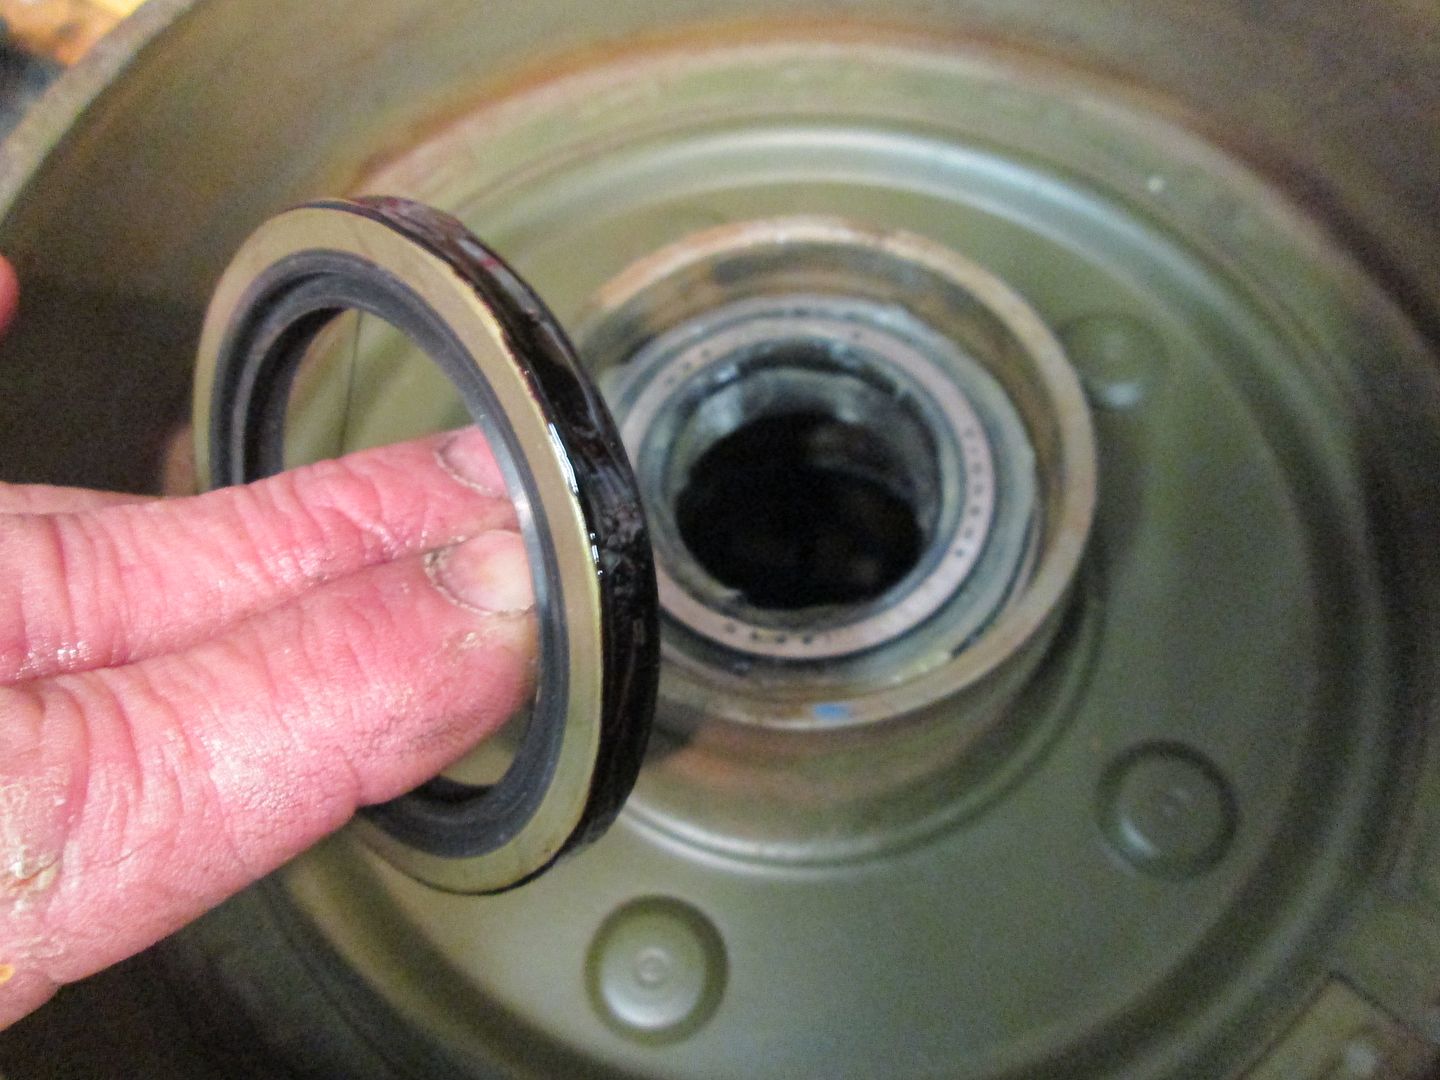 Seal installed and ready to be mounted on the spindle. I tapped it into place with a small soft faced hammer. 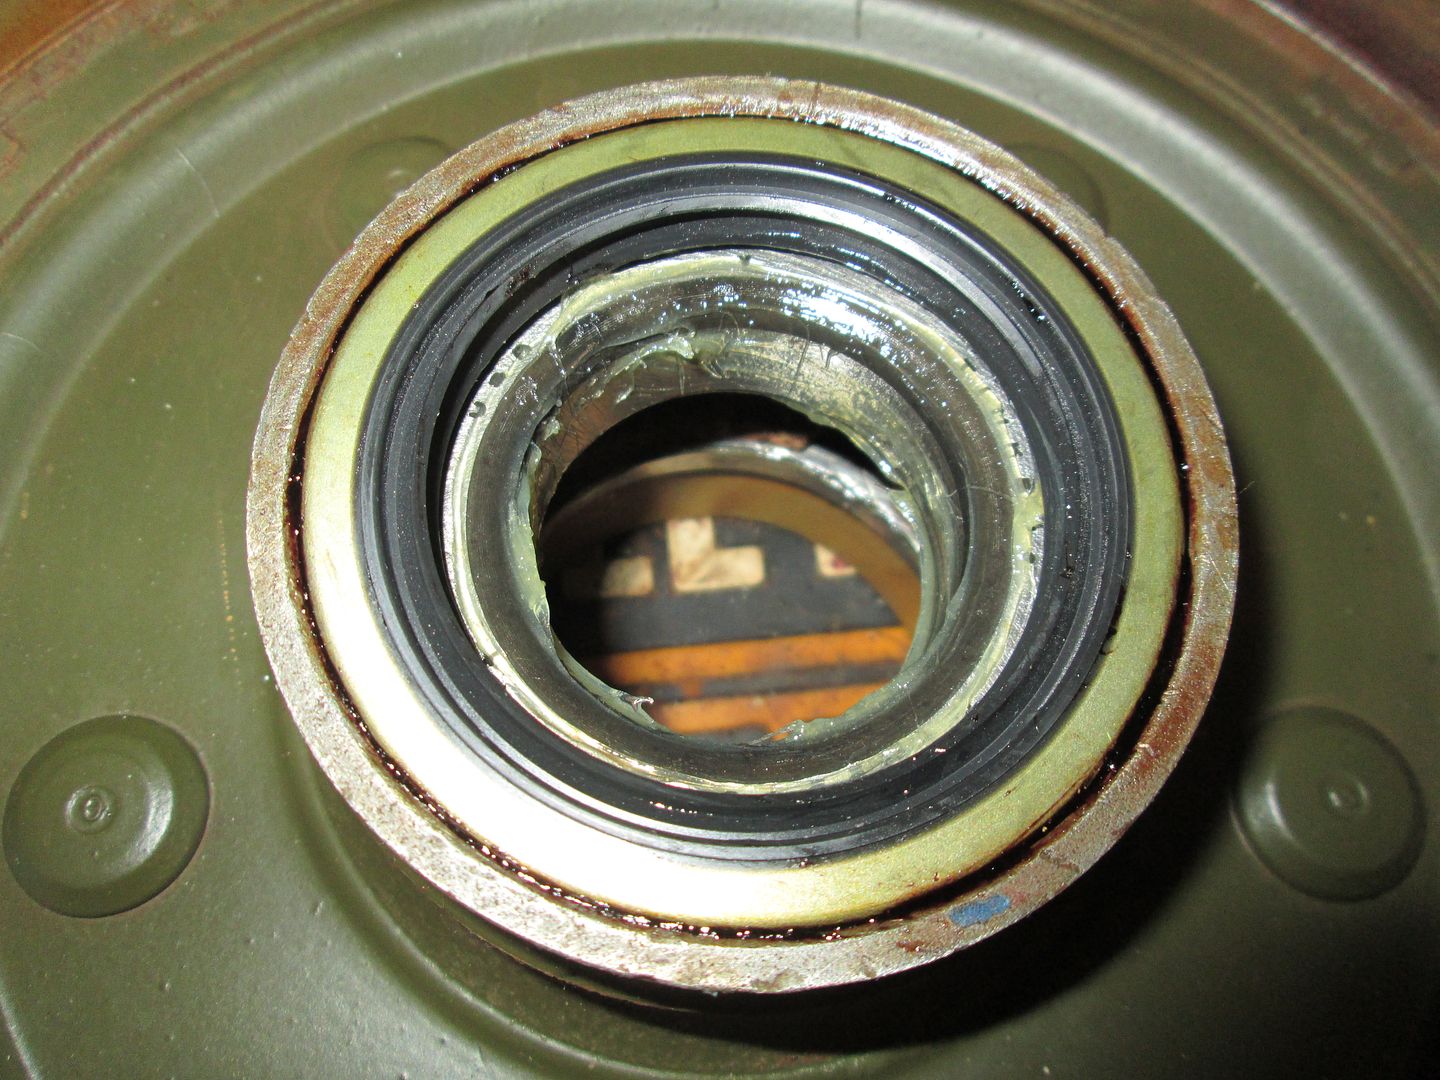 |
|
|
|
Post by Haines Garage on Feb 7, 2014 20:39:57 GMT -5
I put a small amount of grease on the inner seal, just enough so it slides on nice to the spindle. using a back and forth motion, I slide the drum and hub onto the spindle. Then pack the outer bearing (cone) and insert it. 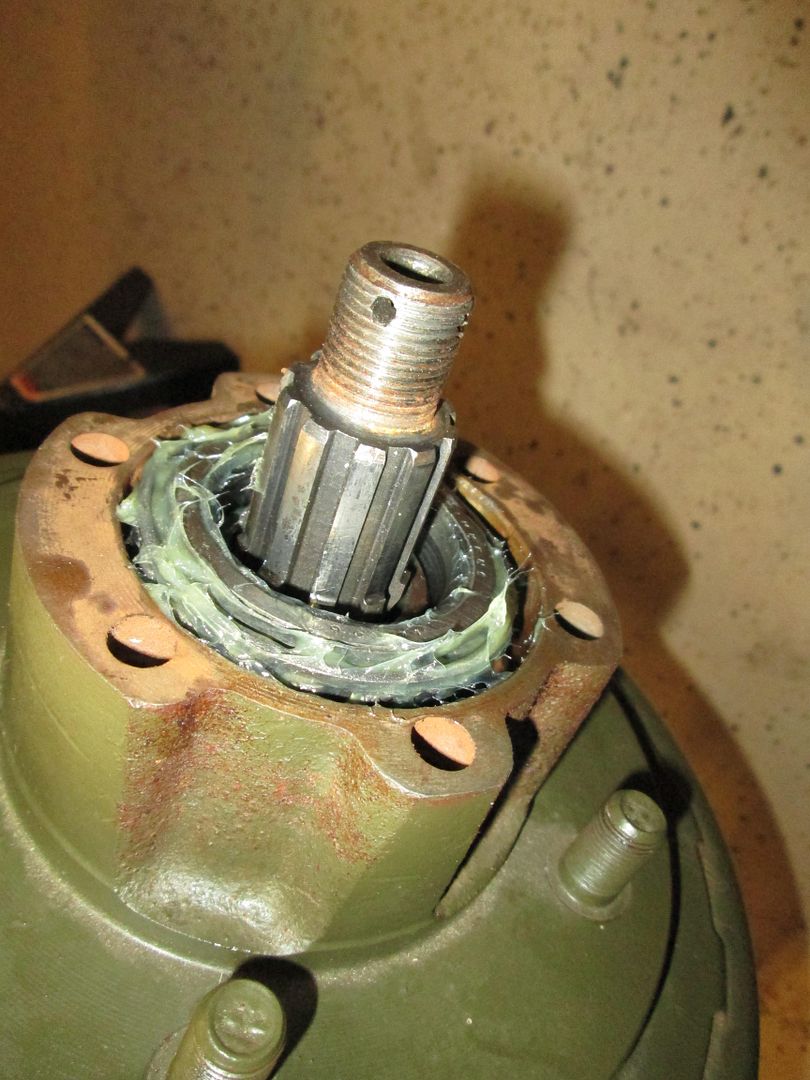 Install the smaller of the lock washers first, insert the tab into the groove on the spindle 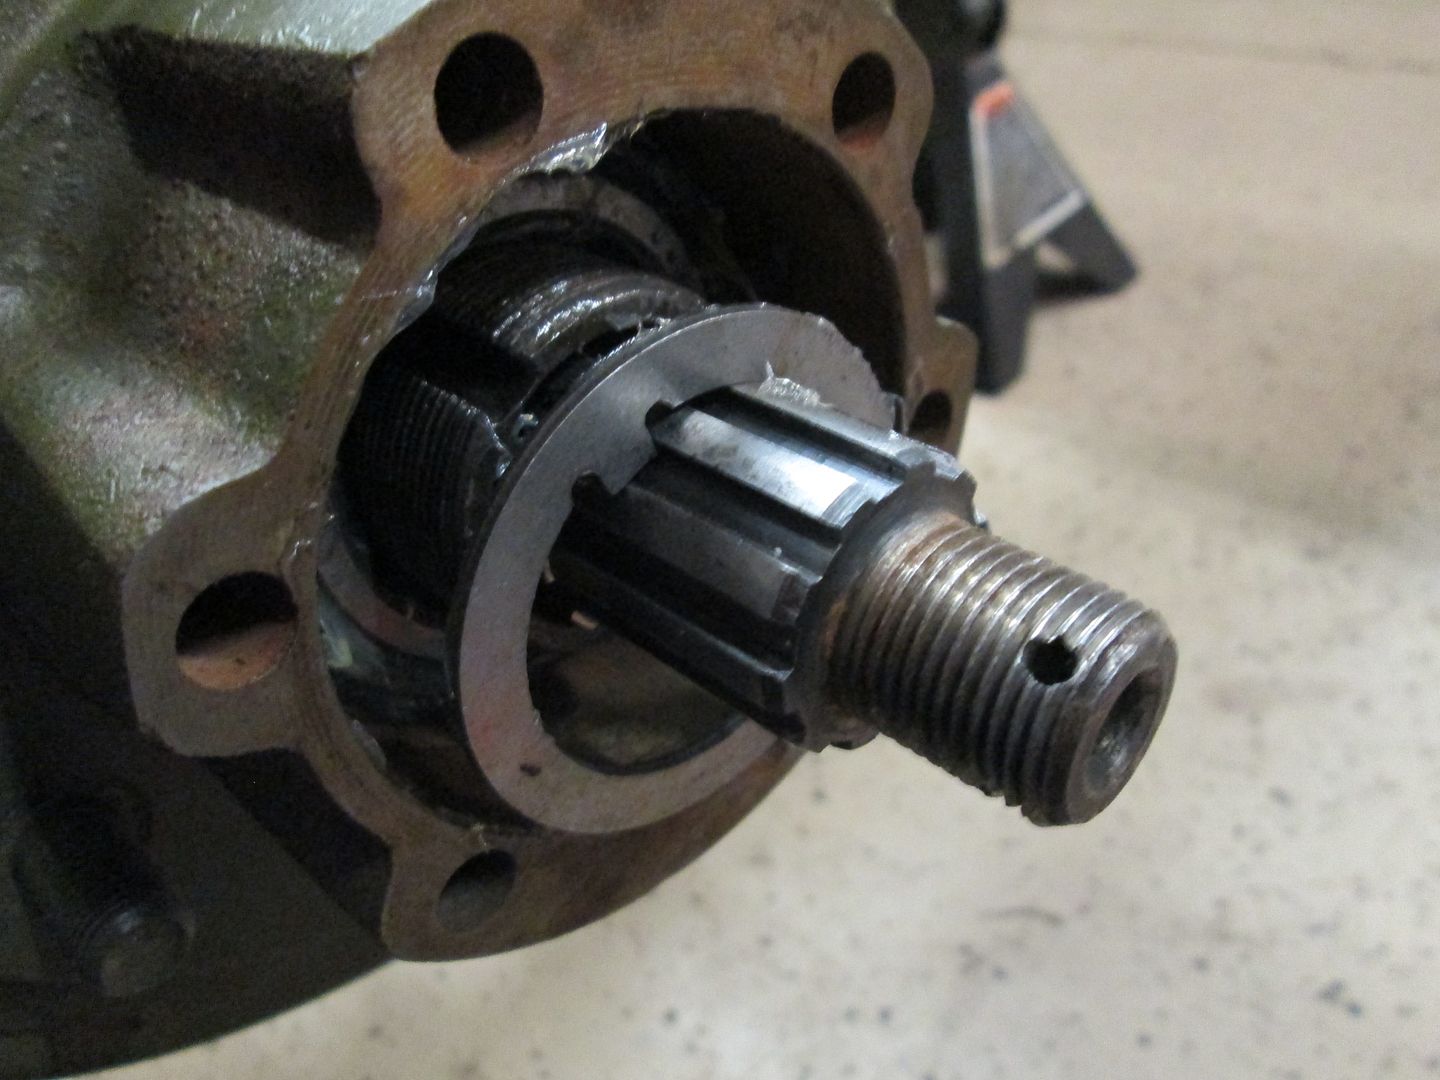 Next, install the first nut. Do yourself a big favor, and buy the correct thin walled socket, they are readily available. 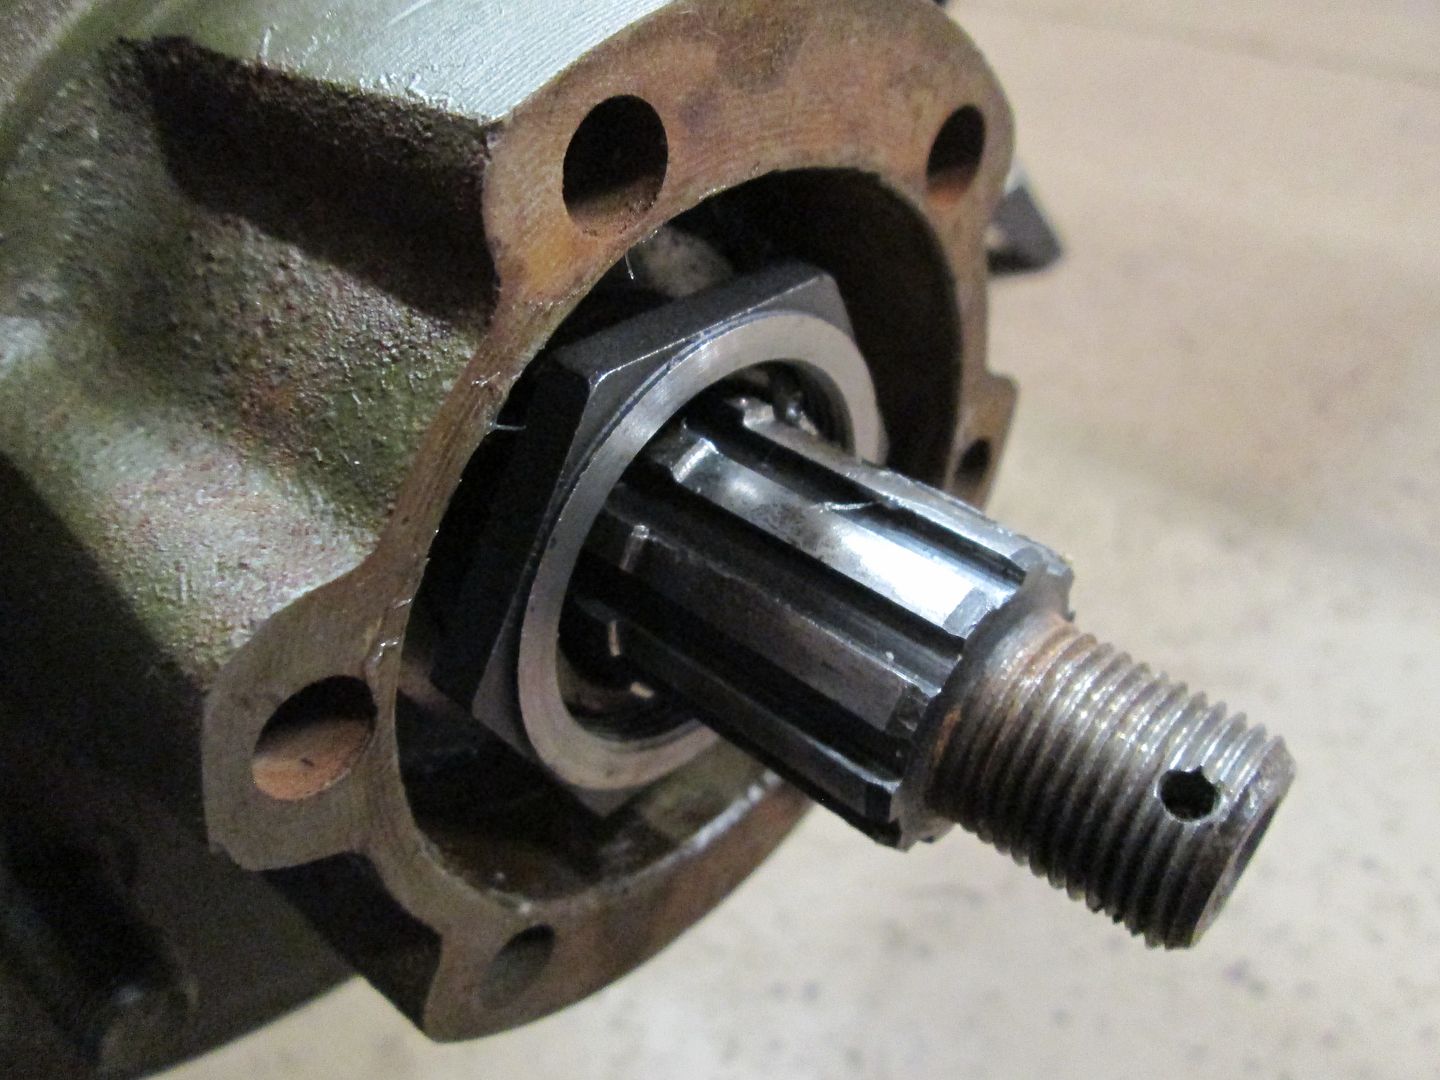 Tighten the nut until you feel resistance in the spin of the drum. I backed off 1/6 a turn... wheel spins freely, but no in and out play. |
|
|
|
Post by Haines Garage on Feb 7, 2014 20:44:45 GMT -5
Next install the larger of the two lock washers, slide the tab with the tang facing outward, into the spindle groove. 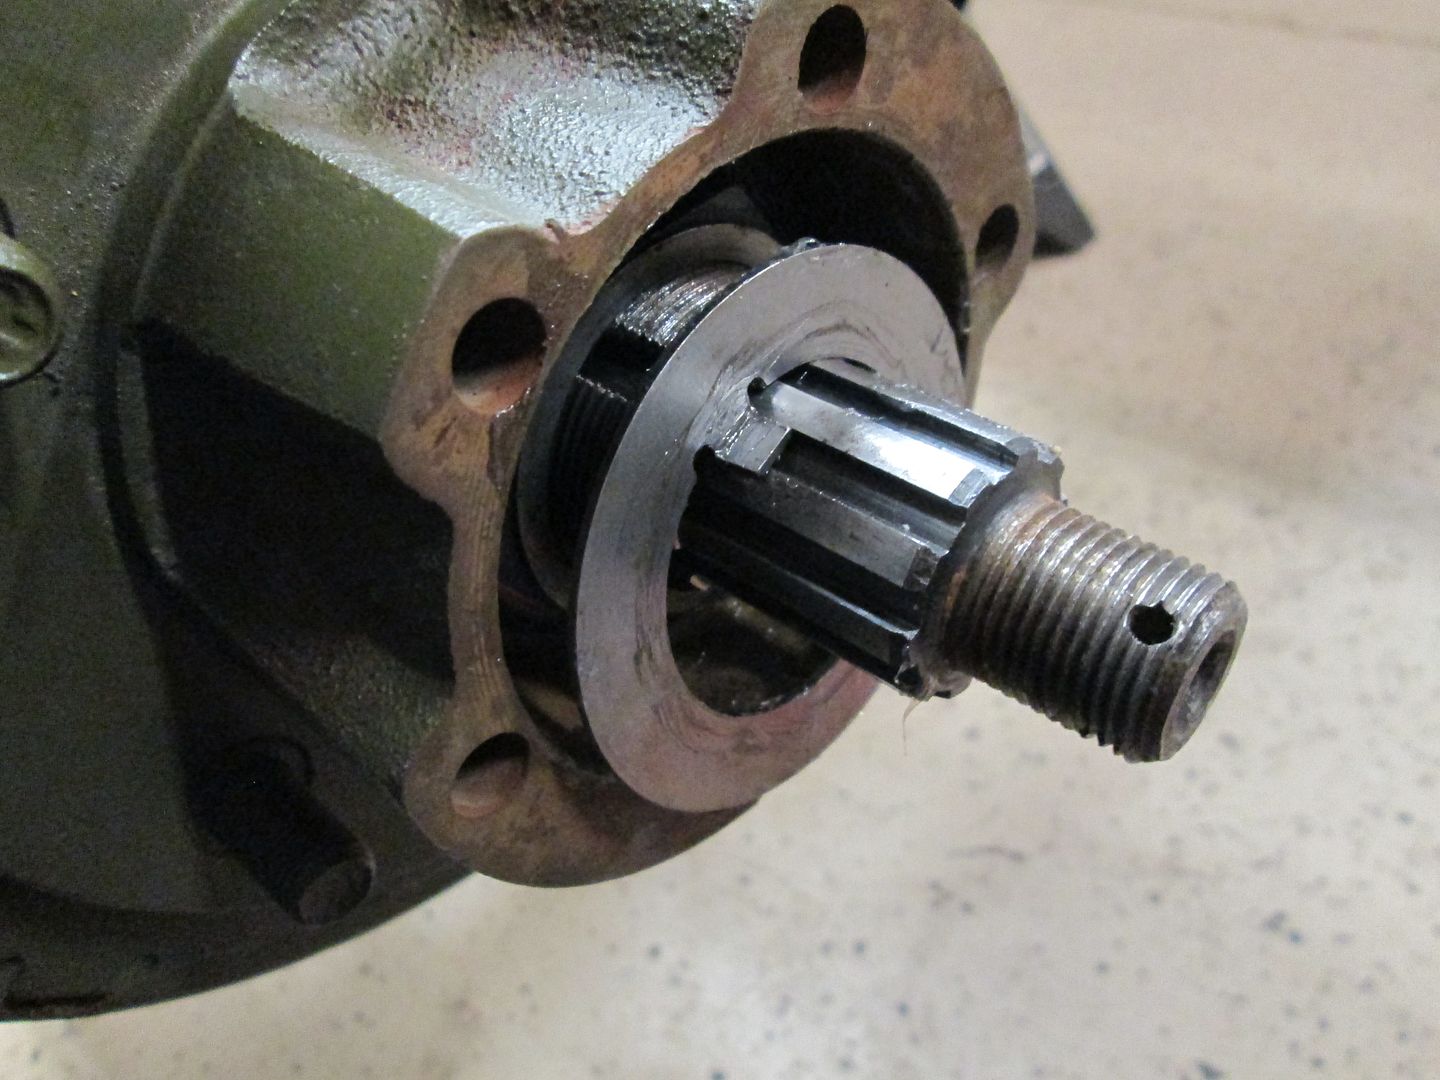 next install the outer nut. Tighten snug. 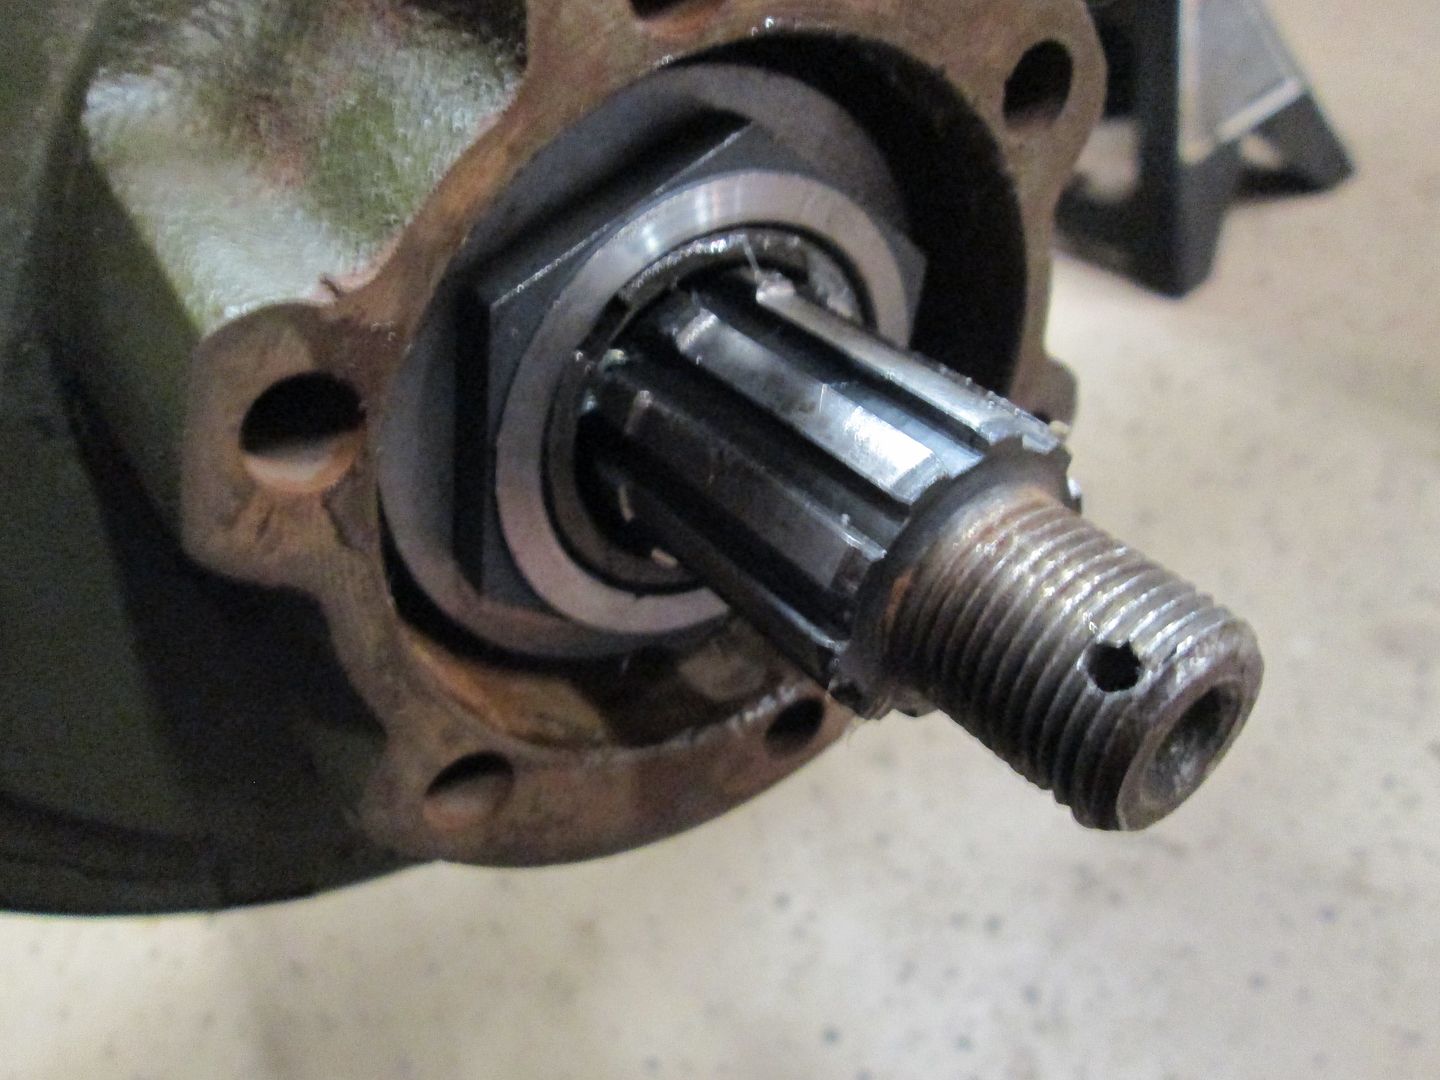 For now I am am stopping here. I have a final coat of paint to apply to my rolling chassis, and have two toned (with black) the outer parts.  |
|
|
|
Post by Haines Garage on Feb 9, 2014 23:19:33 GMT -5
This is something I read about on other web pages....The Good ones... Mighty Moe is AWESOME! Haines Garage % Thumbs up there! You take a screwdriver, and bend the outer lock washer slightly out, to retain the outer nut... Made sense to me, and was exactly like the old one I removed, so I did it. 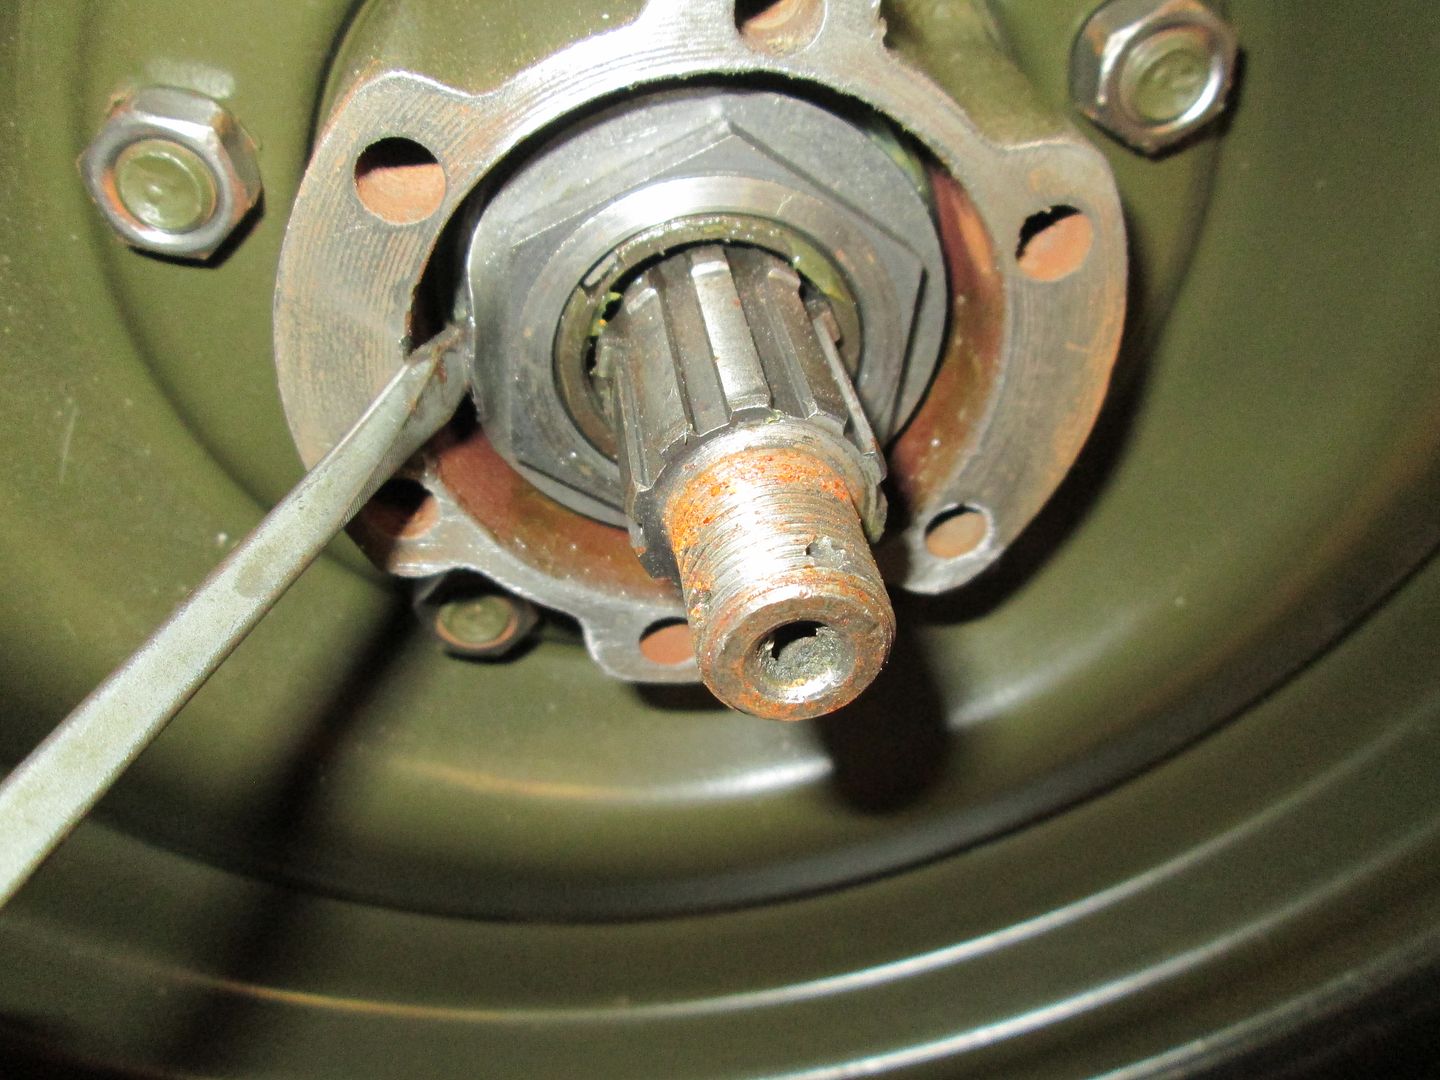 Next I apply Indian Head Shellac to the clean outer hub...Just a thin coat. 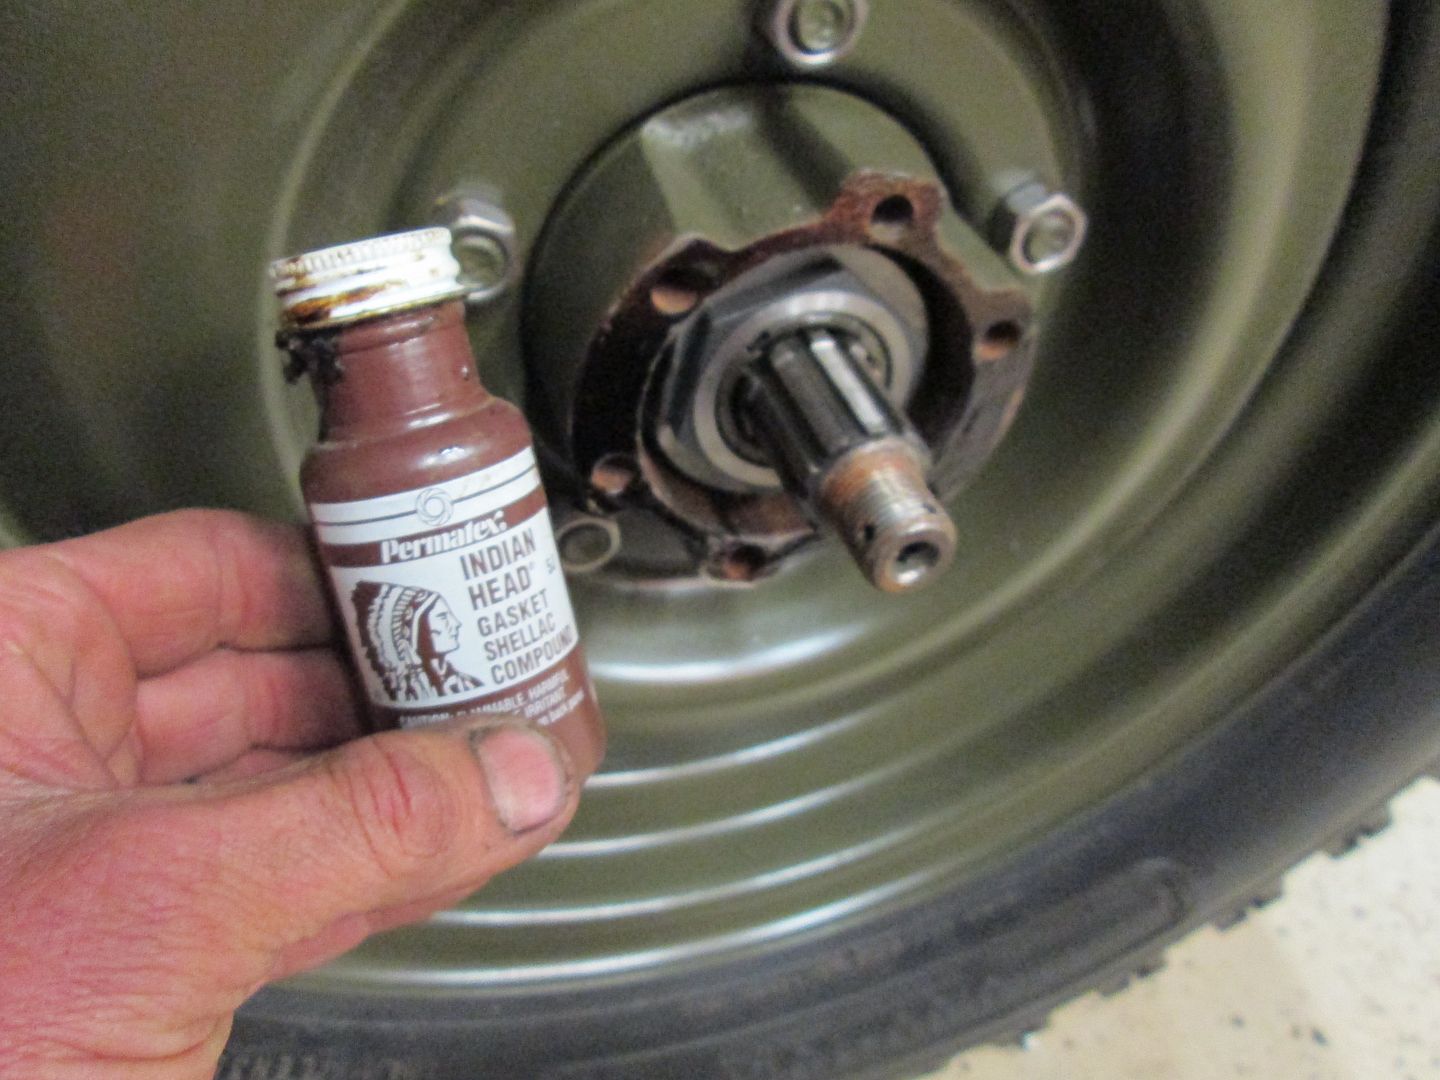 I have kept the original schimmmms, cleaned tagged and bagged for the pass, and drivers side. I coated them with spray copper coat.. 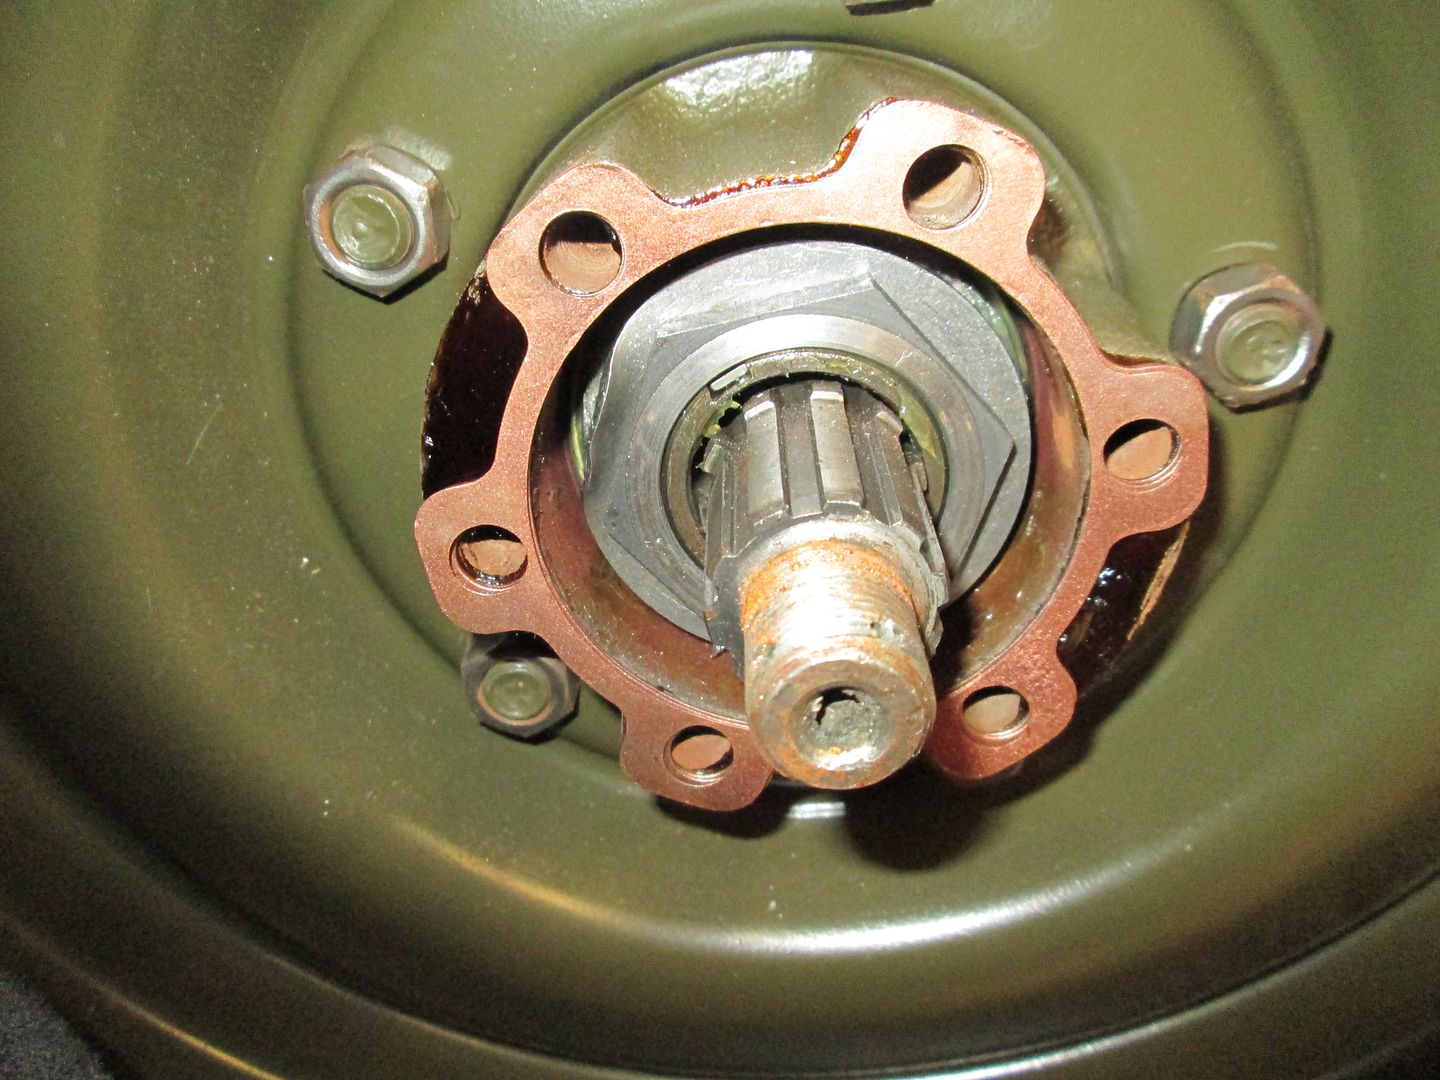 The shellac and copper coat, keep the shims in place. I then apply Pemetex #2 to the previously restored hub. 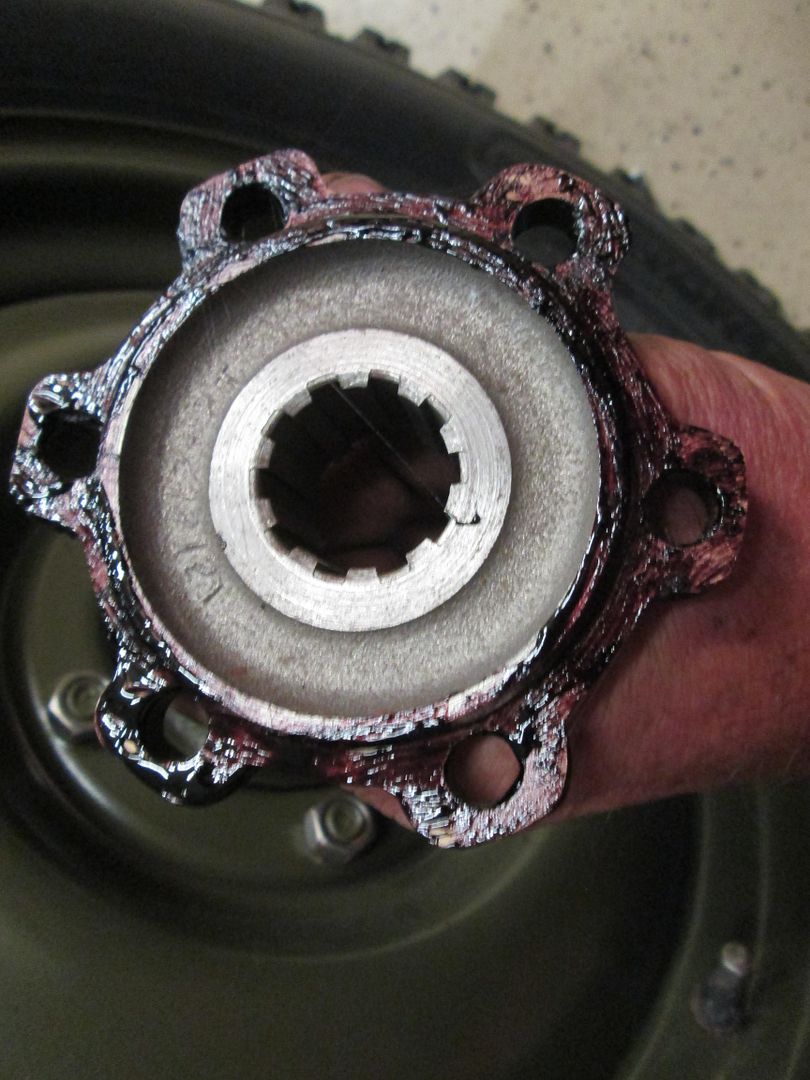 Then install the gasket, purchase from Walcks 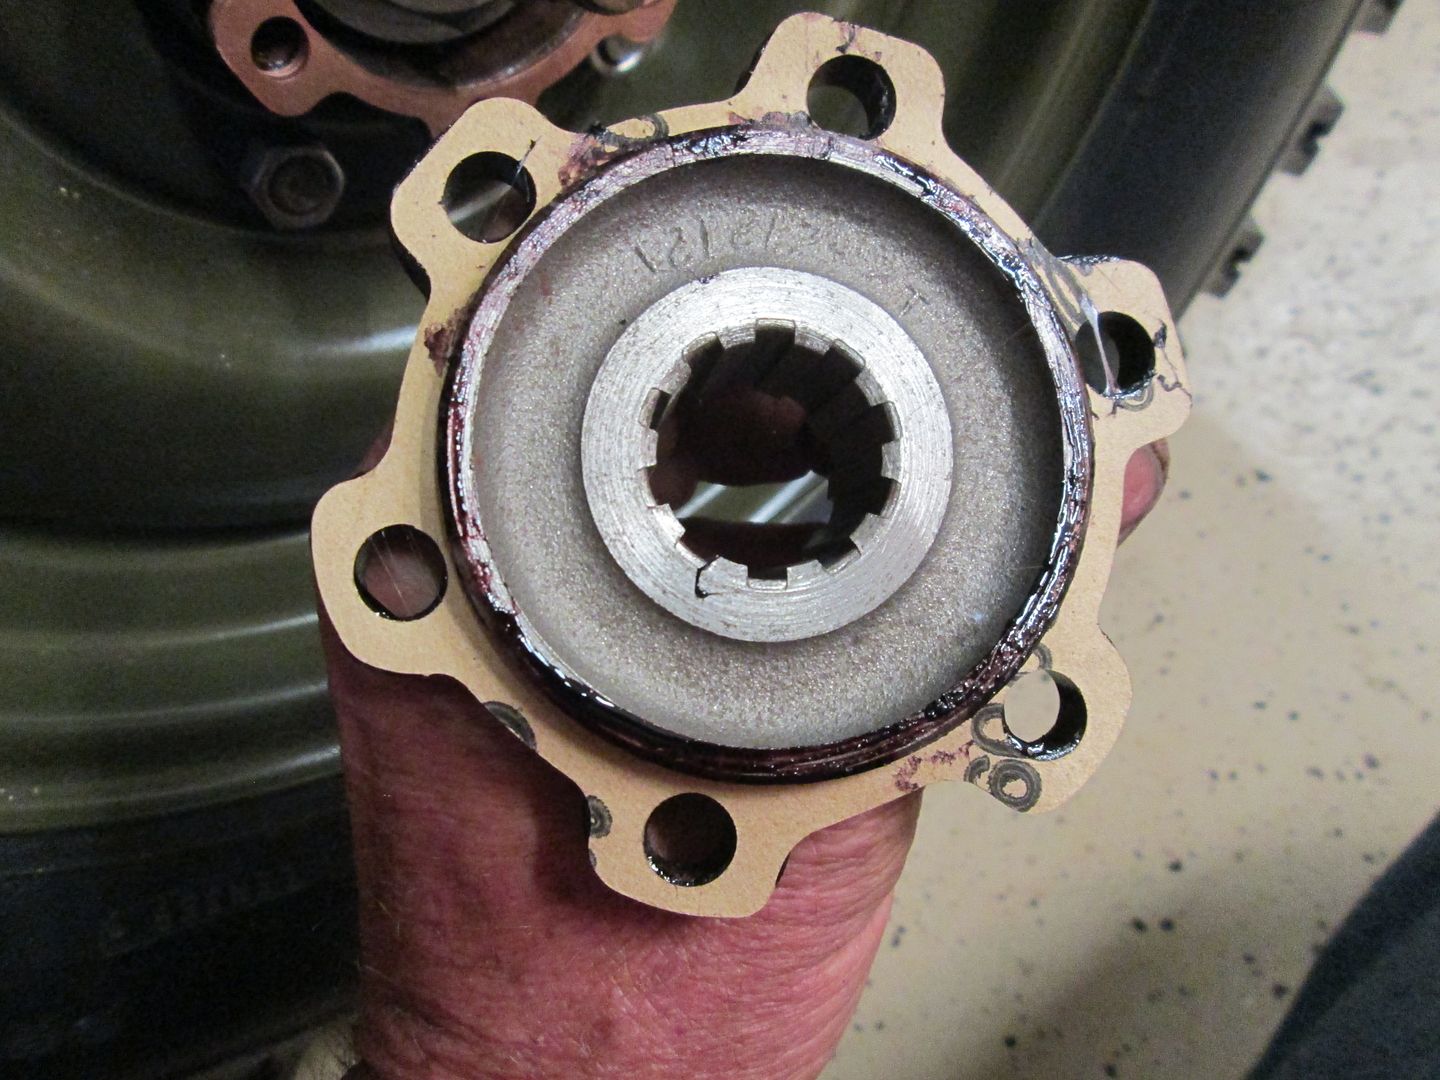 Be patient here..the Gasket will fit, but tight...DONT TEAR IT! Apply thin film of Permetex #2 to inside of gasket and install in axle shaft splines...Look to line up the bolt holes. I then install the bolts and lock washers by hand 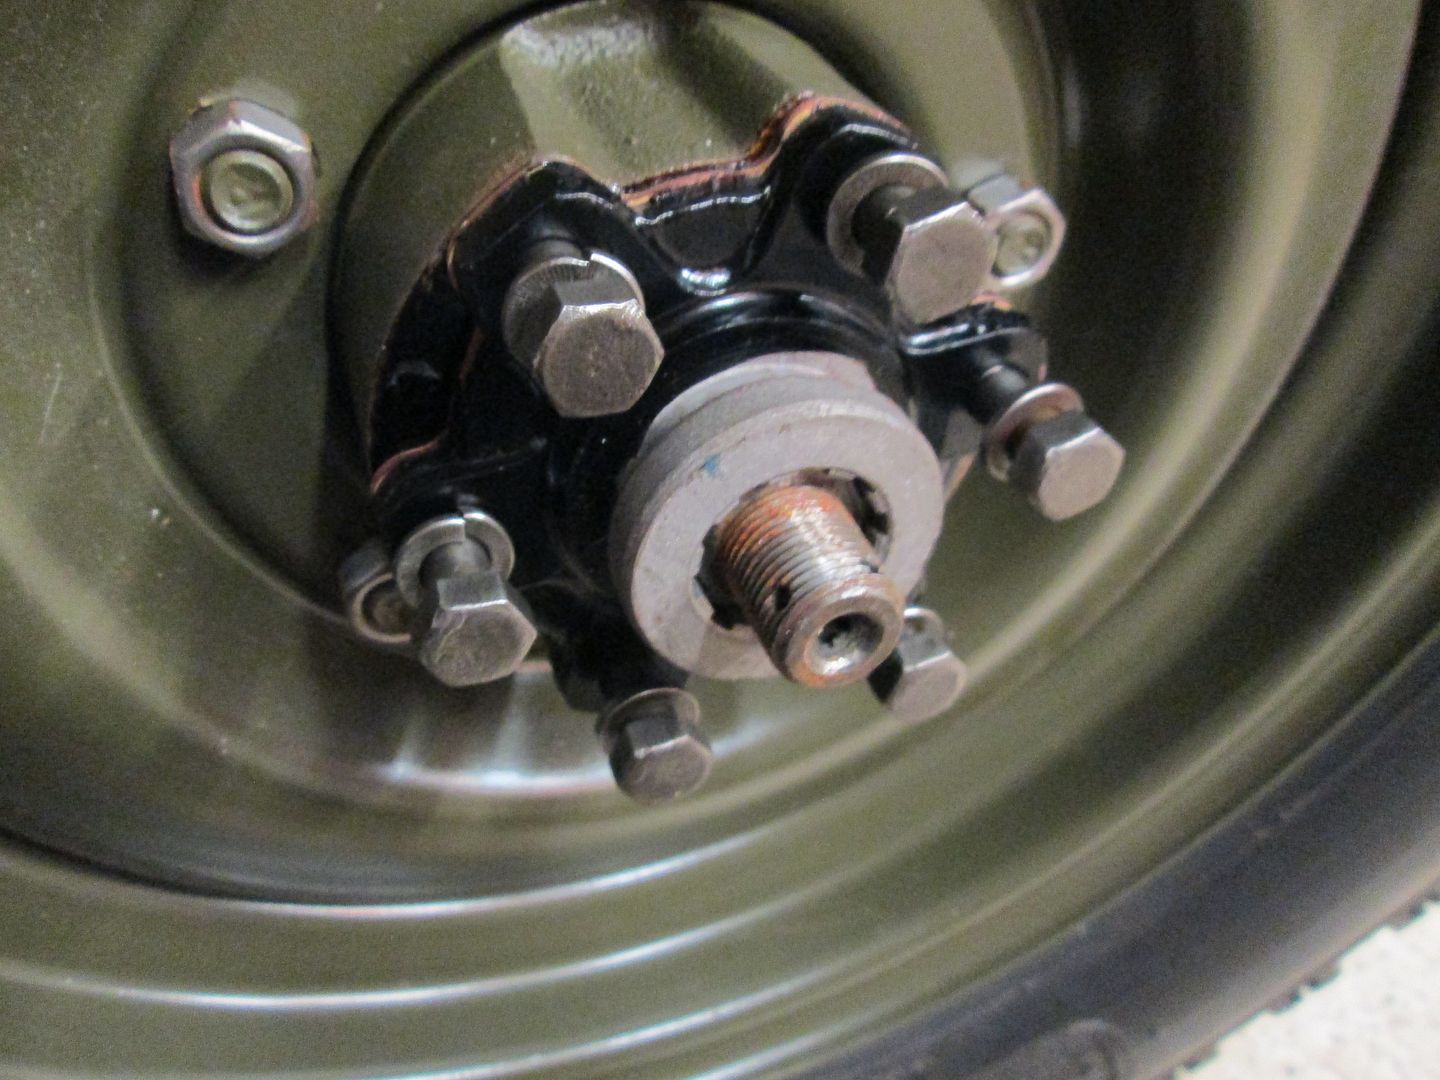 |
|
|
|
Post by Haines Garage on Feb 9, 2014 23:33:31 GMT -5
Torque the bolts to 35 ft pounds. Install the washer and castle nut. 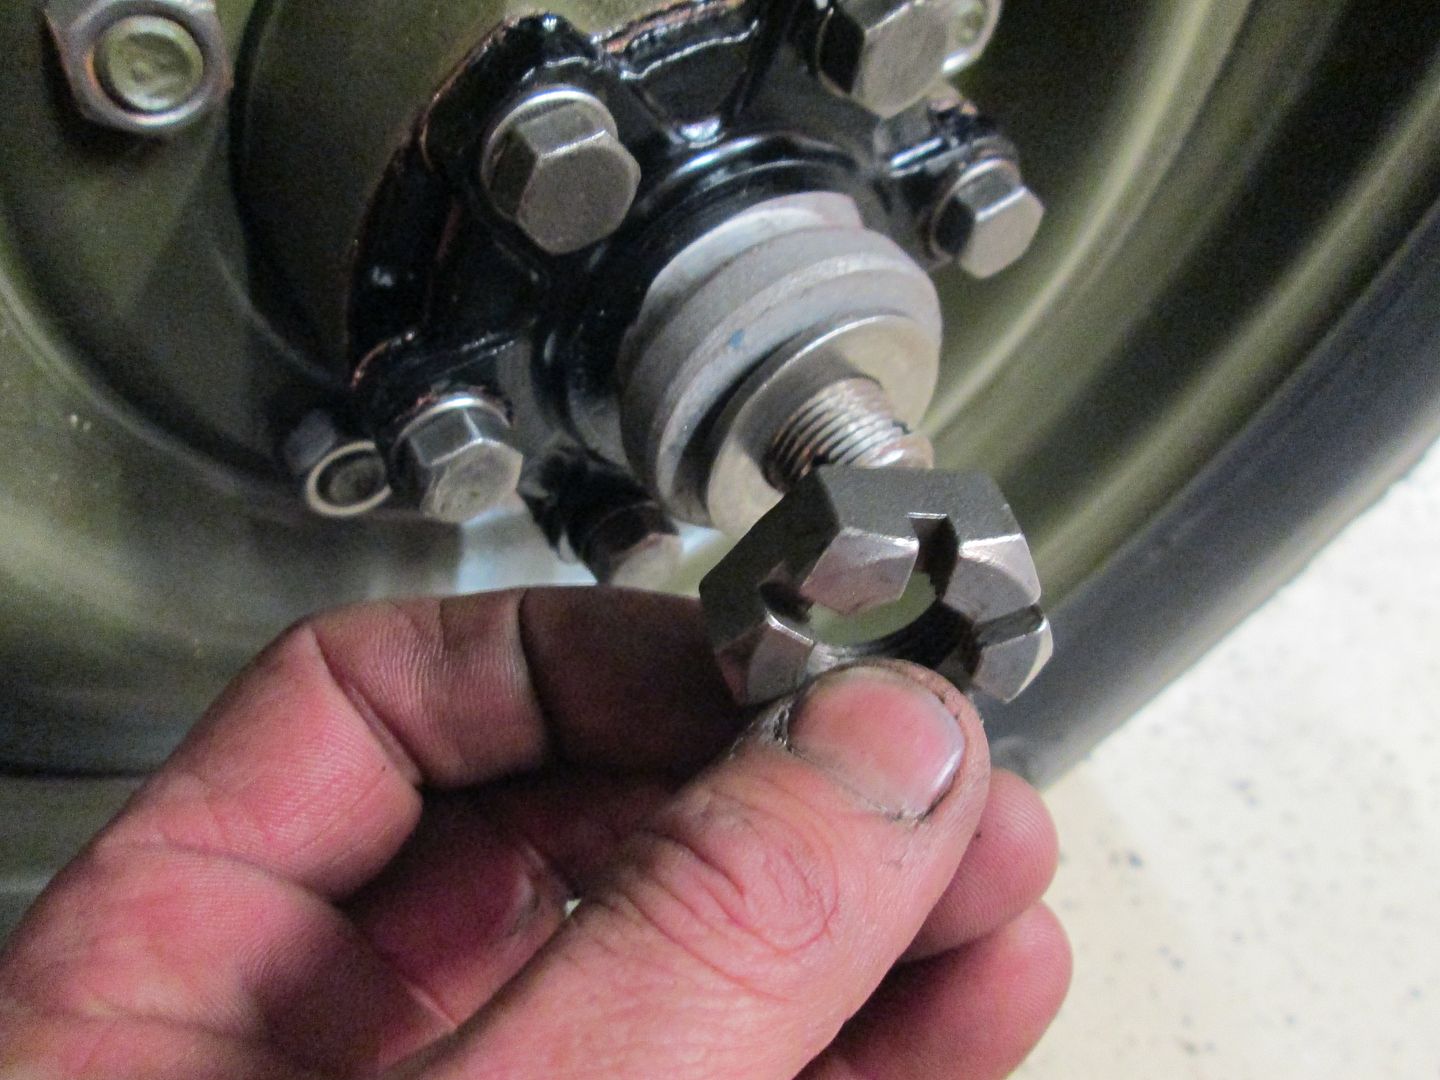 When installing the castle nut, I was fortunate enough as to when it was tight, it lined up perfectly for the cotter pin. 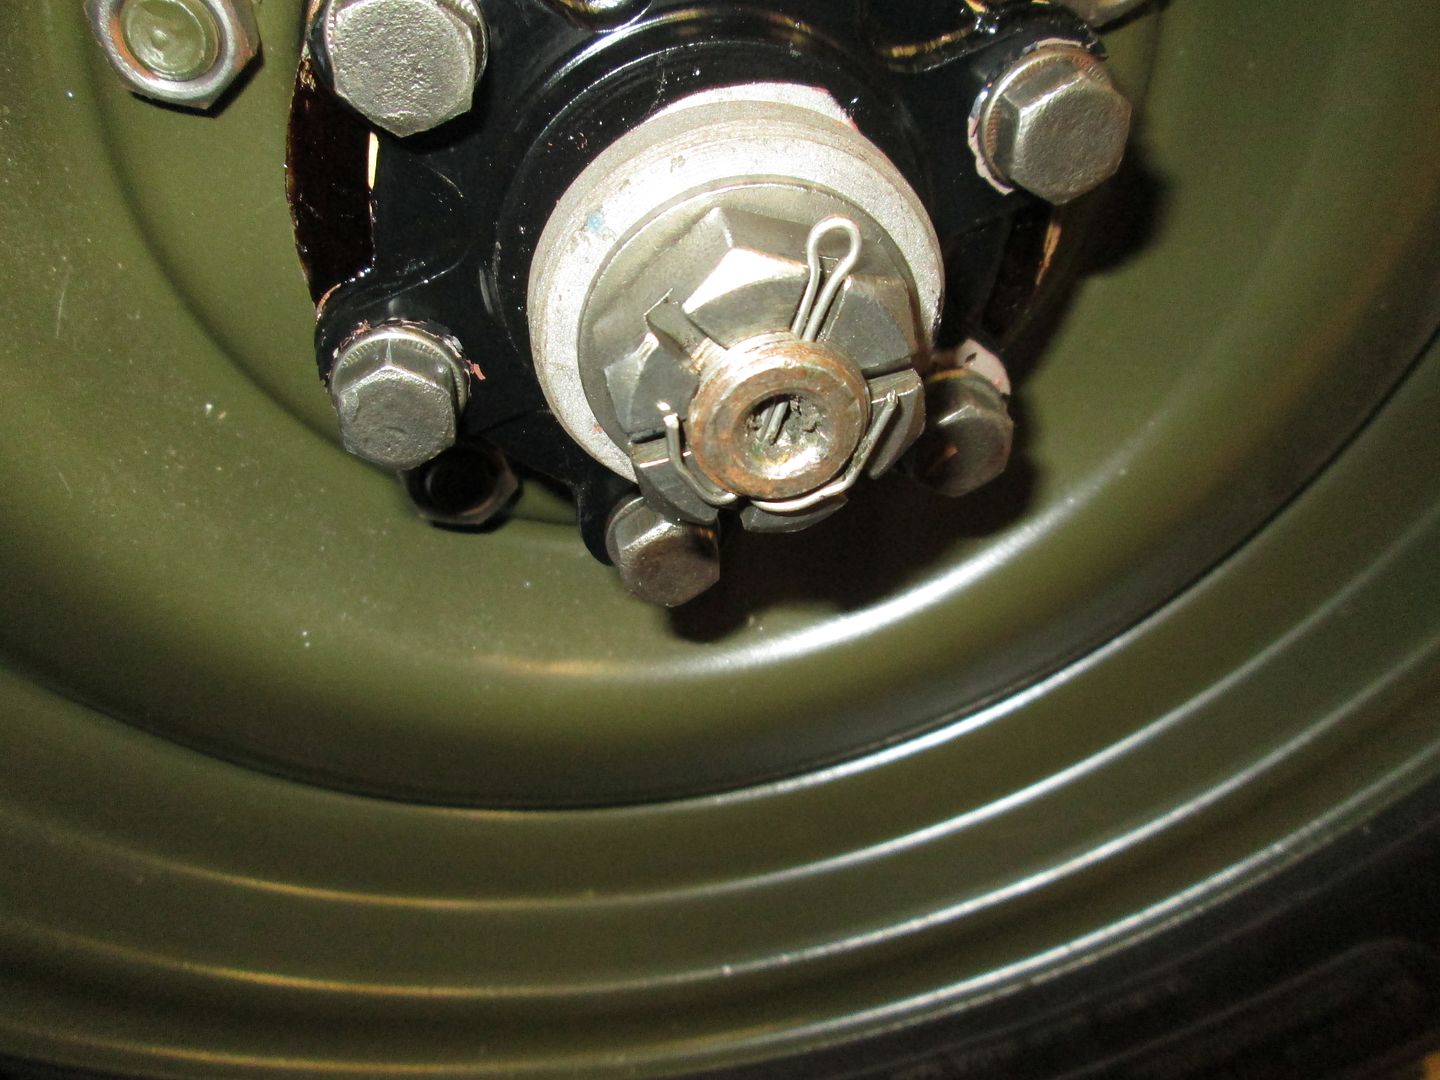 You are now ready to install the dust cap. I will be doing some painting, before I do...  |
|
Deleted
Deleted Member
Posts: 0
|
Post by Deleted on Feb 10, 2014 14:03:42 GMT -5
for this cotter pin I always bend the long side up and over the hole where the cotter pin was and the other side I cut shorter and bed down so it rests against the nuts flat.
|
|